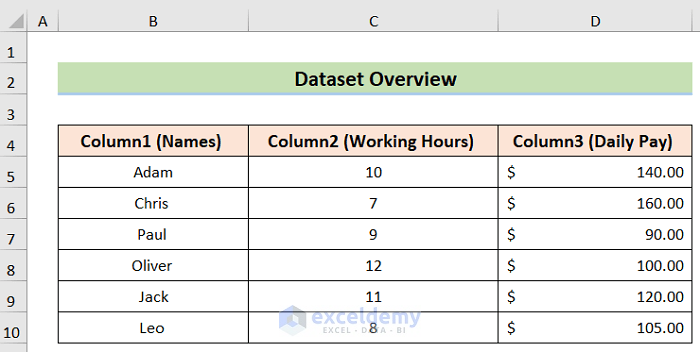
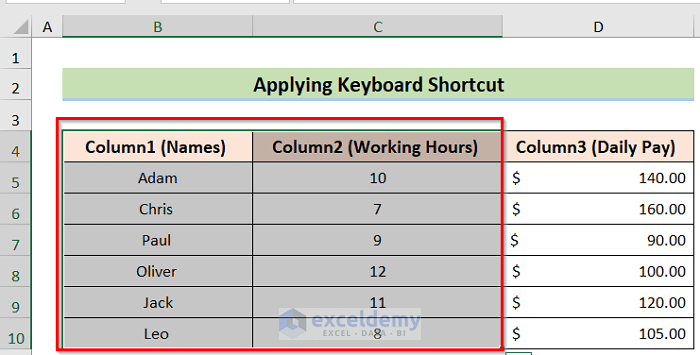
We’ll use a sample dataset as an example in Excel. We have Column1 (Names) in Column B, Column2 (Working Hours) in Column C, and Column3 (Daily Pay) in Column D.
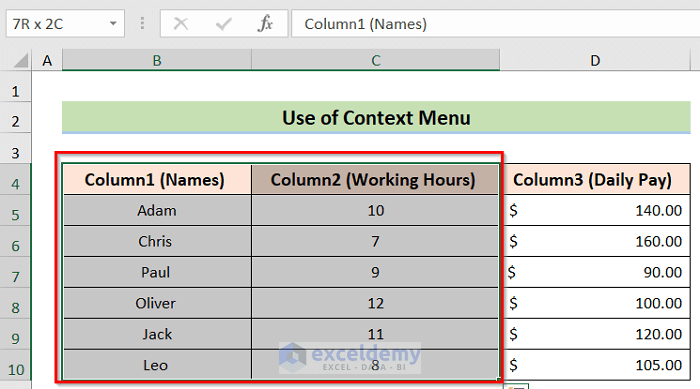
Method 1 – Remove Column1 and Column2 in Excel with the Context Menu
Steps:
- Select the columns you want to delete.
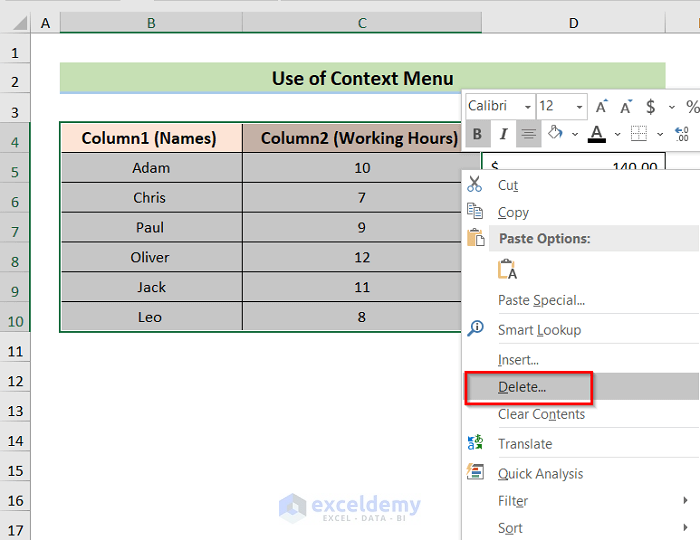
- Right-Click on the selection and choose the Delete option.
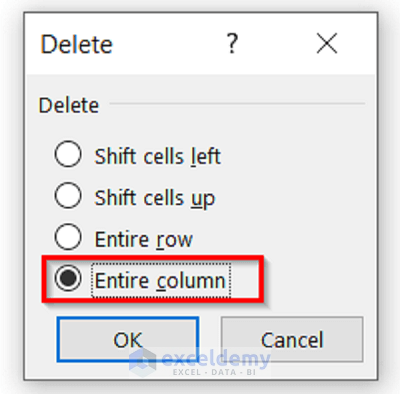
- A Delete window will open on your screen.
- Select the Entire Column option and press OK.
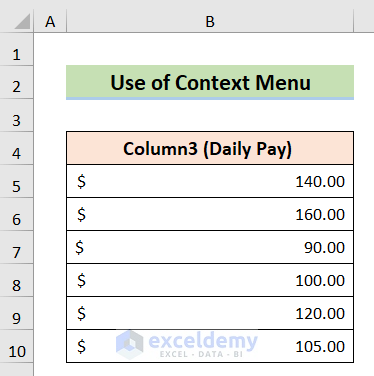
- You will get the result like the below image.
Read More: How to Remove Column Headers in Excel
Method 2 – Using Keyboard Shortcuts to Remove Column1 and Column2
Steps:
- Select the columns you want to delete.
- Press Ctrl + – to open the Delete option.
- Choose the Entire Column option and press OK.

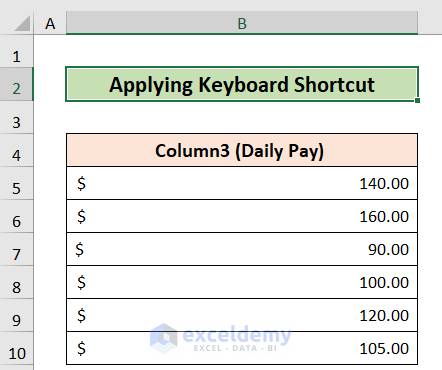
- You will get the following result.
Read More: How to Rename Column in Excel
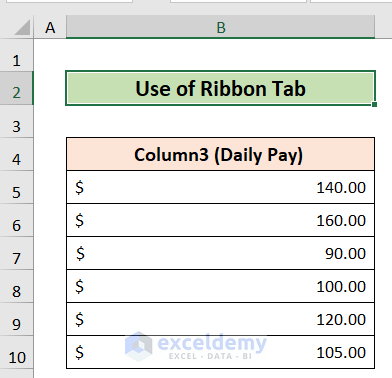
Method 3 – Remove Column1 and Column2 via the Ribbon
Steps:
- Select the columns you want to delete and go to the Delete option in the Home tab.
- Select the Delete Sheet Columns option.
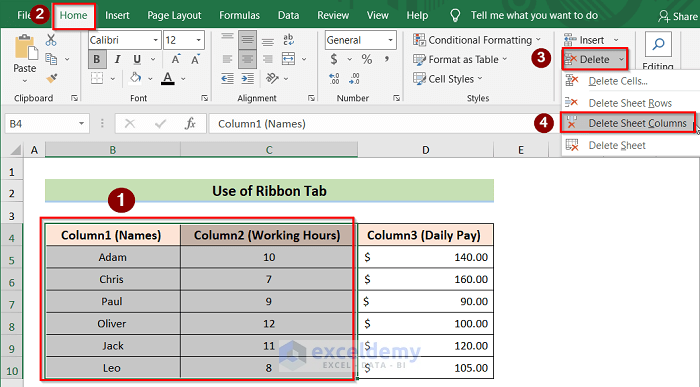
- You will get the following result.
Read More: How to Change Column Headings in Excel
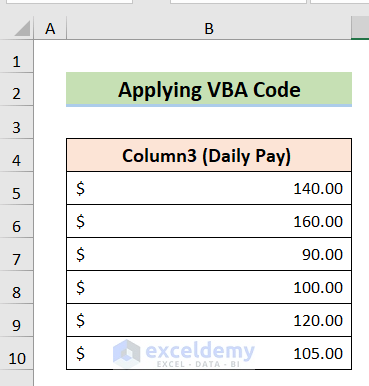
Method 4 – Apply VBA Code to Remove Column1 and Column2
Steps:
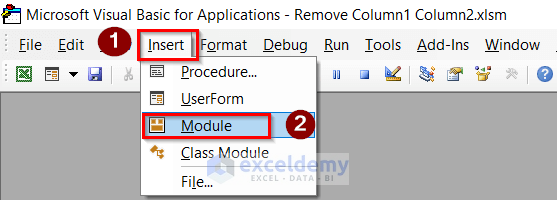
- Press Alt + F11 to open the VBA code window.
- Select Module from the Insert tab.
- In the module, insert the following code.
Sub delCol()
    Dim sourceSheet As Worksheet
    Set sourceSheet = Sheet5
    sourceSheet.Columns("B:C").EntireColumn.Delete
End Sub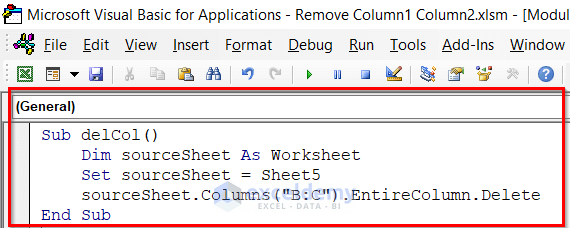
- Run the code with F5.
- Go back to the sheet.
Read More: How to Change Column Header Name in Excel VBA
Download the Practice Workbook
Related Articles
- How to Create Column Headers in Excel
- How to Title a Column in Excel
- How to Change Excel Column Name from Number to Alphabet
- How to Create Excel Table with Row and Column headers
- How to Repeat Column Headings on Each Page in Excel
- [Fixed] Excel Column Numbers Instead of Letters
<< Go Back to Rows and Columns Headings | Rows and Columns in Excel | Learn Excel
Get FREE Advanced Excel Exercises with Solutions!
