Method 1 – Create First Row as Header by Freezing in Excel
Steps:
- Click on the View tab from the ribbon.
- Click on the Freeze Panes.
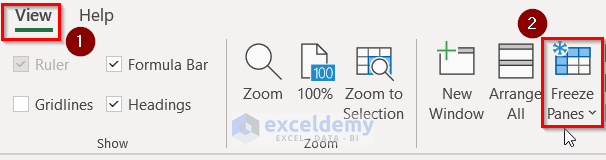
- A dropdown menu will appear.
- Select Freeze Top Row from the dropdown menu.
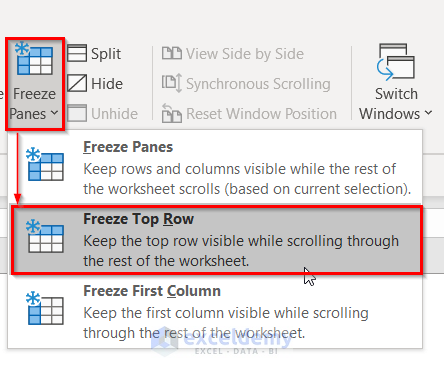
- Clicking Freeze Top Row locks the first row.
Read More: Keep Row Headings in Excel When Scrolling Without Freeze
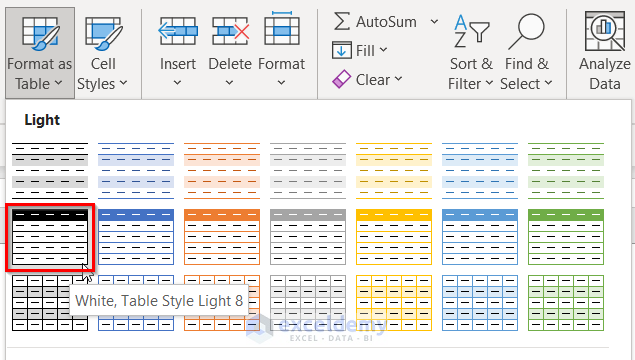
Method 2 – Applying Format as Table Option to Show First Row as Header
Steps:
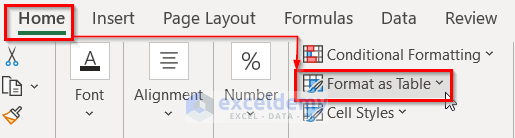
- Go to the Home tab and click the Format as Table dropdown menu.
- Select a style for your table.
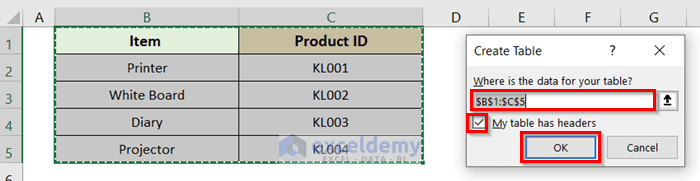
- The Create Table window will appear.
- Check if our selected cells are correct.
- Tick on the My table has headers.
- Click OK.
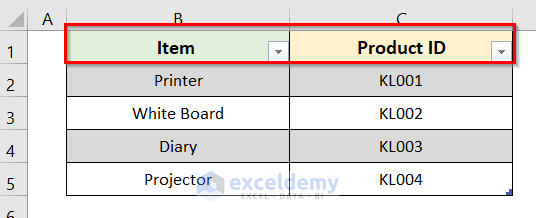
- A table will be created that contains the header in the first row.
Read More: Hide Row and Column Heading in Excel
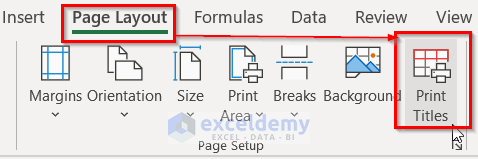
Method 3 – Making the First Row as Header Using the Excel Print Titles Option
Steps:
- Select the Page Layout tab and click on the Print Titles.
- The Page Setup window will appear.
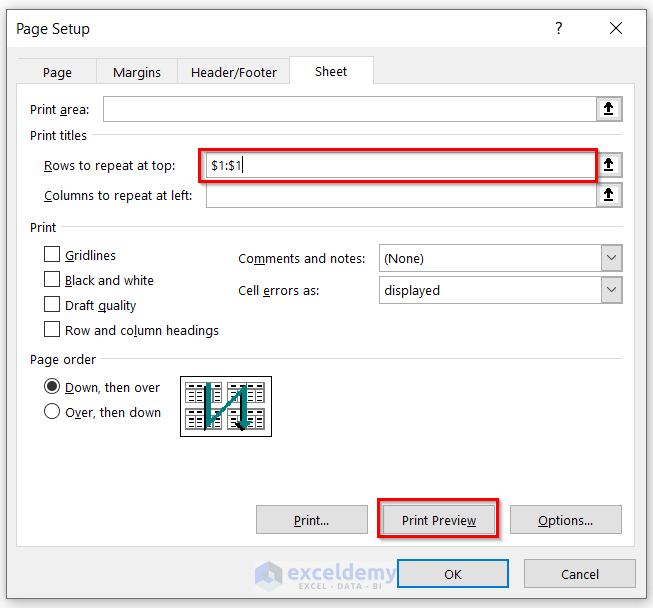
- Click on the Rows to repeat at top:
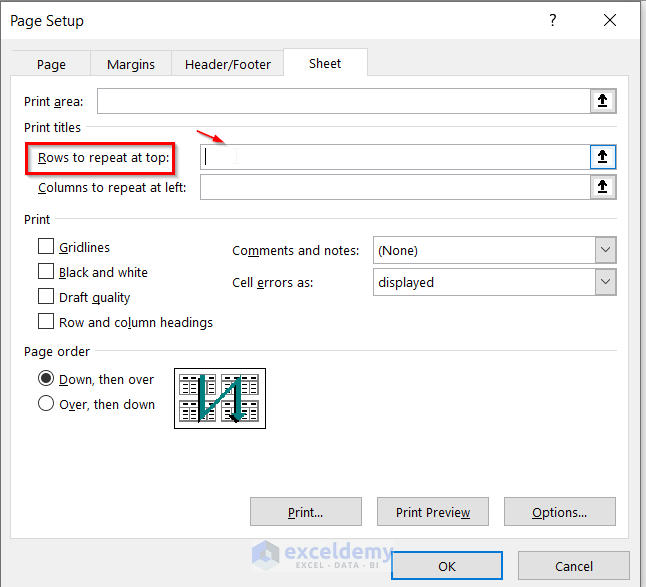
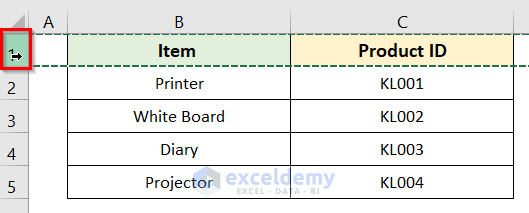
- Select the first row.
- Click on the Print Preview button to make sure the header row is correct.
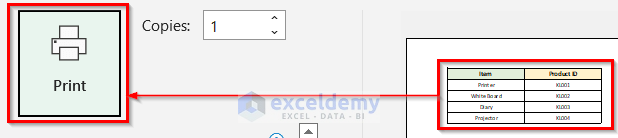
- Click on the Print button to see the result.
Read More: How to Make a Row Header in Excel
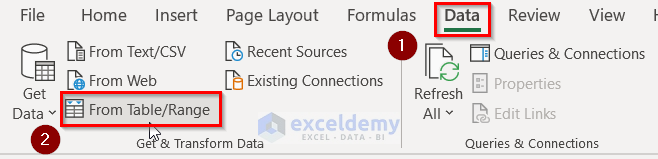
Method 4 – Using Power Query Editor to Select the First Row as Header
Steps:
- Choose the Data tab and click on From Table/Range.
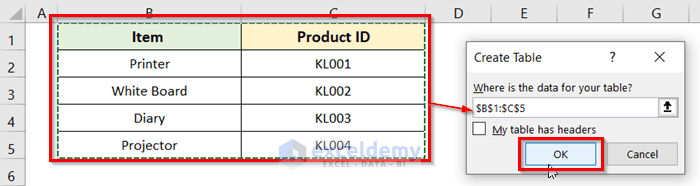
- A Create Table window will appear.
- Click on the box to enter data.
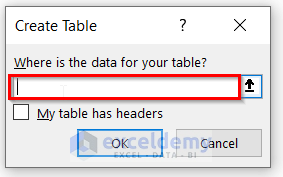
- Select the dataset and click on OK.
- Go to Transform.
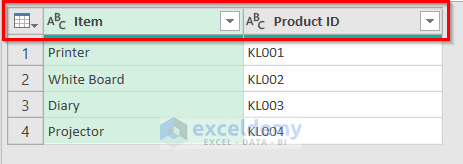
- Select Use First Row as Headers (see the screenshot).
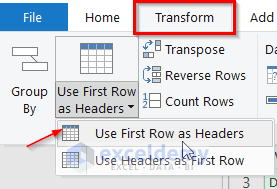
- The Power Query will convert the first row of data to a header row.
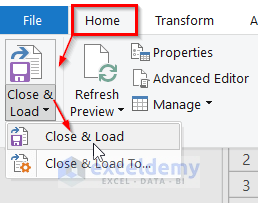
- Select Home > Close & Load.
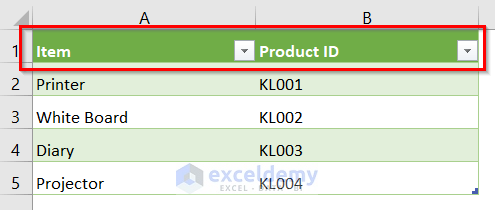
- The first row will be converted to header.
Read More: How to Create a Double Row Header in Excel
Download Practice Workbook
Related Articles
<< Go Back to Rows and Columns Headings | Rows and Columns in Excel | Learn Excel
Get FREE Advanced Excel Exercises with Solutions!
