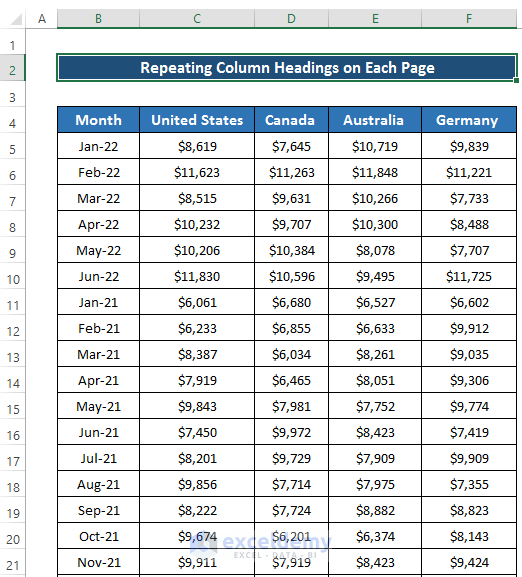
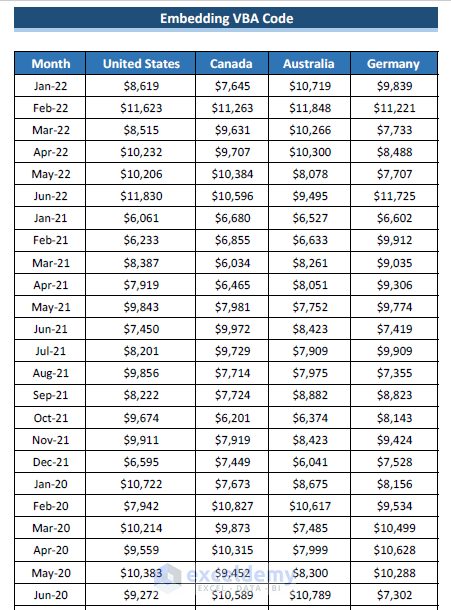
This is a large dataset showcasing months and the corresponding sales amount in different countries.
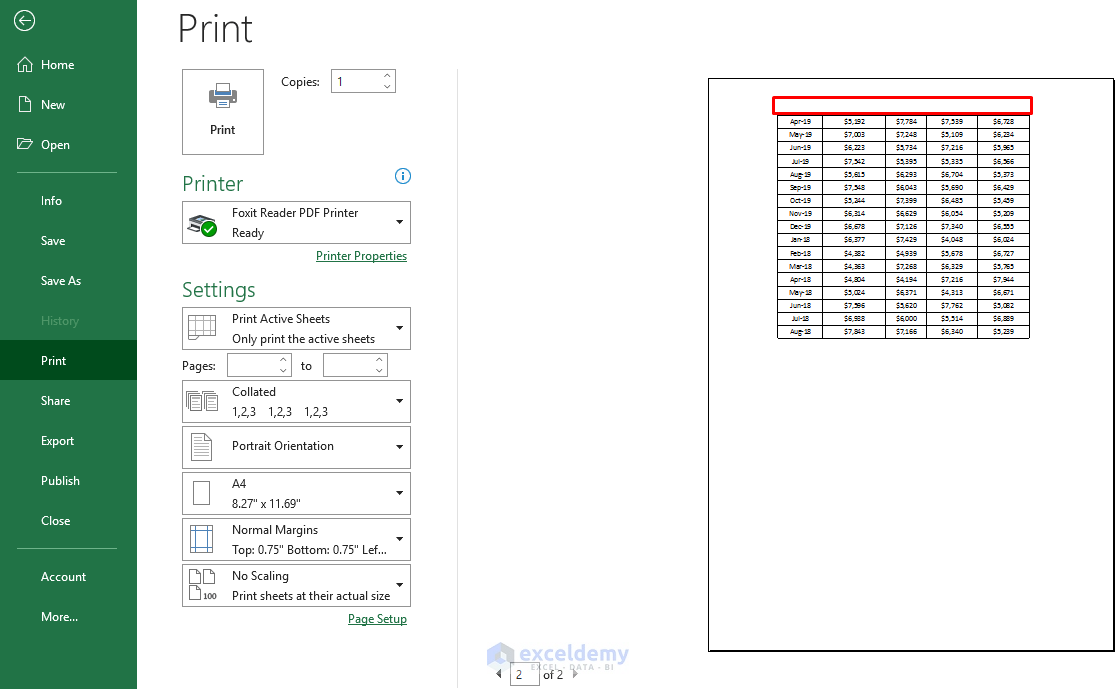
There is no column heading in the print preview.
Method 1. Modifying the Page Setup to Repeat the Column Headings on Each Page in Excel
Steps
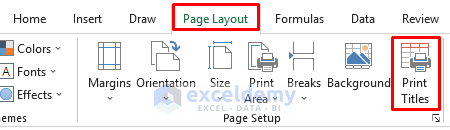
- Go to Page Layout.
- Click Print Titles.
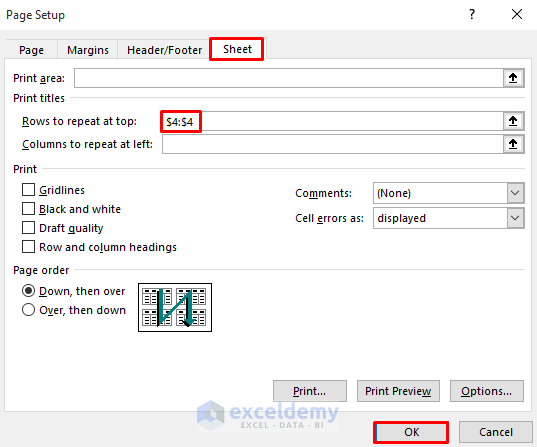
- In the Page Setup dialog box, go to the Sheet tab.
- In Print Titles, select Rows to repeat at top.
- Select row 4 or enter $4:$4.
- Click OK.
Keyboard Shortcut
To open the Page Setup dialog box, you can also press Alt+P+S+P.
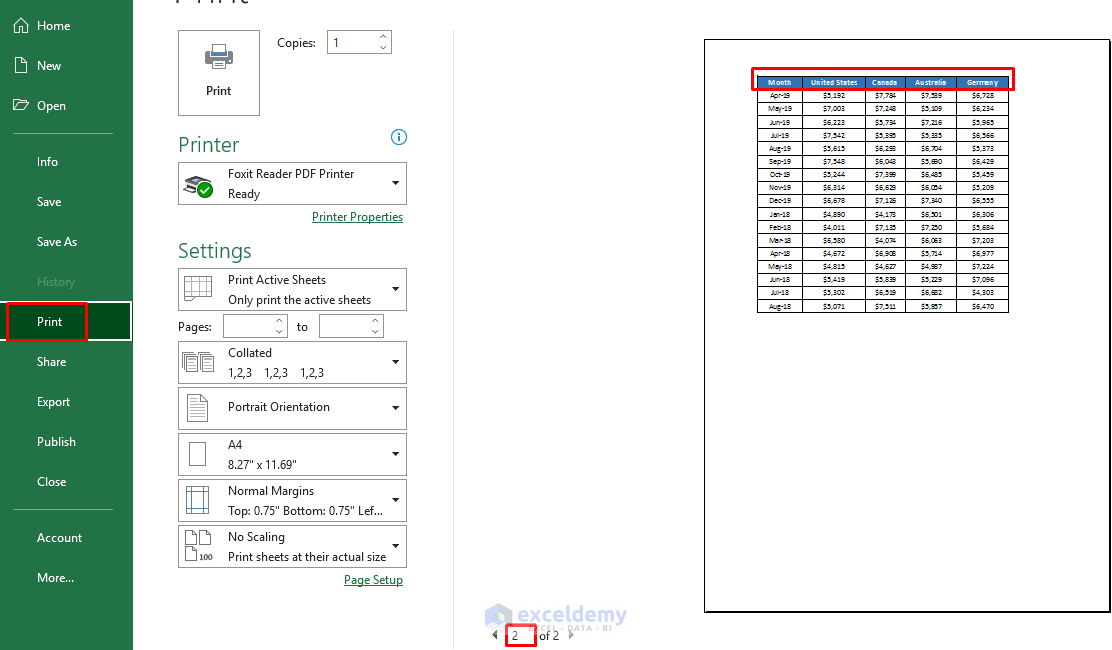
- Go to the File tab.
- Select Print or click Ctrl+P.
- The column heading will be displayed on the other pages.
Read More: How to Create Column Headers in Excel
Method 2 – Applying an Excel VBA Code to Repeat the Column Headings on Each Page
Steps
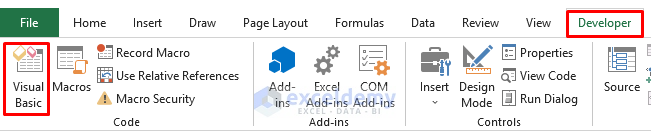
- Go to the Developer tab.
- Select Visual Basic in Code.
- In the Visual Basic window, select Insert and choose Module.
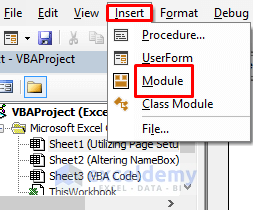
- Enter the code in the Module window.
Sub Repeat_Column_Headings_Every_Page()
Dim TotalPages As Long
TotalPages = Application.ExecuteExcel4Macro("GET.DOCUMENT(50)")
With ActiveSheet.PageSetup
.PrintTitleRows = "$4:$4"
ActiveSheet.PrintOut From:=1, To:=TotalPages
.PrintTitleRows = ""
End With
End Sub- Save the code and close Visual Basic
- Go to the Developer tab.
- In Code, select Macros.
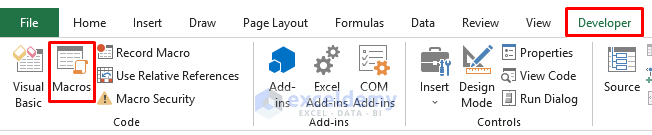
- In the Macro dialog box, select Repeat_Column_Headings_Every_Page in Macro name.
- Click Run.

- The file will be saved as a PDF file and column headers are displayed.
This is the first page:
This is the second page:
Read More: How to Change Column Headings in Excel
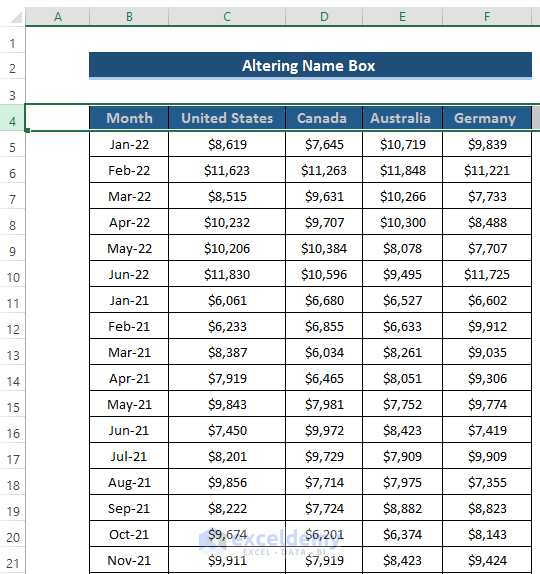
Method 3 – Changing the Name Box to Repeat the Column Headings
Steps
- Select row 4.
- Go to Name Box.
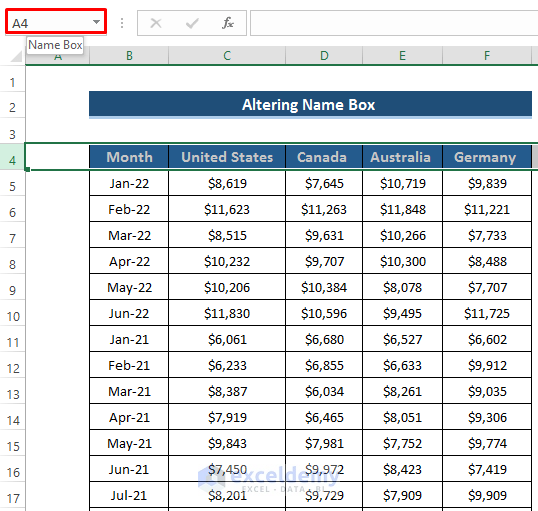
- Enter Print_Titles.
- Press Enter.
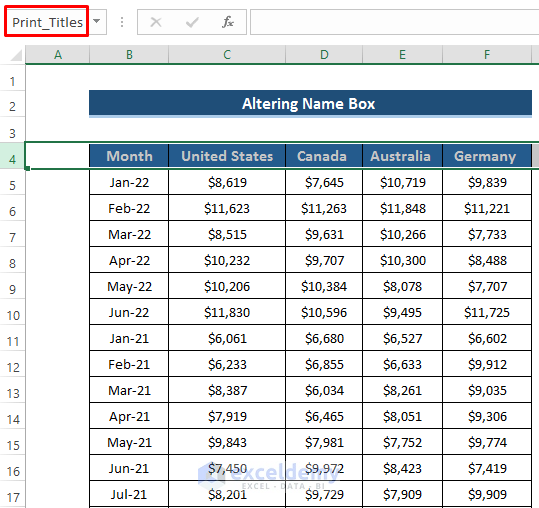
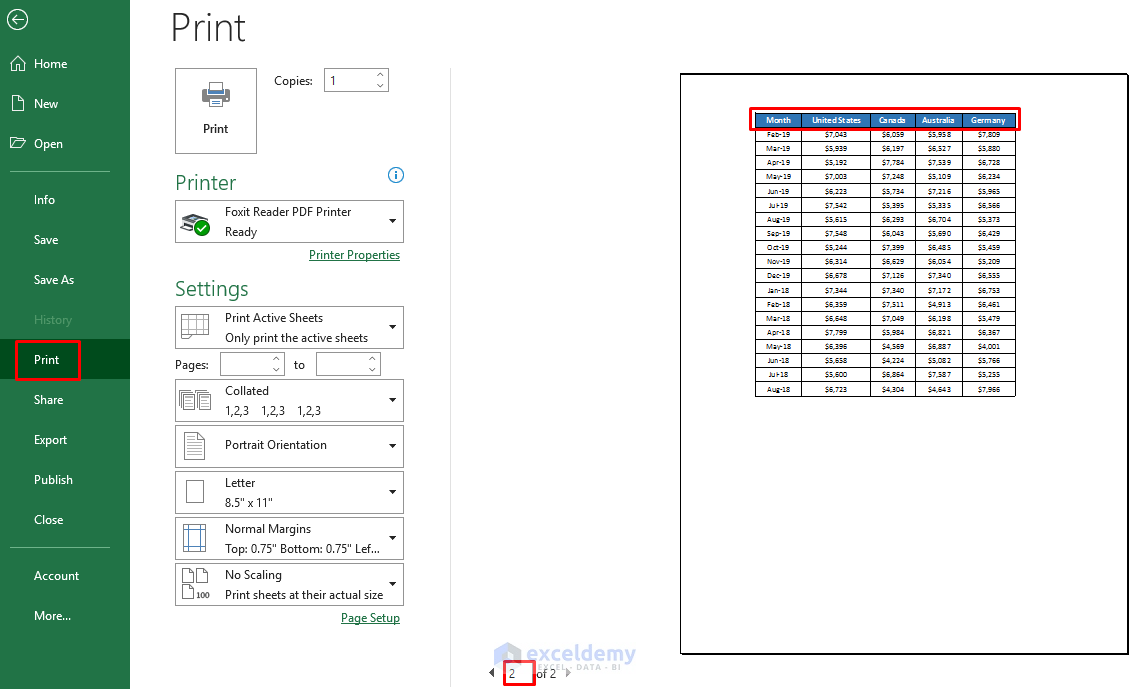
- Go to the File tab.
- Select Print or press Ctrl+P.
This is the output.
Read More: How to Title a Column in Excel
Download Practice Workbook
Download the practice workbook.
Related Articles
- How to Rename Column in Excel
- How to Remove Column Headers in Excel
- How to Change Excel Column Name from Number to Alphabet
- How to Create Excel Table with Row and Column headers
- How to Remove Column1 and Column2 in Excel
- [Fixed] Excel Column Numbers Instead of Letters
<< Go Back to Rows and Columns Headings | Rows and Columns in Excel | Learn Excel
Get FREE Advanced Excel Exercises with Solutions!
