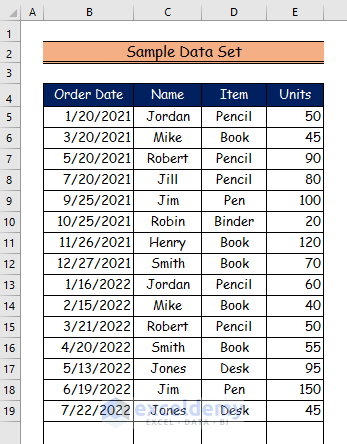
Suppose we have a large sample data set with 4 columns and 15 rows of data. We will freeze the column and row headings to keep them visible while scrolling.
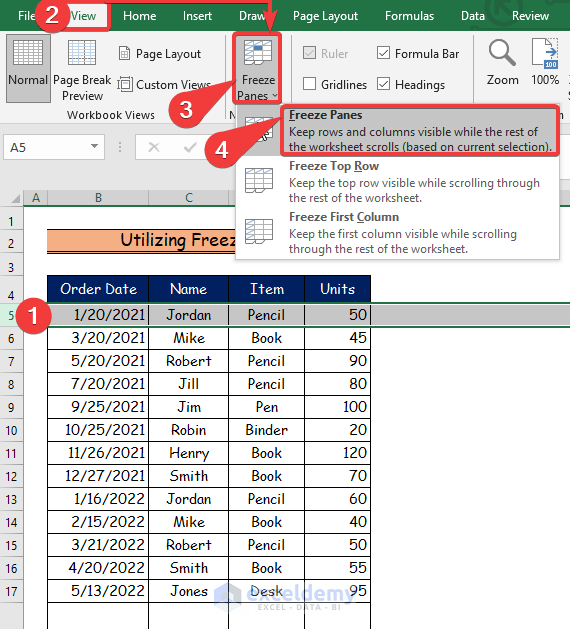
Method 1 – Using the Freeze Panes Option to Keep Row Headings in Excel When Scrolling
Steps:
- Select row 5.
- Go to the View tab.
- Choose the Freeze Panes Tool.
- Click on the Freeze Pane option.
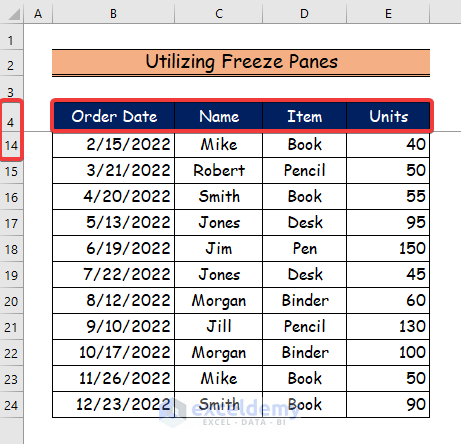
- You will see the row header after scrolling down the data set.
Read More: How to Make a Row Header in Excel
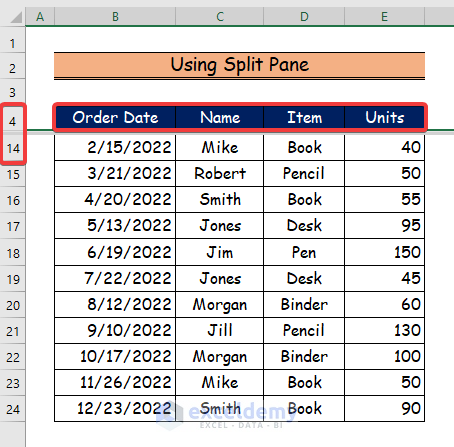
Method 2 – Using the Split Pane Feature to Keep Row Headings in Excel
Steps:
- Select row 5 to use with the Split Pane Feature.

- Navigate to the View tab and click on the Split option.

- Scroll down the data set. The headers are still visible.
Read More: How to Make First Row as Header in Excel
Method 3 – Applying VBA Code to Keep Row Headings in Excel When Scrolling
Steps:
- Go to the Developer tab.
- Select the Visual Basic command.
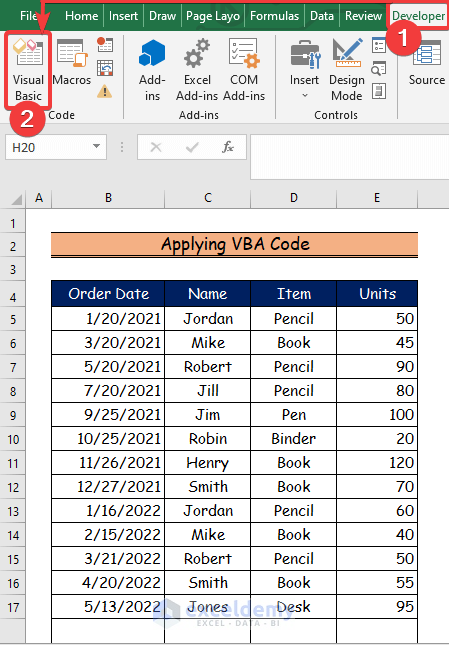
- The Visual Basic window will open.
- From the Insert option, choose Module to write VBA Code.
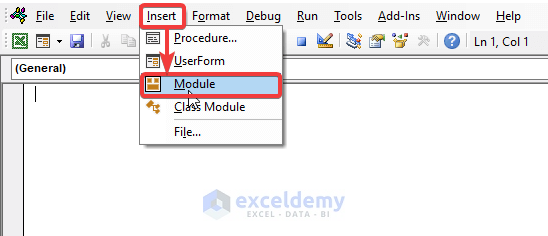
- Paste the following VBA Code into the Module.
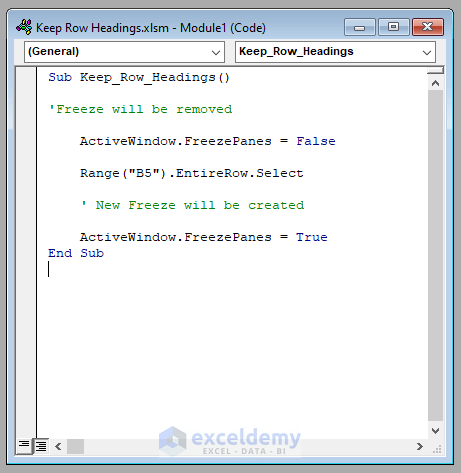
Sub Keep_Row_Headings()
'Freeze will be removed
ActiveWindow.FreezePanes = False
Range("B5").EntireRow.Select
' New Freeze will be created
 ActiveWindow.FreezePanes = True
End Sub
VBA Code Breakdown
- First, we call our Sub Procedure Keep_Row_Headings_Folder.
- Then, we refer to our current Worksheet as Active Worksheet.
- Now, we apply Auto_Freeze for the Active Worksheet.
- Again, we specify our Range for our desired row to keep visible in the worksheet using Range (“B5”).EntireRow.Select.
- Finally, the Row Header will be visible on the worksheet.
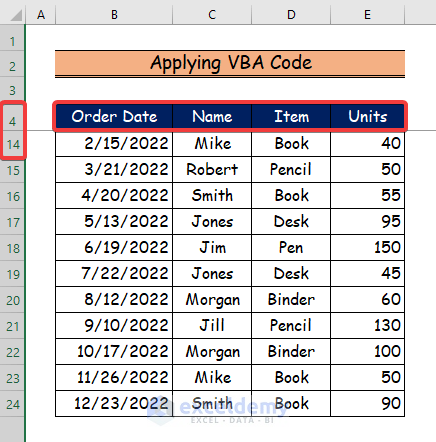
- To run the program, click the Run button or press F5.
- You will see the frozen pane above row 5.
Read More: How to Create a Double Row Header in Excel
Download the Practice workbook
Related Articles
<< Go Back to Rows and Columns Headings | Rows and Columns in Excel | Learn Excel
Get FREE Advanced Excel Exercises with Solutions!
