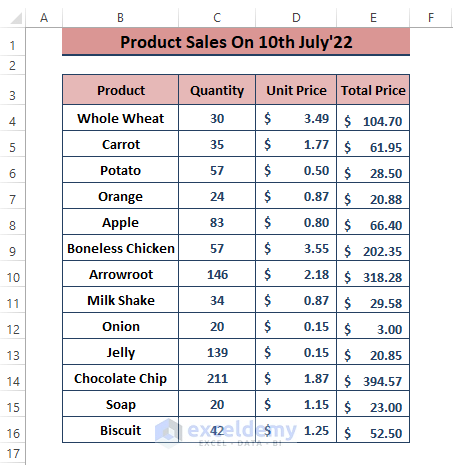
The dataset showcases Product Sales data. It has multiple headings.
Method 1 – Enabling the Filter Feature to Sort Multiple Headings in Excel
Step 1:
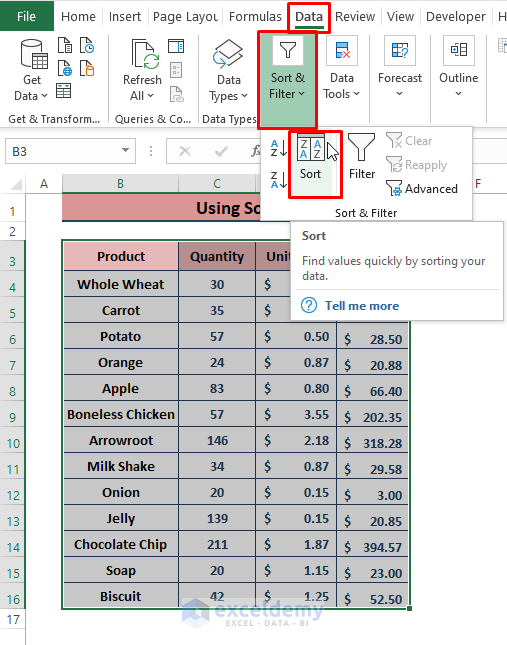
- Select the entire range and go to Data > Sort & Filter.
- Click Filter.
(You can also insert an Excel Table to enable the Filter command.)

Excel displays the Filter Icon beside each heading.
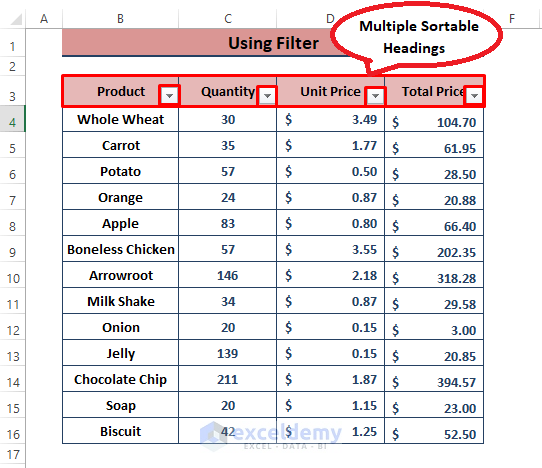
- Click the Filter Icon and choose Ascending (A-Z) or Descending (Z-A) for each heading.
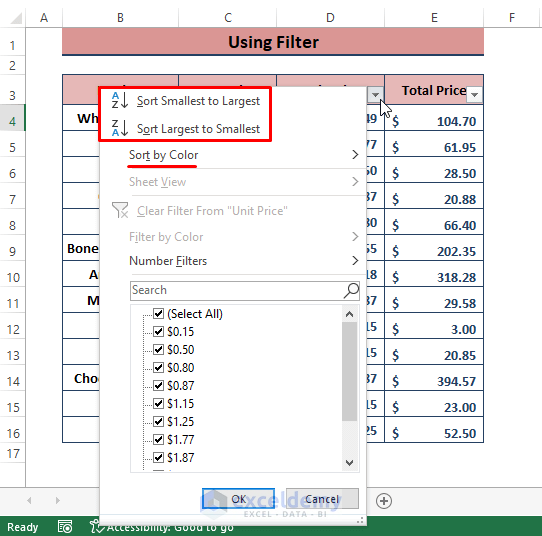
You can use the Sort by Color option if your data contains Conditional Formatting.
Read More: Keep Row Headings in Excel When Scrolling Without Freeze
Method 2 – Using Multi-level Sorting to Sort Multiple Headings
Step 1:
- Select the entire range.
- Go to Data > Sort & Filter > Click Sort.
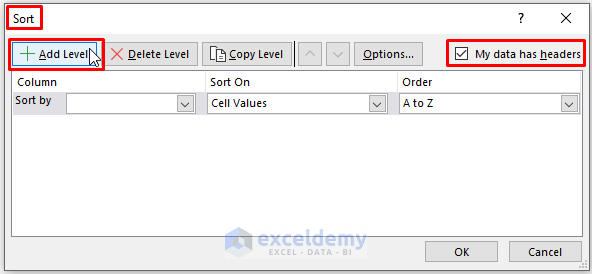
Step 2:
- In the Sort window, check My data has headers.
- As the data has 4 headings, add 3 additional levels by clicking Add Level.
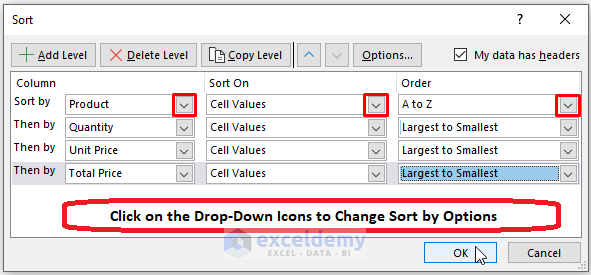
Step 3:
- Select the most important heading in Sort by and the least important in Then by.
- Choose a cell property (Cell Values, Cell Color, etc.) in Sort On.
- Specify the sorting order in the drop-down options.
- Click OK.
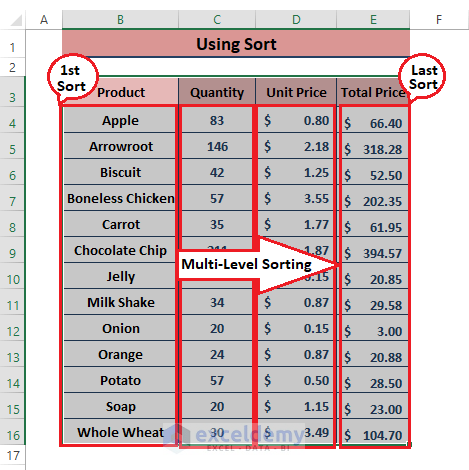
Excel sorts the multiple headings into a multi-level succession from the most important to the least important:
Read More: How to Keep Row Headings in Excel When Scrolling
Related Articles
- How to Make First Row as Header in Excel
- How to Make a Row Header in Excel
- How to Create a Double Row Header in Excel
- How to Hide Row and Column Headings in Excel
<< Go Back to Rows and Columns Headings | Rows and Columns in Excel | Learn Excel
Get FREE Advanced Excel Exercises with Solutions!
