By default gridlines of a worksheet do not appear when we print it. But gridlines, rows, and column headings could be very useful to go through the data in a printed Excel worksheet. In this tutorial, I will show you how to print gridlines in Excel along with changing the colors and preview the appearance of gridlines in the printed format by changing some settings.
Download Practice Workbook
Download this practice book to exercise the task while you are reading this article.
2 Suitable Methods to Print Gridlines in Excel
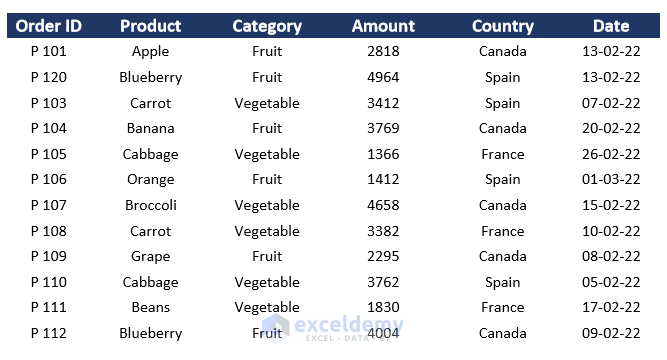
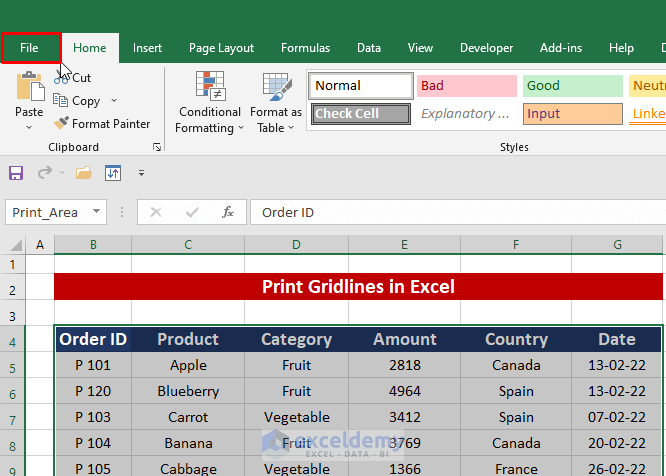
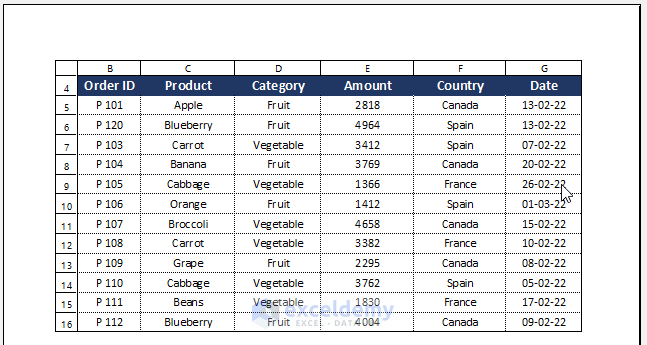
Let’s assume a scenario where we have an Excel worksheet that contains information about the products that a country will export to different countries in Europe. We have the Order ID, Product Name, Product Category, Exported Amount, Importer Country, and the Export Date. We will print this worksheet with its gridline visible. The image below shows how the worksheet will look if it is printed without the gridlines.
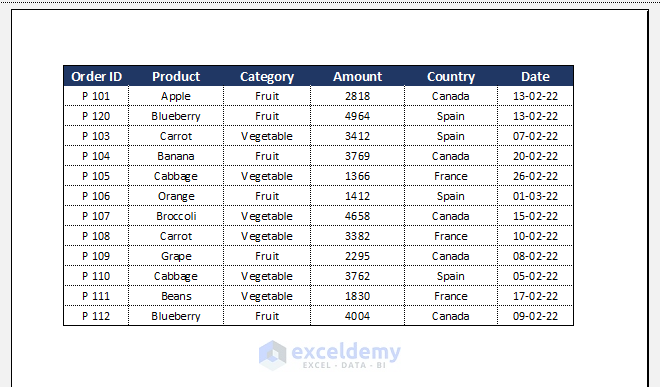
The next image shows how the worksheet will look if it is printed with the gridlines.

1. Set and Print Gridlines on Worksheet From Page Layout in Excel
We can set the gridlines in the worksheet for printing from the Page Layout option. Just follow the below steps.
Step 1:
- First, we will select the entire data range of the worksheet we are working on.
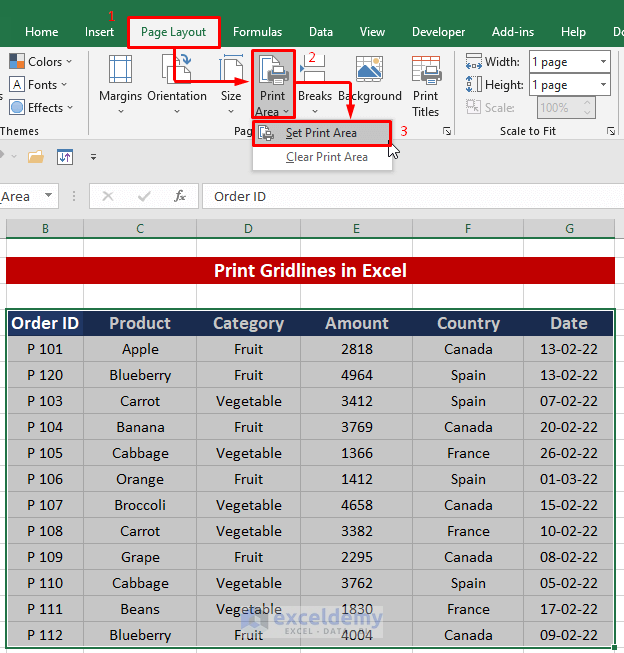
- Next, we will go to the Page Layout.
- Then, we will click on the Print Area drop-down menu.
- We will now select the Set Print Area option from the list.
Step 2:
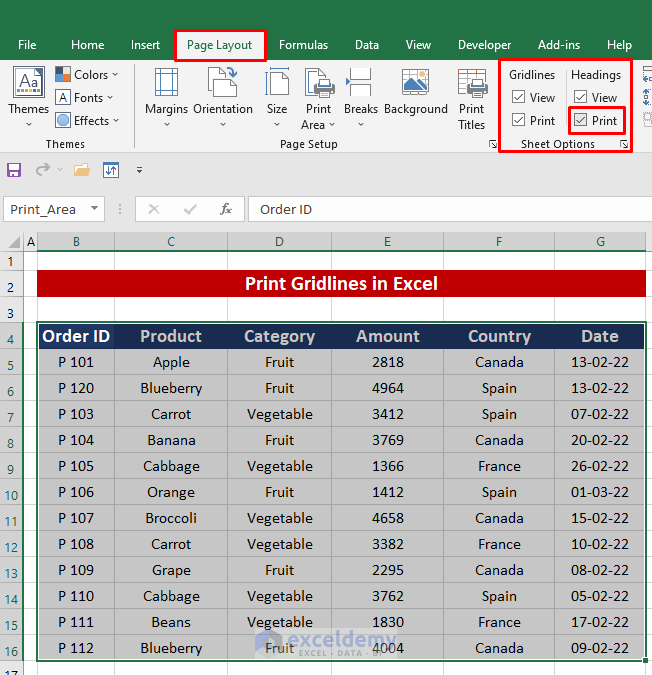
- Now, we will check the Print option under the Gridlines in the Sheet Options section of the Page Layout.
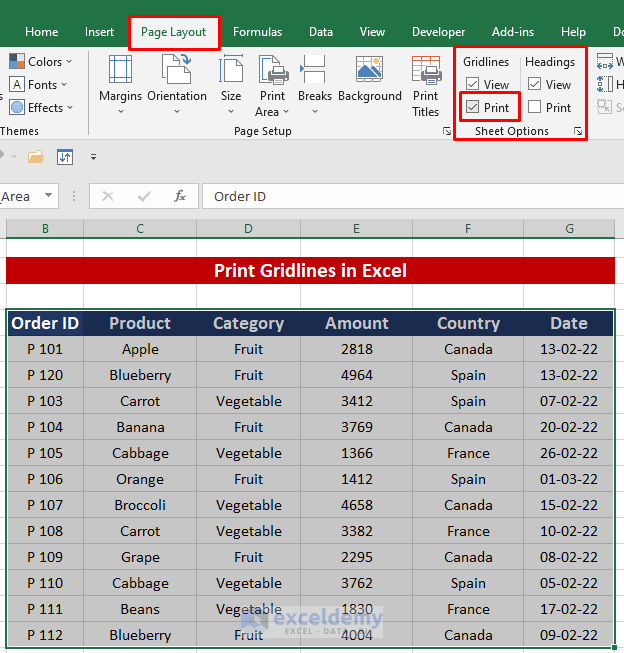
- Checking the Print option from the Gridlines tab will insert the gridlines in the worksheet when we will print it.
Step 3:
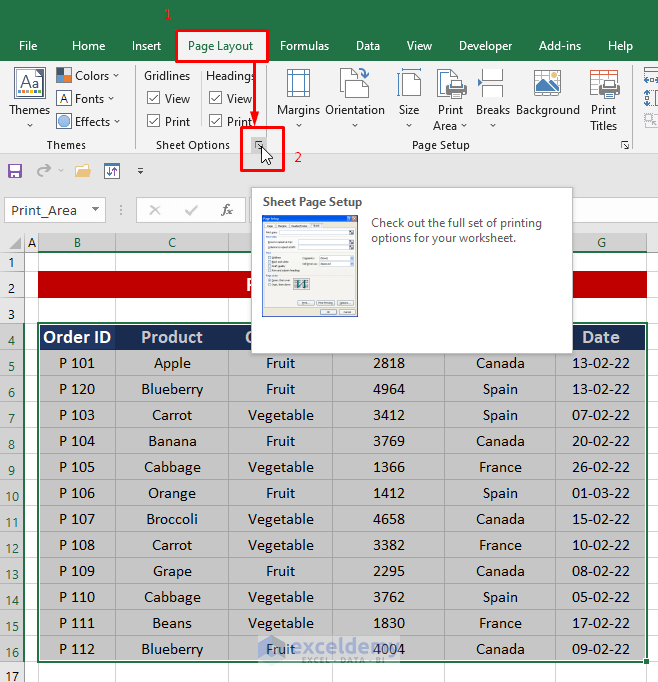
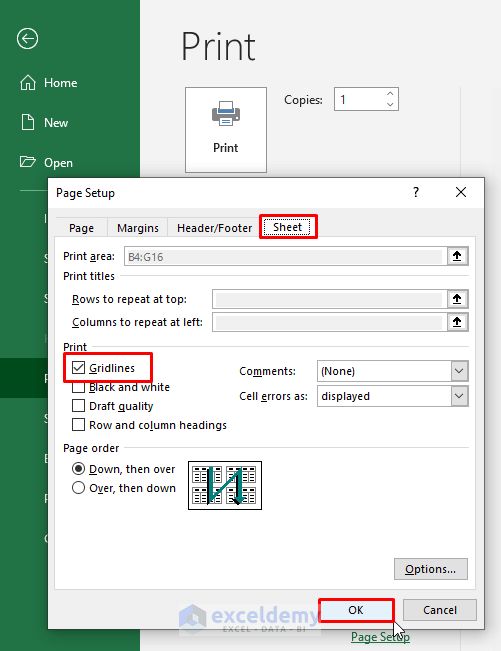
- We can also use the dialogue box launcher tool to open the Page Setup.
- We will have to click on the dialogue box launcher tool icon on the down-right corner of the Sheet Options section under the Page Layout tab like the image below.
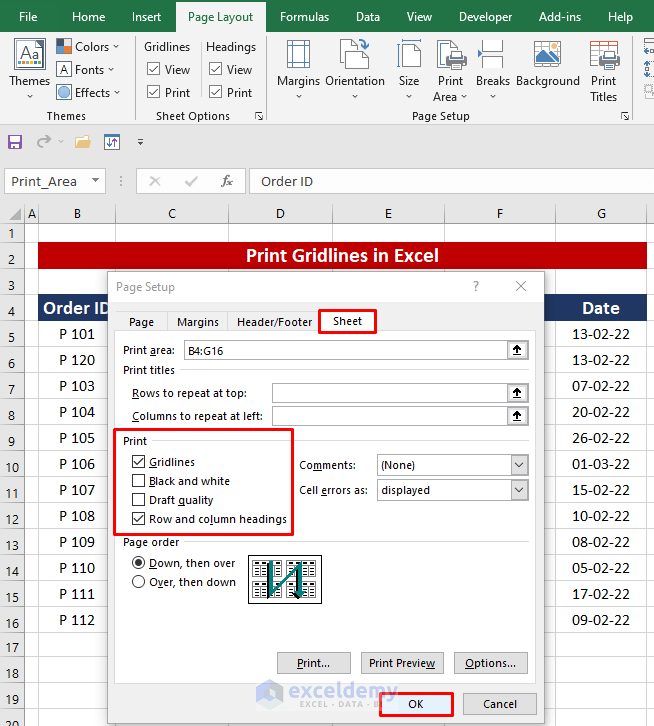
- A new window titled Page Setup will appear. We will click on the Sheet tab from that window.
- Then, check the Gridlines option under the Print section.
- Finally, click OK.
Read More: How to Print Gridlines in Excel Online
2. Insert and Print Gridlines on Worksheet From Print Option in Excel
Alternatively, we can insert gridlines on the worksheet from the Print option in Excel.
Step 1:
- First, we will click on the File.
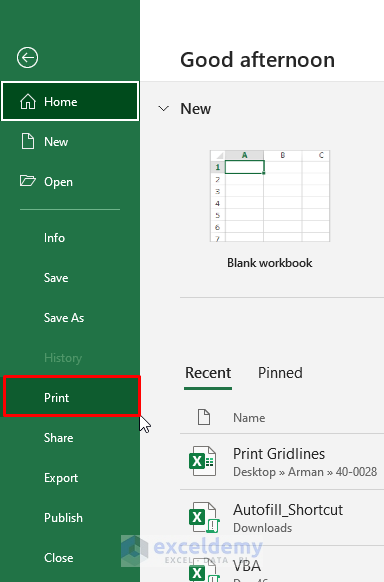
- A new window will appear. We will click on the Print option from that window.
Step 2:
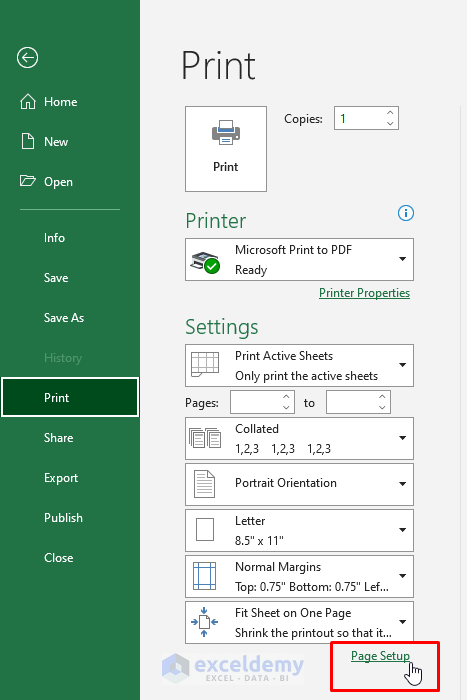
- Another window with different Print options will now appear. We will click on the Page Setup option written in green color.
- A new window titled Page Setup will appear. We will click on the Sheet tab from that window.
- Then, check the Gridlines option under the Print
- Finally, click OK.
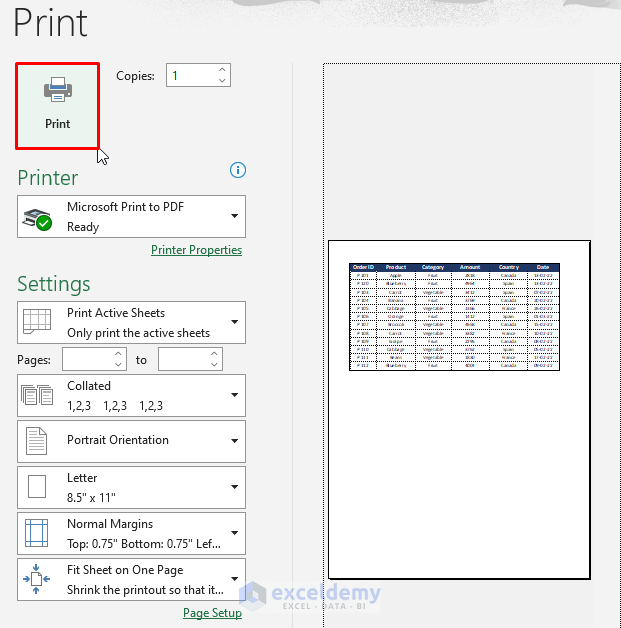
- Now, we will see that our Print Preview is showing the preview of the worksheet with the gridlines.
- If everything is ok, we will click on the Print button like below to print the worksheet.
Read More: How to Print Gridlines with Fill Color in Excel
Bonus: Print Headings on Worksheet From Page Layout in Excel
Here is a bonus for you! Like the gridlines, we can also insert the column and row headings in the worksheet while printing it. You have to do the following.
Steps:
- Now, we will check the Print option under the Headings in the Sheet Options section of the Page Layout.
- Now, if we check the Print Preview, we will see that it is showing the print preview of the worksheet with the rows and columns headings.
Things to Remember
- You can press CTRL+P to activate the Print feature of Excel.
- Checking the Print options for Gridlines and Headings for a specific worksheet will not affect the other worksheets in the same Excel file. You have to follow the above procedures for other worksheets if you want to print them with the gridlines and headings.
Conclusion
In this article, we have learned to print gridlines in Excel. Along with that, we also learn to print rows and columns headings in Excel. I hope from now on you can print the gridlines and headings in Excel very easily. However, if you have any queries or recommendations about this article, please do leave a comment below. Have a great day!!!
Print Gridlines in Excel: Knowledge Hub
<< Go Back to Print in Excel | Learn Excel

