In Excel online, gridlines are applied to the worksheets by default. But when we print the worksheets, no gridlines are visible on the printed copy. In this article, we will learn to print gridlines in Excel online by following 3 simple steps.
What Are Gridlines in Excel?
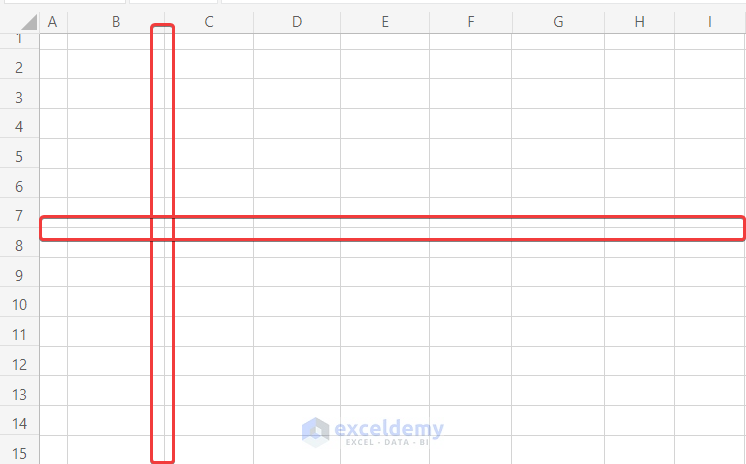
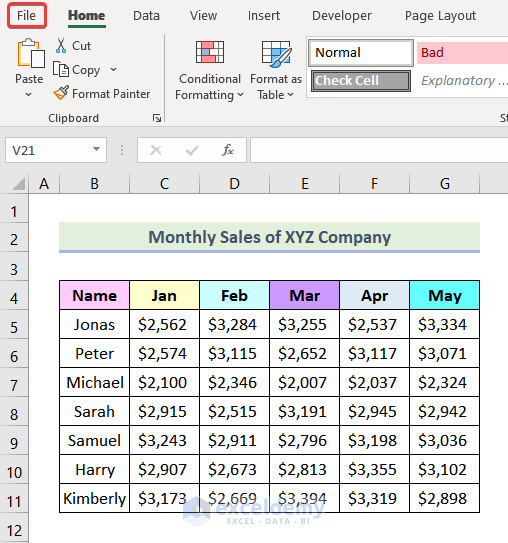
Gridlines are horizontal and vertical lines in an Excel sheet that separates each cell from one another. Gridlines are Grey in color by default. However, we can modify the color of the Gridlines, as we will see later in this post. We can see the gridlines marked in the following image.
How to Print Gridlines in Excel Online: 2 Ways
In Excel Online, we can print gridlines in 2 easy methods. These methods are discussed below.
1. Using Cell Borders to Print Gridlines in Excel Online
Step 01: Navigating to Excel Online
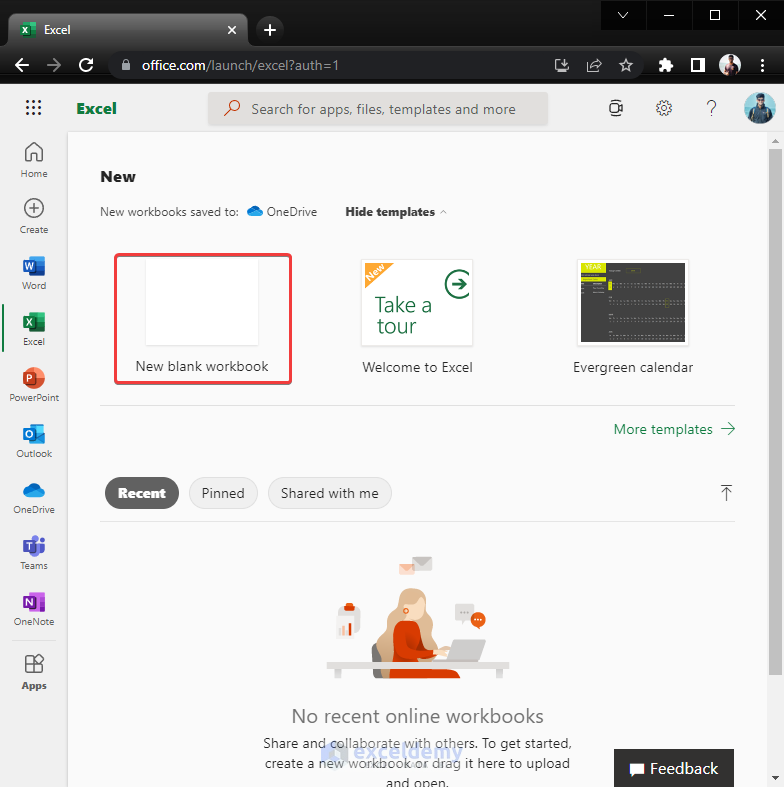
- First and foremost, we need to go to the Office Website as shown in the following picture.

- Following that, click on the Excel icon.

- After that, select New blank workbook as marked in the image below.
Step 02: Adding Borders in Excel Workbook
In Excel Online, you can’t directly print gridlines. So, we are going to take an alternative way. We will add borders to our print area. This will look like the worksheet has gridlines on it. Let’s follow the steps mentioned below.
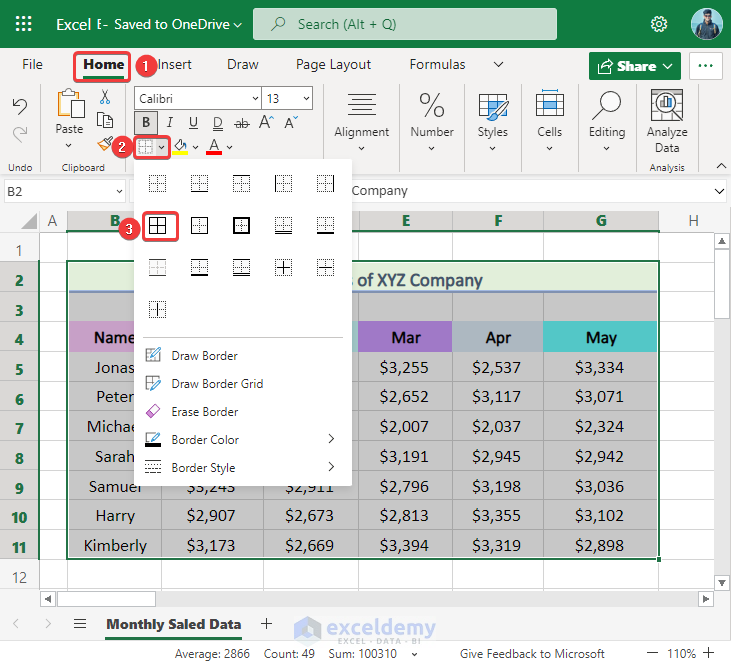
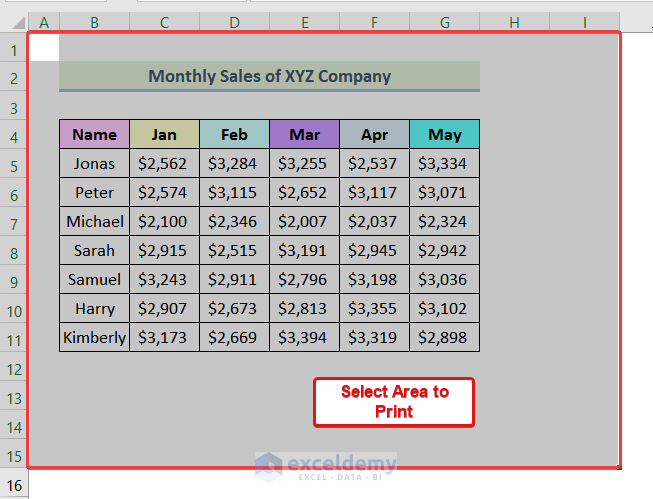
- Firstly, select the area you want to add gridlines.

- After that, go to the Home tab from the Ribbon.
- Subsequently, click on Borders from the Font group.
- Next, select All Borders from the drop-down.
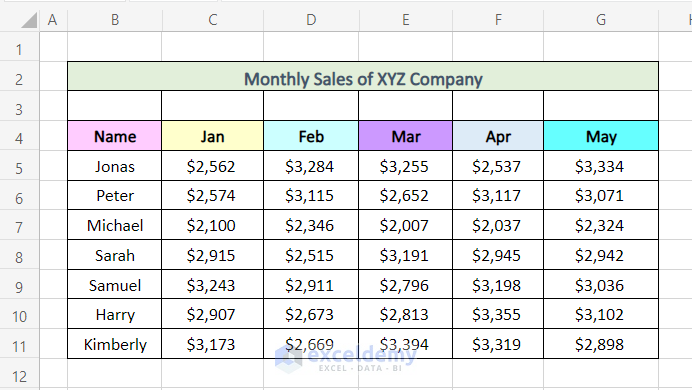
Consequently, you will see that Borders are added to the specified region of your worksheet.
Step 03: Editing in Print Preview Mode
- Firstly, go to the File tab from the Ribbon.

- Afterward, select the Print option.

Note: You can also use the keyboard shortcut CTRL + P to enter Print Preview mode.
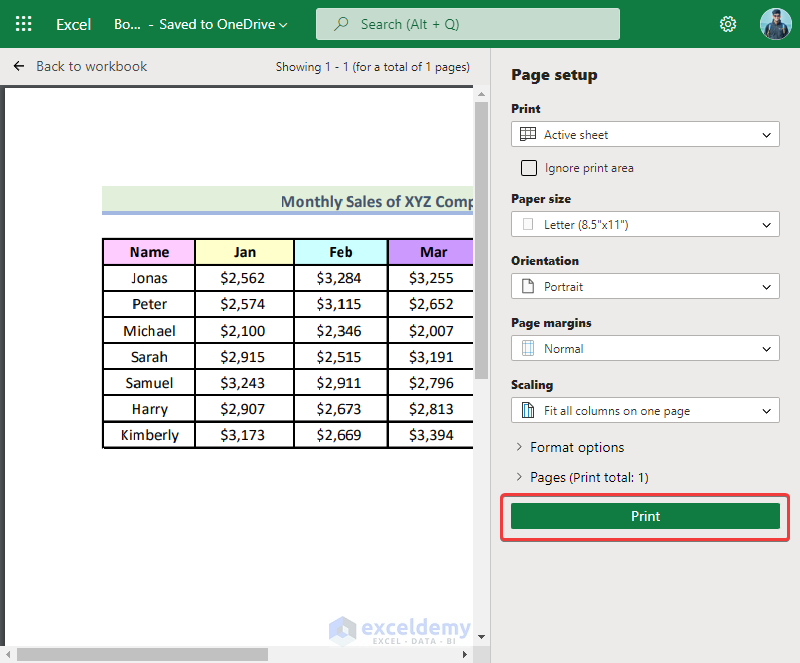
- Following that, choose your preferred options in the Page Setup box.

- Finally, click on Print to print your worksheet with gridlines in Excel Online.
Read More: How to Print Excel Sheet with Lines
2. Utilizing Page Setup Options to Print Gridlines
Utilizing the Page Setup options is another effective method to print gridlines in Excel Online. Let’s follow the steps mentioned below to explore this method.
Steps:
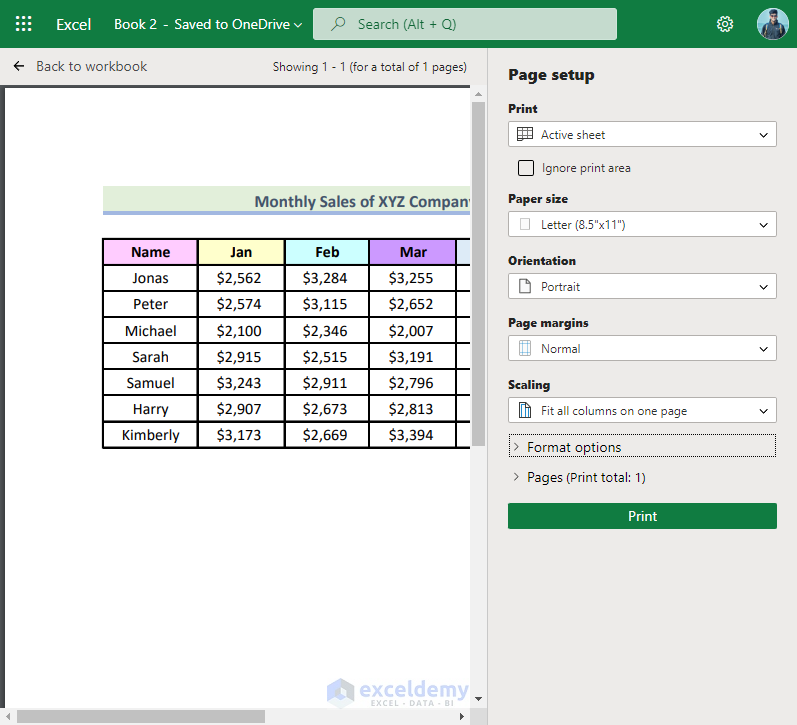
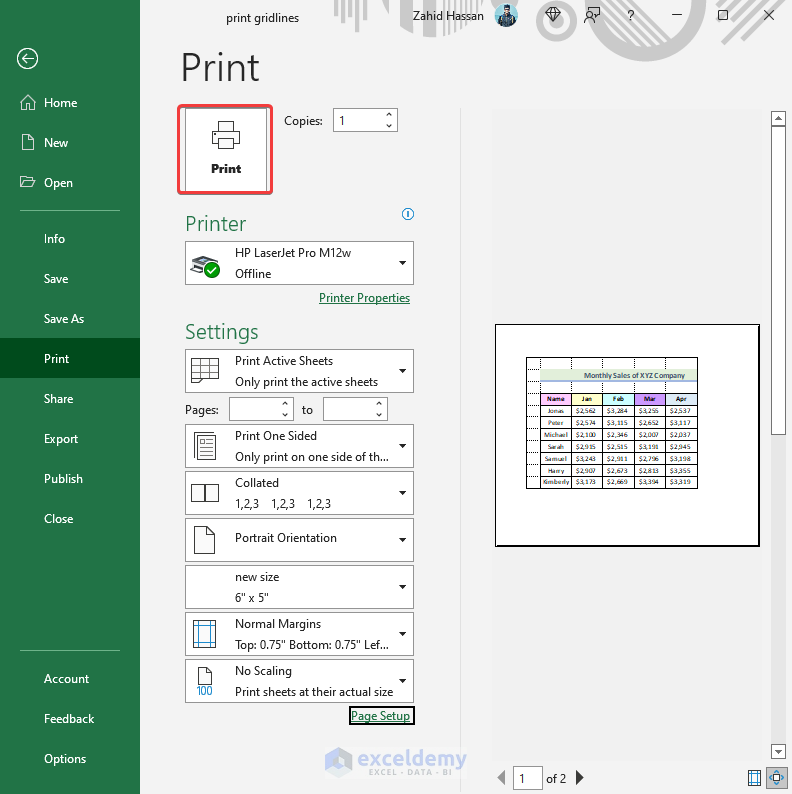
- By following the steps mentioned in Step 03 of the 1st method, we will enter into the Print Preview mode as shown in the image below.
- Following that, check the box of Gridlines from the Format options drop-down.
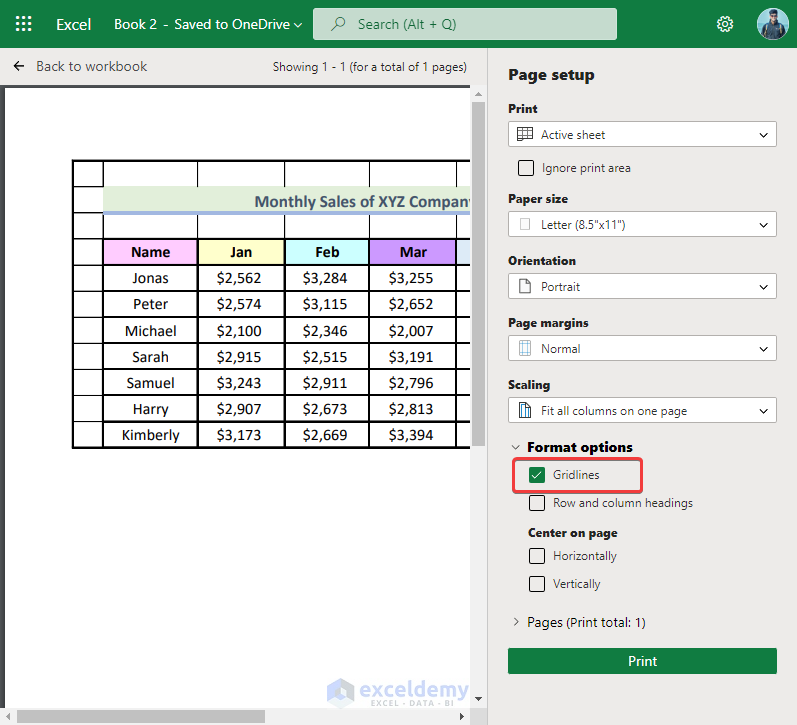
Consequently, you will see that gridlines are added to your worksheet as marked in the following picture.
- Finally, click on Print to print your worksheet with gridlines.

Read More: How to Print Excel with Lines on One Page
How to Print Gridlines in Excel 365
Excel 365 is a powerful and versatile software. We can print gridlines in Excel 365 by following the steps mentioned below.
Steps:
- Firstly, select the area you want to print with gridlines.
- Afterward, use the keyboard shortcut CTRL + P to go to the Print Preview mode.

- Following that, click on Page Setup as shown in the following image.

As a result, a Page Setup dialogue box will be open like the following picture.
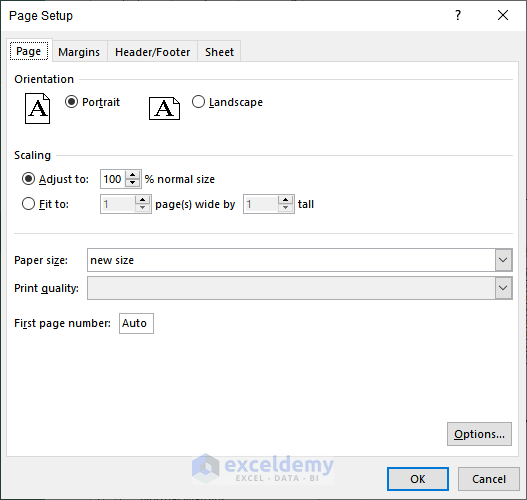
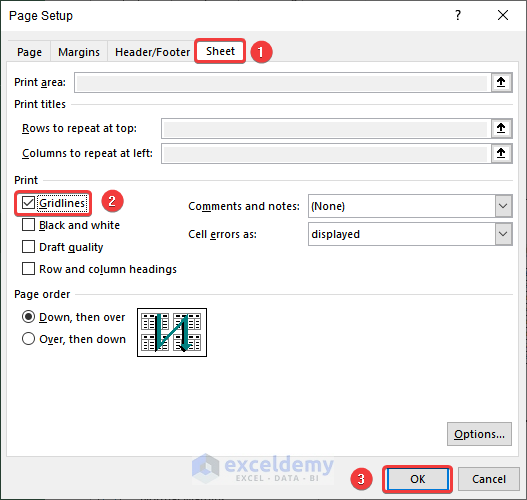
- Now, from the Page Setup dialogue box, click on the Sheet tab.
- After that, check the box of Gridlines.
- Subsequently, click on OK.
At this stage, you will be able to see in the Print Preview that the gridlines are added to your worksheet.

- Finally, click on Print to get your worksheet printed.
Read More: [Fixed!] Missing Gridlines in Excel When Printing
How to Change Color of Gridlines in Excel
Microsoft Excel is a highly customizable and user-friendly software. We can even customize the color of the gridlines in it. Let’s learn the following steps to change the color of gridlines in Excel.
Steps:
- Firstly, go to the File tab from the Ribbon.
Afterward, the following image will be available on your screen.
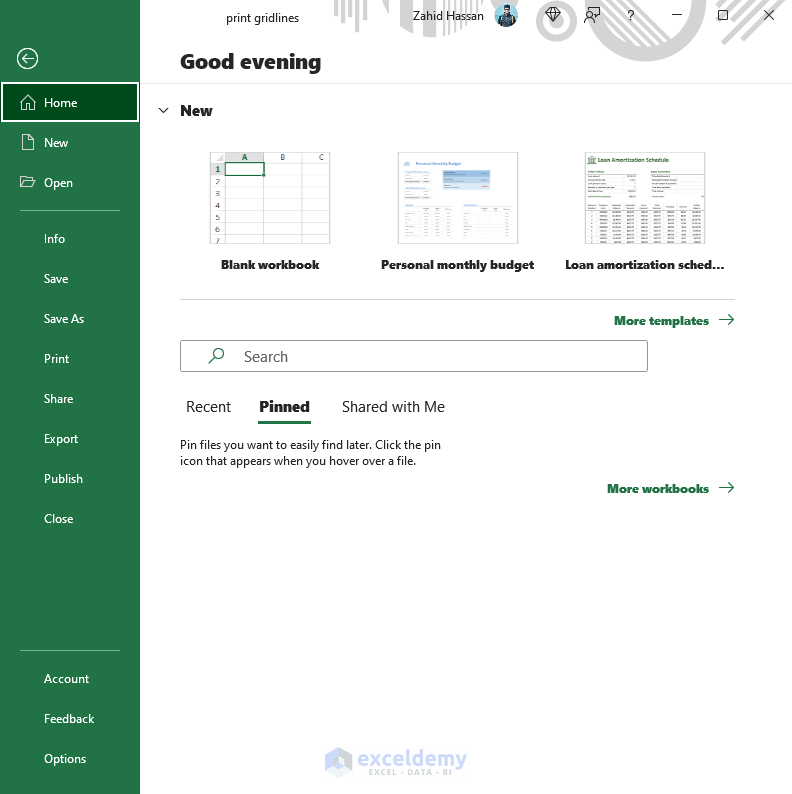
- Next, select the Options tab.

Consequently, the Excel Options dialogue box will be open as shown in the following image.
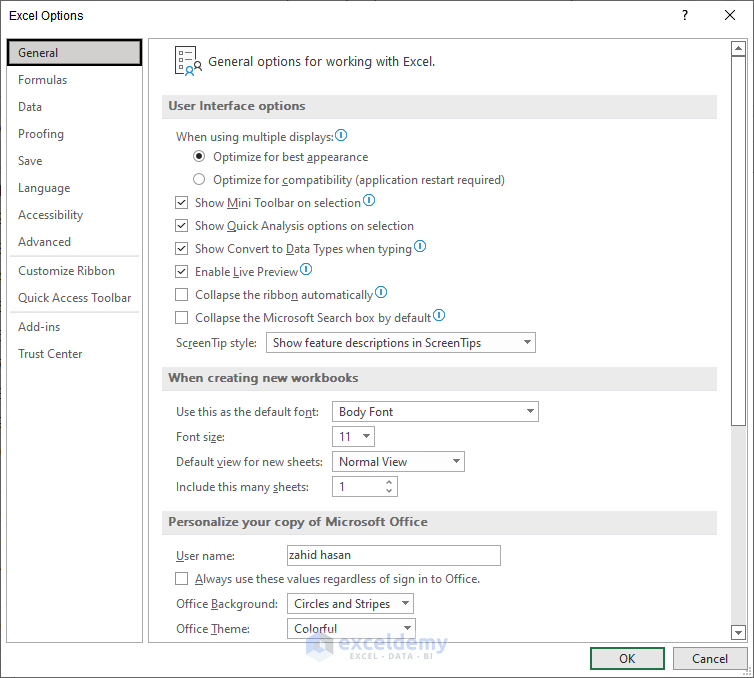
Note: You can also use the keyboard shortcut ALT + F + T to directly open the Excel Options dialogue box.
- Following that, click on the Advanced tab.
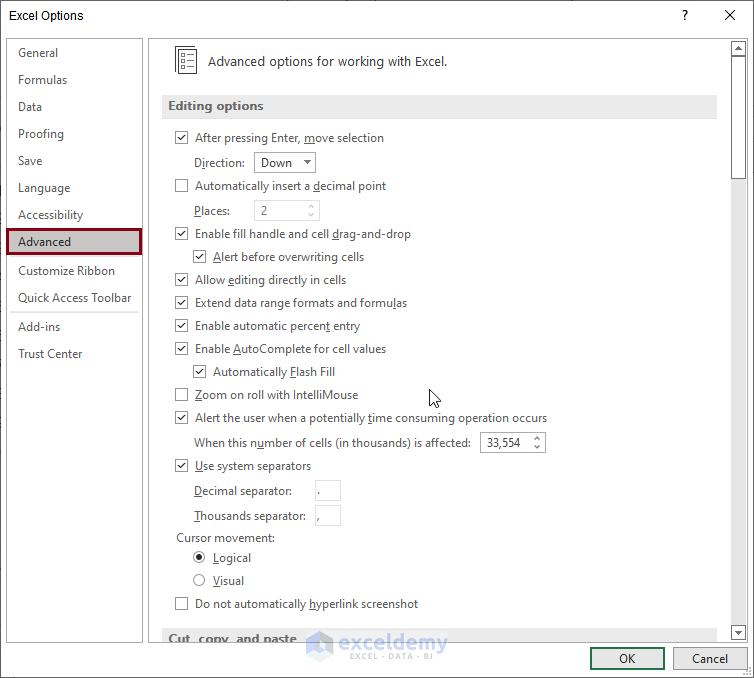
- In the Advanced tab, scroll down until you find Display options for this worksheet.
- After that, click on the paint icon in the Gridline Color option.
- Next, choose your preferred color from the drop-down. In this case, we have selected the teal color.

- Now, click on OK.
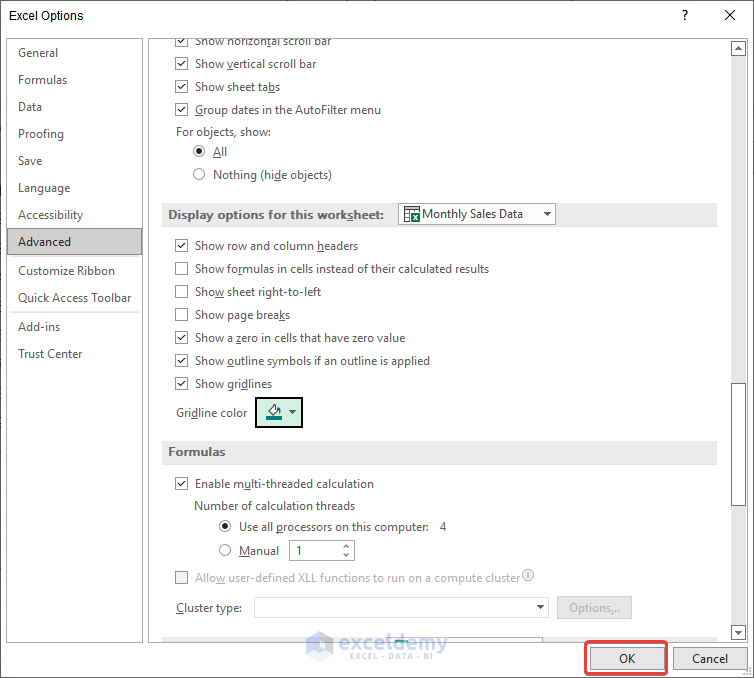
As a result, the color of your worksheet’s gridlines will be changed to the color you specified.

Read More: How to Print Gridlines with Fill Color in Excel
💡 Things to Remember
- One thing to keep in mind is that gridlines can’t be shown or hidden for a specific area of the worksheet. The gridlines will either be displayed throughout the entire worksheet or hidden.
Download Practice Workbook
Conclusion
Finally, we have to the end of the article. I sincerely hope that this article was able to guide you to print gridlines in Excel online. Please feel free to leave a comment if you have any queries or recommendations for improving the article’s quality. Happy learning!

