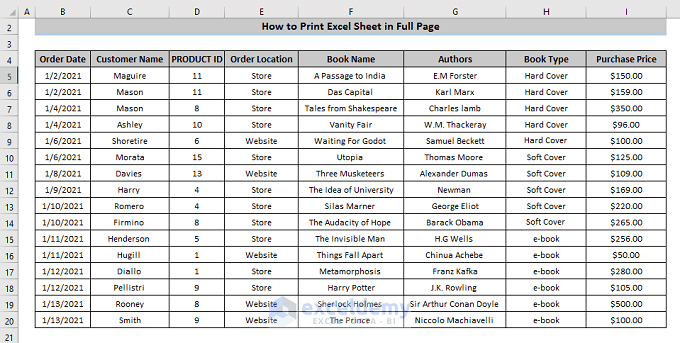
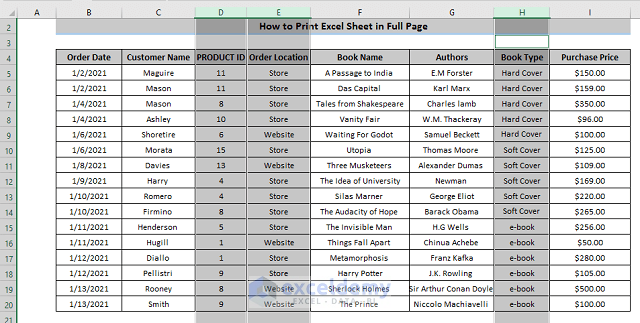
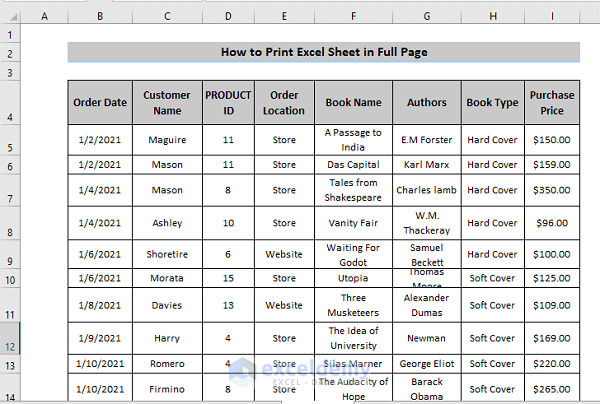
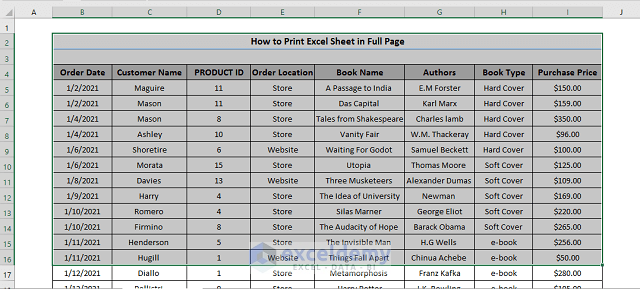
In this article, we’ll discuss seven different methods to print an Excel sheet on a one page. To illustrate these methods, we’ll use the dataset below containing the order date, customer name, product ID, order location, book name, author, book type, and purchase price. The dataset is too wide to fit on one printed page.
Method 1 – Changing the Scale
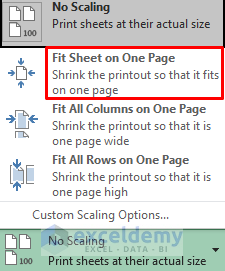
There are three different ways to scale to fit:
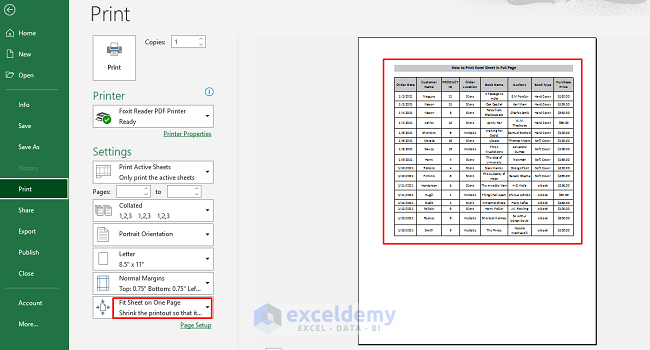
Fit Sheet on One Page: This will shrink the dataset to print Excel Sheet in one page.
Fit all Columns on One Page: This will shrink all the columns of the dataset to print on one page, while the rows can spill over onto pages below.
Fit all Rows on One Page: This will fit all the rows of the dataset on one page while the columns can spill over onto new pages.
Steps:
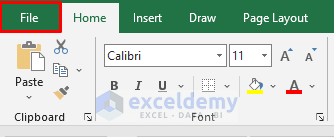
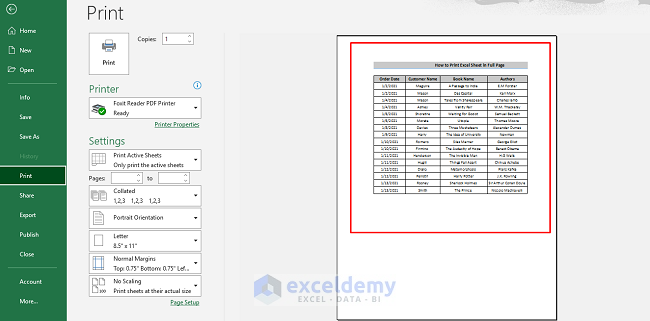
- Go to the File tab in the ribbon.
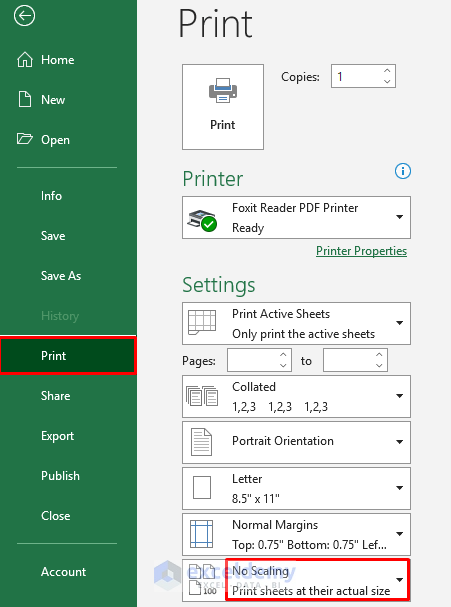
- Click on Print (or press ‘Ctrl +P’) to open the Print option.
One of the settings is the Scaling option, which by default is set to No Scaling.
- Change the Scaling setting to ‘Fit Sheet on One Page’.
- This will automatically squeeze the dataset into one page.
Read More: How to Print Excel Sheet in A4 Size
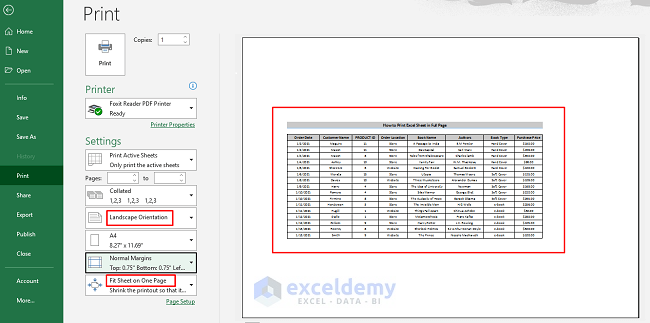
Method 2 – Changing Page Orientation
We can change the orientation of our pages to either landscape mode or portrait mode to fit a dataset on one page. In portrait mode, more rows will be printed on a page, whereas in landscape mode more columns will be printed. By default, the page is in portrait mode.
Steps:
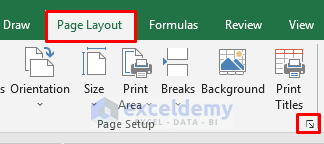
- Go to the Page Layout tab in the ribbon.
- From the ‘Page Setup’ section, click on Orientation, or select the dialog box launcher.
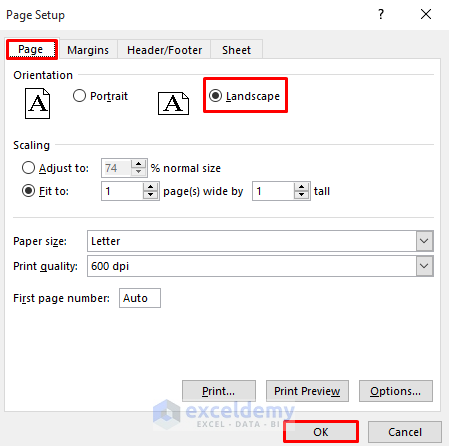
A Page Setup window will pop up.
- From the Page Setup window, select the Page tab.
- Select the Landscape option and click on ‘OK’
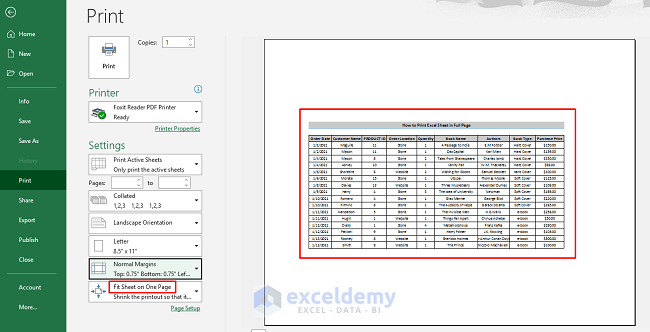
We have a landscape orientated dataset.
- To print this press ‘Ctrl + p’.
Read More: How to Print Multiple Sheets in Excel
Method 3 – Adjusting Page Margins
The page margins are the whitespaces at the edge of pages when printing. A little adjustment to the page margins may be all that’s needed to fit the whole dataset on one page.
Steps:
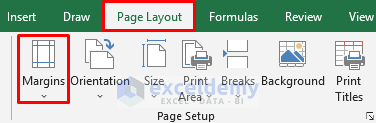
- Go to the Page Layout in the ribbon.
- In the Page Setup section, click on Margins.
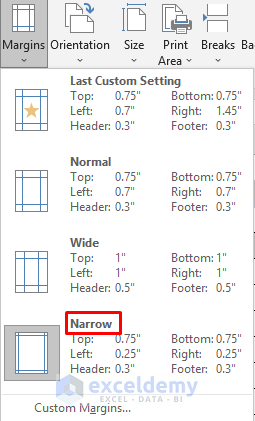
- Click on the Narrow option to keep the whitespace at the edge very narrow.
- You can also customize the margin at the bottom.
Read More: How to Make Excel Spreadsheet Bigger When Printing
Method 4 – Changing Font Size
Changing the font size will reduce the overall dataset size, making it easier to print on one page.
Steps:
- Select the dataset to change the ‘Font Size’.

- Go to the Home tab in the ribbon.
- In the Font section, reduce the font size as desired.
The entire worksheet will shrink accordingly.

Read More: [Fixed!] Cutting Off Text When Printing in Excel
Method 5 – Hiding/Deleting Rows or Columns
Deleting and/or hiding unnecessary rows or columns will reduce the overall size of the dataset.
Steps:
- Select the rows or columns to hide or delete.
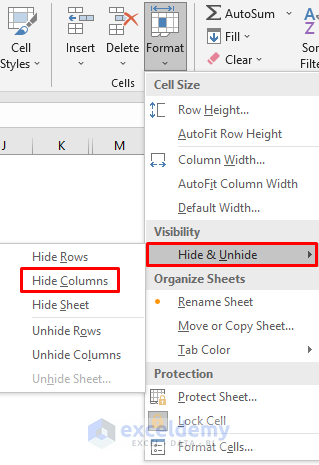
- Go to the Home tab, and in the Cells section, select Format.

- Click on the Format option.
- Select the Hide & Unhide option.
- As we want to hide columns, select Hide Columns.
After hiding/deleting columns/row, the overall dataset is reduced and may now fit on one page without further adjustment.
Method 6 – Wrapping Text and Resizing Columns
Wrap Text is a feature whereby a cell shows all the information even if it overflows the cell boundary.
Steps
- Select the cells in which to apply Wrap Text.

- Go to the Home tab in the ribbon.
- In the Alignment section, click on Wrap Text.
Alternatively, we can open Wrap Text through the ‘dialog box launcher’ in the Alignment section.
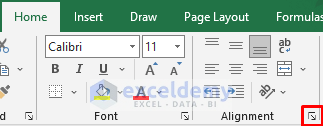
- Click on the dialog box launcher.
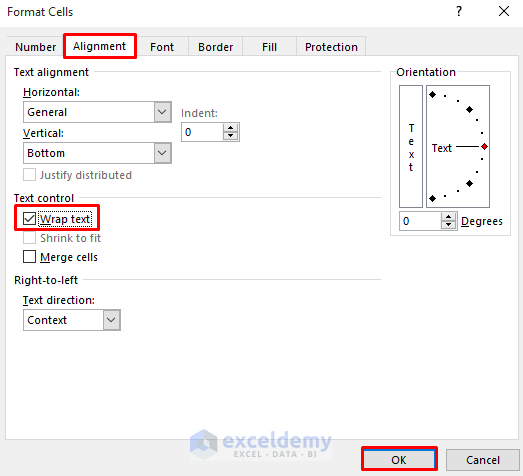
- In the Format Cells window that opens, select Wrap Text and click on ‘OK’
We have the desired output.
Read More: [Fixed!] Excel Cutting Off Columns When Printing
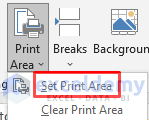
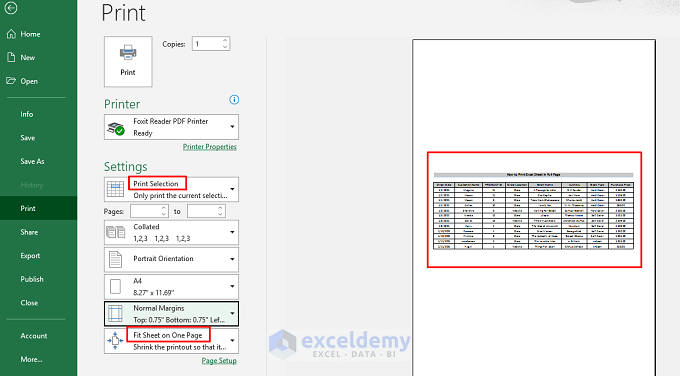
Method 7 – Changing the Print Area
To print only selected cells on one page, use the Print Area option.
Steps:
- Select the cells to print.
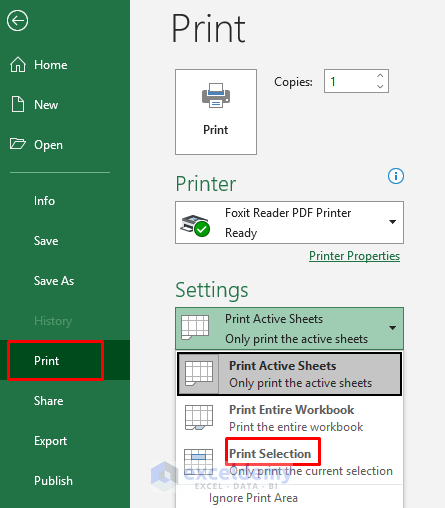
- From the File tab in the ribbon, go to the Print option.
- In the settings, select the ‘Print Selection’ option.
This can also be done from the Page Layout tab:
- Select the required cells.
- Go to the Page Layout in the ribbon, and in the Page Setup option, click on Page Area.
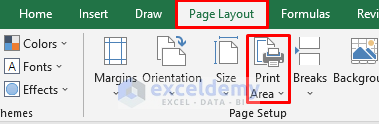
- Select Set Print Area.
- Preview in the Print option.
Read More: How to Print Excel Spreadsheet on Multiple Pages
Download Practice Workbook
<< Go Back to Print in Excel | Learn Excel
Get FREE Advanced Excel Exercises with Solutions!
