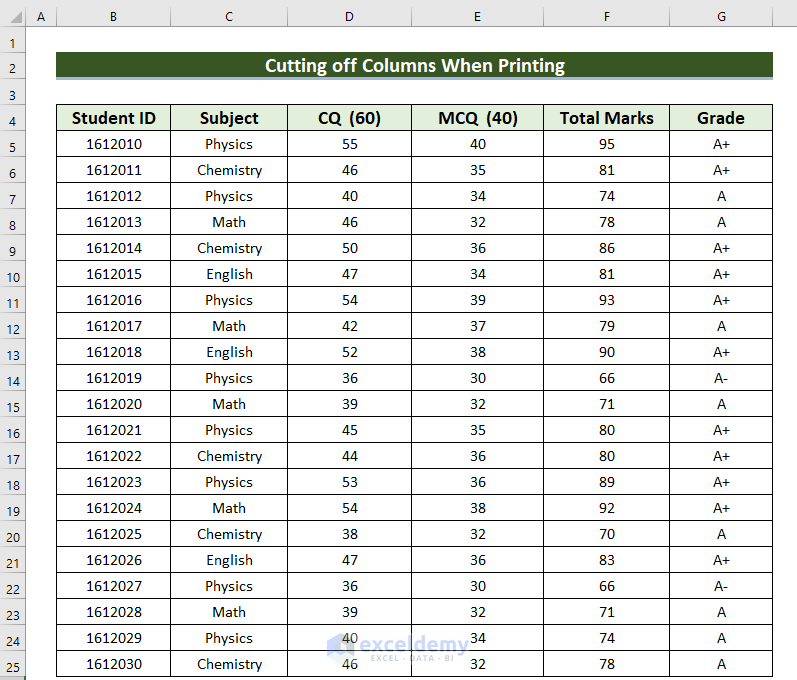
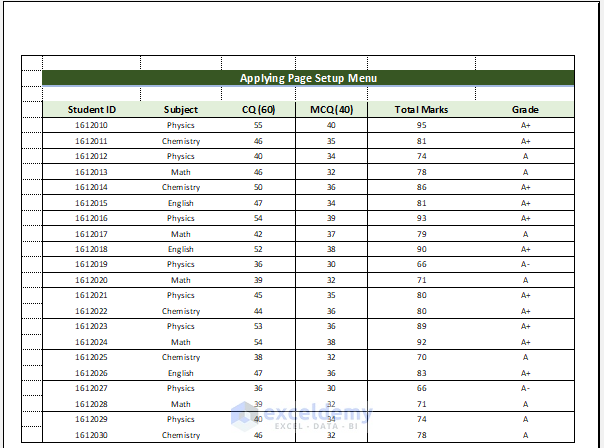
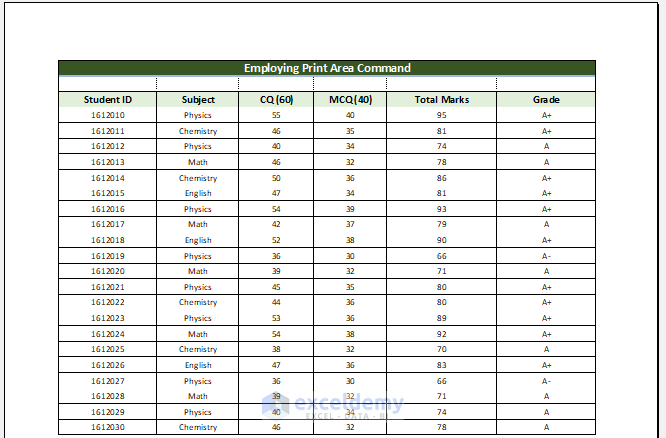
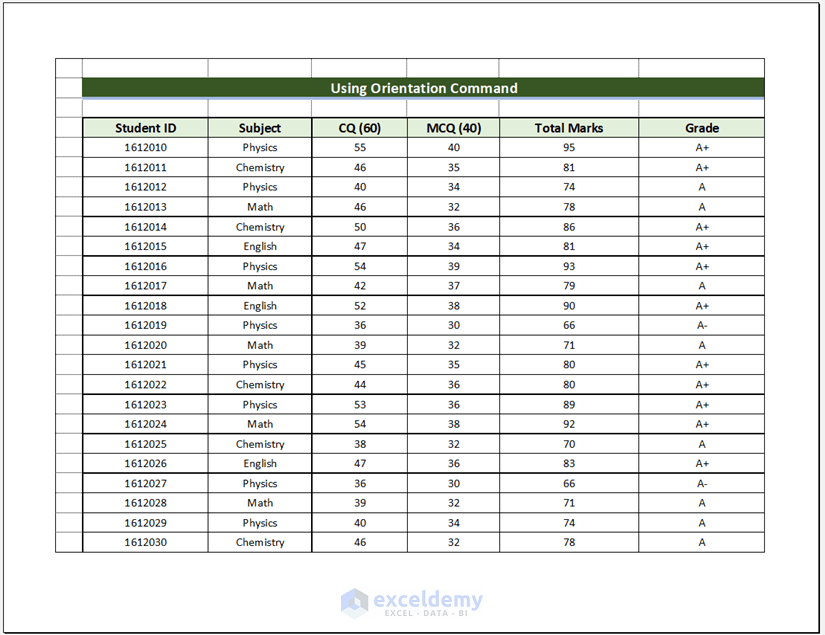
This is the sample dataset.
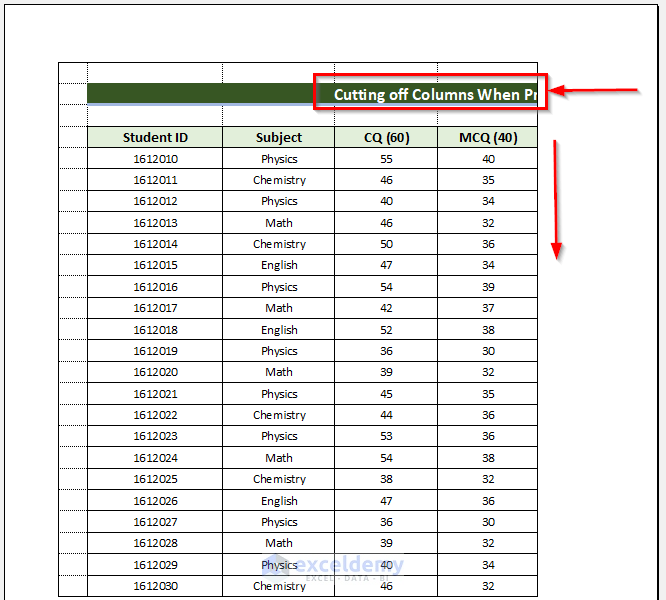
When trying to print the worksheet, two columns are moved to the 2nd page.
Solution 1 – Using the Page Setup Menu When Printing
- Open your worksheet.
- Go to the Page Layout >> click the Drop-Down arrow beside the Page Setup menu. You can also press ALT+P to go to Page Layout.

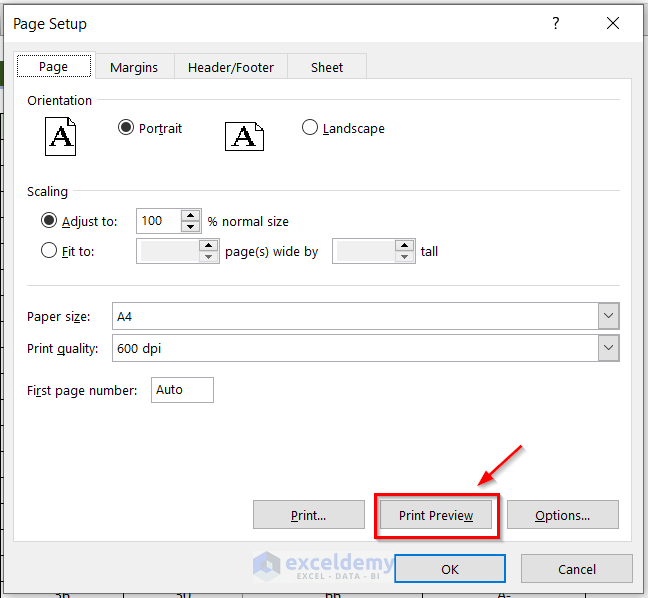
- In Page Setup, select Print Preview.
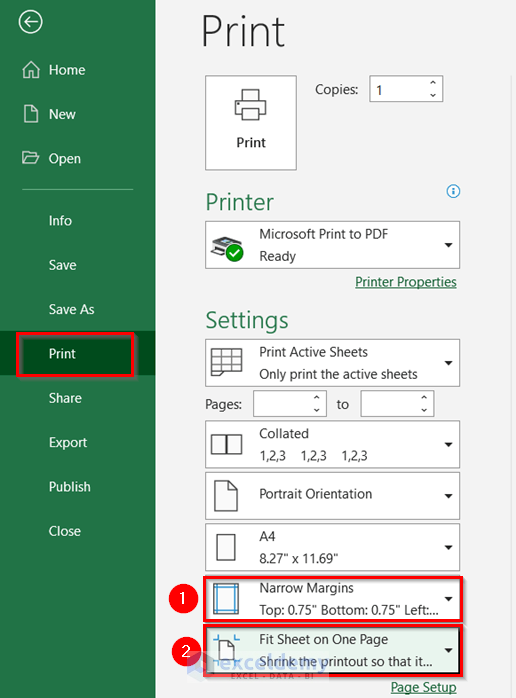
- In Print, choose Narrow Margins and Fit Sheet on One Page.
This is the output.
Read More: [Fixed!] Cutting Off Text When Printing in Excel
Solution 2 – Using the Size Feature
- Open your worksheet.
- In Page Layout >> go to Size >> Choose a page size. Here, A3 to keep all the columns on one page.
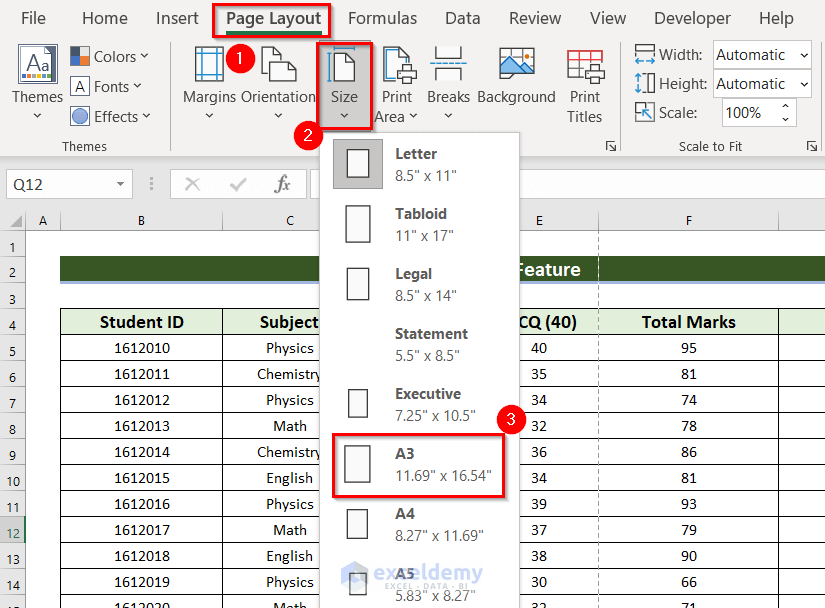
This is the output.

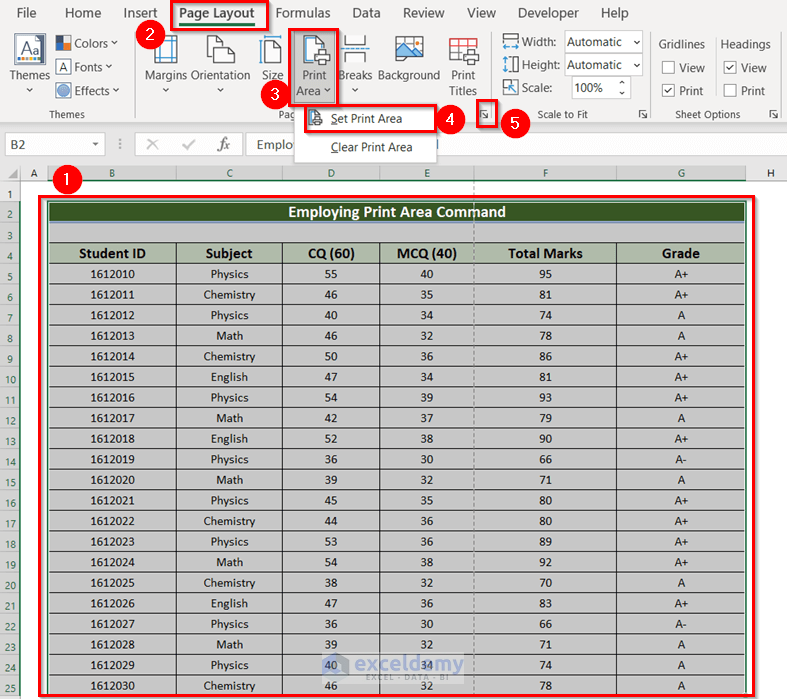
Solution 3 – Use the Print Area Command
- Open your worksheet.
- Select the data. Here, B2:G25.
- In Page Layout >> go to Print Area >> choose Set Print Area.
- Click the Drop-Down Arrow.
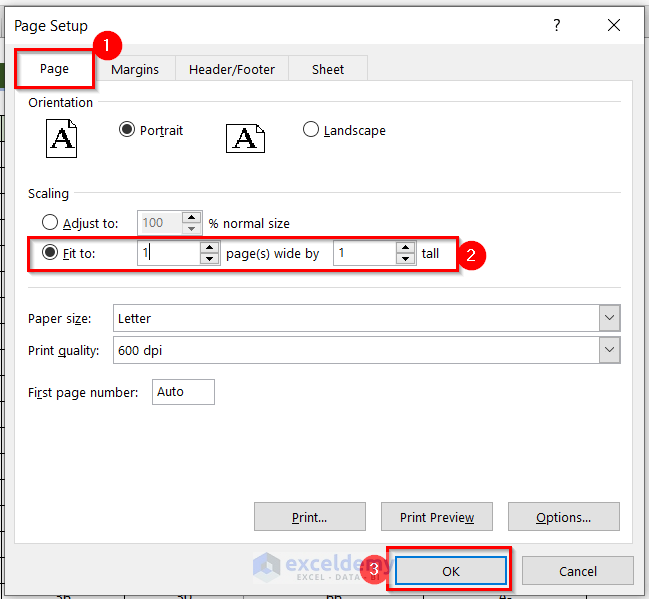
- In Page Setup, select Page.
- Click Fit to.
- Click OK.
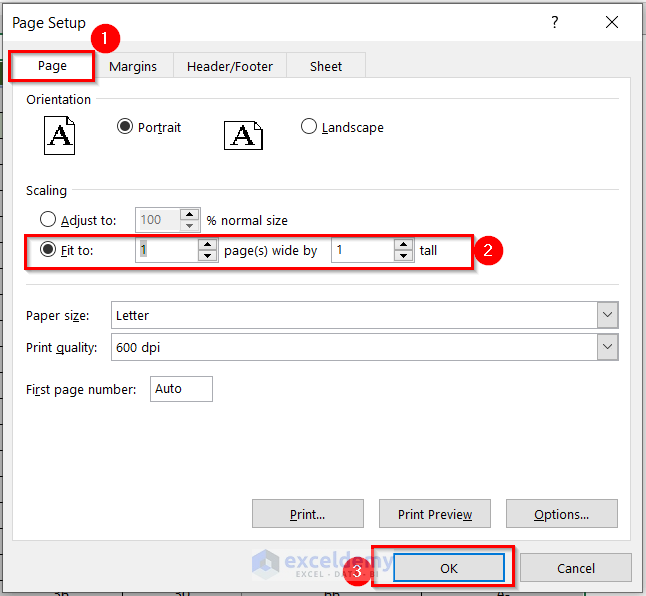
This is the output.
Read More: How to Print Excel Sheet in A4 Size
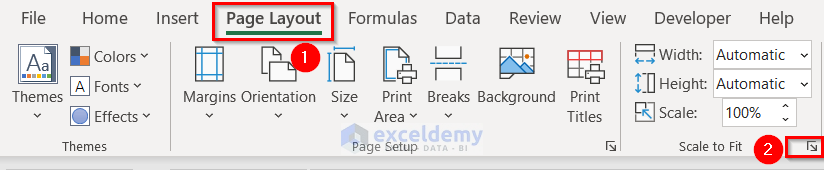
Solution 4 – Applying the Scale to Fit Group
- Open your worksheet.
- In Page Layout >> click on the Drop-Down Arrow beside Scale to Fit.
- In Page Setup, go to Page.
- Click Fit to.
- Click OK.
This is the output.

Read More: How to Print Excel Sheet in Full Page
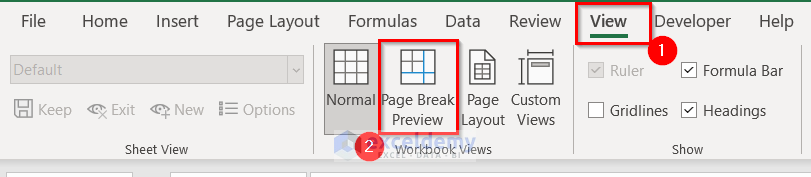
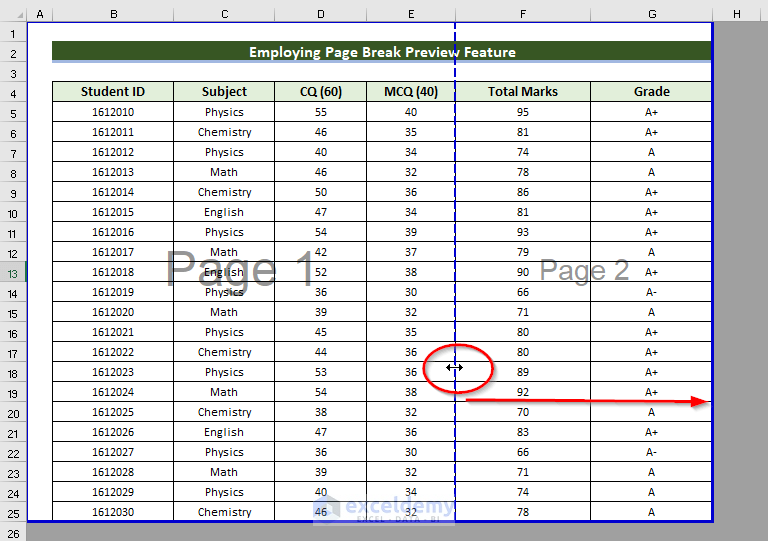
Solution 5 – Applying the Page Break Preview Option
- Go to the View tab.
- Select Page Break Preview.
Blue lines will be displayed showing the page border limits. The dotted Blue line is the page break.
- Place the Mouse cursor on the dotted Blue line.
- Drag it to the last column.
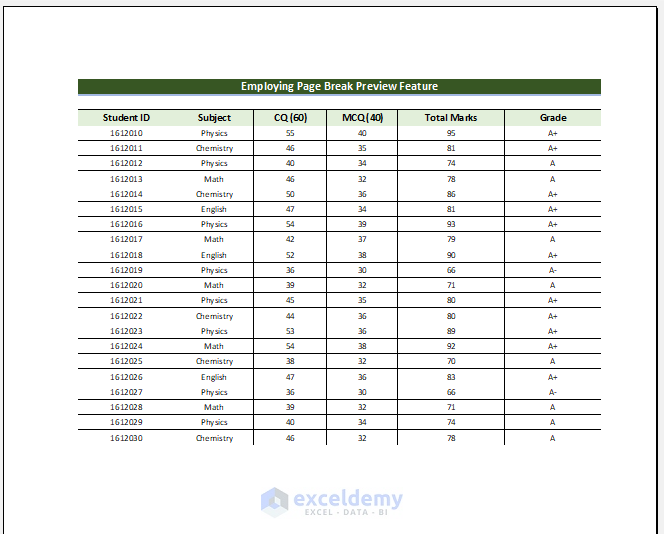
This is the output.
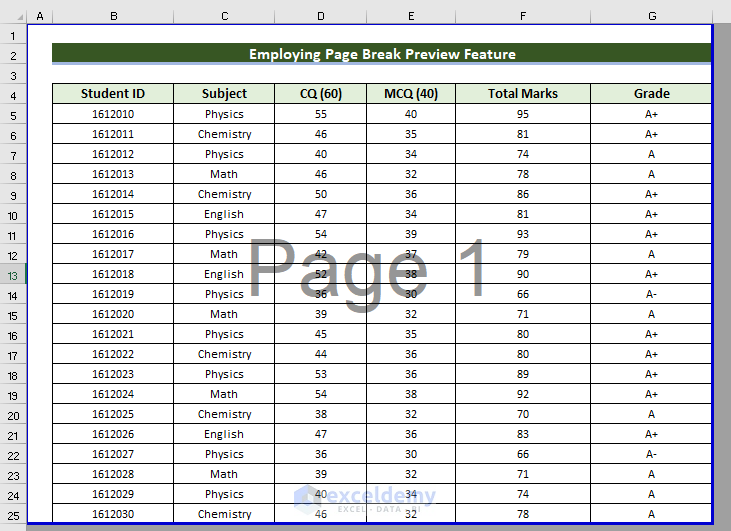
If you print the sheet, you will have all columns.
Read More: How to Print Multiple Sheets in Excel
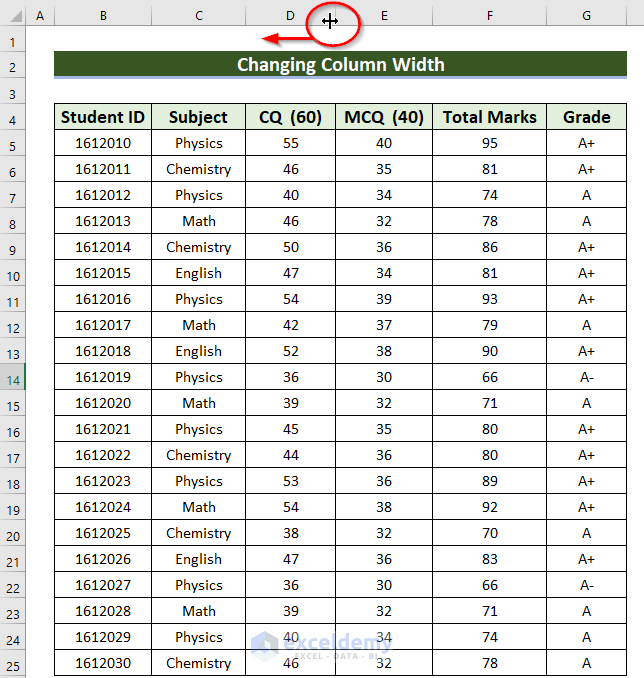
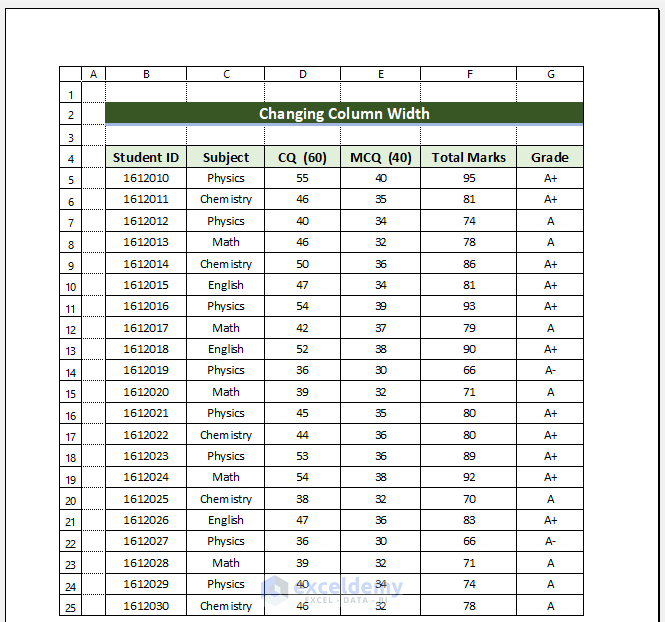
Solution 6 – Changing the Column Width
- Go to the border line of a Column. You will see the following Mouse Cursor.
- Move the Mouse Cursor to decrease the width of the column.
This is the output.
Read More: How to Print Sheet on One Page in Excel
Solution 7 – Reducing Font Size
- Select the data.
- In the Home tab >> click Decrease Font Size. Here, Font Size 10.
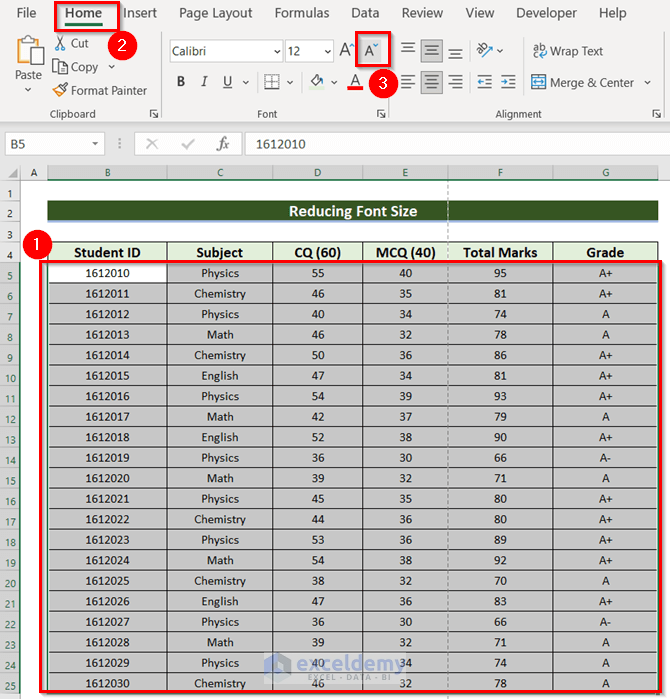
Reduce the font size of title (12) and subtitles (11).
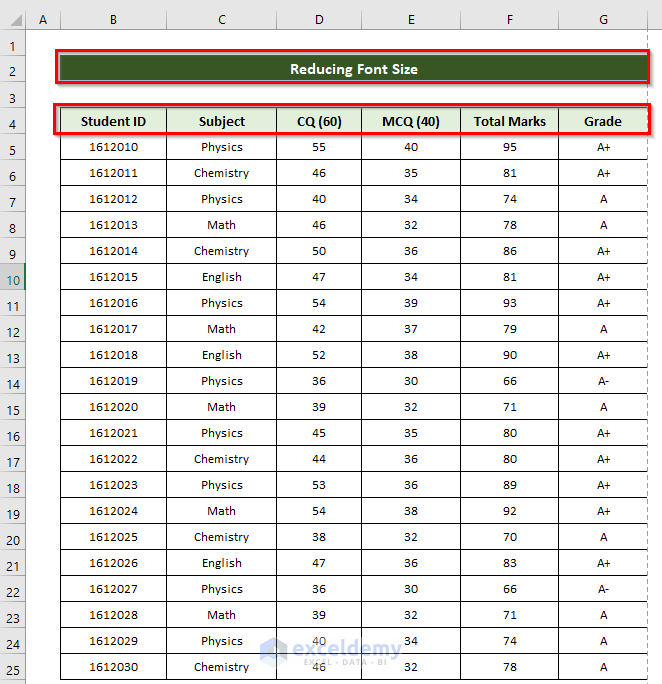
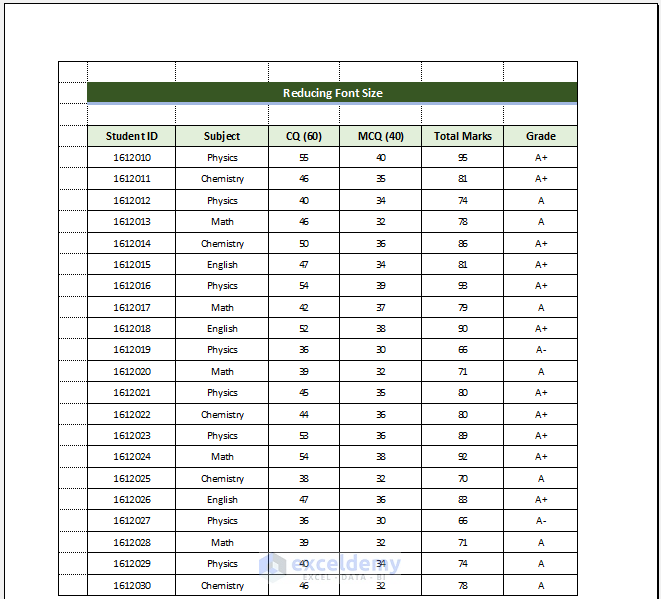
This is the output.
Read More: Make Excel Spreadsheet Bigger When Printing
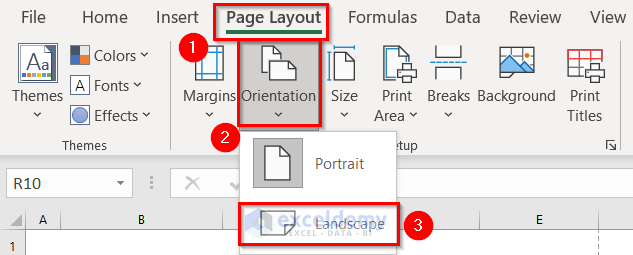
Solution 8 – Using the Orientation Command When Printing
- Open your worksheet.
- In Page Layout >> go to Orientation>> choose Landscape.
The printed copy is still cutting off columns.
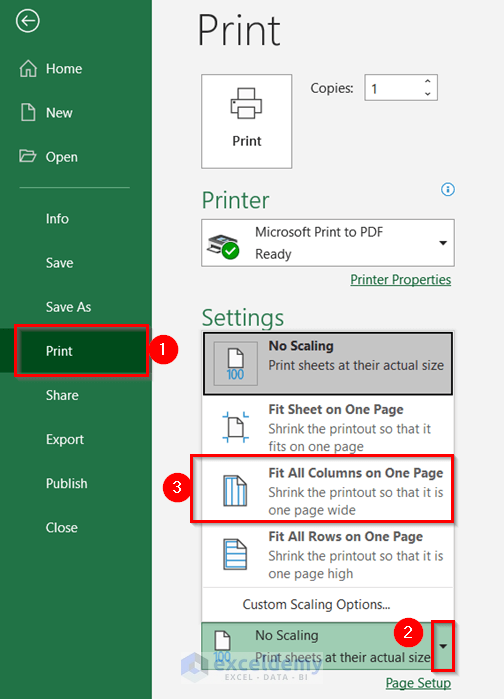
- Go to the File tab.
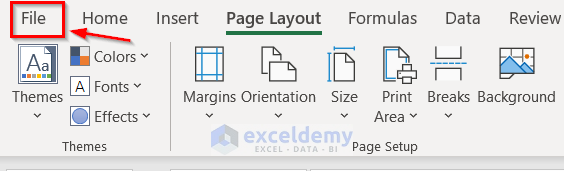
- Select Print.
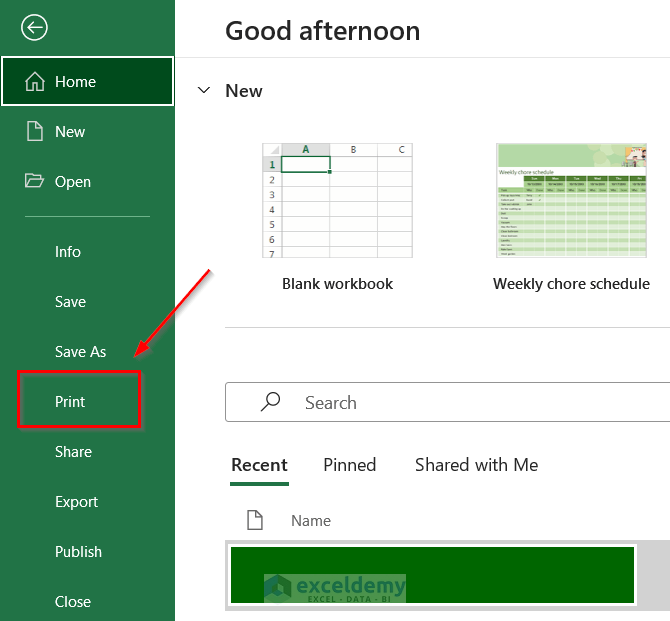
- In Print, from the Drop Down Arrow of No Scaling >> choose Fit All Columns on One Page.
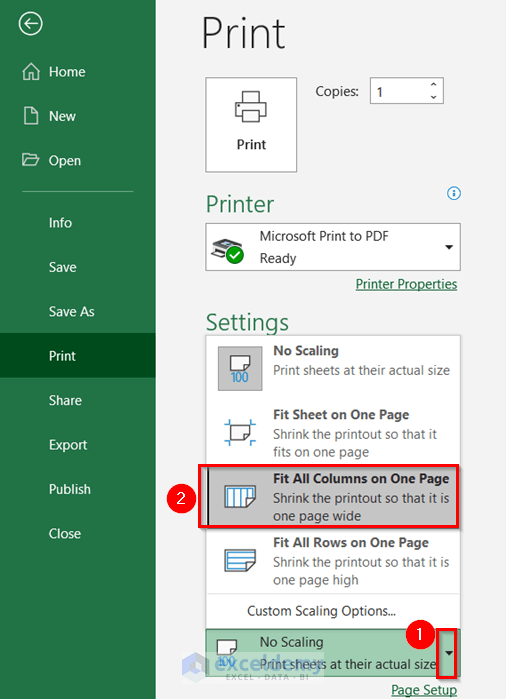
This is the output.
Read More: How to Print Excel Spreadsheet on Multiple Pages
Things to Remember
- If you are using Office 365 version of Excel, you can simply go to the Print option and choose Fit All Columns on One Page.
Download Practice Workbook
Download the practice workbook.
<< Go Back to Print in Excel | Learn Excel
Get FREE Advanced Excel Exercises with Solutions!

What if column(s) display fine, but when printing (having adjusted to landscape, selected print all columns on one page, etc.) for some reason it just leaves off characters in some columns that have lots of stuff in them? The mystery is that the columns show as intended in Excel, but when printed it prints all the columns & in the correct format, but the columns with lots of data in them are truncated.
Thanks for your time.
Hello Jack,
It sounds like the issue might be related to column width, text wrapping, or the print driver settings. Here are a few things you can try:
Check Cell Formatting: Make sure the affected columns have “Wrap Text” enabled (Home → Alignment → Wrap Text) so that all text is visible within the cell.
Adjust Column Width: Try increasing the column width slightly to see if more text appears when printed.
Print as PDF First: Sometimes, Excel prints differently than it appears on-screen. Try printing to a PDF file first to check if the issue persists.
Use “Fit to Page” Carefully: If you’re scaling to fit all columns on one page, excessive compression may cause text truncation. Try adjusting scaling manually instead.
Check Printer Settings: Ensure your printer is not set to “Shrink to Fit” or another option that might alter text rendering.
Try a Different Font: Some fonts do not print as expected when scaled. Switching to a standard font like Arial or Calibri might help.
Hope this helps! Let me know if the issue persists.
Regards
ExcelDemy