Dataset Overview
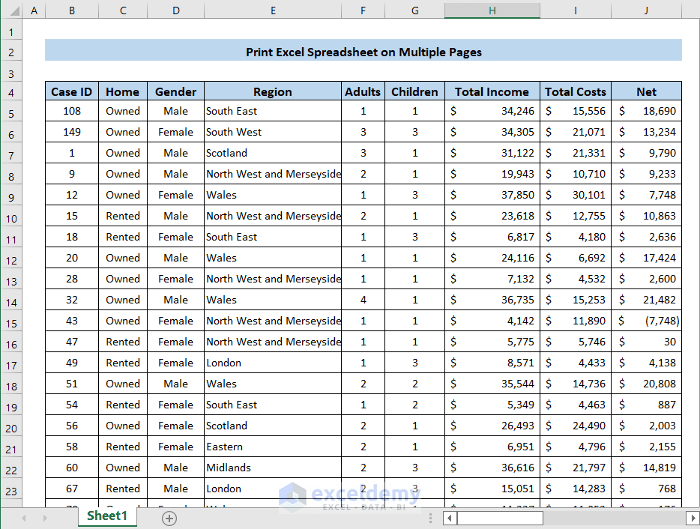
For describing the methods, we will use a dataset of 80 householders’ income and expenditure reports of a city. The dataset is in the range of cells B5:K86. It contains the home type, number of adults and children, and region.
Method 1 – Scaling Method
Steps
- Open the Excel spreadsheet you want to print across multiple pages.
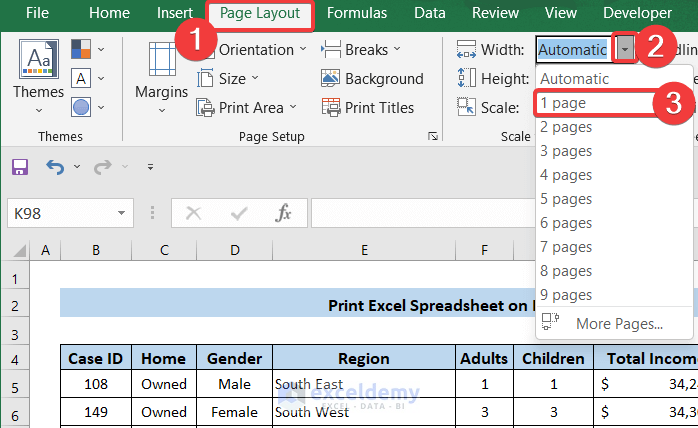
- Go to the Page Layout tab in the Excel ribbon.
- Adjust Scaling Options:
- Click on the Scale to Fit column.
- Choose Width: Automatic and set it to 1 page.
- Switch to the View tab.
- Select Page Break Preview from the Workbook View options.
- A bold blue line will appear around your dataset, showing a preview of how it will fit on the printed page. Confirm that all columns remain together.

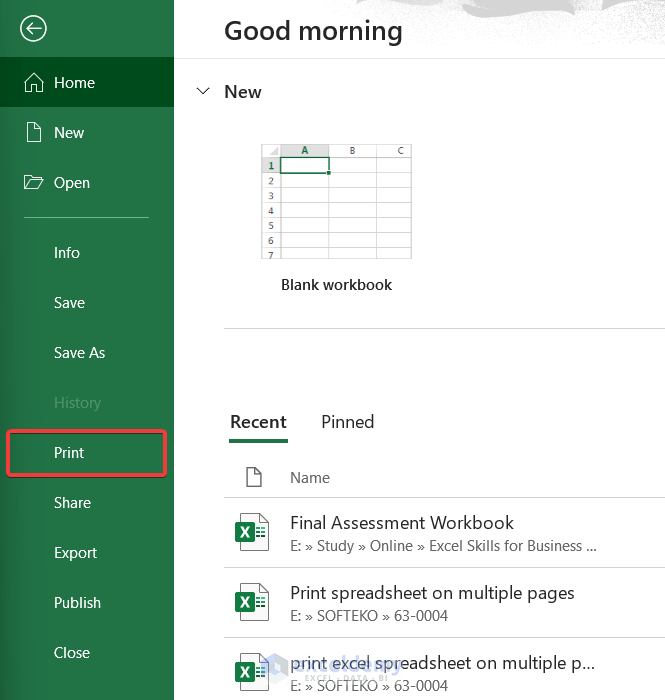
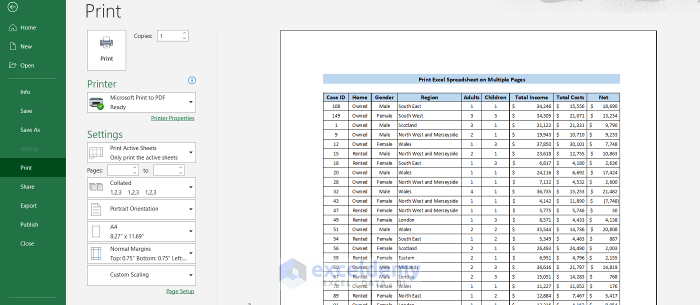
- Click the File menu and choose Print.
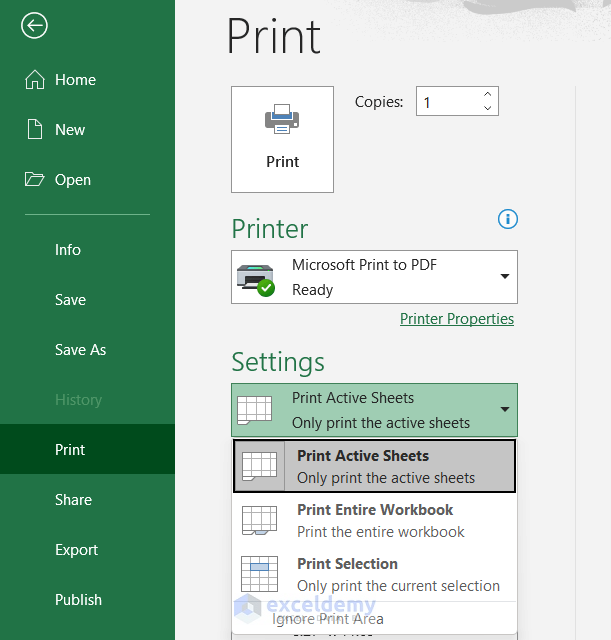
- In the Settings section, select the first row under Print Active Sheets.
- Set the Page Orientation based on your data. For 9 columns, use Portrait Orientation. Adjust to Landscape Orientation if needed.
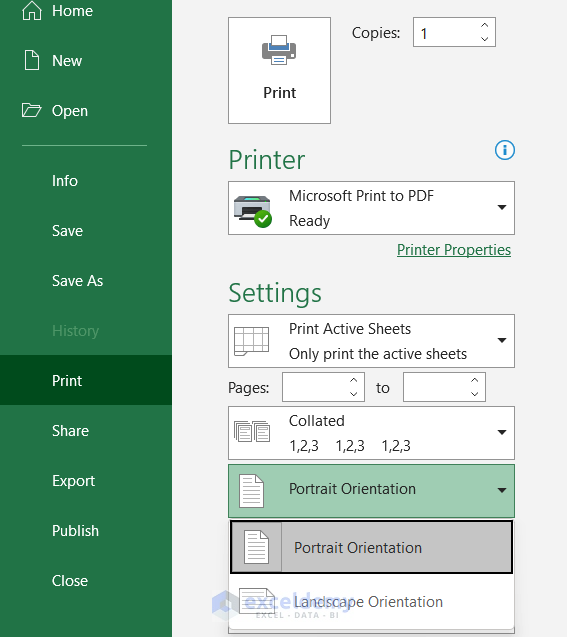
- Choose your desired Page Size (e.g., A4).

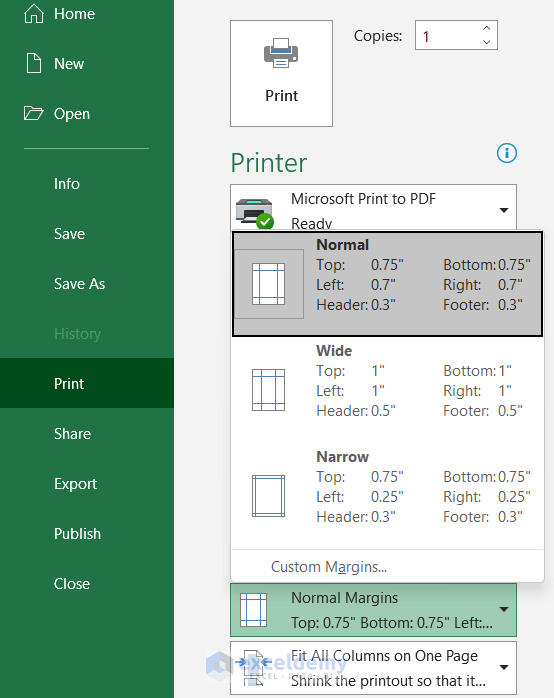
- Select the Margins (we recommend Normal Margins).
- Review the full dataset by clicking the arrow below the preview.
- Ensure that all data is correctly positioned on the pages.

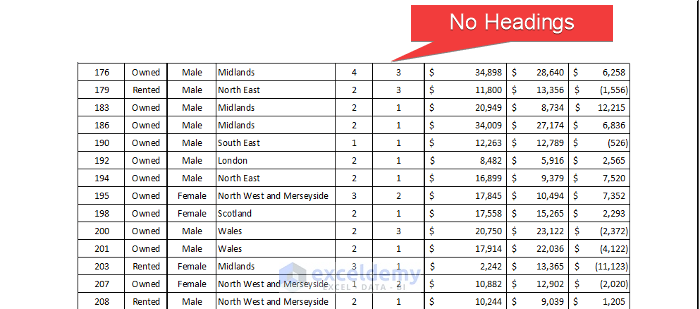
- If you notice missing headers on subsequent pages, resolve this:
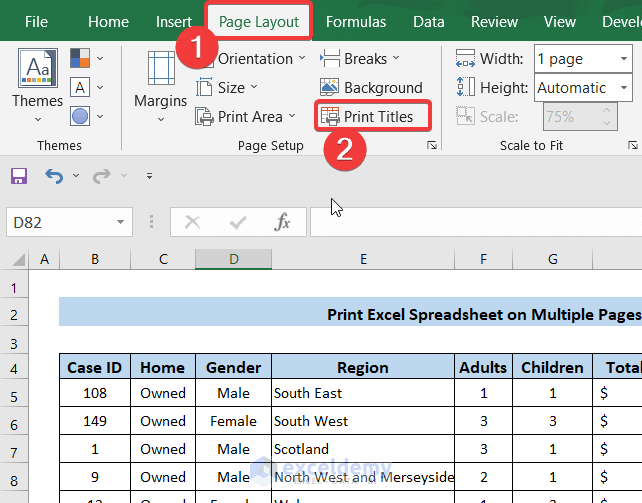
- Go to the Page Layout tab.
- Click Print Titles in the Page Setup column.
- A new dialog box, entitled Page Setup, will appear.
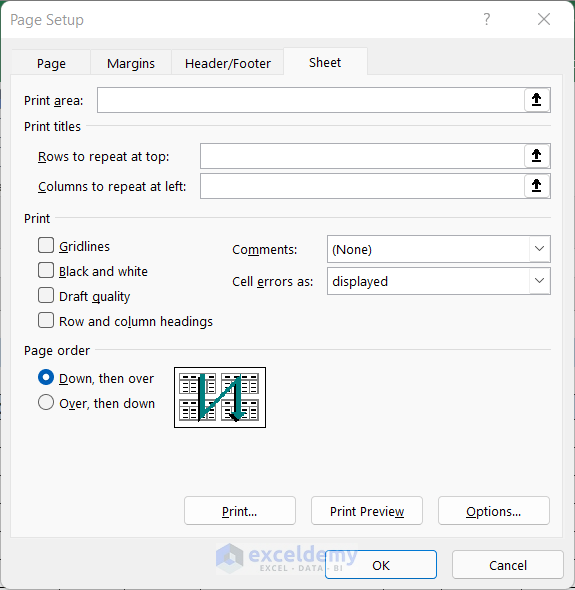
- In the dialog box, select Rows to repeat at top and choose Row 4.
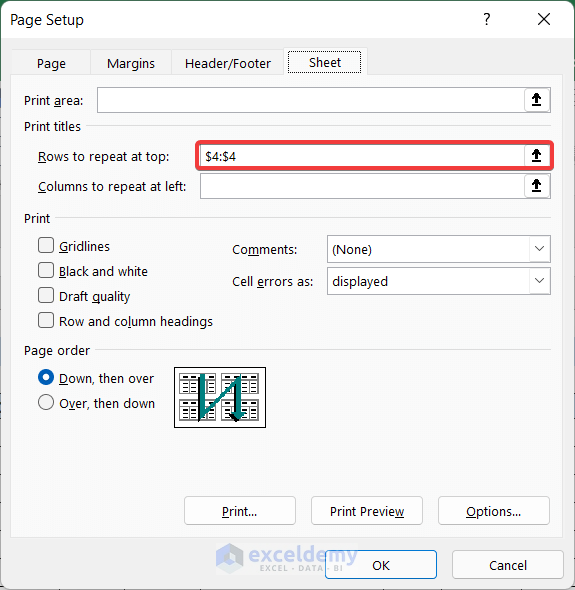
- Click OK to close the dialog box.
- Click the File > Print > arrow.
- Verify that the heading appears consistently across pages.
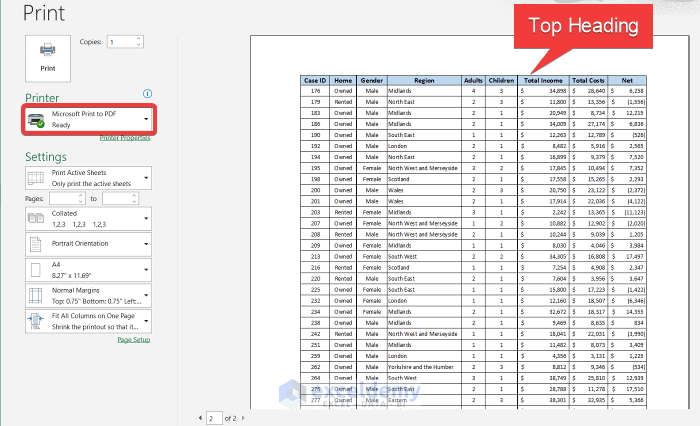
- Select your printer (or use Microsoft Print to PDF).
- Click Print to generate the document.
By following these steps, you’ll successfully print your Excel data across multiple pages while maintaining readability and consistency.
Read More: How to Print Multiple Sheets in Excel
Method 2 – Printing an Excel Spreadsheet Using Keyboard Shortcuts
Steps
- Open the Excel spreadsheet you want to print.
- Press Ctrl+P on your keyboard to launch the Print dialog.
- Configure the Print Settings according to your requirements:

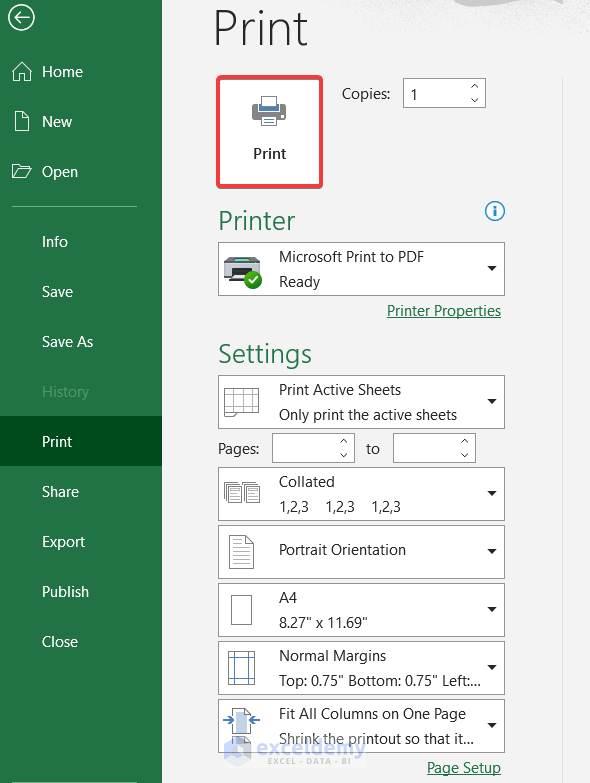
- Choose Print Active Sheets, select Portrait Orientation, click on A4 and choose Normal Margins.
- Explore Additional Settings in the Page Setup option.
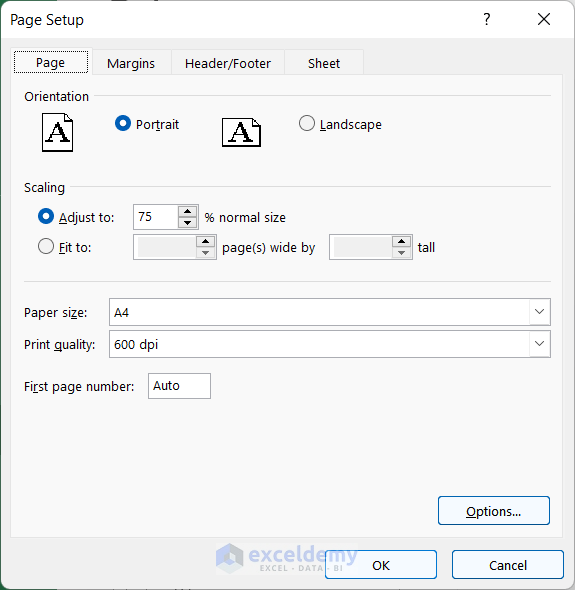
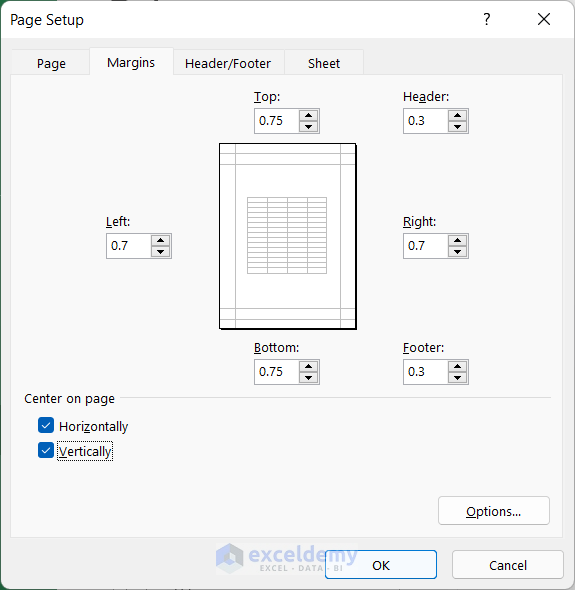
- Adjust custom margins if needed.
- Consider centering rows and columns for better visualization.
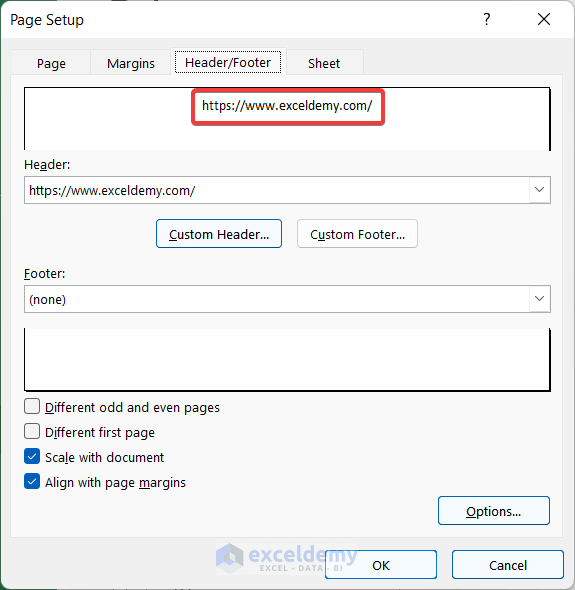
- Go to the Header/Footer tab.
- Select Custom Header.
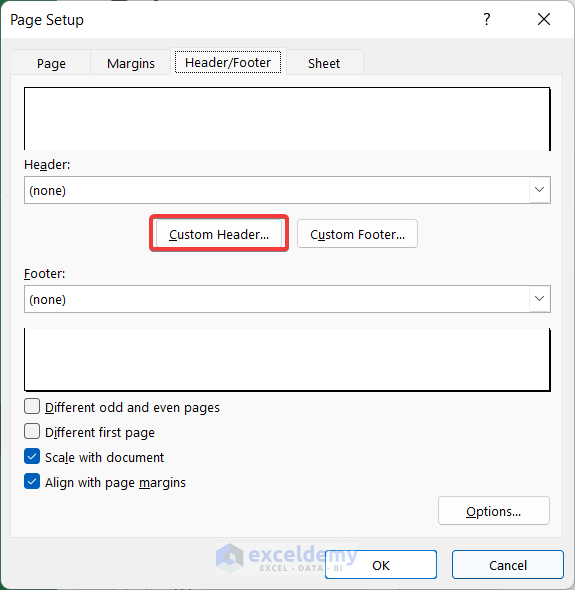
- Enter your desired content (e.g., website address) in the center section.
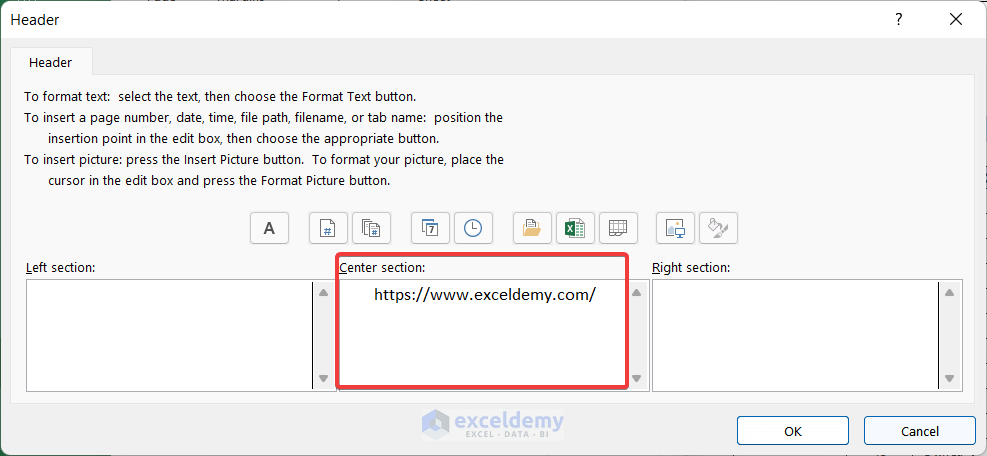
- Click OK to close the Header dialog box.
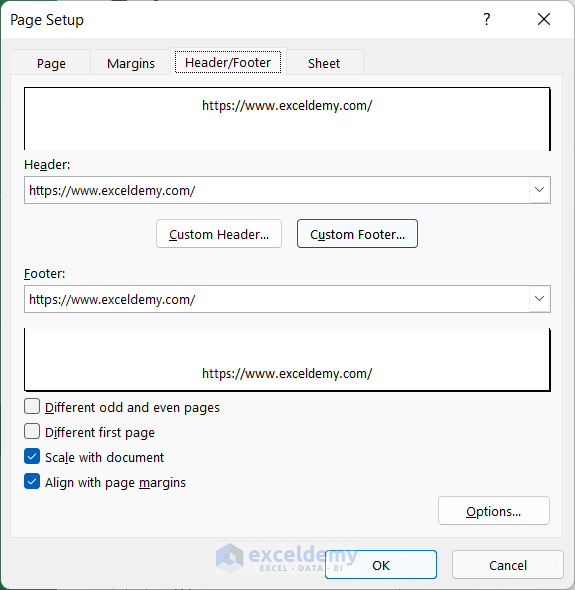
- Repeat the process for the footer.
- Ensure your spreadsheet fits on one page:
- Go to Custom Scaling.
- Choose Fit All Columns on One Page.
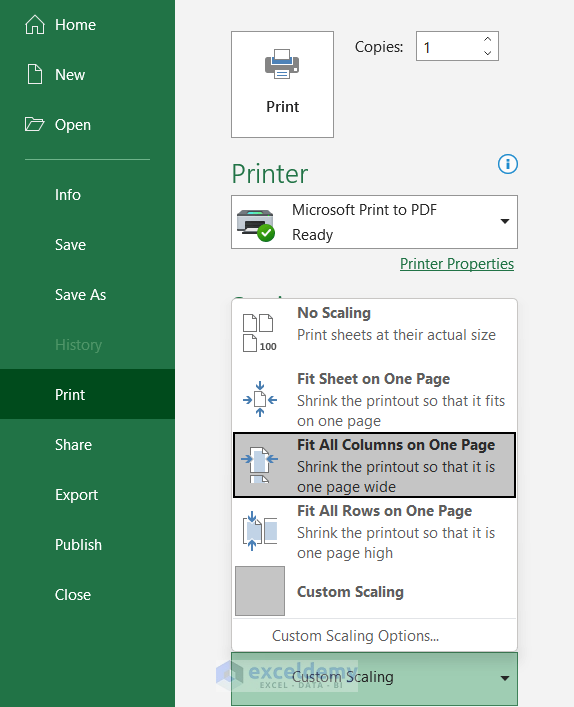
- If you have a physical printer, choose it.
- Otherwise, use Microsoft Print to PDF.
- Click Print to generate the printed document.
By following these steps, you’ll successfully print your Excel data using keyboard shortcuts.
Read More: How to Print Excel Sheet in Full Page
Method 3 – Printing an Excel Spreadsheet Using VBA
Steps
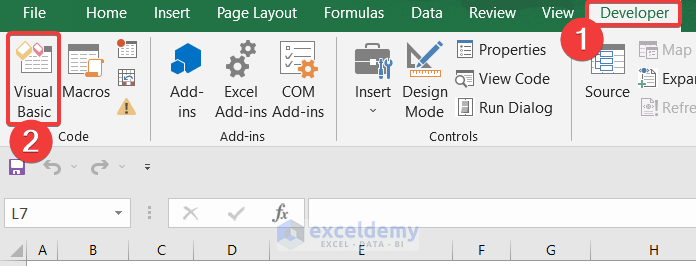
- Go to the Developer tab in Excel.
- Click on Visual Basic to open the Visual Basic Editor.
- If you don’t see the Developer tab, enable it by going to Excel Options, selecting Customize Ribbon and clicking on Developer.
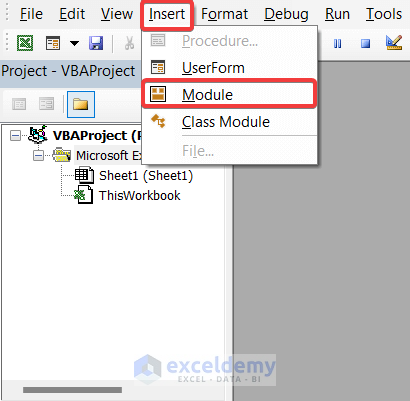
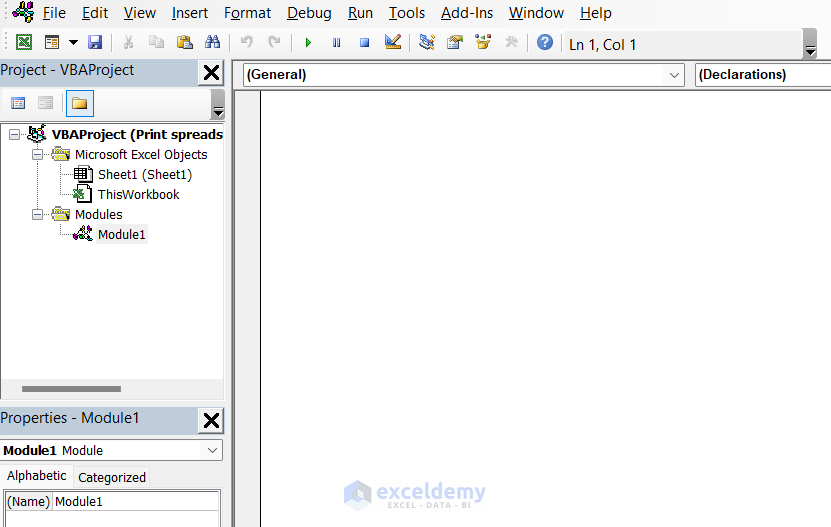
- In the Visual Basic Editor, click on the Insert tab.
- Choose Module to create a new module.
- In the empty editor box, enter the following code:
Sub print_sheet_multiple_pages()
Worksheets("sheet1").PrintOut From:=2, To:=3
End Sub- Close the Editor tab.
- Go back to the Excel workbook.
- Click on the View tab.
- Select Macros and choose View Macros.
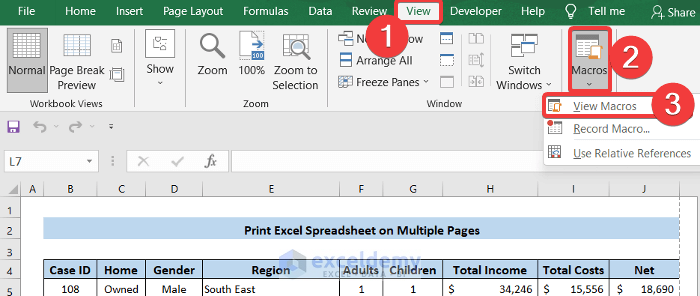
- In the dialog box, choose print_sheet_multiple_pages.
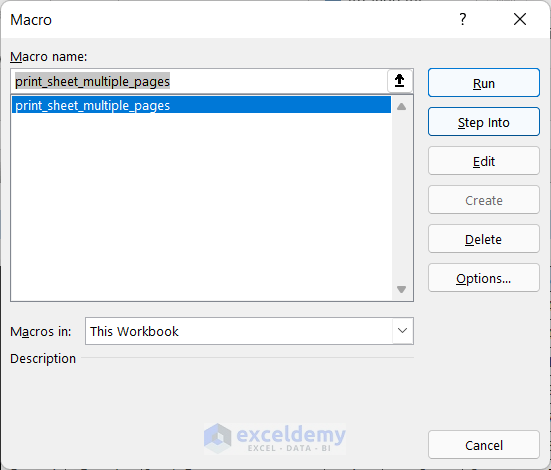
- Click the Run button to execute the code.
- A small Printing dialog box will appear.
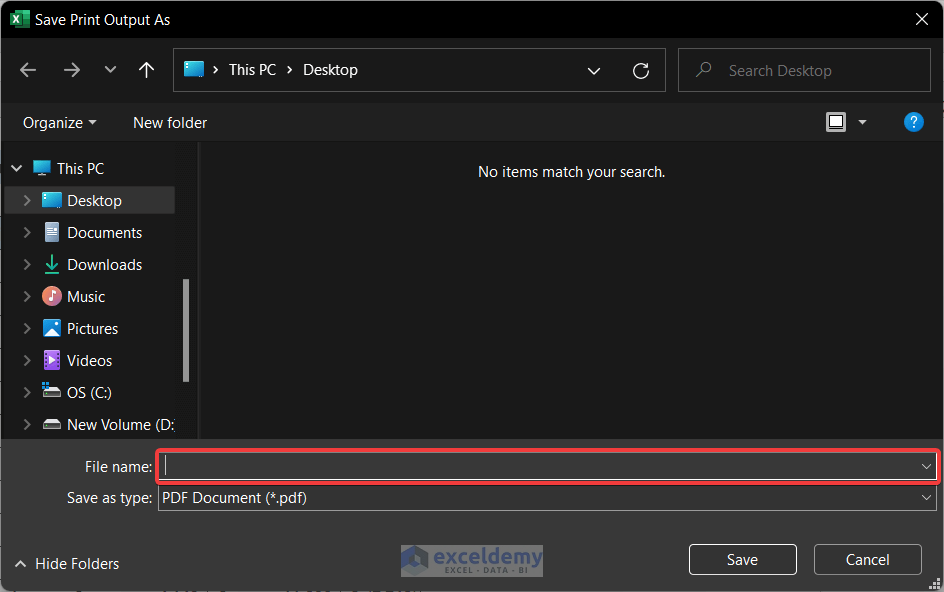
- A larger dialog box titled Save Print Output As will appear.
- Specify a name for the PDF file and choose your desired location (e.g., Desktop).
- Click Save to save the output file.
By following these steps, you’ll successfully print your Excel spreadsheet on multiple pages using VBA.
Read More: How to Make Excel Spreadsheet Bigger When Printing
Download Practice Workbook
You can download the practice workbook from here:
Related Articles
<< Go Back to Print in Excel | Learn Excel
Get FREE Advanced Excel Exercises with Solutions!
