If you are looking for ways to move Page Breaks in Excel, this article will serve the purpose. Moving Page Breaks gives you a customized outlook of how your worksheet will look after printing. Most likely, you are familiar with different ways to use Page Breaks in Excel. In this article, we are going to learn 3 simple steps to move page breaks in Excel.
What Is a Page Break in Excel?
We use Page Breaks in Excel to separate various portions of worksheets for printing. There are 2 kinds of Page Breaks. They are Automatic Page Breaks and Manual Page Breaks. Automatic Page Breaks are denoted by dotted lines. On the other hand, Manual Page Breaks are represented by solid lines.
How to Move Page Breaks in Excel: 3 Simple Steps
In the following dataset, we have the Average Marks of 4 different classes of a school. We will print them on 4 different pages by moving the Page Breaks.
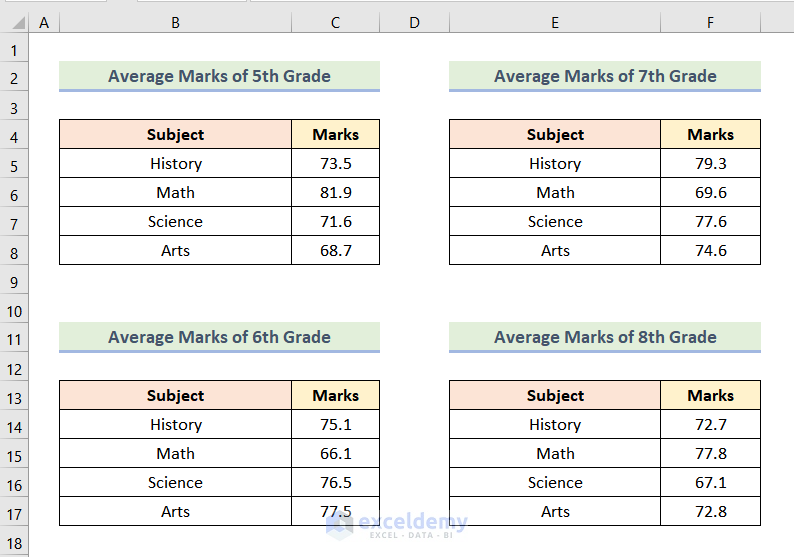
Here, we have used the Microsoft Excel 365 version for this article, you can use any other version according to your convenience.
Step 01: Enabling Page Break Preview Option
In the beginning, we need to enable the Page Break Preview option. We can do this in 3 different ways. These are discussed below.
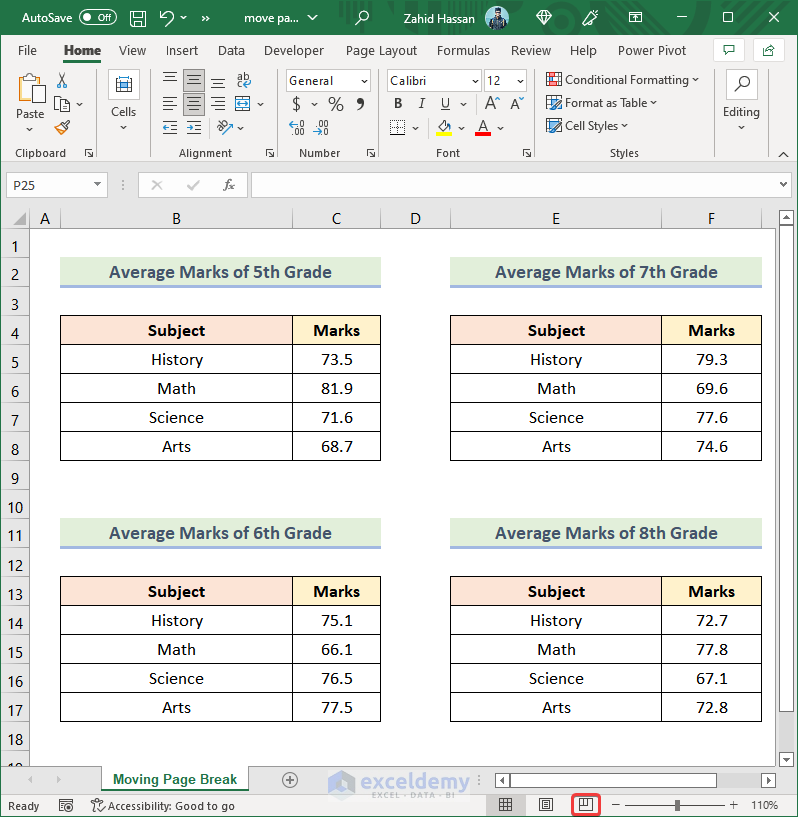
1. Using Status Bar
- Firstly, click on the marked region of the following image from the Status Bar.
Subsequently, the Page Break Preview option will be enabled like the following image.
2. Utilizing Ribbon Menu
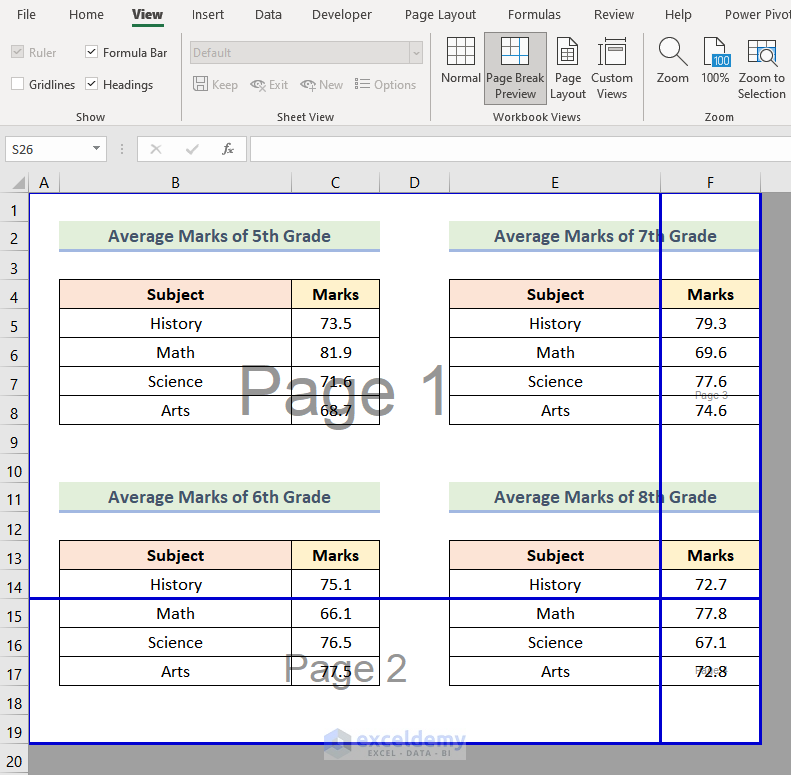
- Firstly, go to the View tab from the Ribbon.
- After that, select Page Break Preview from the Workbook Views section.

Then, the Page Break Preview option will be active.
3. Applying Keyboard Shortcut
- Press the keyboard shortcut ALT + W + I. This will directly enable the Page Break Preview option as shown in the following picture.

Read More: How to Remove Automatic Page Break in Excel
Step 02: Modifying Horizontal and Vertical Page Break Positions
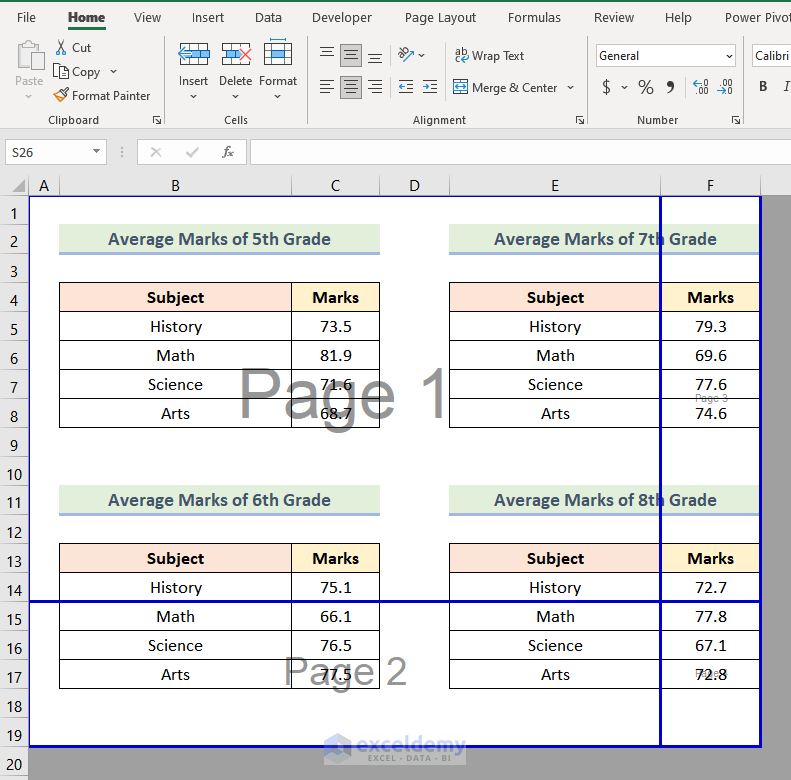
- Firstly, select the Horizontal page break line and drag it to your preferred position.

After dragging the Horizontal Page Break Line, you will see the following image on your screen.

- Similarly, drag the Vertical Page Break Line and reposition it according to your preference.

Consequently, you will get 2 intersecting page break lines showing 4 pages, like the following image.

Read More: How to Remove the Page Break Lines in Excel
Step 03: Checking in Print Preview Mode
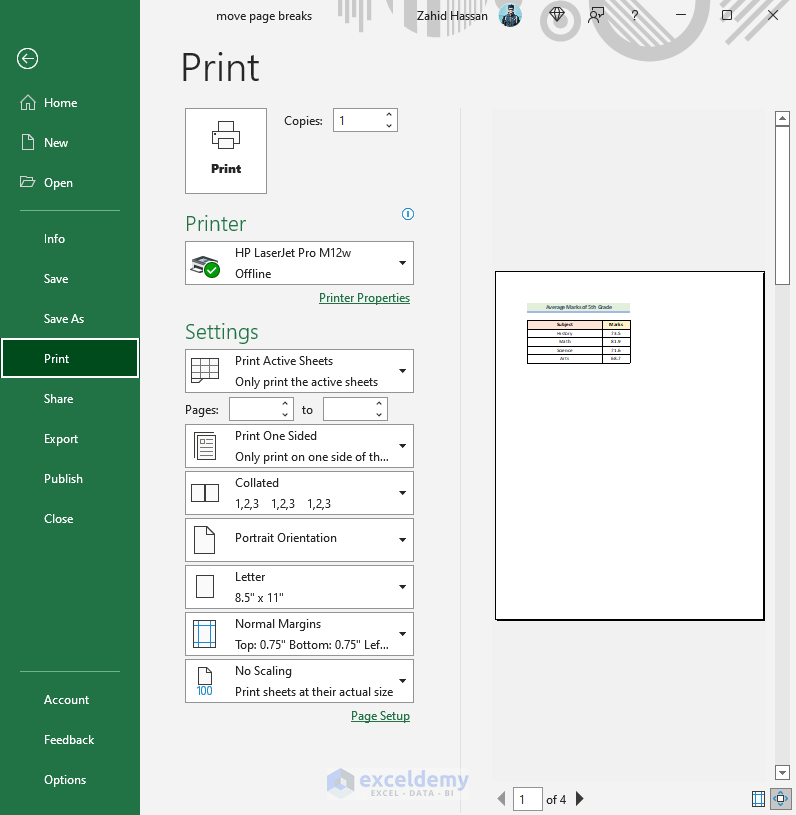
- Firstly, press the keyboard shortcut CTRL + P to open the Print Preview of the worksheet.
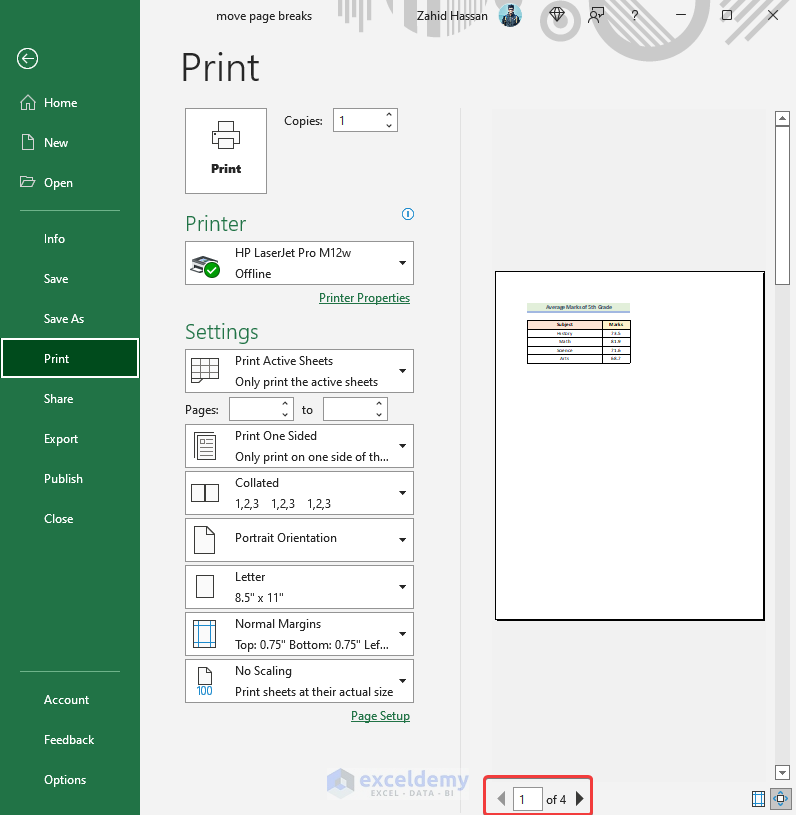
As a result, you will be able to see that there are 4 different pages in the Print Preview mode as marked in the image given below.
💡 Things to Remember
- If you want to switch back to the Normal View from Page Break Preview at any time, just use the keyboard shortcut ALT + W + L.
Download Practice Workbook
Conclusion
Finally, we have come to the end of this article. I truly hope that this article was able to guide you to learn the steps to move page breaks in Excel. Please feel free to leave a comment if you have any queries or recommendations for improving the article’s quality. Happy learning!
Related Articles
- [Solved]: Page Break in Excel Not Working Error
- How to Remove Print Lines in Excel
- How to Remove Blue Lines in Excel
<< Go Back to Page Break | Page Setup | Print in Excel | Learn Excel
Get FREE Advanced Excel Exercises with Solutions!
