Method 1 – Move One Cell to Right Using Range Property
Steps:
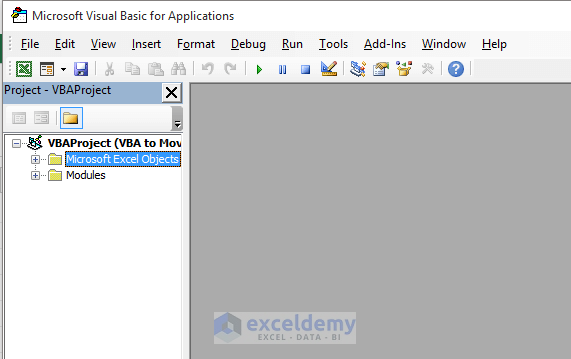
- Open the Developer tab. You can open it by pressing Alt+F11, or you can customize your ribbon section and get the Developer tab. This will open up the Visual Basic interface.
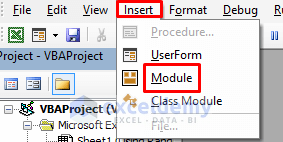
- Go to the Insert tab and select Module.
- A Module code window will occur. Copy the following code and paste it.
Sub VBA_range_offset()
Range("B5").Offset(0, 1).Select
End Sub- Close the Visual Basic code window.
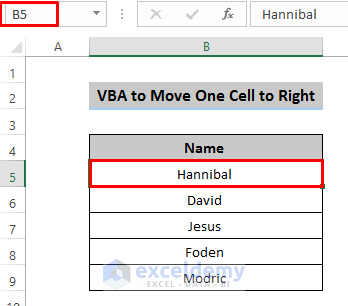
- Select cell B5.
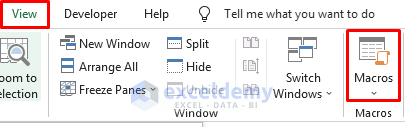
- Go to the View tab in the Ribbon and select Macros.

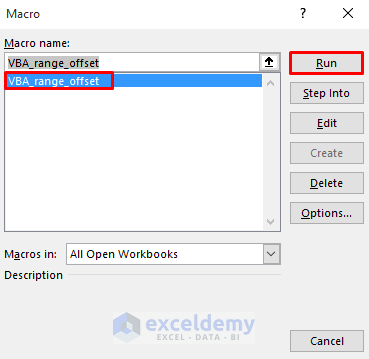
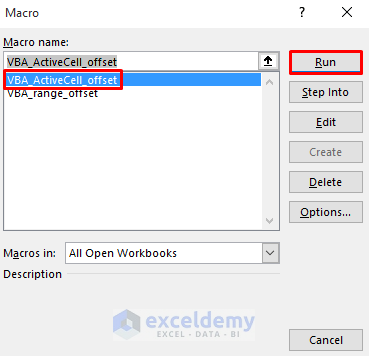
- A Macro dialog box will appear. Select VBA_range_offset from the Macro Name and click on Run.
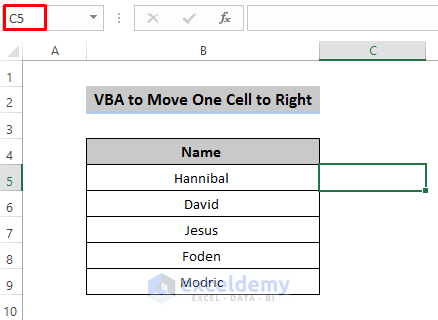
- That will move your selection from cell B5 to cell C5.
Breakdown of the Code
Range(“B5”).Offset(0, 1).Select
Select a range from where you want to do your further work. Provide an offset property and specify the argument. Offset has two arguments, row and column. As we want to move one cell right, we keep the row value 0 and put the column value 1 to move one cell. Place different row and column arguments to shift to a different place.
Method 2 – Using ActiveCell Property
Steps:
- The Developer tab by pressing Alt+F11.
- Go to the Insert tab and select Module.

- In the Module code window, copy the following code and paste it there.
Sub VBA_ActiveCell_offset()
ActiveCell.Offset(0, 1).Select
End Sub- Close the Module code window.
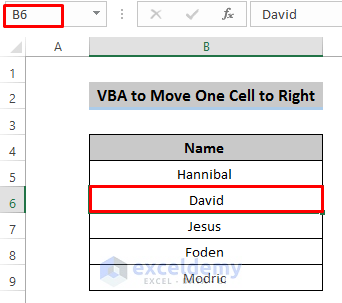
- Select cell B6.
- Go to the View tab and select Macros.
- A Macro dialog box will appear. Select VBA_ActiveCell_offset from the Macro Name and click on Run.
- That will move from cell B6 to cell C6.
Breakdown of the Code
ActiveCell.Offset(0, 1).Select
ActiveCell provides an option where you can select any cell from our worksheet. Offset has two arguments, row and column. As you want to move one cell right, so, we put row argument as 0 and column argument 1. This code will help to move any active cell in your worksheet and provide a dynamic offset.
Method 3 – Selection Property to Move One Cell to Right in Excel
Steps:
- Open the Developer tab by pressing Alt+F11.
- Go to the Insert tab and select Module.

- In the Module Code window, copy the following code and paste it.
Sub VBA_selection_offset()

Selection.Offset(0, 1).Select

End Sub- Close the Module code window.
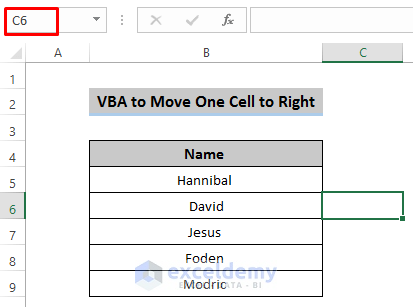
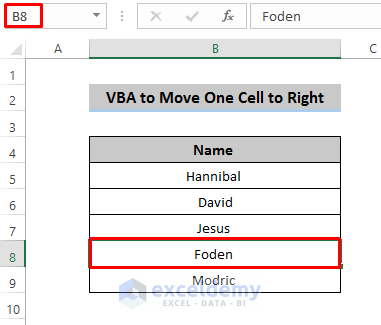
- Select cell B8.
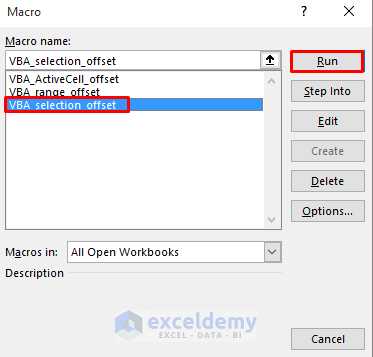
- Go to the View tab in the ribbon and select Macros.

- A Macro dialog box will appear. Select VBA_selection_offset from the Macro Name and click on Run.
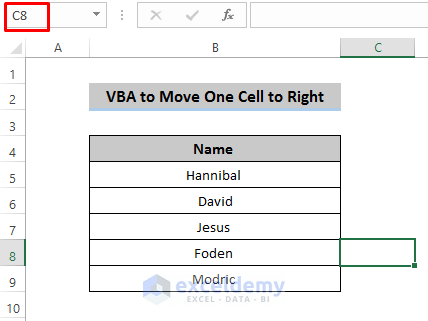
- This will shift one cell right from cell B8 to cell C8.
Breakdown of the Code
Selection.Offset(0, 1).Select
Two arguments of Offset help you to move one cell right. To do this, we put the row as 0 and column 1. Selection provides a dynamic situation where you can select any cell and apply this code; it will eventually move it to one cell right.
Download Practice Workbook
Download this practice workbook.
Related Articles
- How to Shift Cells Up in Excel
- How to Shift Cells Down in Excel
- How to Shift Cells Down in Excel without Changing Formula
- Fix: Excel Cannot Shift Nonblank Cells
- How to Perform Double Click Cell Jump in Excel
<< Go Back to Excel Cells | Learn Excel
Get FREE Advanced Excel Exercises with Solutions!
