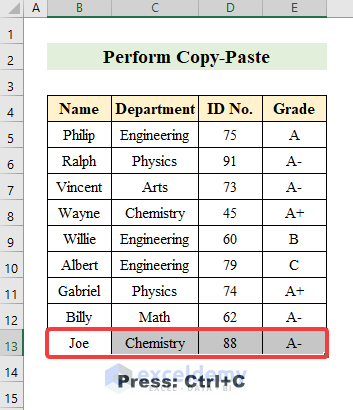
The dataset showcases students’ Names, Departments, Id No., and Grade.

Method 1 – Using the Copy-Paste Method with the Keyboard to Move Cells in Excel
Steps:
- Select a row. Here, B13:E13.
- Press Ctrl+C.
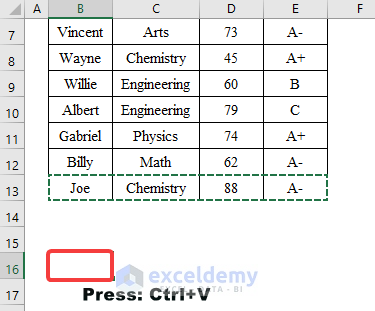
- Select a new cell to paste.
- Press Ctrl+V.
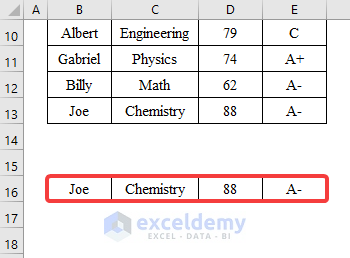
This is the output.
Read More: How to Move a Group of Cells in Excel
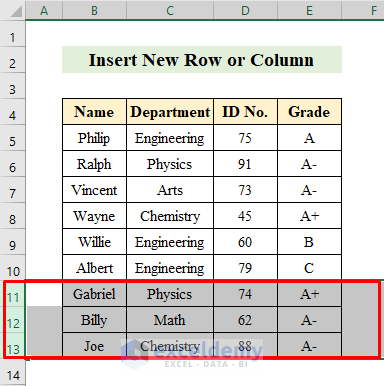
Method 2 – Inserting a New Row or Column by Move Cells with Keyboard
Steps:
- Select a row. Here, 11.
- Hold Shift and press the down arrow(↓) twice to select the 12th and 13th rows.
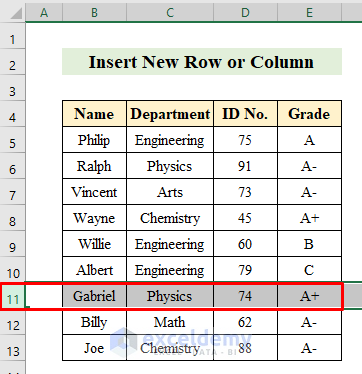
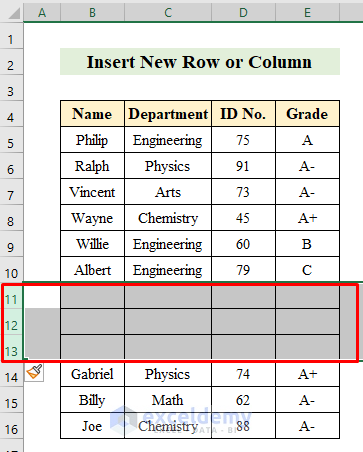
- With the rows selected, press: Ctrl+Shift+Plus sign(+) to insert new rows.
This is the output.
Read More: How to Move Cells in Excel with Arrow Keys
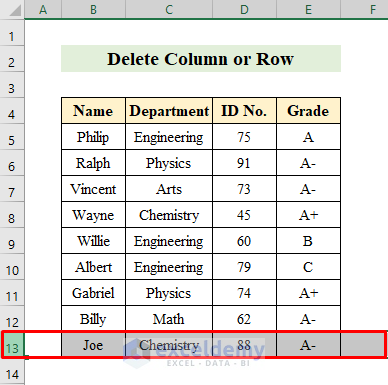
Method 3 – Deleting a Column or Row to Move Cells with the Keyboard
Steps:
- Choose a row. Here, 13.
- Press Ctrl+Minus sign(-).
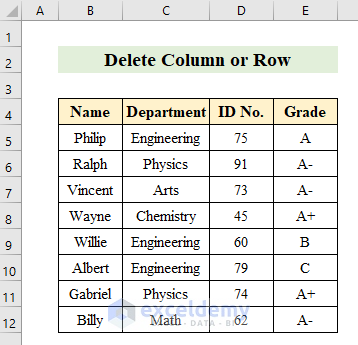
The row is removed.
Things to Remember
- When shifting between cells don’t forget to enable the Scroll key.
Download Practice Workbook
Download the practice workbook.
Related Articles
- How to Move Filtered Cells in Excel
- How to Move Highlighted Cells in Excel
- How to Use the Arrows to Move Screen Not Cell in Excel
- Move and Size with Cells in Excel
- [Fixed!] Unable to Move Cells in Excel
- How to Make Excel Move Automatically to the Next Cell
- How to Move Cells without Replacing in Excel
<< Go Back to Excel Cells | Learn Excel
Get FREE Advanced Excel Exercises with Solutions!
