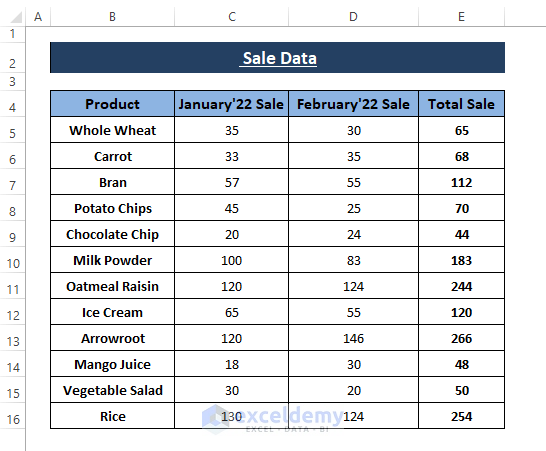
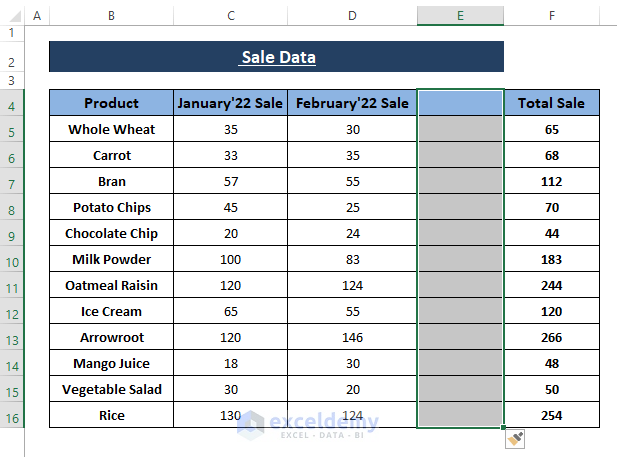
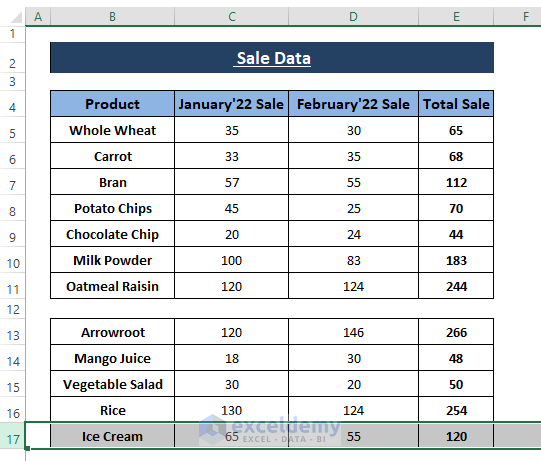
In this article, we will demonstrate how to use multiple Excel features and keyboard shortcuts to move a group of cells in Excel, be they in rows, columns or a range. We’ll use the dataset below to illustrate our methods.
Method 1 – Using Cut and Paste to Move a Group of Cells
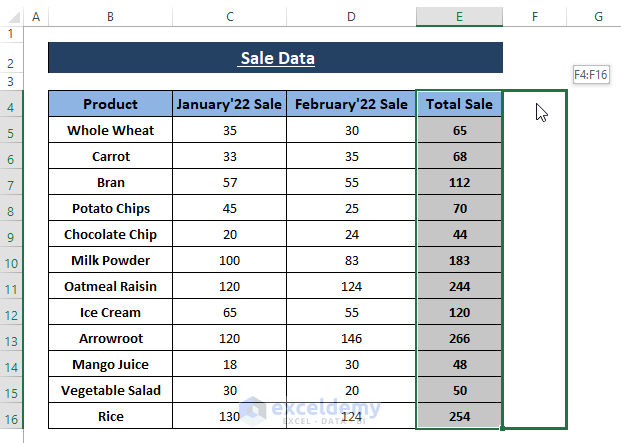
Suppose we want to move the Total Sale column to the right from its current position in the worksheet. We’ll use the Cut and Paste feature to achieve this goal.
Steps:
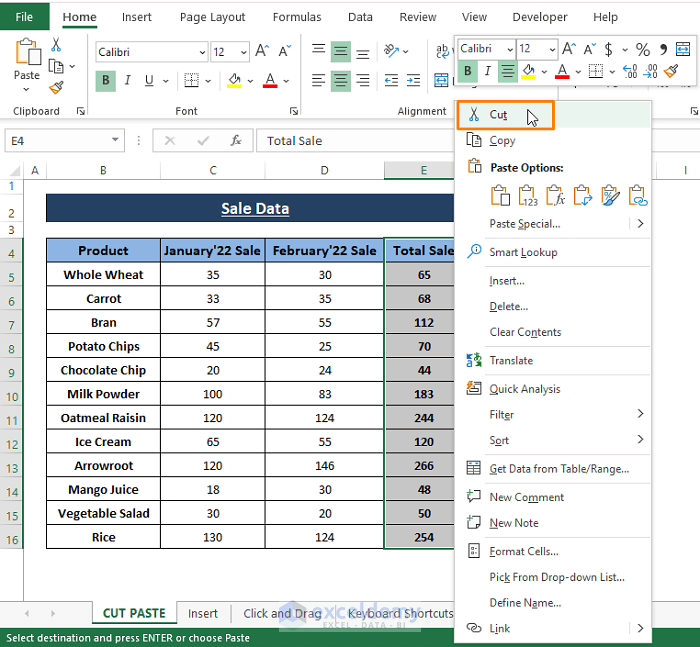
- Select the entire Total Sale column then right-click on it.
- From the Context Menu options, select Cut. Or press CTRL+X.
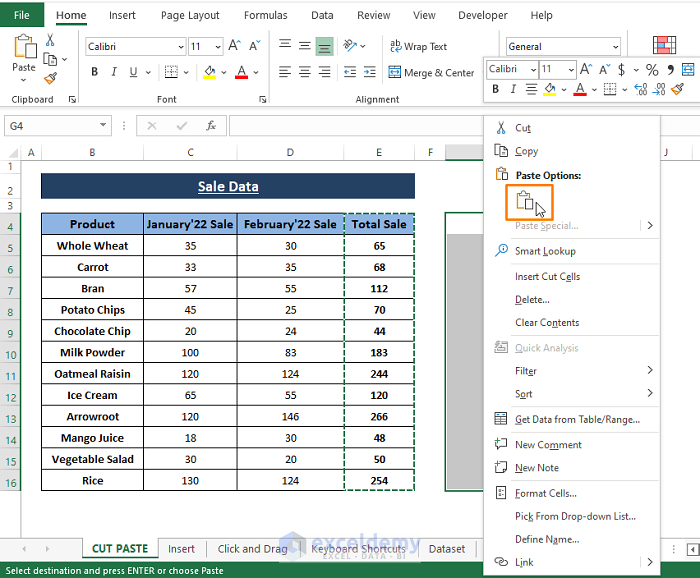
- Select the topmost blank cell where you want to move the Cut cells.
- Right-Click on the selected cells.
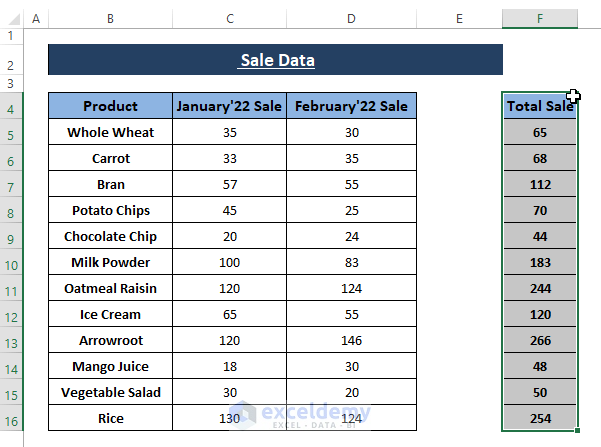
- From the Context Menu, click on the Paste icon under Paste Options. Or press CTRL+V.
The Total Price column is moved to the desired position, as shown in the following picture.

Any range of cells can be moved using the Cut and Paste operation in this way.
Read More: How to Move Cells in Excel Without Replacing
Method 2 – Using the INSERT Feature to Move a Group of Cells
Another Excel feature named Insert can also move a group of cells. The Insert Cells feature offers 4 options to move a group of cells (Shift Cells Right, Shift Cells Down, Entire Row and Column).
Steps:
- Select the range of cells you want to move.
- Go to the Home tab > Cells section.
- Select Insert > Insert Cells.

The Insert window appears.
- Choose the Shift cells right option (or whichever option fits your need).
- Click on OK.
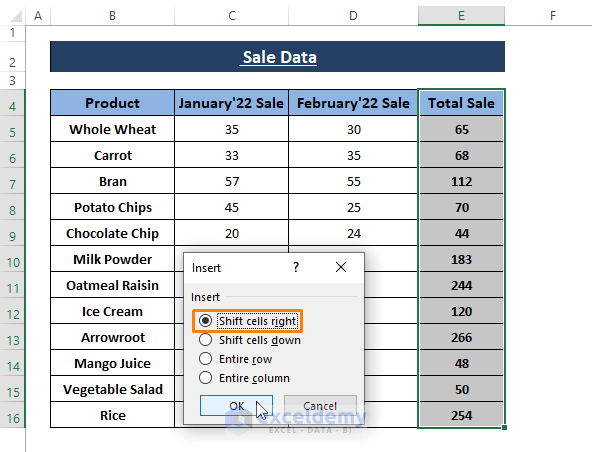
The range moves 1 column right as shown in the picture below.
The Insert feature offers other options such as Insert Sheet Rows and Insert Sheet Columns to insert rows or columns.
Steps:
- Go to the Home tab > Click Cells > Select Insert > Choose an option (Insert Sheet Rows or Columns).
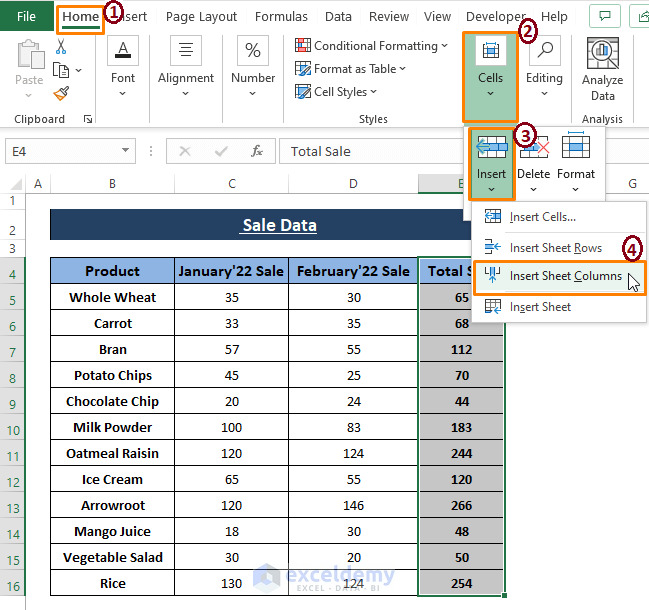
In this case, we used the Insert Sheet Columns option to move the Total Sale column to the right.
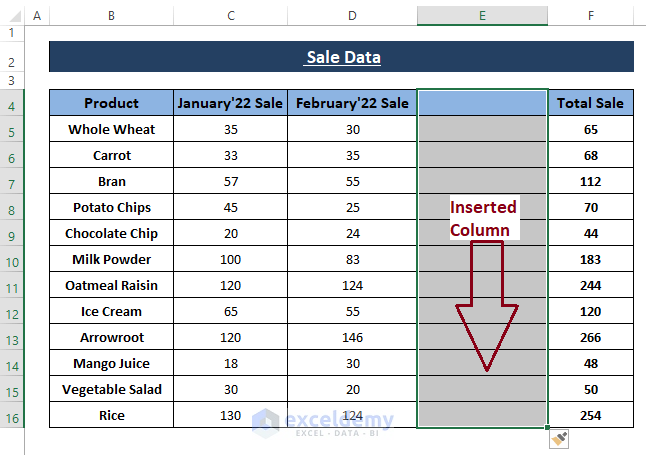
Likewise, the Insert Sheet Rows option can move any row downward from its position.
Method 3 – Using the Select and Drag Trick to Move a Group of Cells
Excel offers some built-in tricks that allow users to perform operations like moving, copying, or replacing cells. The Select and Drag trick is handy in moving a group of cells within a dataset.
3.1 – Moving a Column
Steps:
- Select the cells or a group of cells that you want to move (like the Total Sale column).
- Move the cursor to the edge of the selection.
The cursor turns into the all-direction icon.
- Drag the cursor to your desired destination for the selected cells (for example, to column F).
While dragging, the selected range of the cells will be visually dragged along with the cursor.
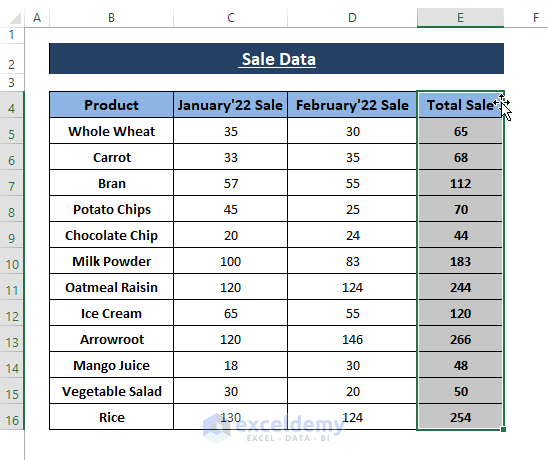
After releasing the cursor, the selected range now appears at that location.
3.2 – Moving a Row
In the same way as moving columns, we can move any row or rows using the Select and Drag operation.
Steps:
- Select the row or rows to be moved.
- Move the cursor towards the edge of your selection until it turns into the all-directional select icon.

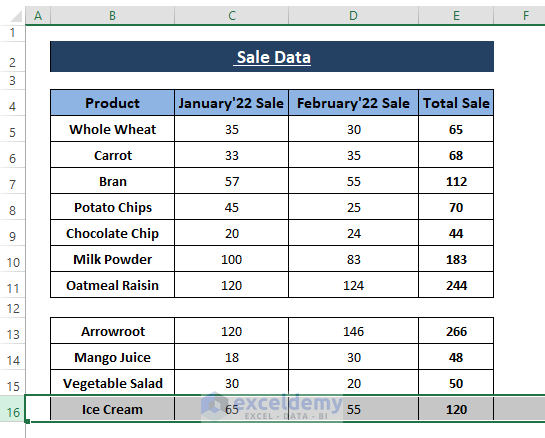
- Drag the cursor to a destination containing data (here, downward), as shown in the below picture.
- Click OK in the dialog box that opens to replace the existing data.

The row entry previously in that location (Rice) is overwritten by the moved row.
To move the row without overwriting existing data, simply drag the cursor to a blank row.
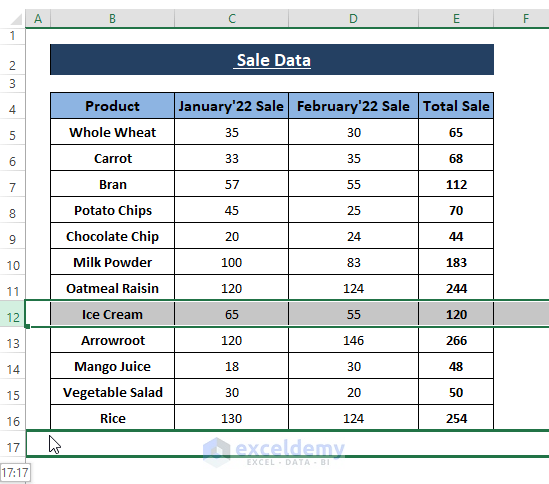
However, placing rows in blank rows below your dataset may result in discontinuity, for instance the data may no longer be included in Autosum calculations. You may need to adjust affected formulas or consider moving the row to a less problematic location if this is the case.
The process for moving multiple rows is the same as for a single row.
Method 4 – Using Keyboard Shortcuts (SHIFT + Mouse Click)
We can use keyboard shortcuts to move columns or rows around in a dataset like the Select and Drag feature. The SHIFT key enables us to switch columns or rows in a dataset.
Suppose we want to switch the February’22 Sale column with January’22 Sale column, and also to switch two random rows.
4.1 – Switching Columns
- Select the entire column.
- Move the cursor towards the edge of the selection until it becomes the all-direction select icon.
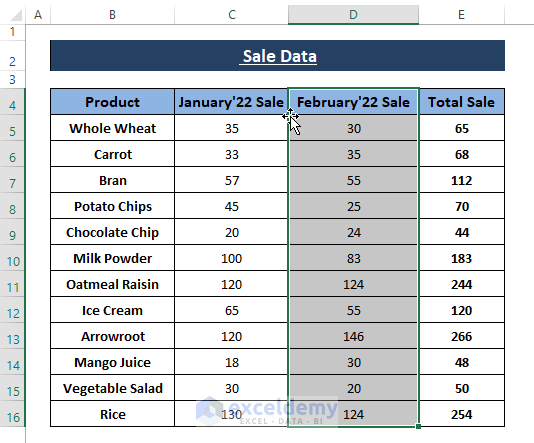
- Hold the SHIFT key and click on the edge.
The all-directional select icon disappears.

- Holding the SHIFT key, move the cursor in any direction (left, right, up, or down).
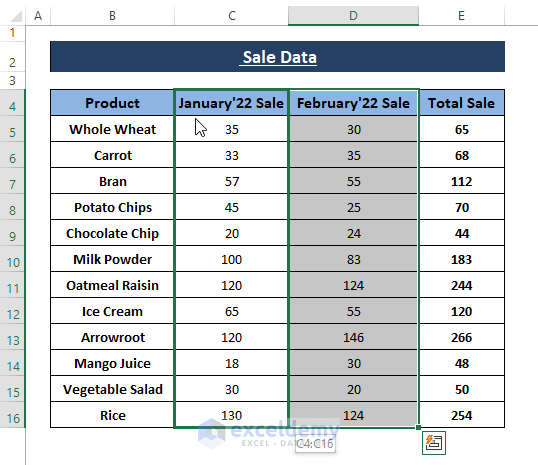
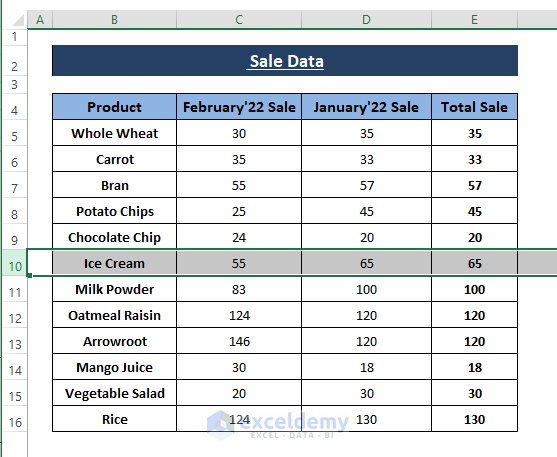
In this case, we’ll move the cursor left to switch columns. Excel displays the switching selection (i.e., C4:C16) as it is ready to switch the columns.
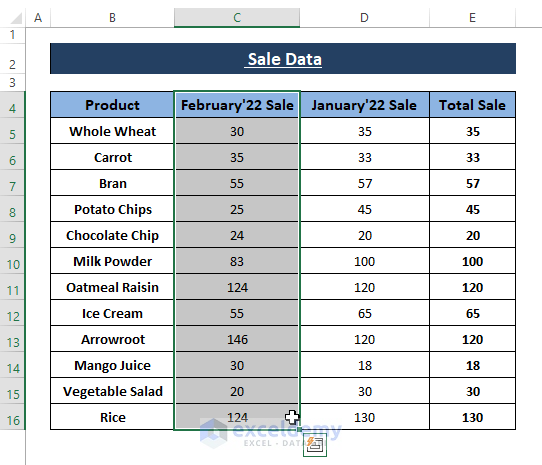
Excel switches the columns, as in the following picture.
4.2 – Switching Rows
- Repeat the Steps for column switching.
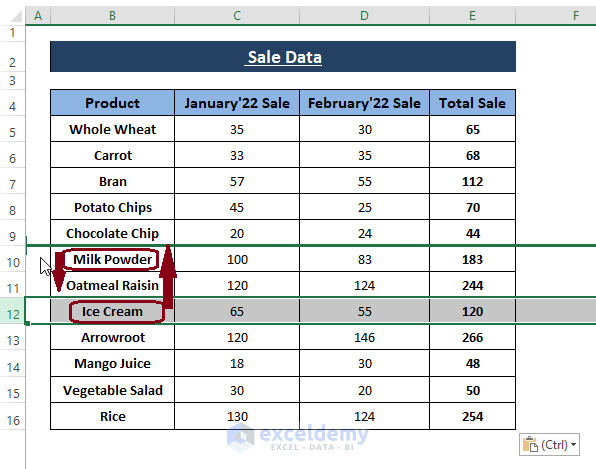
A final outcome similar to the image below is achieved.
Read More: How to Move Cells with Keyboard in Excel
Download Excel Workbook
Related Articles
- How to Move Cells in Excel with Arrow Keys
- How to Move Filtered Cells in Excel
- How to Move Highlighted Cells in Excel
- How to Use the Arrows to Move Screen Not Cell in Excel
- Move and Size with Cells in Excel
- [Fixed!] Unable to Move Cells in Excel
- How to Make Excel Move Automatically to the Next Cell
<< Go Back to Excel Cells | Learn Excel
Get FREE Advanced Excel Exercises with Solutions!
