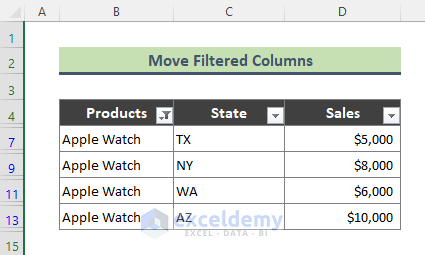
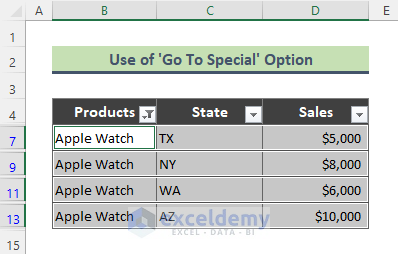
This is the sample dataset.

The data is filtered by Apple Watch:
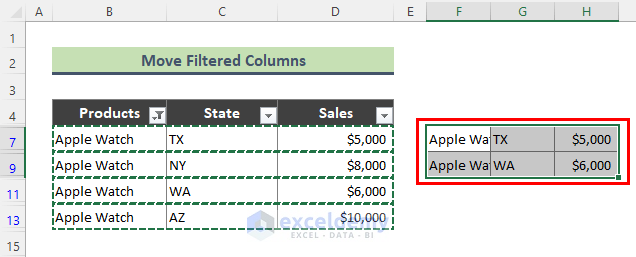
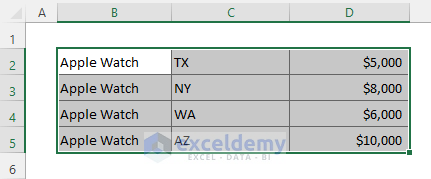
The filtered cell were moved applying a simple copy-paste method. This was the output:
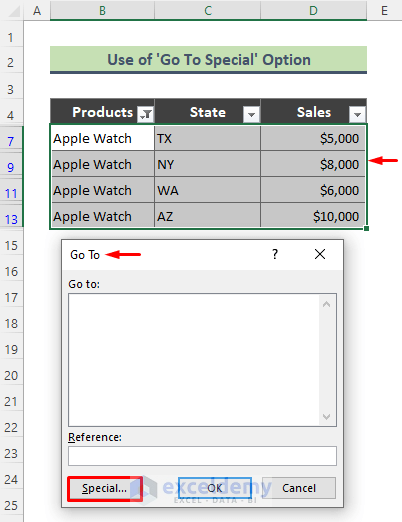
Method 1 – Move Filtered Cells Using the Go To Special Option
Steps:
- Select the filtered cells and press Ctrl + G.
- In the Go To dialog box, click Special.
- In the Go To Special dialog box, click Visible cells only.
- Click OK.
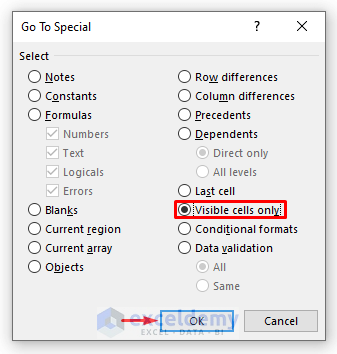
- Only visible cells are selected.
- Copy (Ctrl + C) the cells and paste (Ctrl + V) them into another Excel sheet.
This is the output.
Note:
- You can get the Go To Special dialog by following the path: Home > Editing > Find & Select > Go To Special.

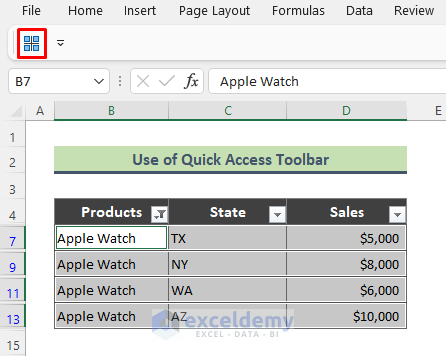
Method 2 – Using the Excel Quick Access Toolbar to Shift Filtered Cells
Steps:
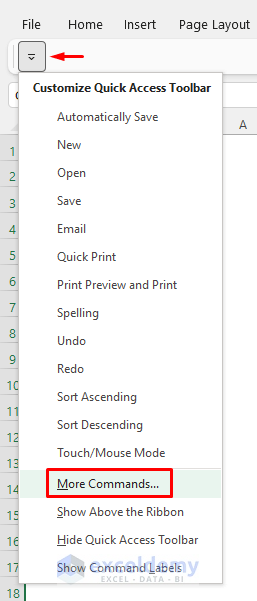
- Click the Customize Quick Access Toolbar icon.
- Choose More Commands.
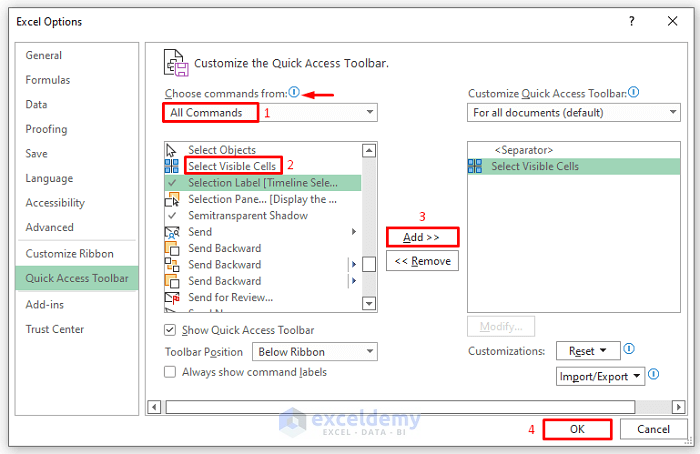
- In the Excel Options dialog box, choose Select Visible Cells command in All Commands.
- Add the command to the Customize Quick Access Toolbar area and click OK.
- The command is visible in the Quick Access Toolbar.
- Select the filtered cells.
- Click Select Visible Cells.
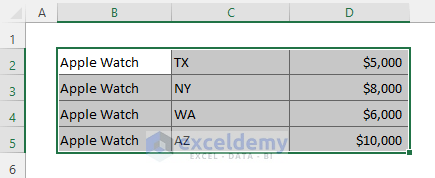
- Copy the selected cells and paste them into another Excel sheet.
Read More: How to Move a Group of Cells in Excel
Method 3 – Using a Keyboard Shortcut to Move Filtered Cells in Excel
Steps:
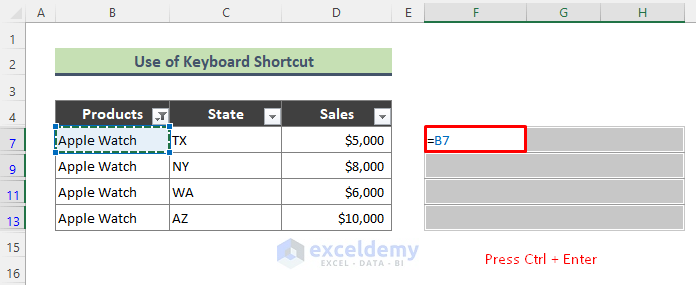
- Select the location to shift the filtered data.
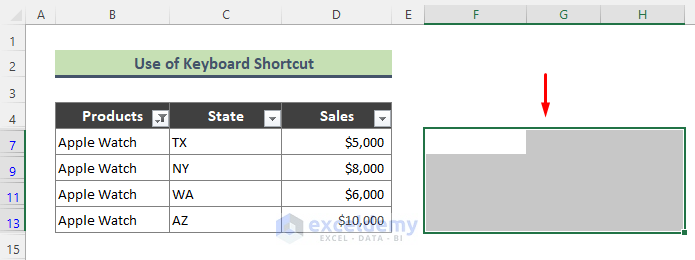
- Press Alt + ; to select the visible cells in the selection.
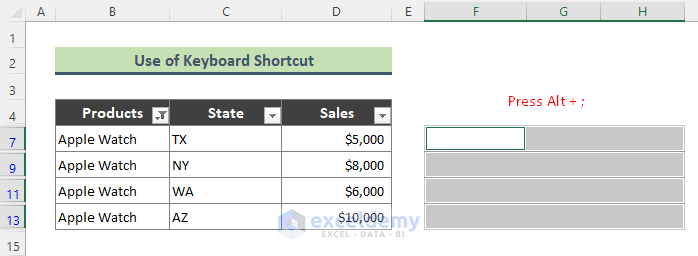
- Enter the cell reference of the filtered data in F5.
- Press Ctrl + Enter.
- Filtered cells were moved.
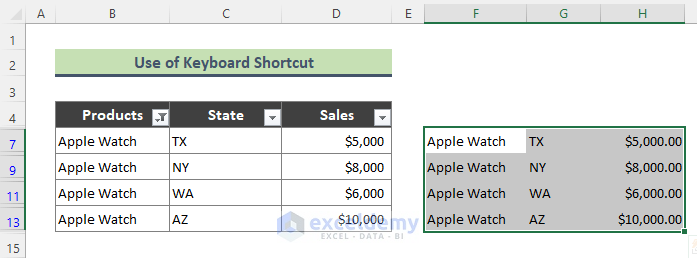
- If you remove the Filter, no hidden cells are moved to the new location.

Read More: How to Move Cells in Excel with Keyboard
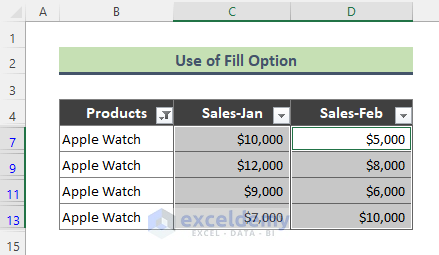
Shift Data between Filtered Cells with Excel Fill Option
You can move data between columns in filtered cells. 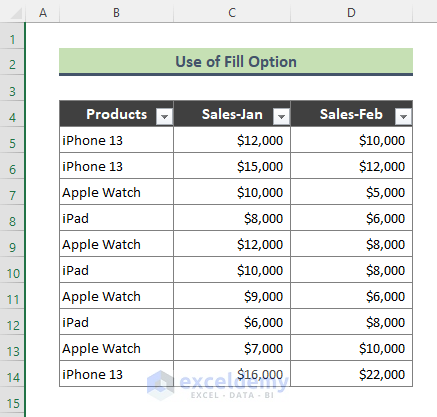
Data was filtered for Apple Watches. To move the sales data from column D to column C:
Steps:
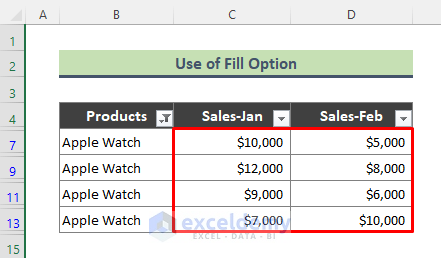
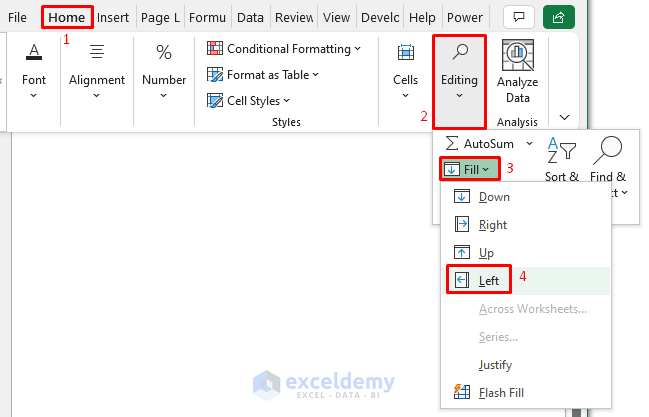
- Select data from both columns (columns C & D) by pressing Ctrl.
- Go to Home > Editing > Fill > Left. Here, Left to move column D to the left side.
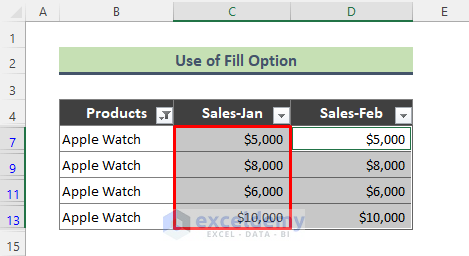
- The sales data for February moved to the column sales data for January.
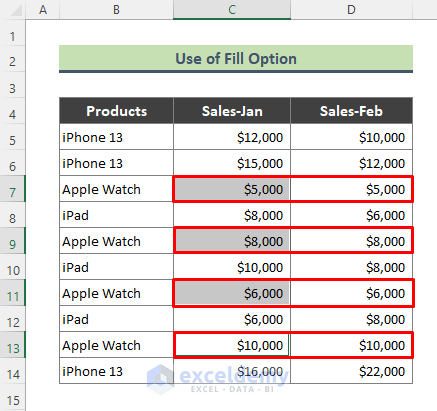
- You can remove the Filter and check the moved data.
Download Practice Workbook
Download the practice workbook.
Related Articles
- How to Move Cells in Excel with Arrow Keys
- How to Move Cells without Replacing in Excel
- How to Move Highlighted Cells in Excel
- How to Use the Arrows to Move Screen Not Cell in Excel
- Move and Size with Cells in Excel
- [Fixed!] Unable to Move Cells in Excel
- How to Make Excel Move Automatically to the Next Cell
<< Go Back to Excel Cells | Learn Excel
Get FREE Advanced Excel Exercises with Solutions!
