In this article, we will describe how to move and size objects with cells in Excel using the Move and size with cells property. Checking this option is the primary method to keep objects such as pictures, shapes and checkboxes locked within a cell.
Method 1 – Move and Size Pictures with Cells in Excel
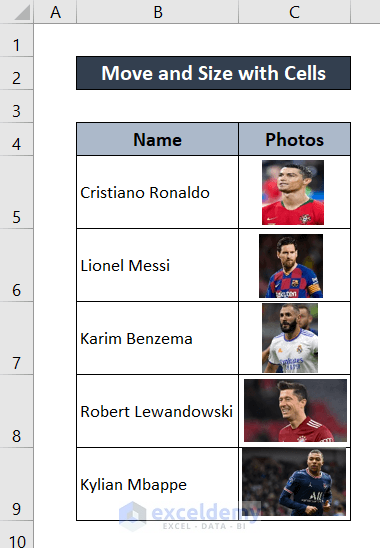
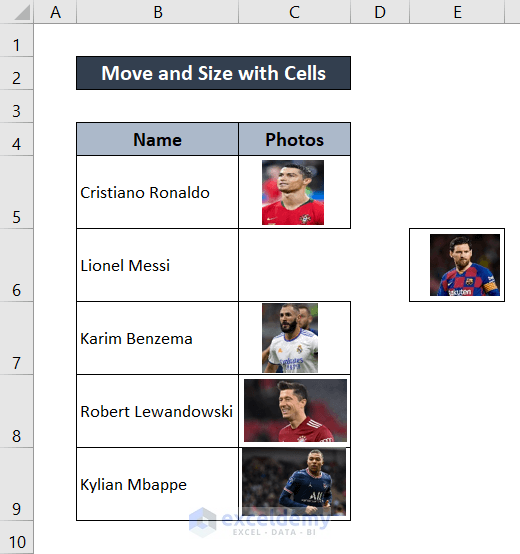
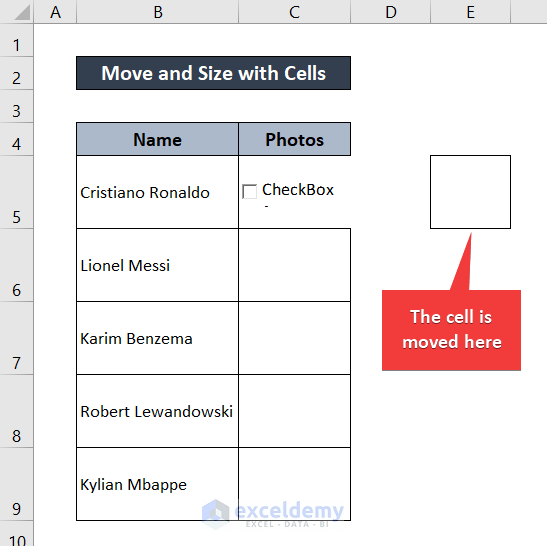
Suppose we have the dataset below of soccer players and their photos.
First, let’s demonstrate the issue when inserting images into cells.
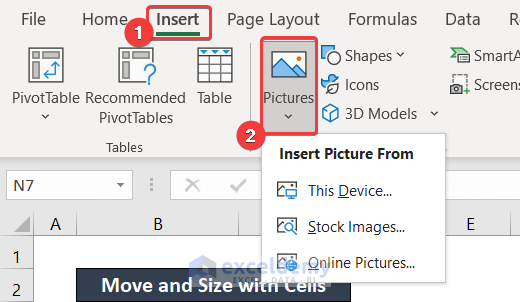
- Go to the Insert tab.
- Click on Pictures and select the source and picture to add.
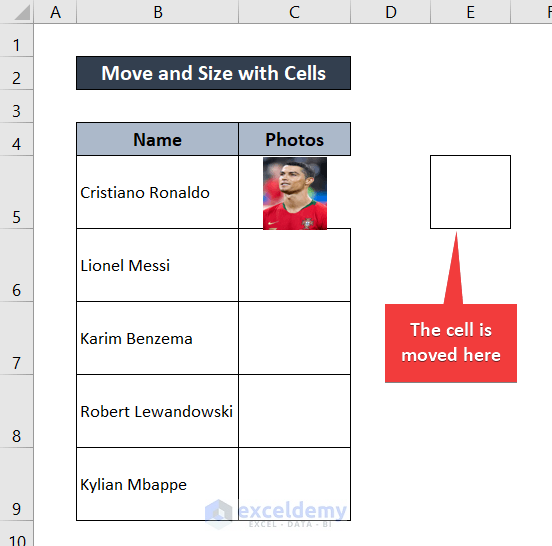
The picture will be inserted in the specified cell. But if the cell is moved or resized, the picture stays where it was; it doesn’t move with the cell.
To prevent this, let’s enable the feature so that the pictures move if the cell is moved, and/or are resized when the cell dimensions are changed,
Steps:
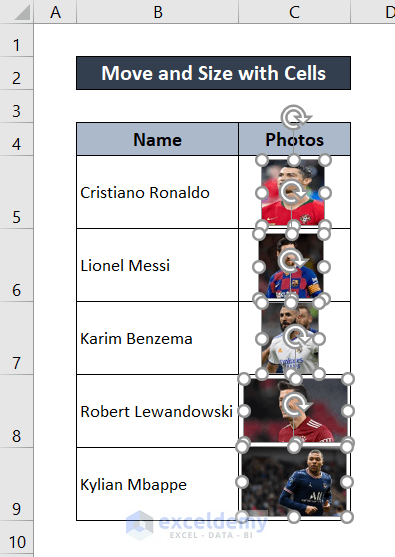
- Select all the images to be locked within their containing cells.
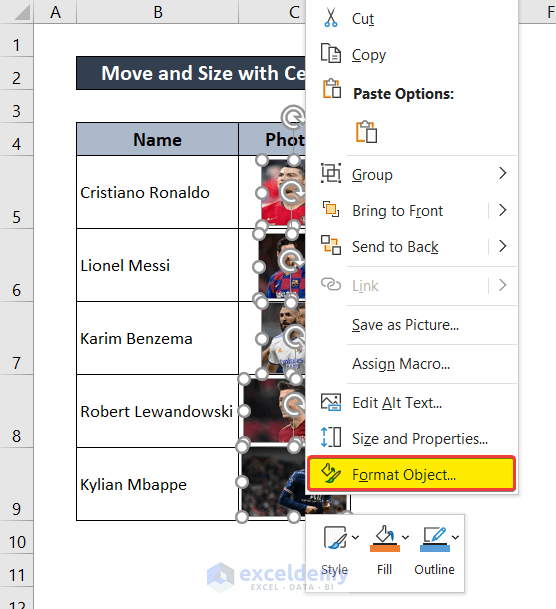
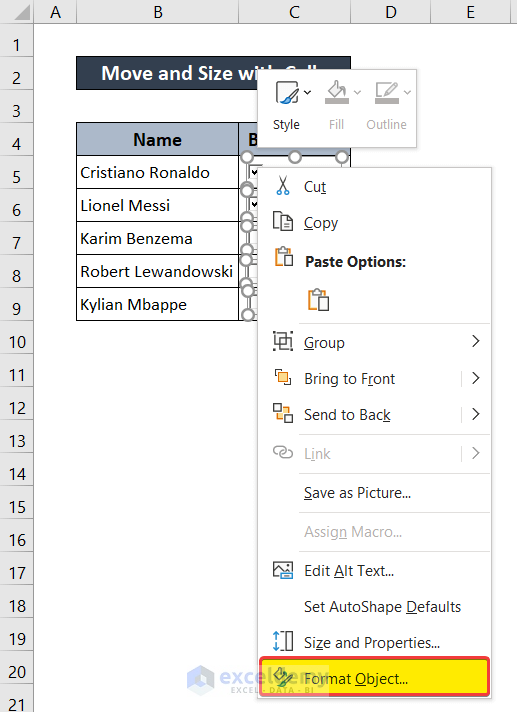
- Right-click on one of them, and from the context menu select Format Objects.
A Format Picture window will pop up.
- In the Format Picture window, go to the Size & Properties tab and select Properties.
- Under the Properties options, check the Move and size with cells option.

- Close the window and all the selected objects will move and size with the cells.
Try moving a particular cell containing an image, and the image will move with it. Here, we move cell C6 by clicking and dragging it.
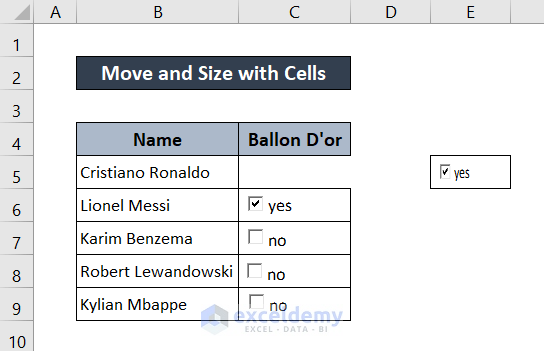
Method 2 – Move and Size Checkboxes with Cells in Excel
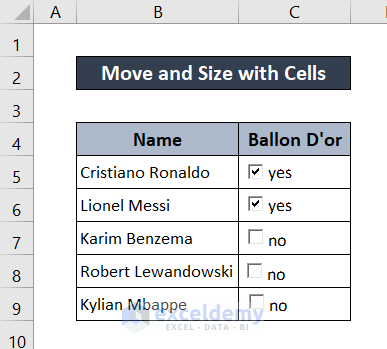
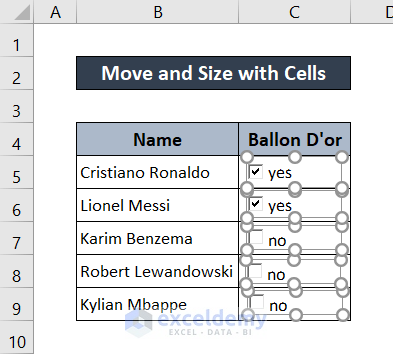
We can also enable checkboxes to move and size with cells in Excel. To demonstrate, we’ll use the dataset below.
To add a checkbox:
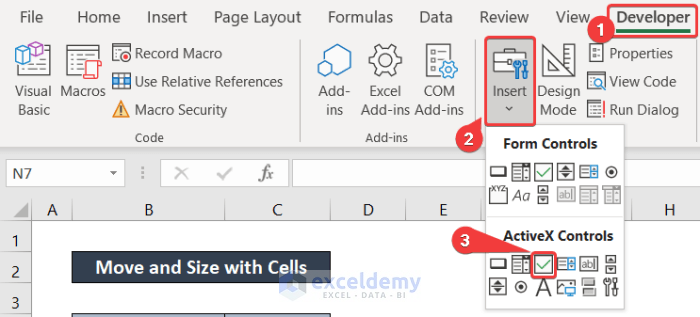
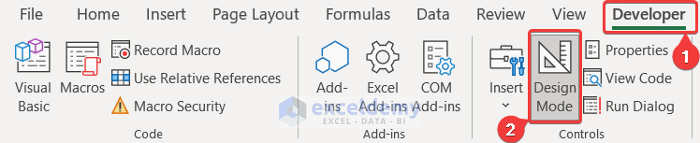
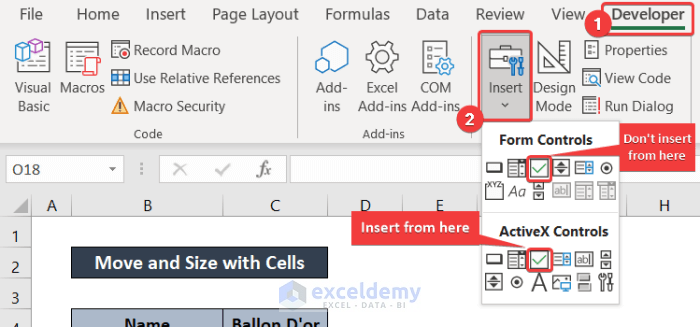
- Go to the Developer tab on your ribbon.
- Go to Controls > Insert and select the checkbox under ActiveX Controls.
As with pictures, the checkboxes may not move or size with the cell when it is moved or resized.
In our example, the checkboxes indicate whether the soccer player has won the Ballon D’or trophy or not. Let’s enable the checkboxes to move and size with cells in Excel.
Steps:
- Make sure the checkboxes are in Design Mode.
- Select all the checkboxes to be associated with their contaning cells.
- Right-click on one and select Format Object from the context menu.
- In the Format Control box that appears, go to the Properties tab, and under Object positioning, select the Move and Size with cells option.

- Click on OK.
The checkboxes will now move and size with their cells when they are moved or reshaped.
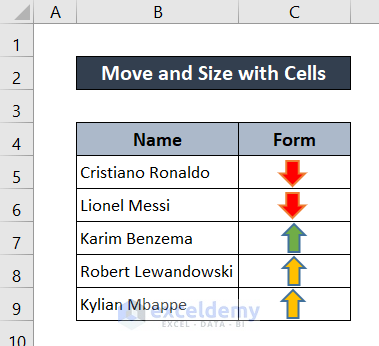
Method 3 – Move and Size Shapes with Cells in Excel
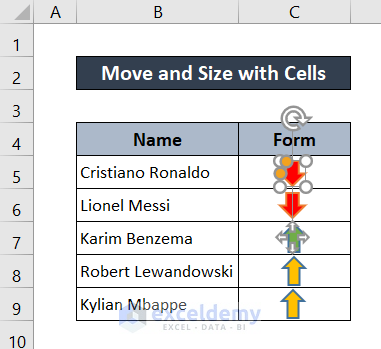
We can also move and size shapes with cells. We’ll use a dataset containing different shapes like the one below to demonstrate.
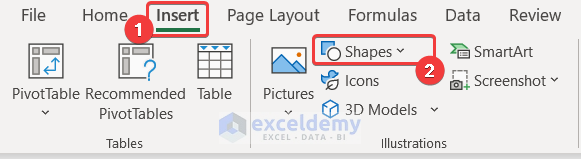
To add arrows/shapes:
- Go to the Insert tab, click on Shapes, and select the shape you want to insert.
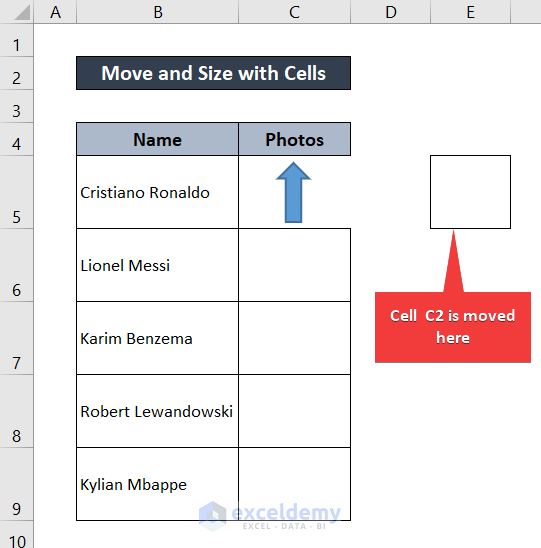
The shape will be inserted into the specified cell. But shapes inserted this way may not move or size when the cell is moved or resized.
Let’s associate these shapes with their containing cells so that they will move and size with the cells.
Steps:
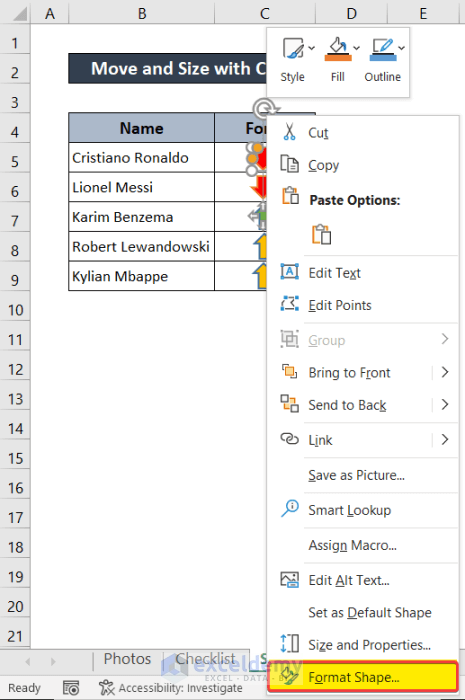
- Select the shapes to move and size with cells. Here, we have selected the shape in cell C5 to demonstrate.
- Right-click on the shape and select Format Shape from the context menu.
- In the Format Shape window, go to the Size & Properties tab.
- Under Properties, check the Move and Size with cells option.
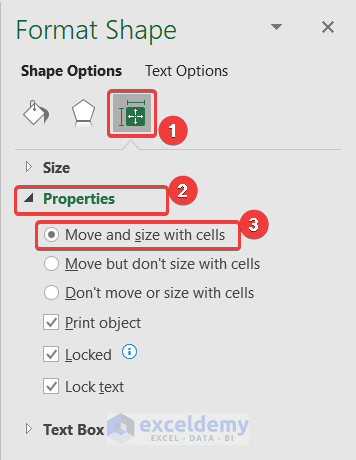
- Close the window.
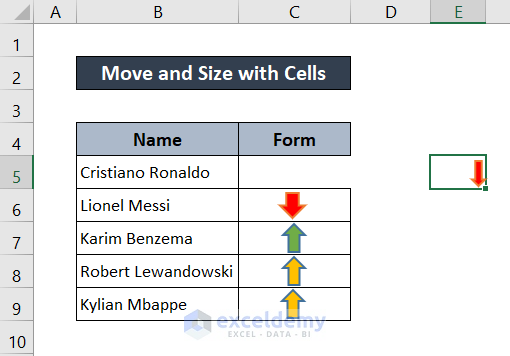
We are done formatting the shape to move and size with its containing cell. Repeat the process for as many shapes as you need.
Read More: How to Move Cells without Replacing in Excel
Move and Size with Cells Not Working in Excel
A common problem when formatting checkboxes to move and size in Excel is that the Move and size with cells option in the Format Control box is greyed out.
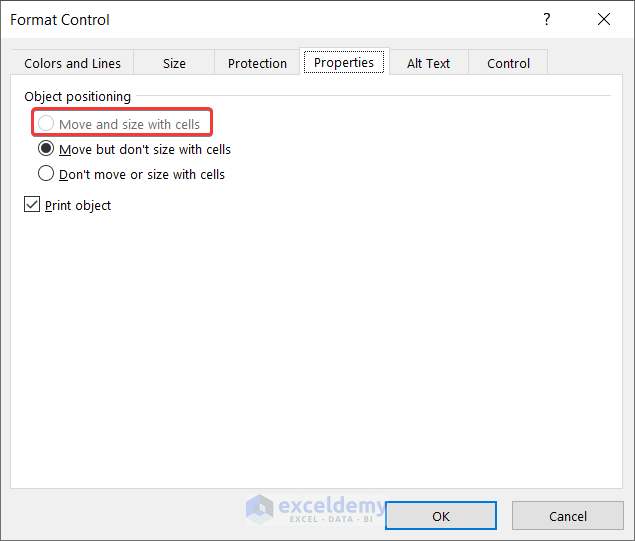
This usually occurs when we insert a Check Box(Form Control) instead of a Check Box (ActiveX Control). To insert the correct type of checkbox which can be moved and sized with cells, select the option indicated in the image below (under the ActiveX Controls).
Read More: [Fixed!] Unable to Move Cells in Excel
Download Practice Workbook
Related Articles
- How to Move Cells in Excel with Arrow Keys
- How to Move Cells with Keyboard in Excel
- How to Move Filtered Cells in Excel
- How to Move Highlighted Cells in Excel
- How to Move a Group of Cells in Excel
- How to Use the Arrows to Move Screen Not Cell in Excel
- How to Make Excel Move Automatically to the Next Cell
<< Go Back to Excel Cells | Learn Excel
Get FREE Advanced Excel Exercises with Solutions!
