To mention the results of the formula or cell references, we use the named range. It makes our formula easy and dynamic and makes it easy to understand the cell references for us. Also, we can use the named range to navigate between the Excel sheets swiftly. But, sometimes we need to delete them for our own purposes. In this article, we’ll demonstrate 5 easy and relatable examples of deleting a named range using VBA in Excel. So, go through the entire article to understand it properly.
The GIF attached below is an overview image of the article and depicts its main idea.
Excel VBA to Delete Named Range: 5 Examples
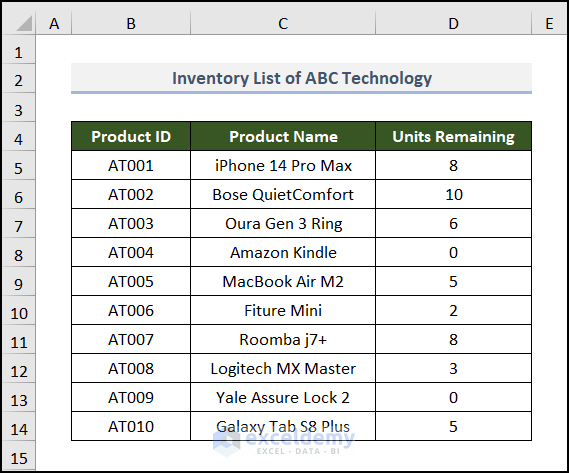
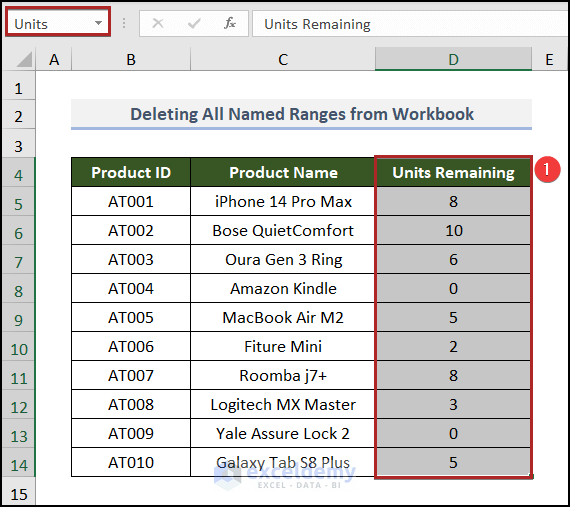
For ease of understanding, we are going to use an Inventory List of ABC Technology. This dataset includes the Product ID, corresponding Product Names, and Units Remaining in columns B, C, and D respectively.
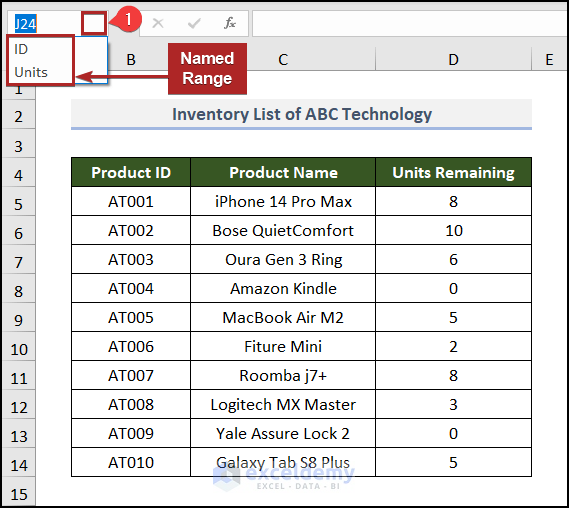
If we click on the drop-down arrow in the Name Box, we can see two named ranges available here. One is ID and the other one is Units.
Note: This is a basic dataset to keep things simple. In a practical scenario, you may encounter a much larger and more complex dataset.
Now, we’ll utilize this dataset to delete these named ranges using VBA in Excel. So, let’s explore them one by one.
Not to mention, here, we have used Microsoft Excel 365 version, you may use any other version according to your convenience. Please leave a comment if any part of this article does not work in your version.
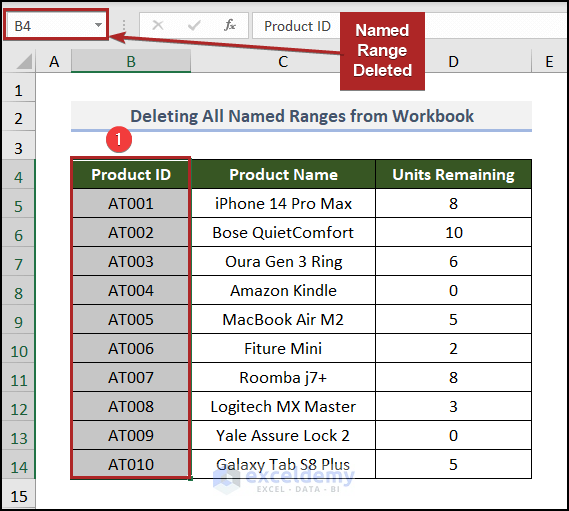
1. Deleting All Named Ranges from Workbook
In our first example, we’ll get to know how we can delete all named ranges from a workbook with the help of VBA code. If we select cells in the B4:B14 range, we can see that it shows ID in the Name Box. Actually, it’s the named range of this selection.
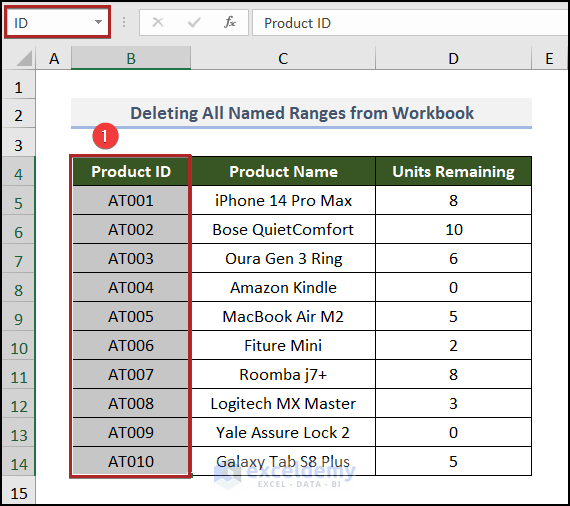
Similarly, it’ll show Units for the D4:D14 range.
Now, we’ll erase all those names from Excel. Just follow us along.
📌 Steps:
- At the very beginning, navigate to the Developer tab.
- Then, click on Visual Basic on the Code group of commands.

Instantly, the Microsoft Visual Basic for Applications window appears before us.
- At this moment, advance to the Insert tab.
- After that, select Module from the available options.
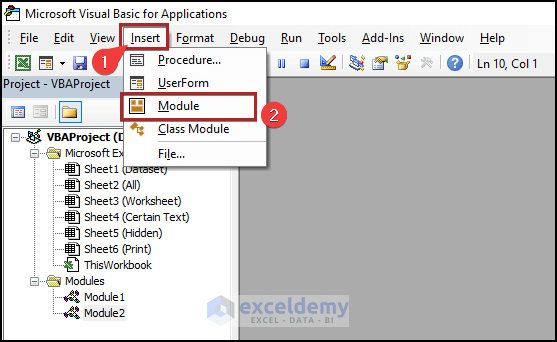
It’ll insert a code module on the right side of the display.
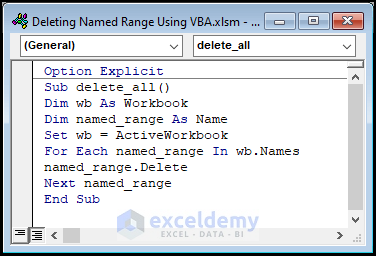
- Now, paste the following scripts into the module.
Option Explicit
Sub delete_all()
Dim wb As Workbook
Dim named_range As Name
Set wb = ActiveWorkbook
For Each named_range In wb.Names
named_range.Delete
Next named_range
End Sub
Code Breakdown
- Firstly, we created a new sub-procedure.
- Secondly, we declared the variables.
- Thirdly, we selected each named range in the active workbook and deleted using the Delete method.
- Lastly, the sub-procedure is being ended.
- Therefore, return to the worksheet and select cells in the B4:B14 range again.
At this time, you won’t see the ID name because it’s already been deleted. The same thing happened for Units named range also.
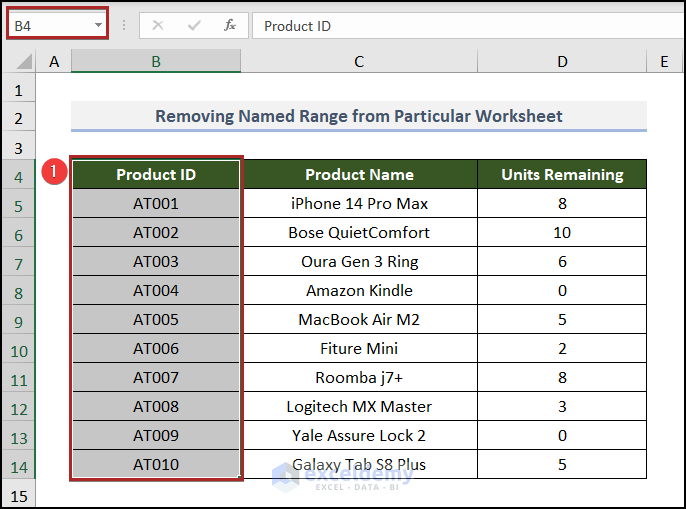
2. Removing Named Range from Particular Worksheet
In the previous, we learned to delete a named range from the entire workbook. But what should we do to delete the named range from a specific worksheet? Don’t worry. The answer lies in the following steps. So, follow them sequentially.
📌 Steps:
If we expand the Name Box, we can see two named ranges in this sheet. ID and Units. These ranges are highlighted in the following image.

- Now, bring another code module like Example 1 and paste the following code there.
Sub delete_worksheet()
Dim named_range As Name
For Each named_range In ActiveWorkbook.Names
If named_range.RefersToRange.Parent.Name = "Sheet3" Then named_range.Delete
Next named_range
End Sub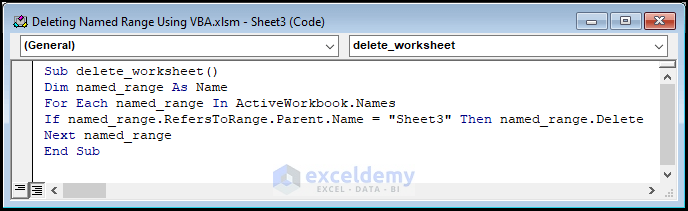
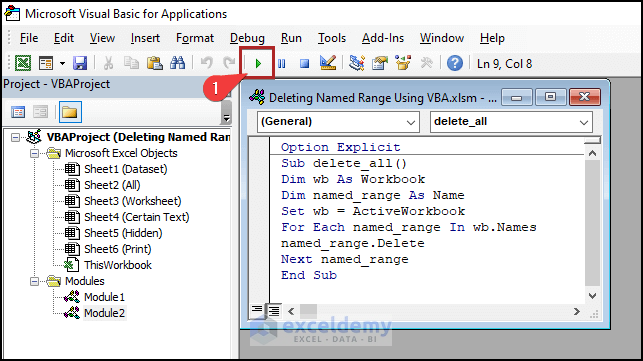
- Then, Run the code like before.
- Afterward, select the range of ID and see, if it isn’t showing the name anymore.
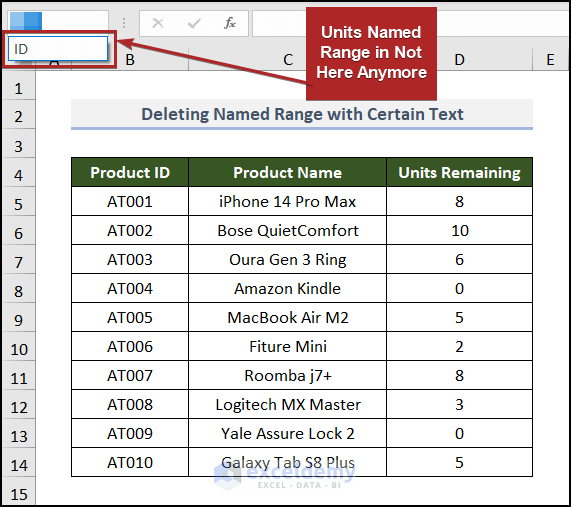
3. Deleting Named Range with Certain Text
As we already know, we have two named ranges in our dataset. One is ID, another is Units.
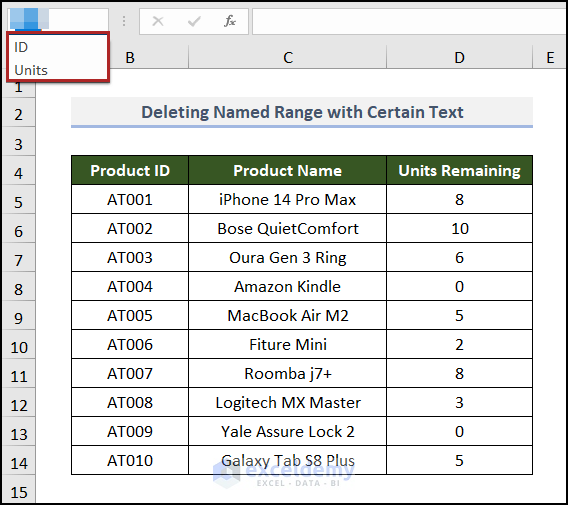
Now, we want to delete the name which contains “Un” in its name. As we have only two named ranges, we can understand easily that the Units named range is going to be deleted. Let’s see it in action.
📌 Steps:
- Similarly, get another code module and write down the following code into it.
Sub delete_certain_text()
Dim named_range As Name
For Each named_range In Application.ActiveWorkbook.Names
If InStr(1, named_range.Name, "Un", vbTextCompare) > 0 Then named_range.Delete
Next
End Sub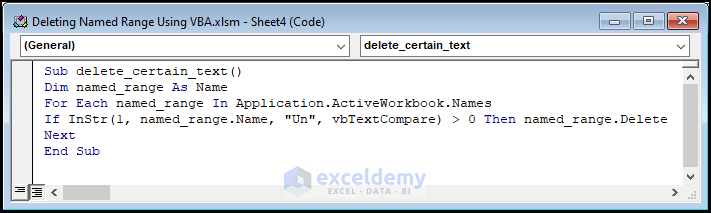
- After executing the code and returning to the worksheet, we can see that there is only one name ID available. The Units one has already been deleted.
4. Eliminating Hidden Named Range
Sometimes, there happens to be hidden named ranges present in the Excel file. We can’t find them in the Name Manager also. See the image below.
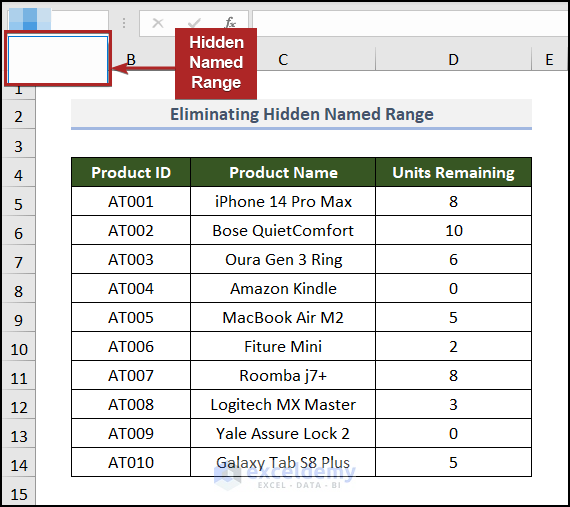
Look, there are no names visible. But we can clearly notice that there is some void space. Actually, there are some hidden named ranges available that we cannot select or cannot operate on them. Now, we’ll clear those hidden named ranges using VBA in Excel. So, let’s be with us.
📌 Steps:
- Firstly, open a code module like before and paste the following code there.
Option Explicit
Sub delete_hidden()
Dim Rng As Name
For Each Rng In ActiveWorkbook.Names
If Rng.Visible = False Then Rng.Delete
Next Rng
End Sub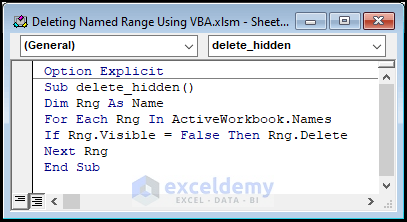
Right after executing the code, the named ranges will be deleted forever. We cannot show this after-effect, as the named range was hidden before.
5. Eradicating Named Range Excluding Print Area
The sheet sections are recorded as a named range when we choose a specific portion of that sheet as the print area. We would lose the print area if we ran the macros which we have shown in the previous examples. As a result, we should first verify the names of each named range in the cycle before eliminating them to avoid problems. Thankfully, the name of every named range from within the portion is “Print Area,” making it simple to recognize these unique name ranges. Just follow these simple steps.
📌 Steps:
- First, bring the code module like before and paste the following script into it.
Sub delete_except_print()
Dim named_rng As Name
  For Each named_rng In ActiveSheet.Names
    If Right(named_rng.Name, 11) <> "!Print_Area" And named_rng.Name <> "Print_Area" Then named_rng.Delete
  Next named_rng
End Sub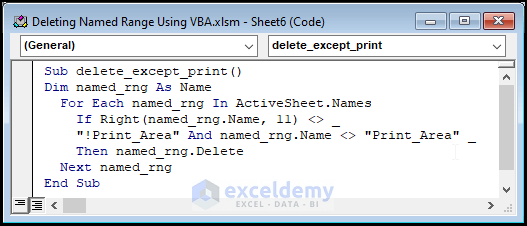
- Accordingly, execute the code and see the result below.

Read More: How to Check If Named Range Exists with Excel VBA
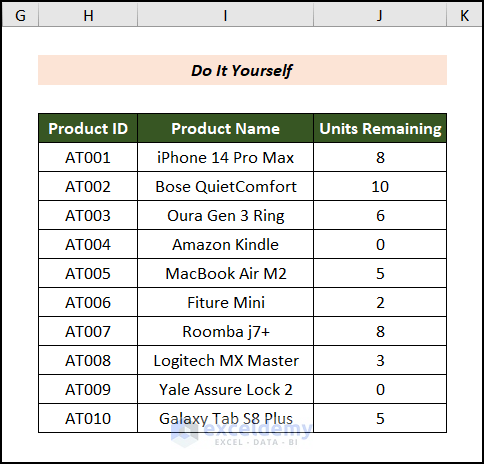
Practice Section
For doing practice by yourself we have provided a Practice section like the one below in each sheet on the right side. Please do it by yourself.
Download Practice Workbook
You may download the following Excel workbook for better understanding and practice yourself.
Conclusion
This article explains how to delete a named range using VBA in Excel simply and concisely. Don’t forget to download the Practice file. Thank you for reading this article. We hope this was helpful. Please let us know in the comment section if you have any queries or suggestions.
Related Articles
- Excel VBA to Create Named Range from Selection
- How to Set Value to a Named Range with Excel VBA
- Excel VBA to Loop Through Named Range
- Create Dynamic Named Range with VBA in Excel

