A named range is to set a name for one or more cells. We can call a named range instead of a cell or range. In this article, we will discuss how to create a named range from the selection using Excel VBA.
Excel VBA to Create Named Range from Selection: 5 Examples
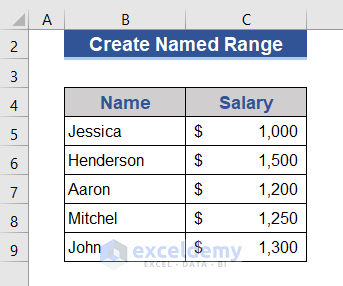
We will show how to create a Named Range from selection in Excel. We will apply the Named Range to the following dataset.
1. A Simple VBA Code to Create a Named Range from Selection in Excel
We will create a named range from the selection using Excel VBA.
Step 1:
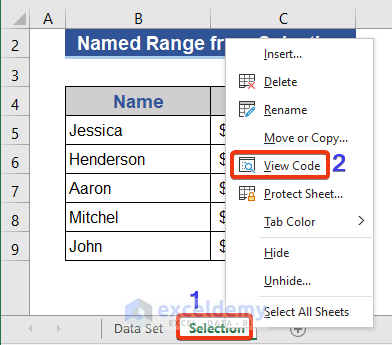
- Go to the Sheet Name field at the bottom of any sheet.
- A menu will appear. Choose View Code from the menu.
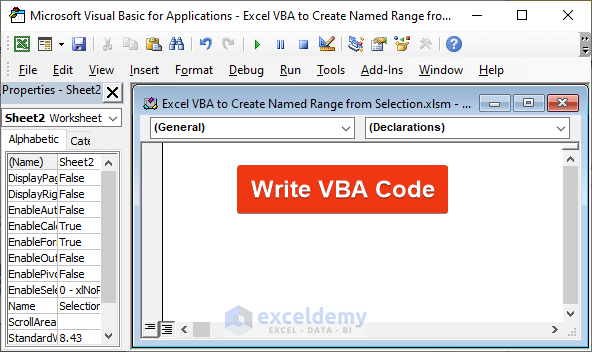
The VBA command module will appear. We will write the VBA code on this module, and then run that code.
Step 2:
- First, select the range where to create the named range. The name bar does not show any name.
- Then, copy and paste the following VBA code on the module.
Sub Create_Named_Range_1()
  Dim range_1 As Range
  Set range_1 = Selection
  Names.Add "SalarySheet_1", range_1
End Sub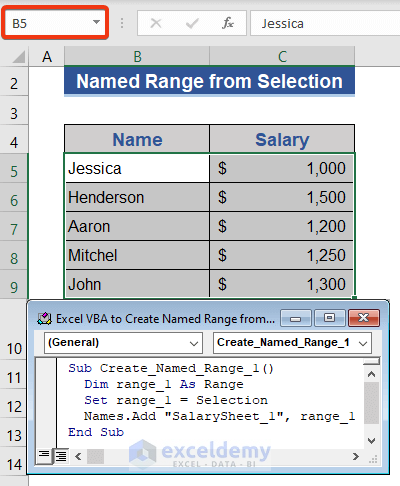
Step 3:
- Press F5 to run the code.
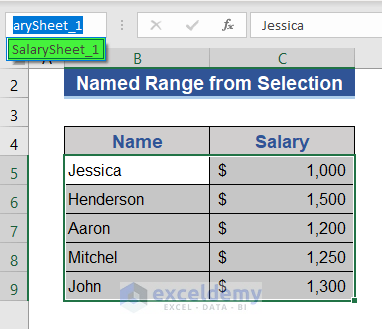
We can see that the name of the range is showing now.
Read More: How to Set Value to a Named Range with Excel VBA
2. Put Cell Reference Directly in VBA Code to Create Named Range
We can use the cell reference directly on the VBA code to create a named range.
Step 1:
- Press Alt+F11 to enter the VBA command module.
- Copy and paste the following VBA code into the module.
Sub Create_Named_Range_2()
Dim range_1 As Range
Dim name_range As String
Set range_1 = Range("B5:C9")
name_range = "SalarySheet_2"
Names.Add name_range, range_1
End Sub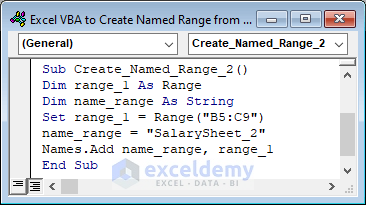
Step 2:
- Hit the F5 button to run the code.
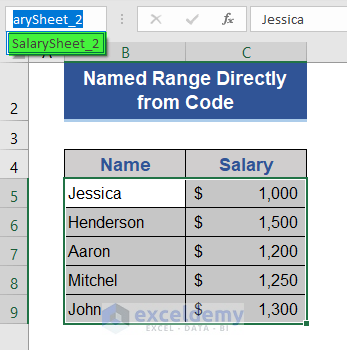
We can see the name of the range here.
3. VBA Code to Create Named Range from User’s Input
We can take input from the user to create a Named Range using Excel VBA.
Step 1:
- Hit Alt+F11 to enter the command module.
- Write the following VBA code on the command module.
Sub Create_Named_Range_3()
Dim range_1 As Range
Dim name_range As String
Set range_1 = Application.InputBox("Range", "Select Range", Type:=8)
name_range = InputBox("Enter Name for the Selection")
Names.Add name_range, range_1
End Sub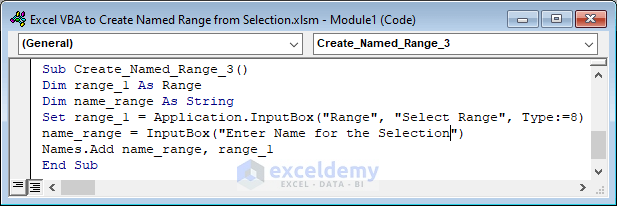
Step 2:
- Press F5 to run the code.
- A window will appear to choose the range. Select the range from the dataset.
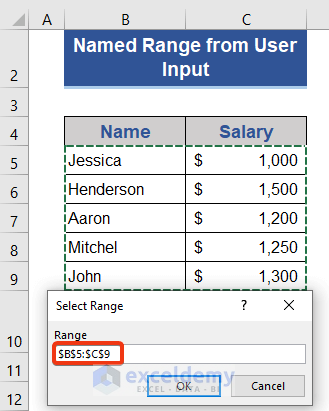
Step 3:
- Then, click OK.
- A new window will appear putting the name of the range.
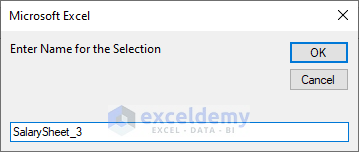
Step 4:
- Again, click OK.
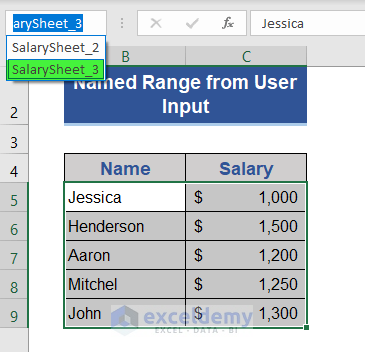
The name is shown here.
4. Create a Named Range of Column Using Excel VBA
We can name a range of a single column using Excel VBA.
Step 1:
- Press Alt+F11 to enter the command module.
- Copy and paste the VBA code below.
Sub Create_Named_Range_4()
Dim row_1 As Integer
Dim range_1 As Range
row_1 = Cells(Rows.Count, "B").End(xlUp).Row
Set range_1 = Range("B5:B" & row_1)
Names.Add Name:="NameSheet_1", RefersTo:=range_1
End Sub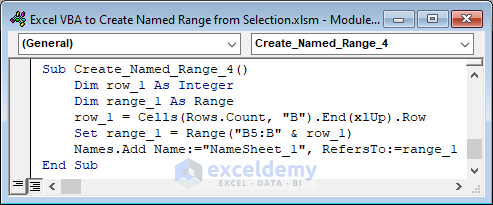 Step 2:
- Now, run the VBA code by pressing F5.

In this method, we named a range from Cell B5 to the last cell of Column B with data.
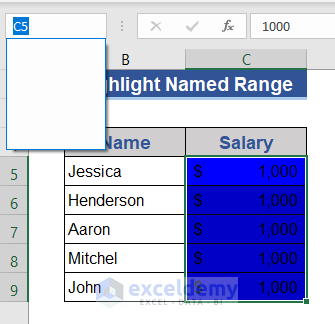
5. Create a Named Range and Highlight It
In this method, we will choose from a named range and highlight that.
Step 1:
- Select the cells of the Salary column.
- Enter the command module by pressing Alt+F11.
- Put the following VBA code on the command module.
Sub Create_Named_Range_5()
Dim range_1 As String
range_1 = "Salary_1"
Names.Add Name:=range_1, RefersTo:=Selection
Range("Salary_1").Value = 1000
Range("Salary_1").Interior.Color = vbBlue
End Sub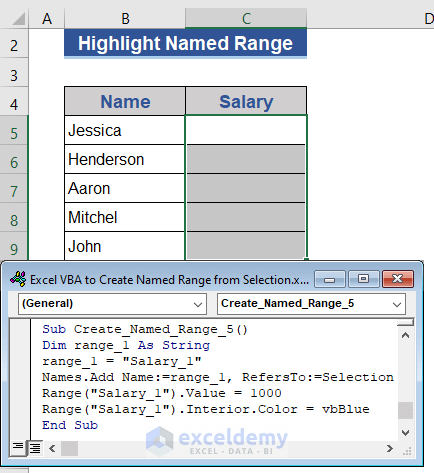 Step 2:
- Run the code by pressing F5.

Read More: Create Dynamic Named Range with VBA in Excel
How to Delete a Named Range Using Excel VBA
We already learned how to name a range. Now we will show how to delete a named range.
Step 1:
- Hit Alt+F11 to enter the VBA command module.
- Copy the following code and paste it onto the module.
Sub Delete_Named_Range()
Dim name_range As Name
Dim count_range As Long
  UserAnswer = MsgBox("Do you like to avoid Print Areas?", vbYesNoCancel)
    If UserAnswer = vbYes Then SkipPrintAreas = True
    If UserAnswer = vbCancel Then Exit Sub
  On Error GoTo Skip
  For Each name_range In ActiveWorkbook.Names
If SkipPrintAreas = True And Right(name_range.Name, 10) = "Print_Area" Then GoTo Skip
      On Error GoTo Skip
      name_range.Delete
      count_range = count_range + 1
Skip:
      On Error GoTo 0
  Next
  If count_range = 1 Then
    MsgBox "[1] name range is removing"
 Else
    MsgBox "[" & count_range & "] name range are removing"
 End If
End Sub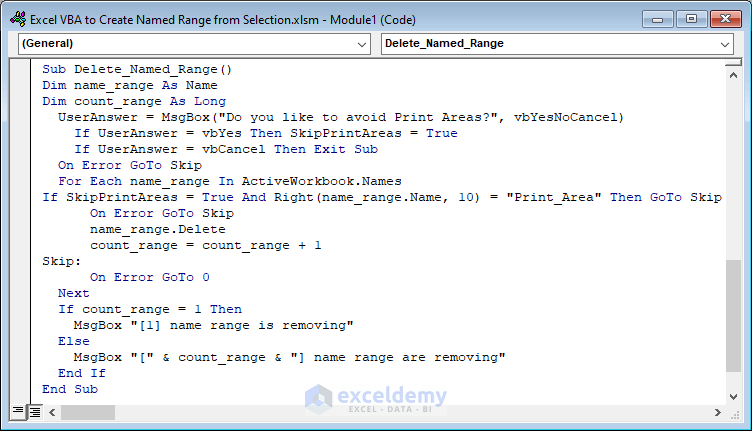
Step 2:
- Press F5 to run the code.
- A new window will appear.
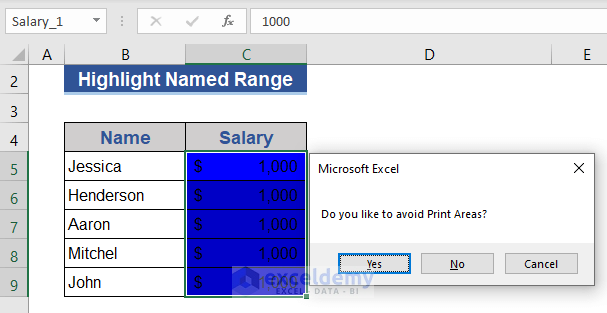
Step 3:
- Click Yes if you agree. Another window will appear mentioning how many names will be removed.
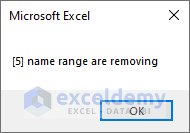
Step 4:
- Click OK.
We can see that all the names have been removed already.
Read More: Excel VBA to Delete Named Range
Download Practice Workbook
Download this practice workbook to exercise while you are reading this article.
Conclusion
In this article, we explained how to create a named range from the selection in Excel. We also added other methods to create and delete a named range with Excel VBA. I hope this will satisfy your needs. You can give your suggestions in the comment box.

