In this article, we will learn text alignment with the command button in Excel using VBA. Text alignment is a necessary thing to represent a clean dataset. We can align texts manually from the Home tab. But today, we will use VBA to perform text alignment with the command button in the Excel worksheet.
5 Methods of Text Alignment with VBA Command Button in Excel
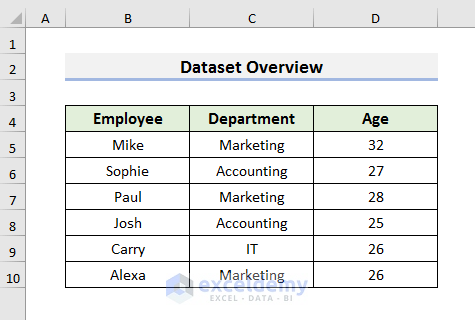
To explain these methods, we will use a dataset that contains information about departments and the age of some employees. We will try to implement different types of alignment here.
1. Excel VBA Command Button to Implement Right Text Alignment
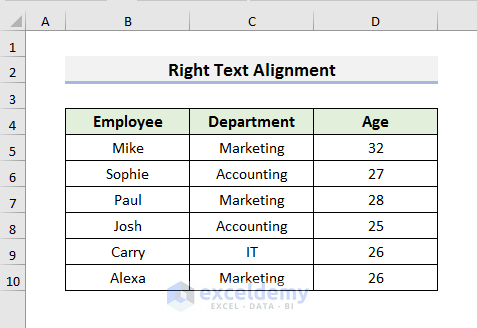
In this method, we will add a command button and use it to align the texts on the right side of the cell and will use horizontal alignment. Our dataset has middle and center alignment right now.
Let’s follow the steps below to learn more.
STEPS:
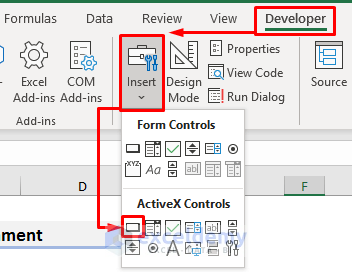
- In the first place, go to the Developer tab.
- Select Insert. A drop-down menu will occur.
- Select the CommandButton icon. This action will let you draw the command button in the worksheet.

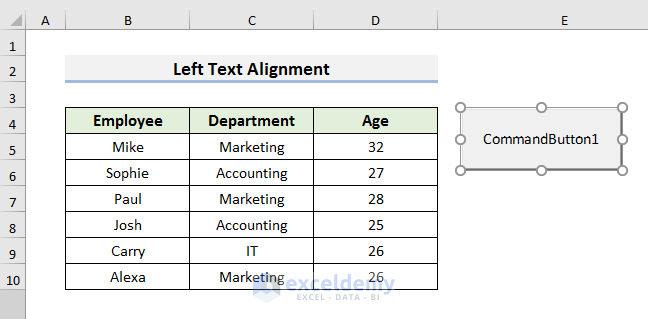
- Secondly, draw a rectangular shape in your worksheet. You will see the below result after drawing.

- Thirdly, double-click on the command button and it will open a Module window like below.
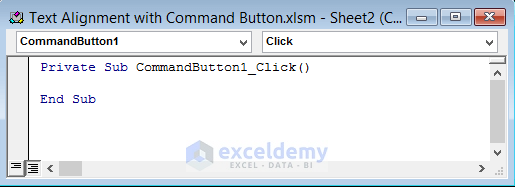
- Now, type the code in the Module.
Private Sub CommandButton1_Click()
CommandButton1.Caption = "Right_Alignment"
Selection.HorizontalAlignment = xlRight
End Sub 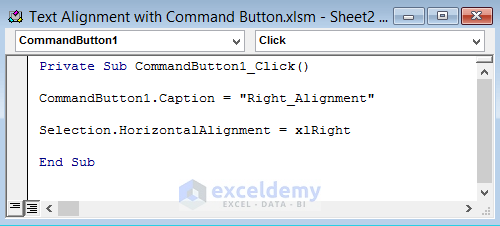
Here, this code will first set the name of the command button to Right_Alignment and then it will perform horizontal alignment on the right side.
- Press Ctrl + S to save the code and then press the F5 key.
- After that, you will see results like below.
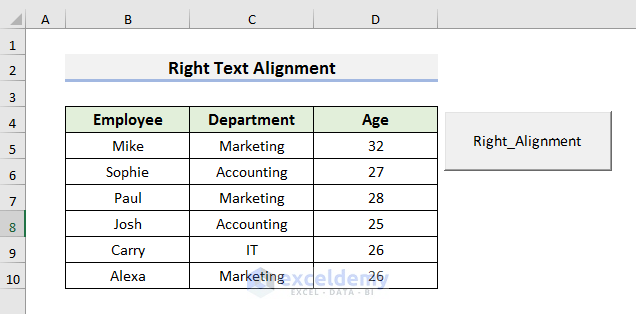
- Next, select the cells where you want to apply the right alignment.
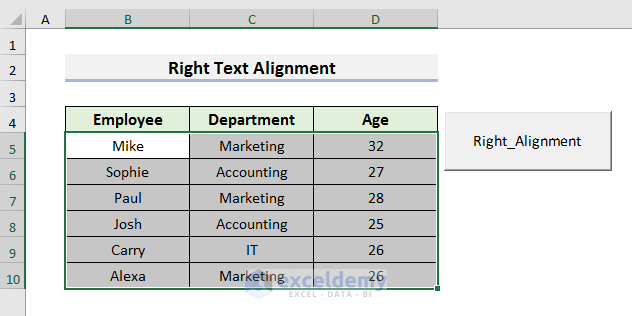
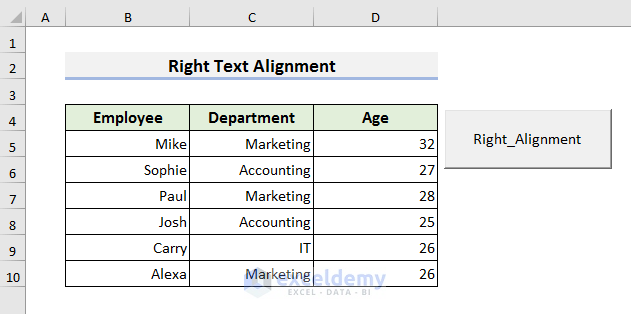
- Finally, click on the command button to see results like below.
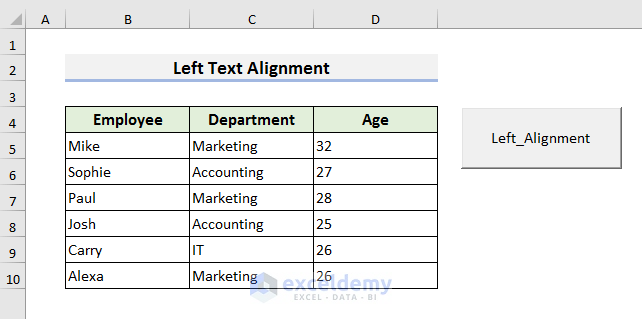
2. Create Left Text Alignment with Excel VBA Command Button
We can also align the texts on the left side of the cells. We will use the same dataset here again.
Let’s pay attention to the steps below.
STEPS:
- Firstly, go to the Developer tab and select Insert. Then, select the CommandButton icon from the drop-down menu.

- Secondly, draw the command button in the worksheet.
- After that, double-click on the command button and type the code in the Module window:
Private Sub CommandButton1_Click()
CommandButton1.Caption = "Left_Alignment"
Selection.HorizontalAlignment = xlLeft
End Sub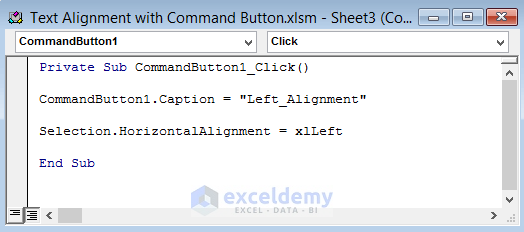
This code will change the caption of the command button using CommandButton1.Caption and then align the selected cells on the left side horizontally.
- Now, press Ctrl + S to save the code.
- Then, hit the F5 key to run the code.
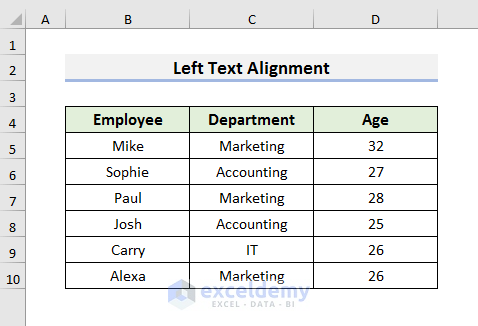
- After running the code, you will see results like below.
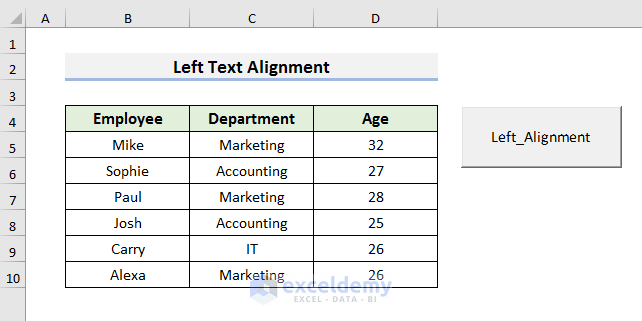
- Next, select the cells where you want to implement the left alignment.
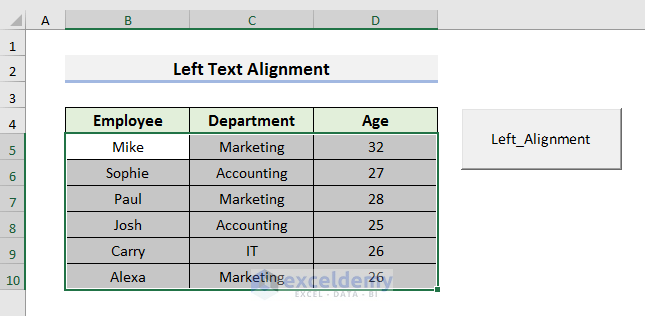
- In the end, click on the command button to see the texts on the left side of the cells.
Read More: VBA Code for Save Button in Excel
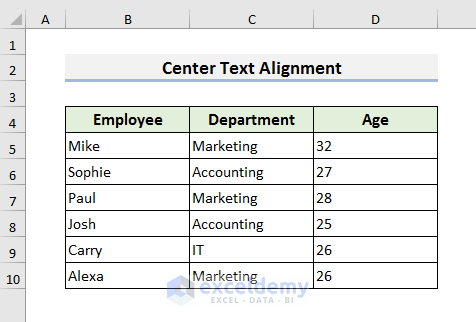
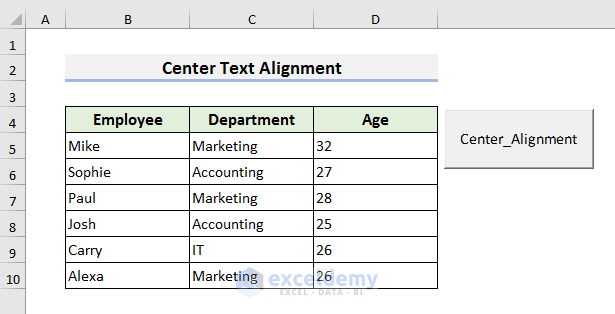
3. Apply Excel VBA to Perform Center Text Alignment with Command Button
In this method, we will try to apply center text alignment. This time our dataset is left aligned.
Let’s follow the steps below.
STEPS:
- Go to the Developer tab and select Insert at first.
- Select the CommandButton icon from the drop-down menu.

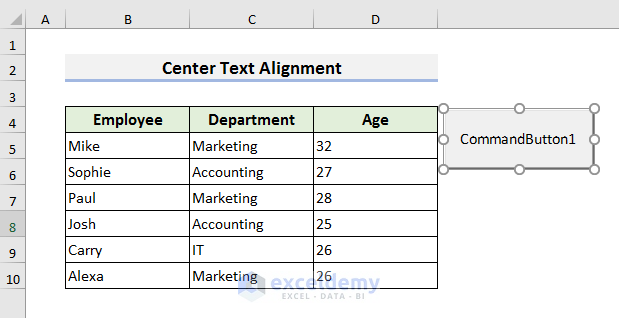
- After that, draw the command button on the worksheet.
- Now, double-click the command button and type the code in the Module window.
Private Sub CommandButton1_Click()
CommandButton1.Caption = "Center_Alignment"
Selection.HorizontalAlignment = xlCenter
End Sub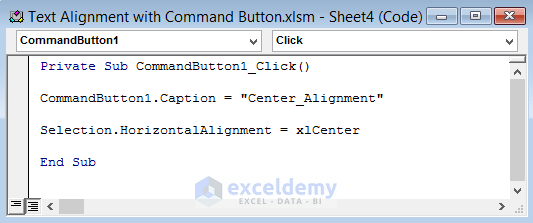
This code is using xlCenter instead of xlLeft from the previous code.
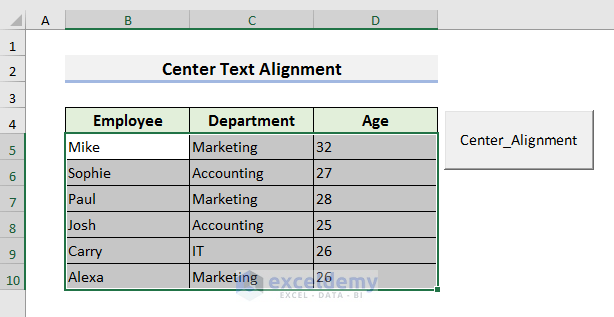
- Next, save the code by pressing Ctrl + S and then, run it by pressing the F5 key.
- After running the code, you will see results like below in the worksheet.
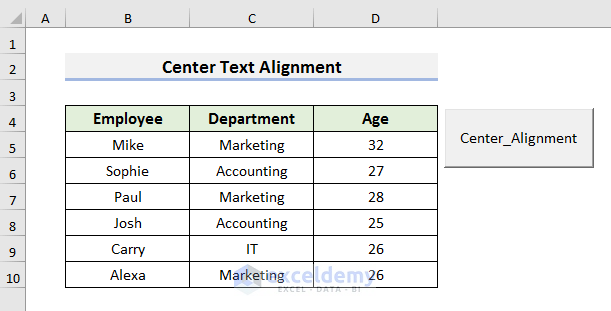
- To implement the center alignment, select the cells.
- Finally, click on the command button to see results like below.
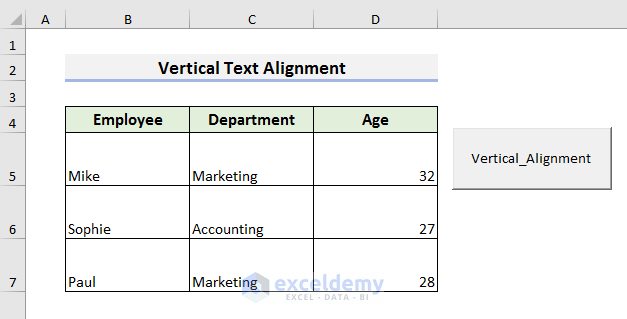
4. Vertical Text Alignment with Excel Command Button Using VBA
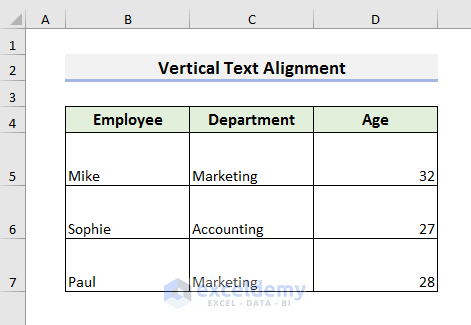
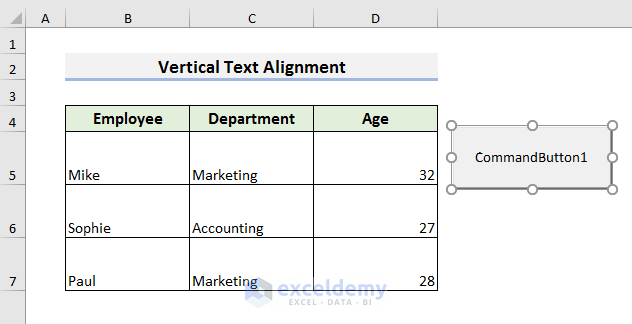
In the previous methods, we used horizontal alignment. We will use vertical alignment here. To explain this method easily, we will use the same dataset but with fewer rows.
Let’s observe the steps below.
STEPS:
- In the beginning, go to the Developer tab and select Insert. Then, select the CommandButton icon from the drop-down menu.
- After that, draw the command button on the worksheet.
- Now, double-click the command button to open the Module window.
- Then, type the code there.
Private Sub CommandButton1_Click()
CommandButton1.Caption = "Vertical_Alignment"
Selection.VerticalAlignment = xlCenter
End Sub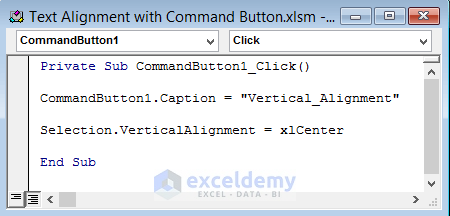
This VBA code will align the texts in the center vertically.
- Next, press Ctrl + S to save the code.
- After saving, press the F5 key to run the code. The name of the command button will change.
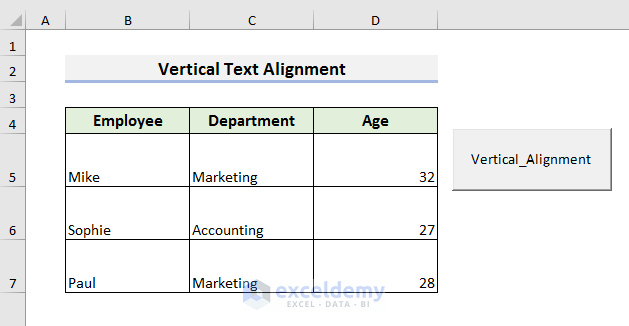
- At this moment, select the cells to perform center alignment vertically.
- In the end, hit the command button to see results like below.

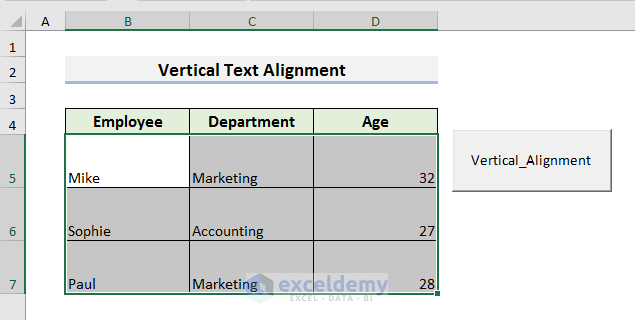
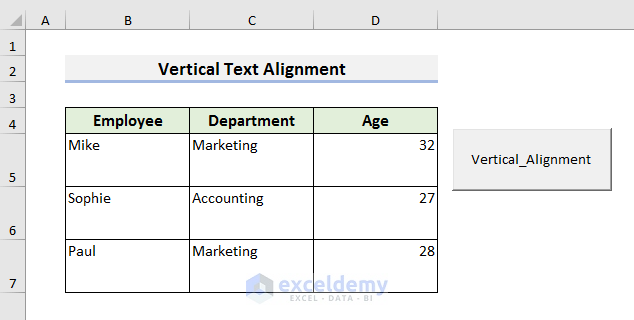
- To align the texts at the top of the cell, use the code below.
Private Sub CommandButton1_Click()
CommandButton1.Caption = "Verical_Alignment"
Selection.HorizontalAlignment = xlTop
End Sub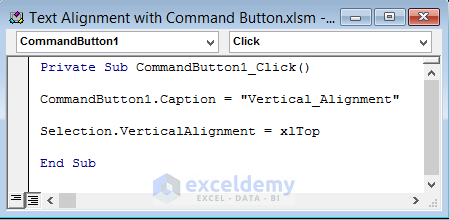
- Running the above code, you will see results like below.
- Use the code below to align at the bottom vertically.
Private Sub CommandButton1_Click()
CommandButton1.Caption = "Center_Alignment"
Selection.HorizontalAlignment = xlBottom
End Sub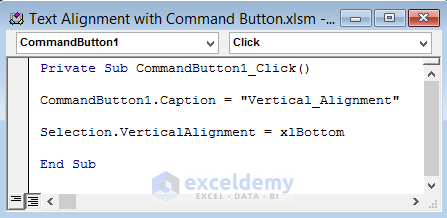
- Lastly, you will see the bottom alignment vertically like below.
Read More: How to Use VBA Code for Submit Button in Excel
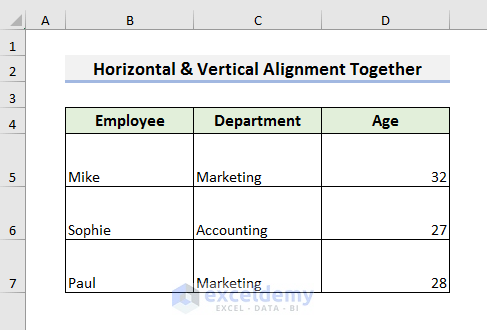
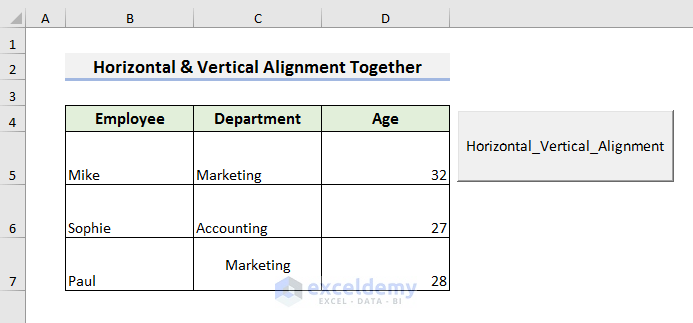
5. Horizontal & Vertical Alignment Together with VBA Command Button
We can also implement horizontal and vertical alignment together. Here, we will use the previous dataset.
Let’s follow the steps below.
STEPS:
- Firstly, go to the Developer tab and select Insert. Then, select the CommandButton icon from the drop-down menu.

- Secondly, draw the command button in the worksheet.
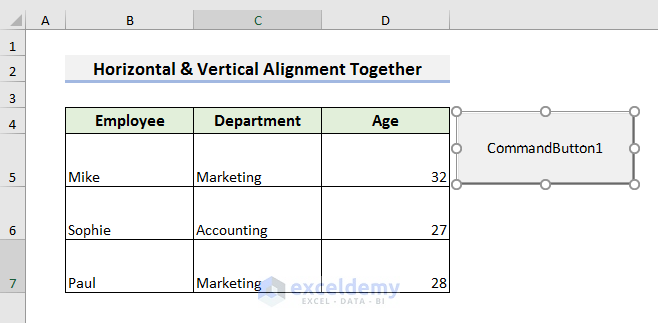
- Thirdly, double-click the command button, and a Module window will open.
- Type the code below in the Module window.
Private Sub CommandButton1_Click()
CommandButton1.Caption = "Horizontal_Vertical_Alignment"
With Selection
    .HorizontalAlignment = xlCenter
    .VerticalAlignment = xlCenter
End With
End Sub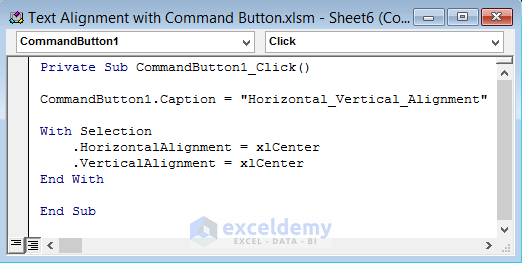
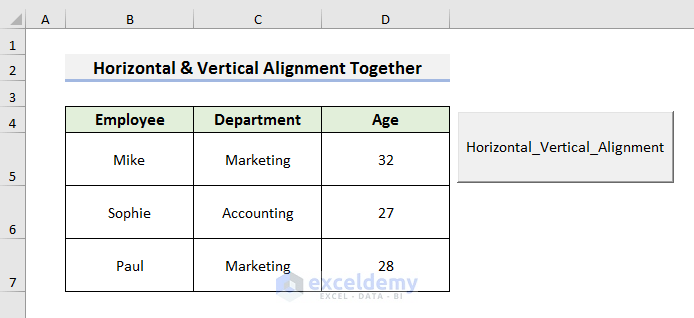
Here, this code is performing center alignment both horizontally and vertically.
- Now, press Ctrl + S to save the code and then, the F5 key to run the code.
- After that, select the cells where you want to apply the code.
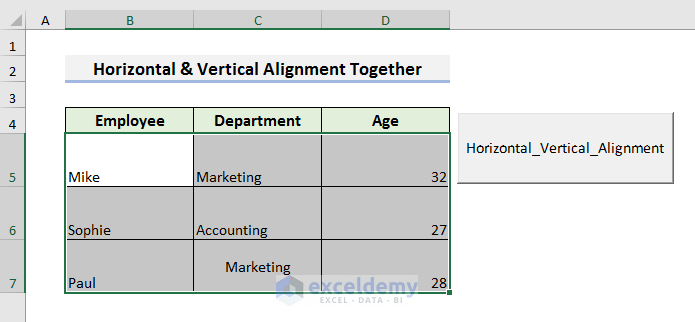
- Finally, click on the command button to see results like below.
Things To Remember
In the above codes, we have written the caption of the command button using CommandButton.Caption. You can delete this part in the code if you want to just align texts without naming the command button.
Download Practice Book
Download the practice book here.
Conclusion
We have demonstrated 5 easy and quick VBA examples to align texts with the command button in Excel. I hope these methods will help you to align texts with the command button using VBA. Furthermore, the practice book is added at the beginning of the article. You can download the practice book to exercise more. Last of all, if you have any queries or suggestions, feel free to ask in the comment section.

