What Is AutoFill in Excel?
Autofill is a built-in feature of Microsoft Excel that allows users to automatically fill the rest of the rows or columns with values, formats, or formulas. You can identify it by taking the cursor to the bottom-right corner of any cell, where it gets replaced by the Fill Handle.
Take a look at the following screenshot:
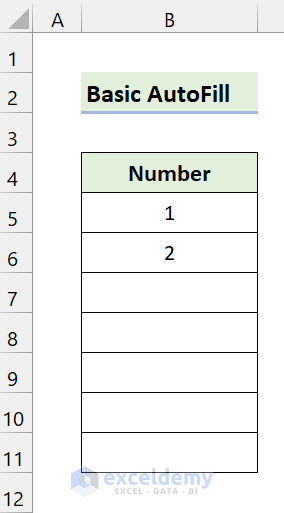
We will fill the rest of the rows using the autofill in Excel.
- Select the cells B5:B6. You will see the autofill handle in the bottom-right corner.
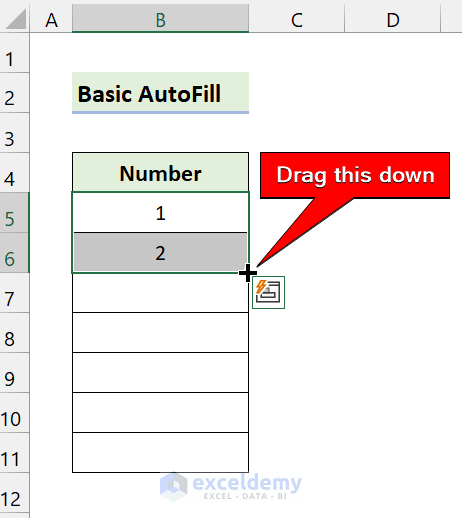
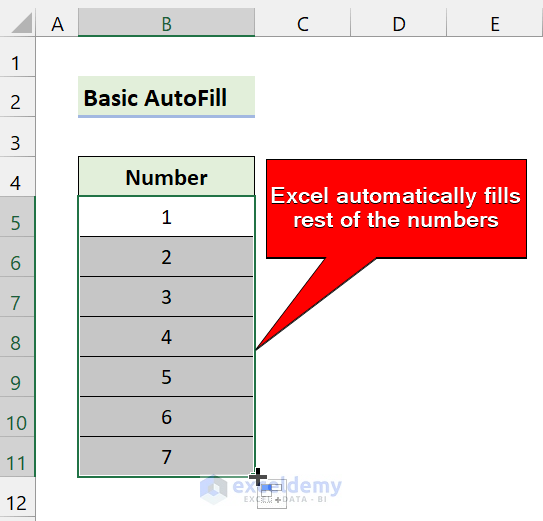
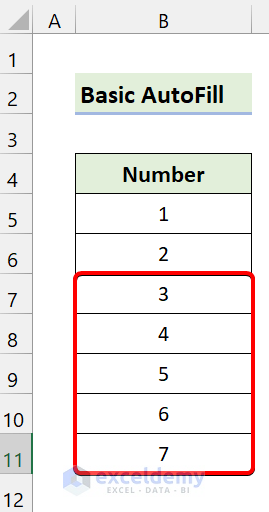
- Drag this autofill handle down.
How to Use AutoFill with Excel VBA
The Generic Syntax:
Range.AutoFill Destination, Type

Here,
Range(“B5”): The cell that has the main pattern to fill the rest of the series.
Destination: Range of cells where you want to fill with the pattern series.
Type as xlAutoFillType: The series fill type. There are various autofill types that you can choose.
4 Types of AutoFill in Excel VBA
Type 1 – xlFillDefault
We already saw this type of autofill in the example above.
- Use the following VBA code to autofill the rest of the cells:
Sub xlDefault_type()

Range("B5:B6").AutoFill Destination:=Range("B5:B11"), Type:=xlFillDefault

End Sub- Run the VBA macro and you will see the following:
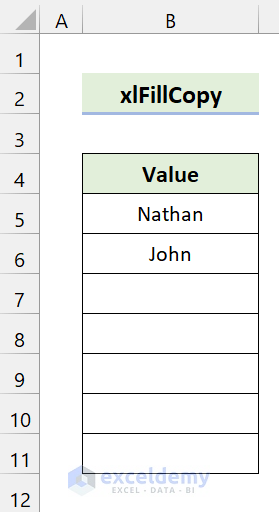
Type 2. – xlFillCopy
We’ll copy the following values through the column.
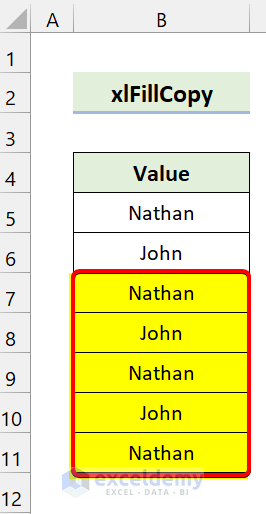
- Use the following VBA code to autofill the rest of the cells:
Sub xlFillCopy_type()

Range("B5:B6").AutoFill Destination:=Range("B5:B11"), Type:=xlFillCopy

End Sub- Run the VBA macro and you will get the following:
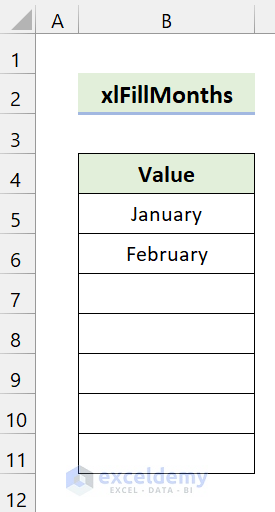
Type 3 – xlFillMonths
We have two months in a column and will fill the rest.
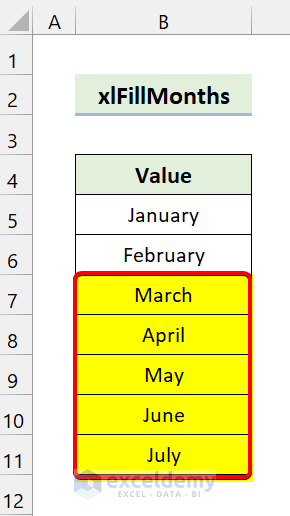
- Use the following VBA code to autofill the rest of the cells:
Sub xlFillMonths_type()

Range("B5:B6").AutoFill Destination:=Range("B5:B11"), Type:=xlFillMonths

End Sub- Run the VBA macro.
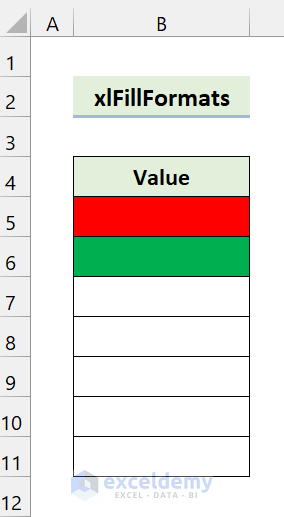
Type 4 – xlFillFormats
This function repeats the cell formatting rather than values.
- We have filled the two cells with some colors.
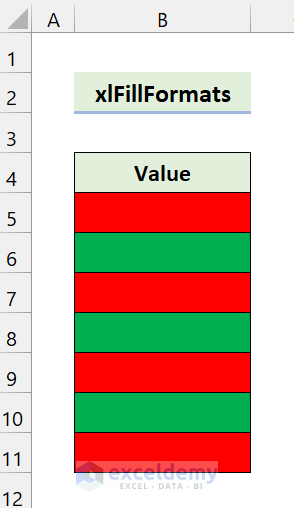
- Use the following VBA code to autofill the rest of the cells:
Sub xlFillFormats_type()

Range("B5:B6").AutoFill Destination:=Range("B5:B11"), Type:=xlFillFormats

End Sub- Run the VBA macro.
AutoFill Formula to the Last Row in Excel VBA: 5 Examples
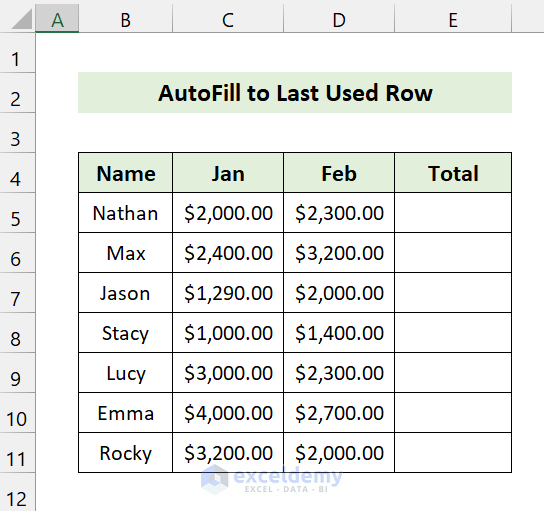
Example 1 – VBA to AutoFill a Formula to the Last Used Row
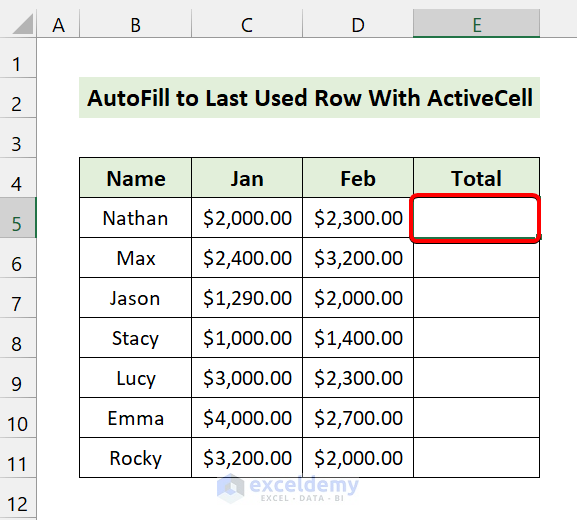
We have a sales dataset of some salespersons. We need to add the sales of January and February to the Total column and use the autofill method with VBA to fill to the last used row in Excel.
- Use the following code:
Sub last_used_row()
Dim last_row As Long
last_row = Cells(Rows.Count, 2).End(xlUp).Row
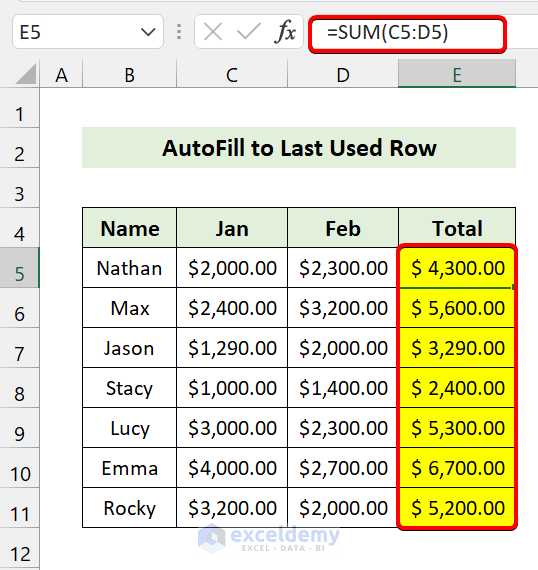
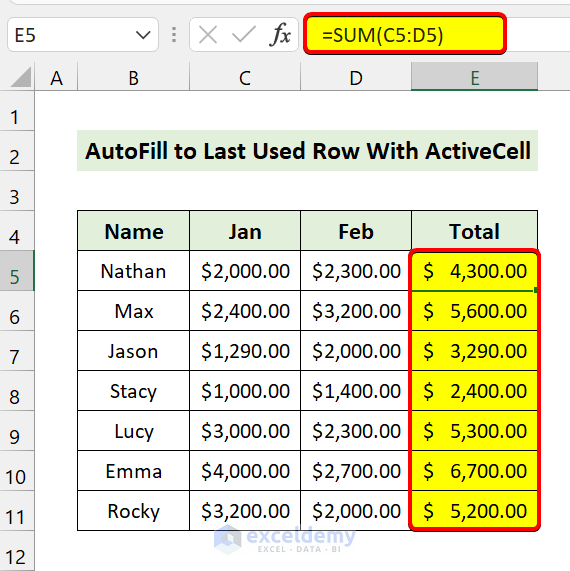
Range("E5").Formula = "=SUM(C5:D5)"
Range("E5").AutoFill Destination:=Range("E5:E" & last_row)
End Sublast_row = Cells(Rows.Count, 2).End(xlUp).Row: Returns the last used row from the column B. You can choose any column from your dataset that has values.
Range(“E5”).Formula = “=SUM(C5:D5)”: Adds the sales of Cell C5 and D5.
Range(“E5”).AutoFill Destination:=Range(“E5:E” & last_row): After getting the result, we use the autofill. It starts auto-filling from Cell E5 to the last used row that we got previously.
- Run the VBA macro.
Example 2 – VBA AutoFill from the Active Cell to the Last Row
We’ll use the same dataset to add the sales of January and February and autofill the formula to the last row using Excel VBA.
- Use the following code:
Sub autofill_active_cell()

Dim last_row As Long

last_row = Cells(Rows.Count, 2).End(xlUp).Row

ActiveCell.Formula = "=SUM(C5:D5)"

ActiveCell.AutoFill Destination:=Range(ActiveCell.Address & ":E" & last_row)

End Sub
last_row = Cells(Rows.Count, 2).End(xlUp).Row: Returns the last used row from the column B. You can choose any column from your dataset.
ActiveCell.Formula = “=SUM(C5:D5)”: Adds the sales of Cell C5 and D5 in your selected cell.
ActiveCell.AutoFill Destination:=Range(ActiveCell.Address & “:E” & last_row): After getting the result, we use the autofill. It starts auto-filling from the active cell to the last used row that we got previously.
- Select Cell E5.
- Run the VBA macro to add the formula and autofill to the last row.
Example 3 – AutoFill to the Last Row Using a Dynamic Range with Excel VBA
To understand static ranges, look at the following code:
Sub last_used_row()

Range("E5").Formula = "=SUM(C5:D5)"

Range("E5").AutoFill Destination:=Range("E5:E11”)

End Sub
We basically told Excel to enter a formula in Cell E5 and autofill it from Cell E5 to Cell E11. Here, we specified the range. What if you add more rows? The VBA code won’t autofill those extra rows because it won’t go to that range.
Here’s a modified code that will work:
Sub last_used_row()

Dim last_row As Long

last_row = Cells(Rows.Count, 2).End(xlUp).Row

Range("E5").Formula = "=SUM(C5:D5)"

Range("E5").AutoFill Destination:=Range("E5:E" & last_row)

End Sub
We first find the last row by this line of code:
last_row = Cells(Rows.Count, 2).End(xlUp).RowThen, we autofill to the last row using the dynamic range:
Range("E5").AutoFill Destination:=Range("E5:E" & last_row)No matter how many rows you add to your dataset, this VBA code will see that they have values and autofill to them.
Read More: How to Autofill Dynamic Range Using VBA in Excel
Example 4 – AutoFill to the Last Column in Excel Using VBA
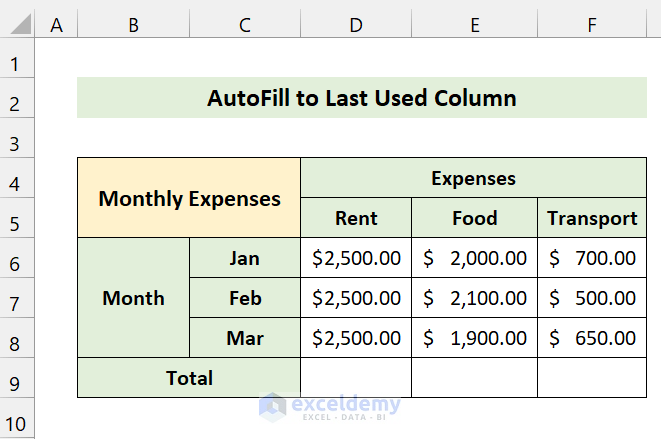
Consider the following dataset, which represents a 3-month budget. We will add the expenses of all months and autofill the formula to the last column.
- Use the following code:
Sub last_used_column()
Dim last_row As Long
last_column = Cells(6, Columns.Count).End(xlToLeft).Column
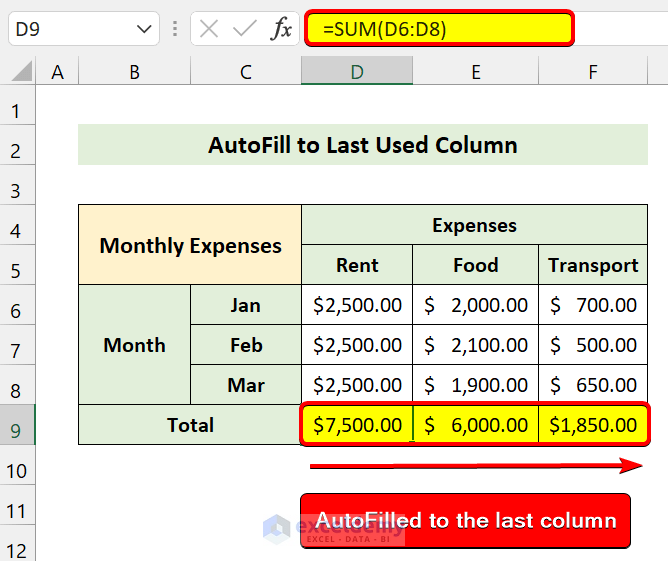
Range("D9").Formula = "=SUM(D6:D8)"
Range("D9").AutoFill Destination:=Range("D9", Cells(9, last_column))
End Sublast_column = Cells(6, Columns.Count).End(xlToLeft).Column: Returns the last used column from the row 6. You can choose any row to start from your dataset.
Range(“D9”).Formula = “=SUM(D6:D8)”: Adds the expenses of three months (Jan, Feb. Mar).
Range(“D9”).AutoFill Destination:=Range(“D9”, Cells(9, last_column)): After getting the result, we use the autofill. Here, our main row is Row number 9. All of our data will be in this row. It starts auto-filling from column D to the last used column that we got previously by the last_column.
- After running the macro, you will see the following output:
Example 5 – AutoFill Sequential Numbers to the Last Row in Excel Using VBA
We have a list of names and want to assign each one with a sequential ID, starting from a manually-input first ID.
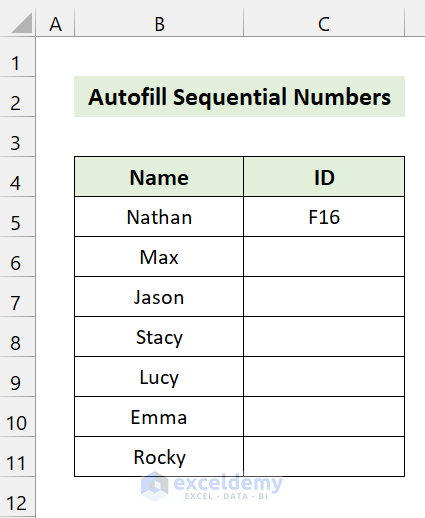
Autofill Sequential Numbers with a Static Range:
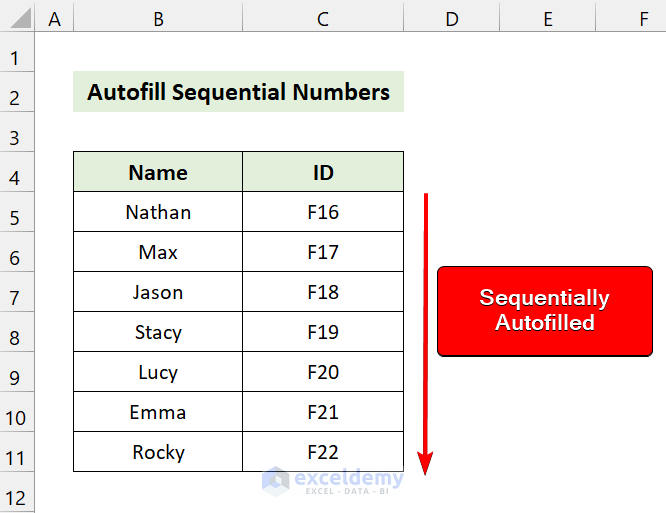
Sub sequential_number_2()

Range("C5").AutoFill Destination:=Range("C5:C11"), Type:=xlFillSeries

End Sub- Here’s the result of the code.
- If you want to use a dynamic range, use the following code instead:
Sub sequential_number_1()

Dim last_row As Long

last_row = Cells(Rows.Count, 2).End(xlUp).Row

Range("C5").AutoFill Destination:=Range("C5:C" & last_row), Type:=xlFillSeries

End Sub
last_row = Cells(Rows.Count, 2).End(xlUp).Row: It returns the last used row from the column B.
Range(“C5”).AutoFill Destination:=Range(“C5:C” & last_row), Type:=xlFillSeries: It will take the ID of Cell C5 and autofill to the last used row in Column C using the xlFillSeries,
Download the Practice Workbook

