Autofill is a common feature of Microsoft Excel. When we want to spread any value, or formula from left to right or up to bottom we use this autofill method. This autofill feature is also available in Excel VBA. But sometimes when we perform this autofill operation, we get Run-time error ‘1004’. In this article, we will discuss this autofill method of range class failed. We will solve this problem.
What is Autofill Method in Excel VBA?

The VBA autofill comes when we need to fill the formula of the start cell to the last cell within a column or row. We normally apply any formula in the first cell. We may copy and paste that formula to the last cell. Otherwise, we may autofill by double click. Or we can drag the cursor up to the bottom or left to right. In VBA, we can do this work by the autofill formula.
Before using the autofill in VBA, we need to understand the syntax of this method.
Syntax:
AutoFill(Destination As Range,(Type As XlAutoFillType=XlFillDefault)
Argument:
| ARGUMENT | REQUIRED | EXPLANATION |
|---|---|---|
| Range | REQUIRED | This is the reference that will be used for autofill. |
| Destination | REQUIRED | This is the destination where the autofill will occur. |
| Type As XlAutoFillType | REQUIRED | This is the series of fill types. From a list, we will select the type. |
How to Apply AutoFill Method in VBA?
In this section, we will show how to apply AutoFill in VBA.
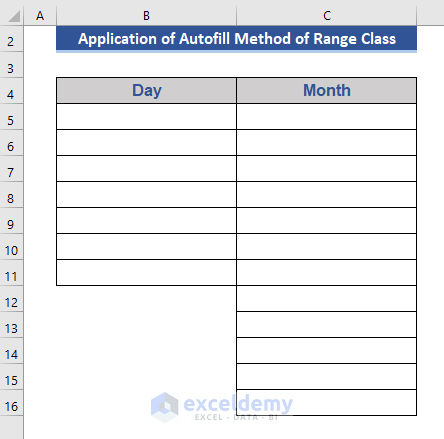
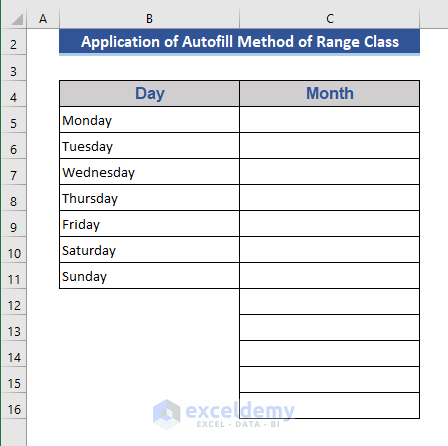
We will fill names of days and months in the following data set.
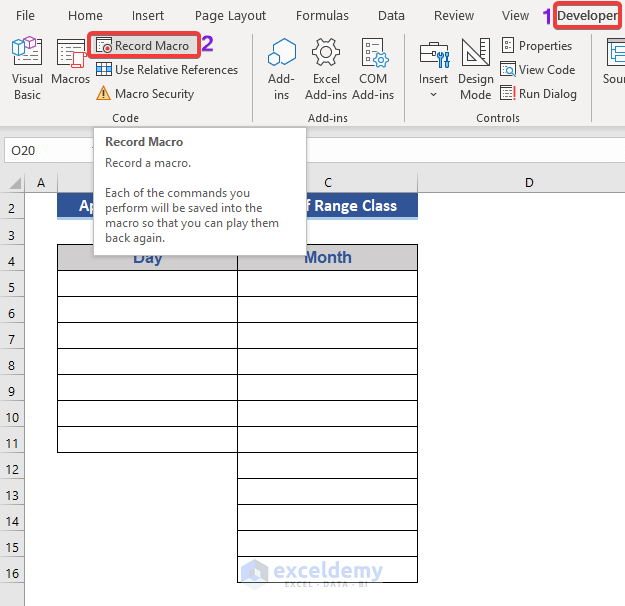
Step 1:
- First, go to the Developer tab.
- Then choose Record Macro.
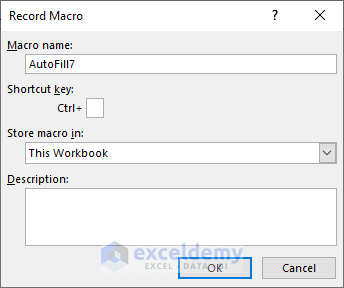
Step 2:
- Named the macro AutoFill1.
- Then, press OK.

Step 3:
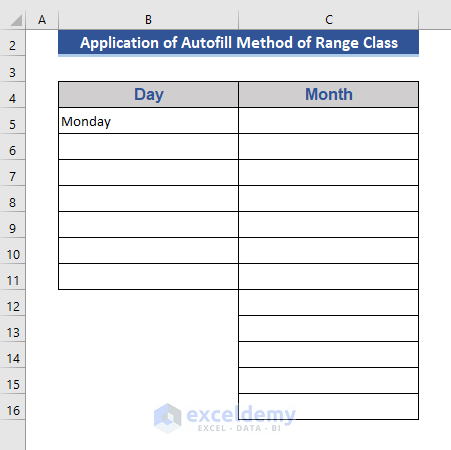
- Now, put Monday on Cell B5. This will be considered as the reference for autofill.
Step 4:
- Now, go to the command module of the VBA.
- Write down the below code:
Sub AutoFill1()
Dim source As Range, target As Range
Set source = Range("B5")
Set target = Range("B5:B11")
source.Autofill Destination:=target, Type:=xlFillDays
End Sub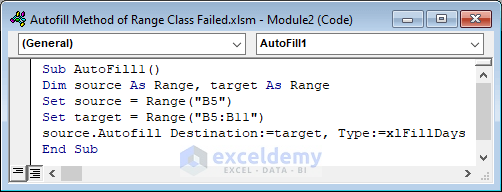
Step 5:
- Now, press F5 to run the code.
Here, we get all the day’s names using the autofill. In the code, we used “ xlFillDays ” as we are working with the day. We will show how to autofill the months below.
Step 6:
- Create another macro named Autofill2.

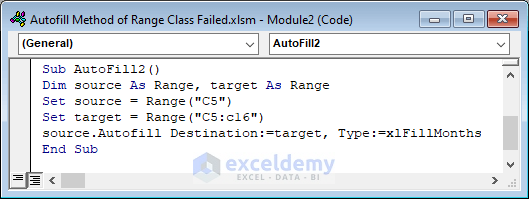
Step 7:
- Now, type the below code in the command module.
Step 8:
- Again, press F5 to run the code.
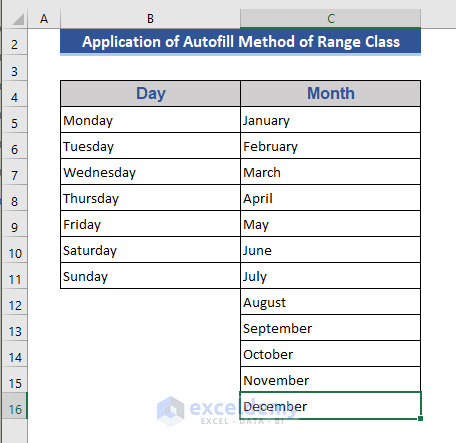
Now, we get the month’s name here using the autofill feature.
AutoFill Method of Range Class Failed: 3 Cases with Fixes
Here we will discuss the autofill method of range class failed problems and their solution.
1. Autofill Method of Range Class Failed Vertically and Horizontally
Assume that we want to autofill vertically and horizontally in both ways at the same time. In this section, we will show which problems we may face while dealing with them and how to solve them.
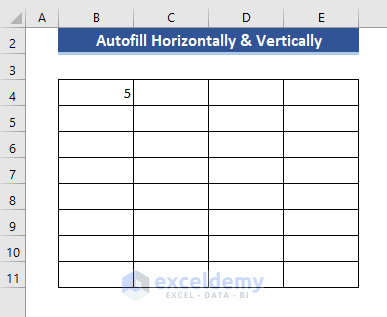
In the above data set, we will autofill data horizontally and vertically.
First, we will autofill data horizontally i.e. from left to right.
Now, we will write the below code to autofill left to right.
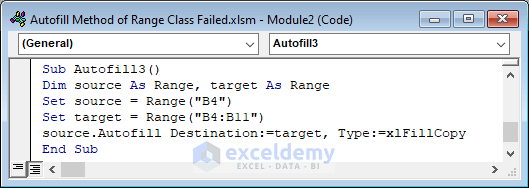
Sub Autofill3()
Dim source As Range, target As Range
Set source = Range("B4")
Set target = Range("C4:E4")
source.Autofill Destination:=target, Type:=xlFillCopy
End Sub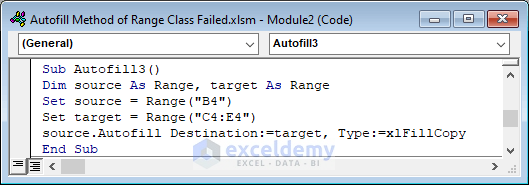
Then, press F5 to run the code.
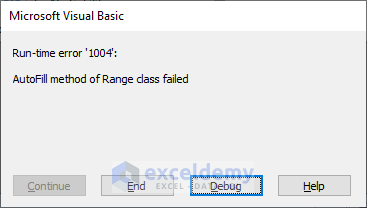
Here, an error message is there which says “ AutoFill method of Range class failed”.
Solution
Now let’s see how to solve the issue.
Step 1:
- Now, change argument C4 to B4 and the code becomes:
Sub Autofill3()
Dim source As Range, target As Range
Set source = Range("B4")
Set target = Range("B4:E4")
source.Autofill Destination:=target, Type:=xlFillCopy
End Sub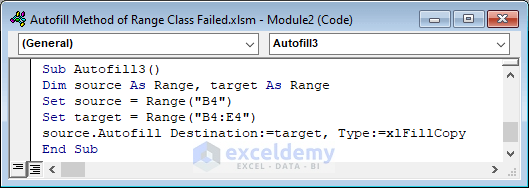
Step 2:
- Then, press F5 to run the code.
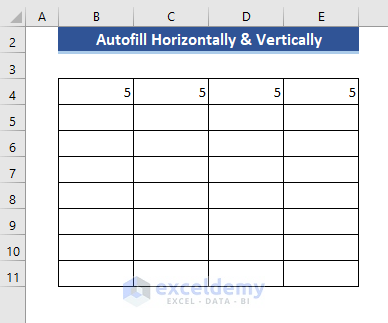
We can see that the data autofill toward the right cells as mentioned in the code.
Now, we will autofill the from top to bottom as per our desire.
Step 3:
- Modify the previous code like below:

Step 4:
- Press F5 to run the code.

Like the previous section, here an error is showing indicating the Autofill method of Range class failed.
Step 5:
- Now, change the Range argument from B5 to B4.
Step 6:
- Again, press F5 to run the code.
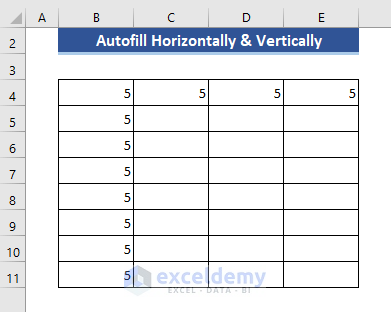
Now, we can see that the data is auto-filled both horizontally and vertically separately.
2. AutoFill Method of Range Class Failed Horizontally and Vertically Simultaneously
Here, we will show how to autofill horizontally and vertically at a time.
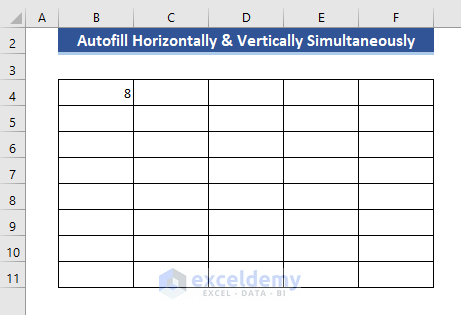
Here, we will show how to autofill vertically and horizontally simultaneously of the above data set.
Write down the below code on the VBA command module:
Sub AutoFill4()
Dim source As Range, target1 As Range, target2 As Range
Set source = Range("B4")
Set target1 = Range("C4:F4")
Set target2 = Range("B5:B11")
source.Autofill Destination:=target1, Type:=xlFillCopy
source.Autofill Destination:=target2, Type:=xlFillCopy
End Sub
Now, press F5 to run the code.

Here, AutoFill method of Range class failed error is showing. Now, we will solve this error by modifying the code.
Solution
Now we will solve this problem by modifying the code.
Step 1:
- Modify the code like below in the target1 and target2
Sub AutoFill4()
Dim source As Range, target1 As Range, target2 As Range
Set source = Range("B4")
Set target1 = Range("B4:F4")
Set target2 = Range("B4:B11")
source.Autofill Destination:=target1, Type:=xlFillCopy
source.Autofill Destination:=target2, Type:=xlFillCopy
End Sub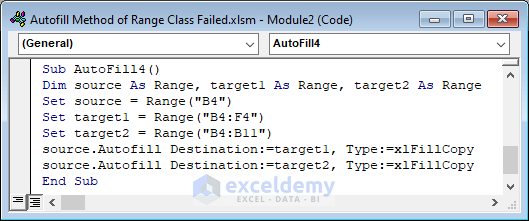
Step 2:
- Run the code by pressing the F5 button.
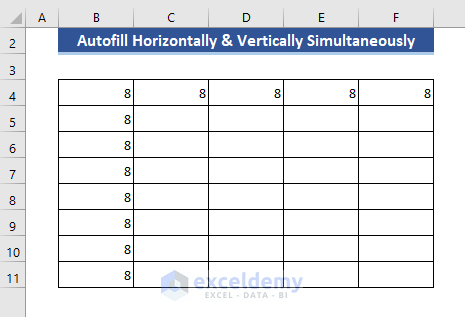
Here, the autofill method is applied on both sides simultaneously.
3. Solved AutoFill Range Class Failed Problem with Desired Cells
In this section, we will show, how to autofill data in desired positions vertically and horizontally.
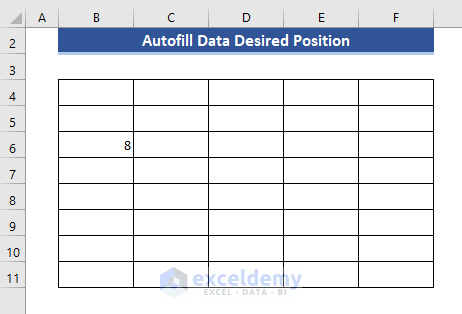
We will autofill this data set horizontally and vertically in a certain position as we need.
Step 1:
- Now, create a macro named AutoFill5.

Step 2:
- Put the below code on the command module.
Sub AutoFill5()
Dim source As Range, target As Range
Set source = Range("B6")
Set target = Range("C4")
source.Copy target
Set source = Range("C4")
Set target = Range("C4:F4")
source.Autofill Destination:=target, Type:=xlFillCopy
Set source = Range("C4:F4")
Set target = Range("C4:F11")
source.Autofill Destination:=target, Type:=xlFillCopy
End Sub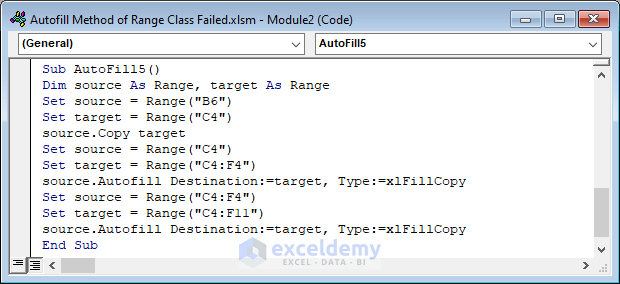
Step 3:
- Press the F5 button to run the code.
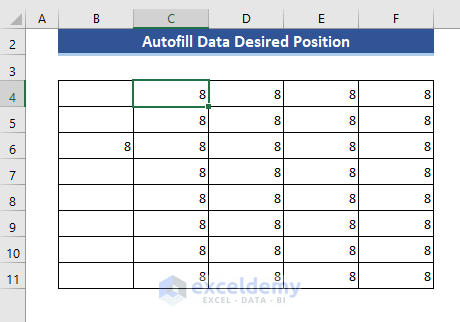
Here, we can see that the data is auto-filled on the desired locations.
Some Examples of AutoFill Method in Excel VBA
Here, we will show some examples of the autofill methods in Excel VBA.
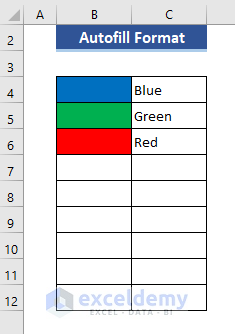
1. AutoFill Same Format
Here, we will show how the same format is filled to other cells using the autofill feature.
We will show that the above image with the mentioned color format will be auto-filled in the below cells.
Step 1:
- Create a new macro named AutoFill6.

Step 2:
- Put the below code on the command module.
Sub AutoFill6()
Dim source As Range, target As Range
Set source = Range("B4:B6")
Set target = Range("B4:B12")
source.Autofill Destination:=target, Type:=xlFillFormats
End Sub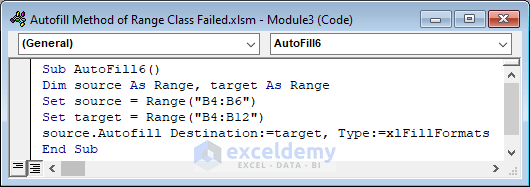
Step 3:
- Now, press F5 to run the code.
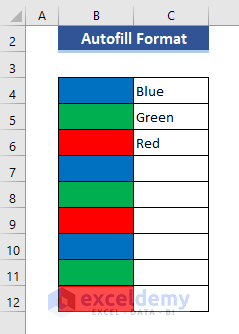
Here, we auto-filled with the given format.
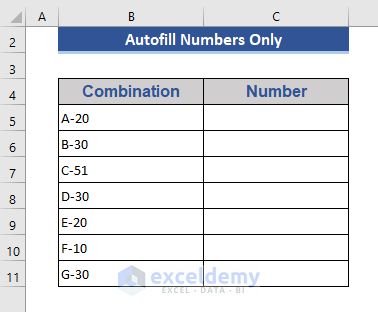
2. AutoFill Method with Desired Option
In this section, we will show how to get the desired type of object using the autofill feature.
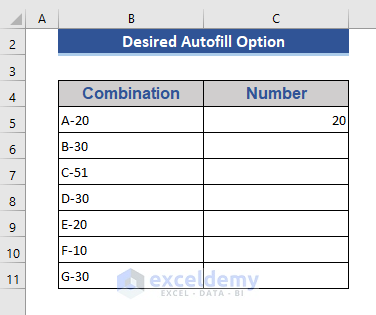
We will use this data set. We want to get only the numeric values.
Step 1:
- Create a new macro named AutoFill7.
Step 2:
- In Cell C5 we set which type of value we want.
Step 3:
- Now, run the put the below code on the command module.
Sub AutoFill7()
Dim source As Range, target As Range
Set source = Range("C5")
Set target = Range("C5:C11")
source.Autofill Destination:=target, Type:=xlFlashFill
End Sub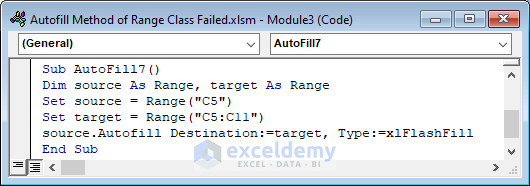
Step 4:
- Press F5 to run the code.
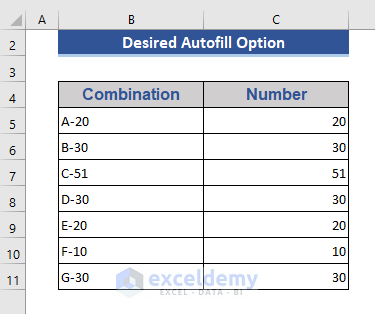
Here, we get only the numeric values by applying the autofill operation in Excel VBA.
Download Practice Workbook
Download this practice workbook to exercise while you are reading this article.
Conclusion
In this article, we showed the autofill method of the range class failed problem and their solutions. I hope this will satisfy your needs.

