Looking for ways to autofill dynamic range using VBA in Excel? Then, this is the right place for you. You can autofill your ranges using the Fill Handle tool in Excel. However, If you are an experienced Excel user, using VBA is more convenient for you. Here, you will find 6 ideal examples of how to autofill dynamic range using VBA in Excel.
Excel VBA Autofill Dynamic Range: 6 Ideal Examples
Now, we will show you some examples of autofilling dynamic ranges using xlFillDefault, xlFillMonths, xlFillCopy, xlFlashFill, xlFillFormats and also how to autofill formulas using VBA in Excel.
1. Increment Numbers Using Autofill in Dynamic Range
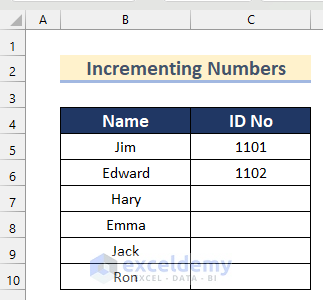
Suppose you want to increment numbers in Excel. You can do it easily using VBA. Here, we have a dataset containing the Name and ID No of some students and now we want to autofill the rest of the ID No incrementally.
Here are the steps to do that.
Steps:
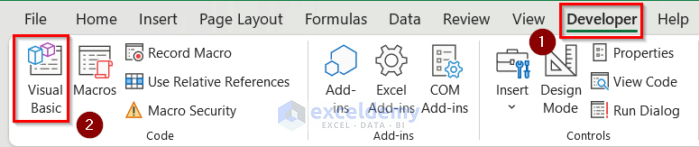
- Firstly, press Alt + F11 on your keyboard or go to the tab Developer >> click on Visual Basic to open Visual Basic Editor.
- Then, from the menu bar, click on Insert >> select Module.

- Next, copy the following code and paste it into the code window.
Sub Increment_number()
Range("C5:C6").AutoFill Destination:=Range("C5:C10"), Type:=xlFillDefault
End Sub
Code Breakdown
- To start with, we created a Sub Procedure named Increment_number.
- Then, we set the range as cell range C5:C6.
- After that, we set the autofill destination cell range C5:C10 and type as xlFillDefault.
- Next, click on the Save button to save the code.


- Lastly, select the macro name Increment_number >> click on Run.

- Finally, all the ID Nos will autofill.

2. Autofill Months Using xlFillMonths in Dynamic Range in Excel
Now, if you want to autofill months in a dynamic range, you can use the Autofill method and set xlFillMonths as type in Excel. Here, we will show you how to autofill months using a sales dataset.

Steps:
- In the beginning, insert a module going through the same steps shown in Example 1.
- Then, write the following code in your Module.
Sub Using_xlFillMonths()
Range("B5:B6").AutoFill Destination:=Range("B5:B10"), Type:=xlFillMonths
End Sub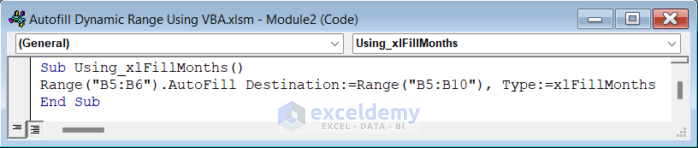
Code Breakdown
- Firstly, we created a Sub Procedure named Using_xlFillMonths.
- After that, we set the range as cell range B5:B6.
- Lastly, we set the autofill destination cell range B5:B10 and type as xlFillMonths.
- Afterward, save the code and go back to your Excel Sheet.
- Now, open the Macro box following the steps given in Example 1.
- Next, select Using_xIFillMonths.
- Lastly, click on Run.

- Thus, you can autofill months in dynamic range using VBA in Excel.

3. Use xlFillCopy to Autofill Dynamic Range in Excel
To autofill the same thing in a dynamic range you have to use the xlFillCopy as type in the Autofill method in Excel.

Steps:
- Firstly, insert a module going through the same steps given in Example 1.
- After that, write the following code in your Module.
Sub Use_xlFillCopy()
Range("B5").AutoFill Destination:=Range("B5:B10"), Type:=xlFillCopy
End Sub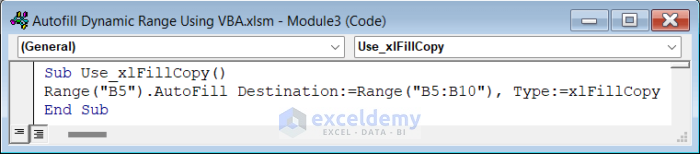
Code Breakdown
- In the beginning, we created a Sub Procedure named Use_xlFillCopy.
- Then, we set the range as Cell B5.
- Lastly, we set the autofill destination cell range B5:B10 and type as xlFillCopy.
- Next, save the code.
- Then, open the Macro box following the steps given in Example 1.
- Lastly, select the macro name Use_xlFillCopy >> click on Run.

- Thus, you can copy a value and autofill it in a dynamic range.

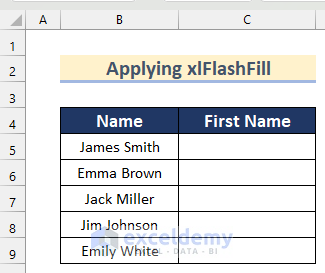
4. Autofill Dynamic Range Applying xlFlashFill
Here, we have a dataset containing the Names of some students and we want to get the First Name from this list. To do that, we will manually type the first name in a cell and then use VBA to autofill it for the rest of the cells.
Steps:
- To start with, insert a module going through the same steps shown in Example 1.
- Then, write the following code in your Module.
Sub Applying_xlFlashFill()
Range("C5").AutoFill Destination:=Range("C5:C10"), Type:=xlFlashFill
End Sub
Code Breakdown
- Firstly, we created a Sub Procedure named Applying_xlFlashFill.
- Secondly, we set the range as Cell C5.
- Next, we set the autofill destination cell range C5:C10 and type as xlFlashFill.
- After that, type “James” in Cell C5 which is the corresponding first name of the adjacent cell.

- Now, open the Macro box following the steps given in Example 1.
- Lastly, select the macro name Applying_xlFlashFill >> click on Run.

- Finally, you will get all the first names using xlFlashFill in Excel.

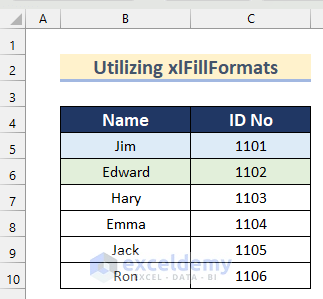
5. Utilize xlFillFormats to Autofill Formats in Dynamic Range
You can also autofill formats in a dynamic range. To do that you have to use xlFileformats as type. Here, you can see that we have provided two different Fill Colors for two adjacent rows. Now, we will show you how to autofill this format for the rest of the cells.
Follow the steps given below to do that in your dataset.
Steps:
- In the beginning, insert a module going through the same steps shown in Example 1.
- Then, write the following code in your Module.
Sub Utilizing_xlFillFormats()
Range("B5:C6").AutoFill Destination:=Range("B5:C10"), Type:=xlFillFormats
End Sub
Code Breakdown
- Firstly, we created a Sub Procedure named Utilizing_xlFillFormats.
- After that, we set the range as cell range B5:C6.
- Finally, we set the autofill destination cell range B5:C10 and type as xlFillFormats.
- Afterward, save the code and go back to your Excel Sheet.
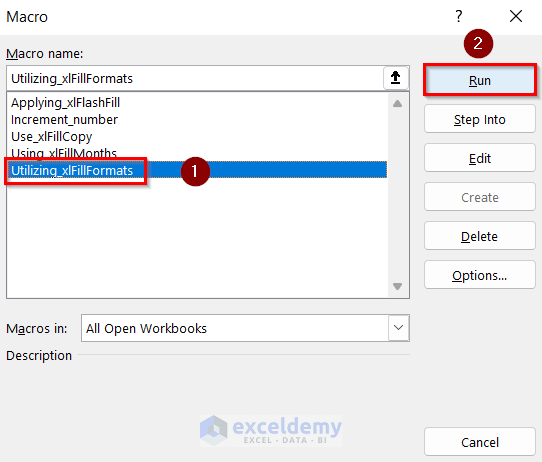
- Now, open the Macro box following the steps given in Example 1.
- Next, select Using_xIFillFormats.
- Lastly, click on Run.
- Thus, you can autofill formats in excel.

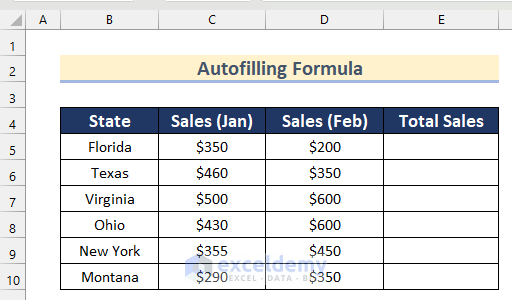
6. Autofill Formula in Dynamic Range in Excel
In the last example, we have a dataset containing the Sales values of January and February of a company in different States. Now, we will show you how you can use a formula and autofill it in a dynamic range to calculate the total sales for each state using VBA.
Steps:
- Firstly, open a module going through the same steps provided in Example 1.
- Then, copy the following given code in the Module.
Sub Autofilling_Formula()
Range("E5").Formula = "=SUM(C5:D5)"
Range("E5").AutoFill Destination:=Range("E5:E10")
End Sub
Code Breakdown
- In the beginning, we created a Sub Procedure named Autofilling_Formula.
- After that, we used the SUM function in Cell E5 to add the values of the cell range C5:D5.
- Then, we autofill this formula and set the destination cell range E5:E10.
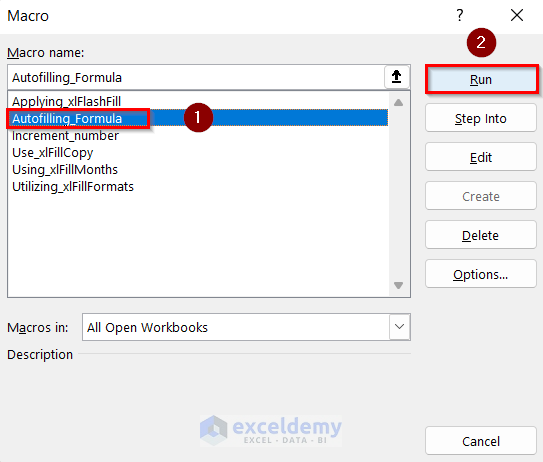
- Next, open the Macro box following the steps given in Example 1.
- Lastly, select the macro name Autofilling_Formula >> click on Run.
- Finally, you will get all the values of Total Sales.

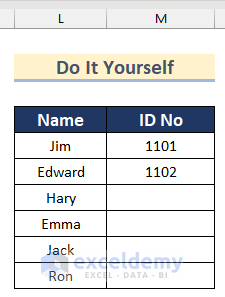
Practice Section
In the article, you will find an Excel workbook like the image given below to practice on your own.
Download Practice Workbook
You can download the workbook to practice yourself.
Conclusion
So, in this article, we have shown you 6 examples of how to autofill dynamic range using VBA in Excel. I hope you found this article interesting and helpful. If something seems difficult to understand, please leave a comment. Please let us know if there are any more alternatives that we may have missed.

