Solution 1 – Customizing the Margins in the Microsoft Print to PDF Option
To customize the margins:
Steps:
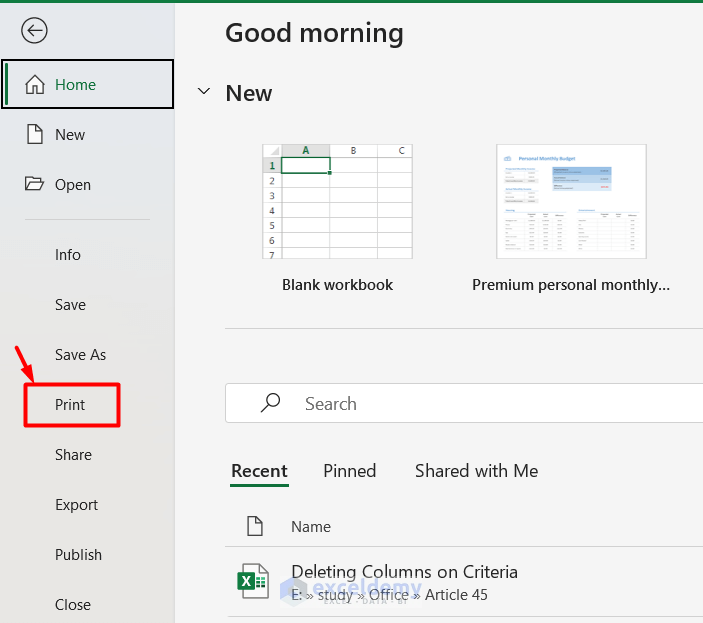
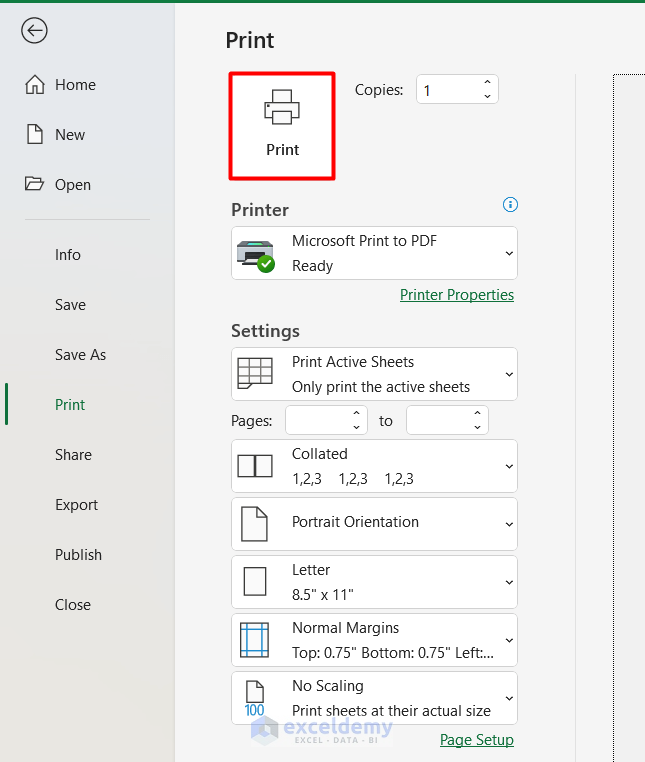
- Go to File > Print.
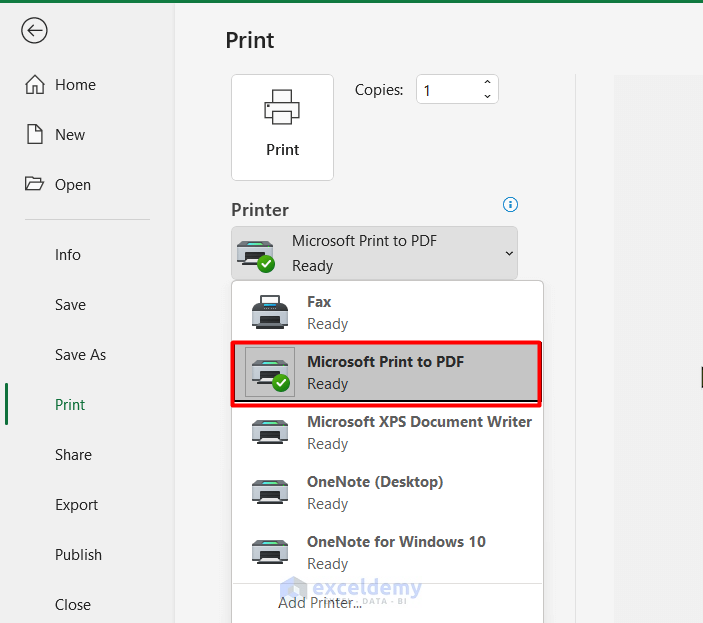
- In Printer Option, select the Microsoft Print to PDF.
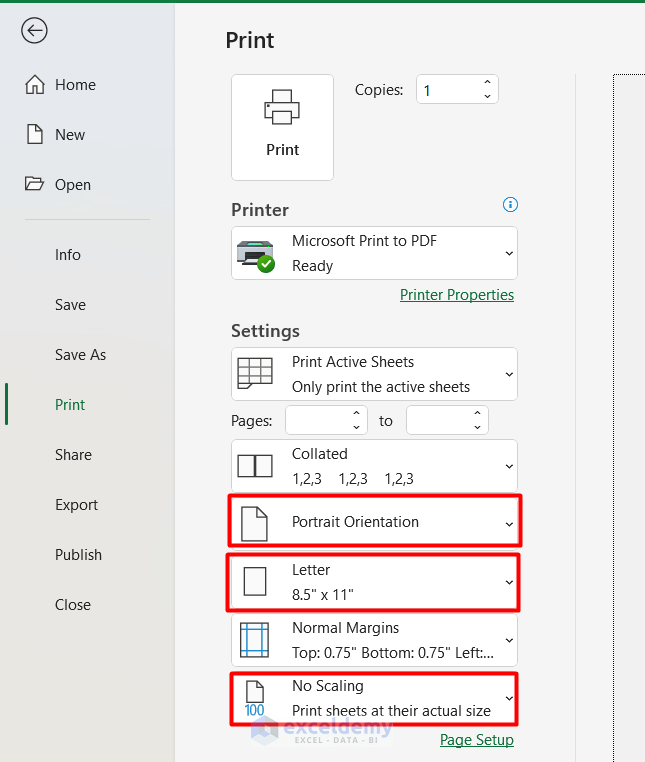
- Check Page Size, Orientation, and Scaling.
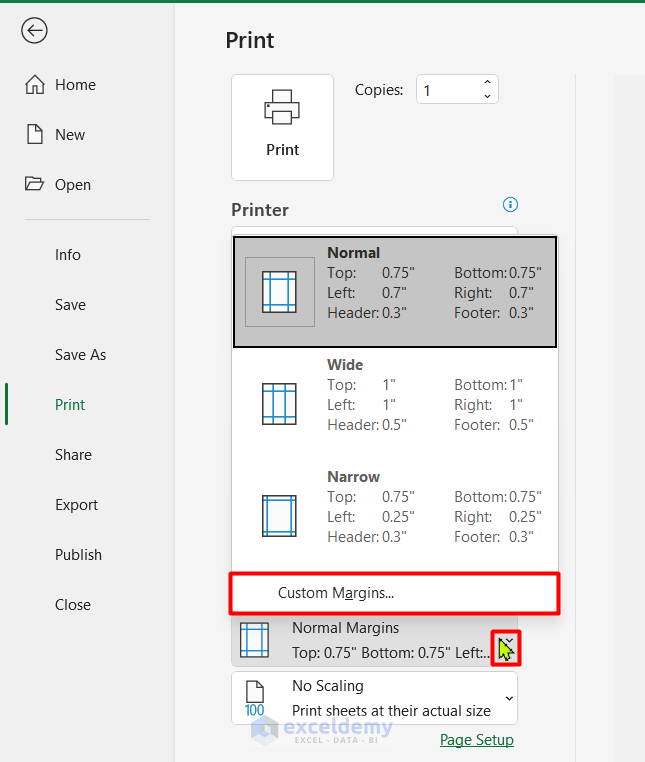
- Click Margin.
- Select Custom Margin.
- Customize your page margins: center the page vertically or horizontally, set the margins for Top, Bottom, Left, Right, Header and Footer.
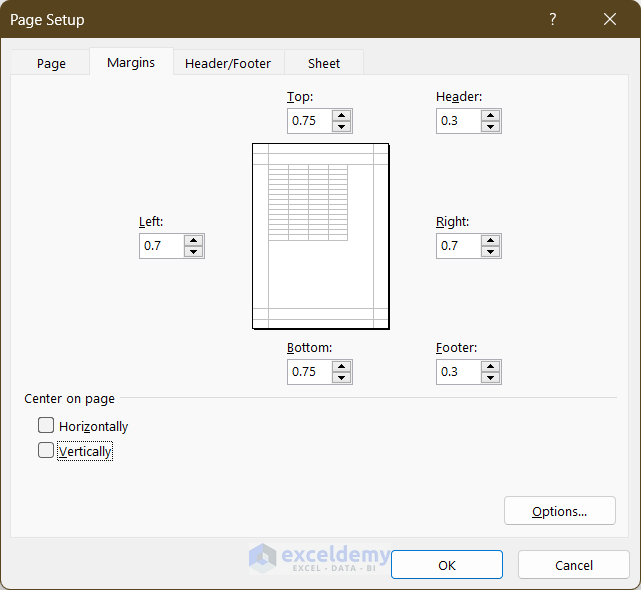
- Click OK.
- Save the file as a PDF by clicking Print.
Read More: How to Convert Excel to PDF without Converter
Solution 2 – Utilizing the Save as PDF Option
Steps:
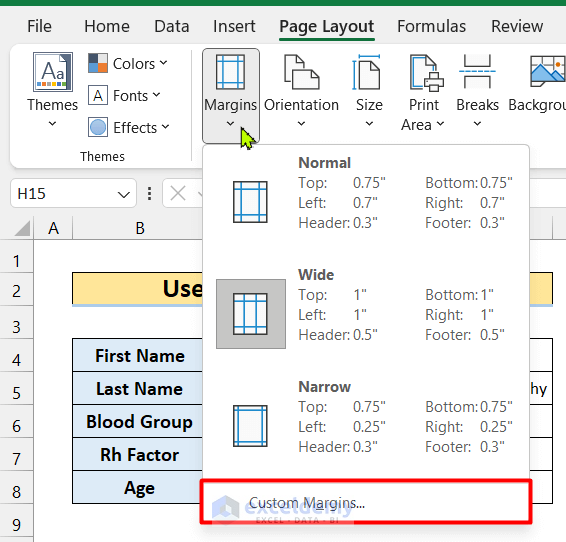
- Go to Page layout > Margins > Custom Margins.
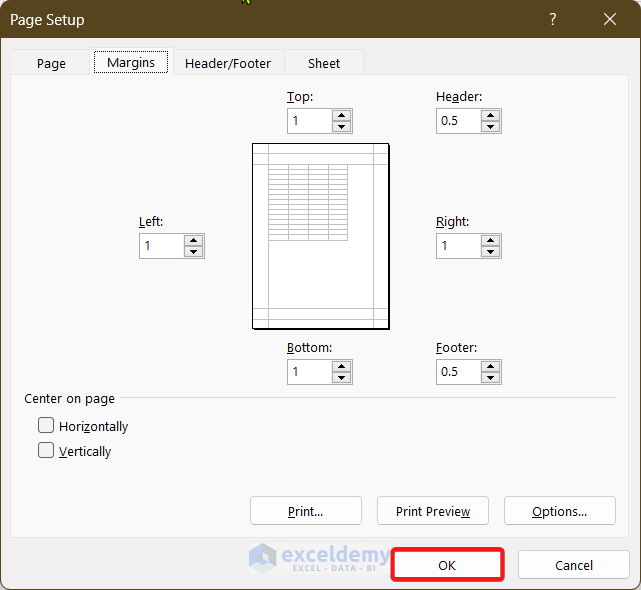
- Set your customized margins and click OK.
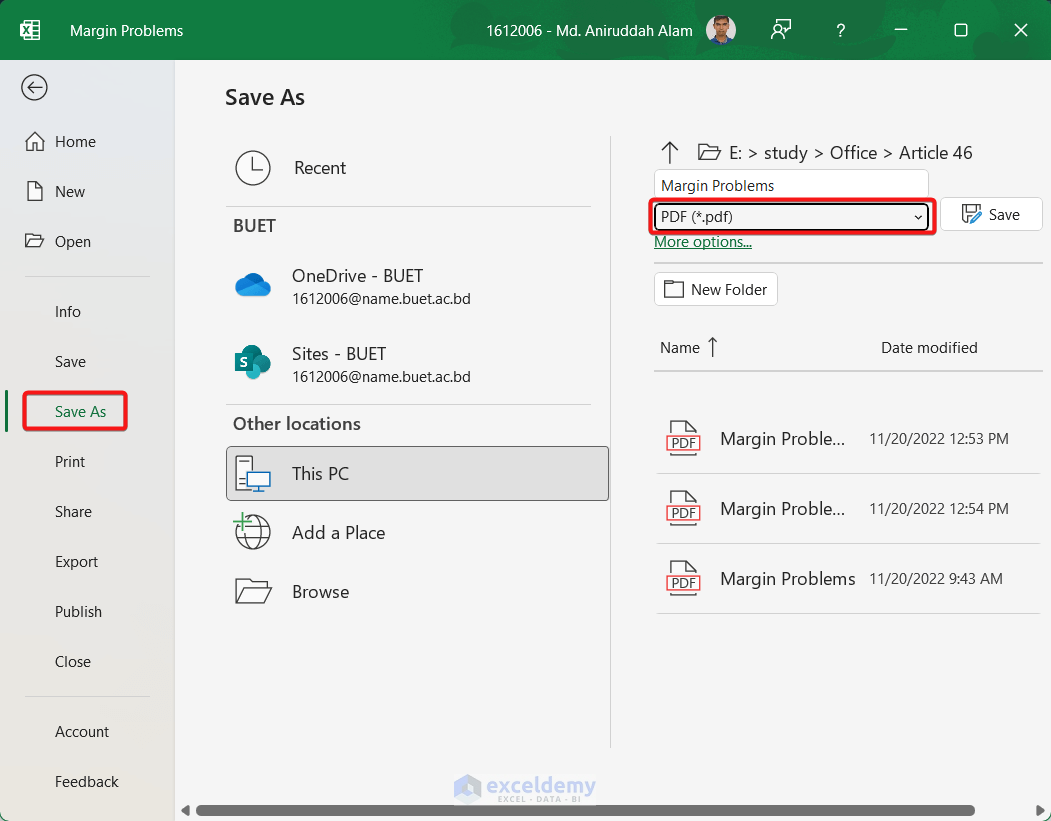
- Go to File > Save As.
- Choose PDF and click SAVE.
Your file will be saved as a PDF.
Read More: How to Convert Excel to PDF without Losing Formatting
Things to Remember
- Instead of Save As PDF, you can also use the Export as PDF option in the File Options.
Download Practice Workbook
Download this practice workbook to exercise.
Related Articles
- How to Convert Excel to PDF with All Columns
- How to Save Excel as PDF on One Page
- How to Save Multiple Excel Sheets as One PDF
- How to Create a Fillable PDF from Excel
- [Fixed!] Excel to PDF Size Problem While Printing
- [Fixed!] Excel to PDF Hyperlinks Not Working
- How to Save Excel as PDF without Cutting Off
- Export Excel to PDF with Hyperlinks
<< Go Back to Export Excel to PDF | Export Data from Excel | Learn Excel
Get FREE Advanced Excel Exercises with Solutions!
