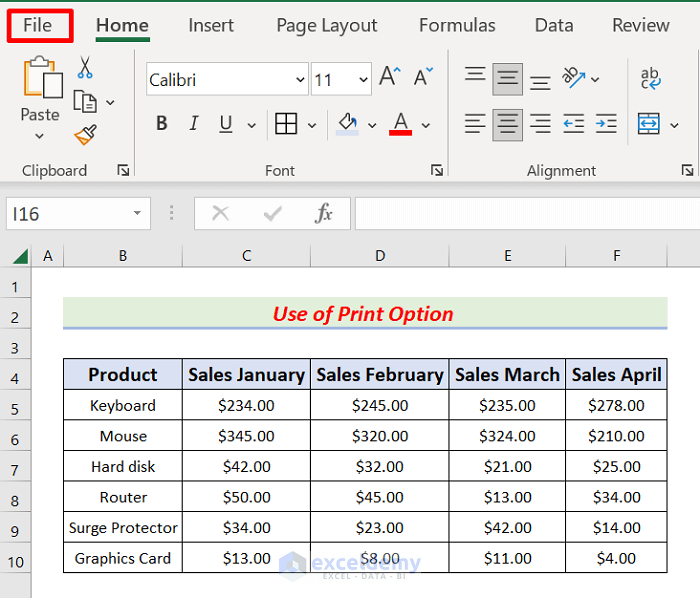
Method 1 – Utilize Print Option to Solve Excel to PDF Size Problem
STEPS:
- Choose the intended sheet as the Active sheet.
- Go to the File tab.
- A new user interface will appear.
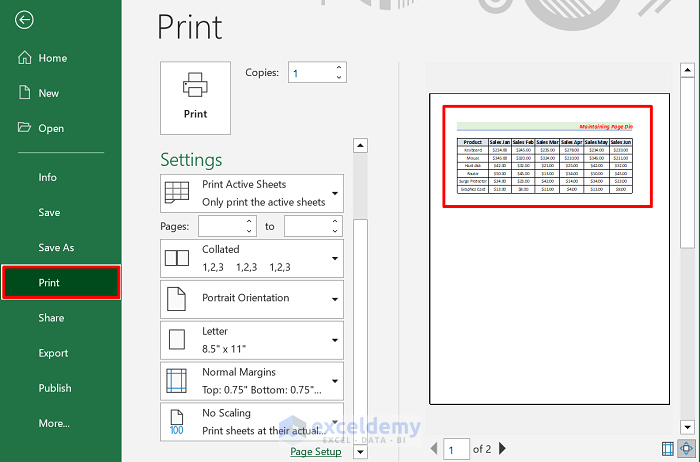
- From the left pane, choose Print, click
No Scaling → No Scaling → Print
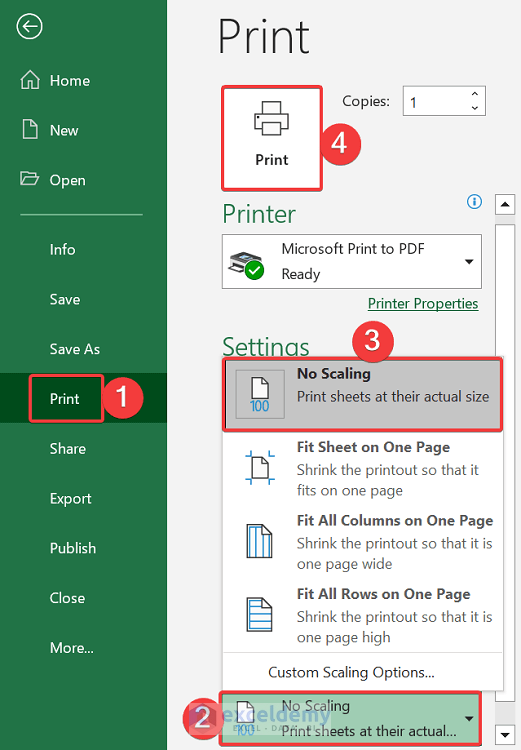
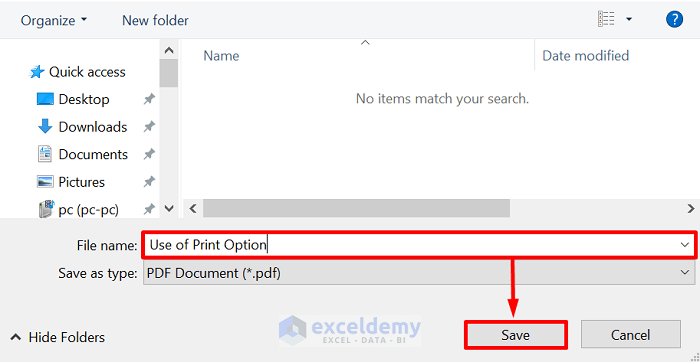
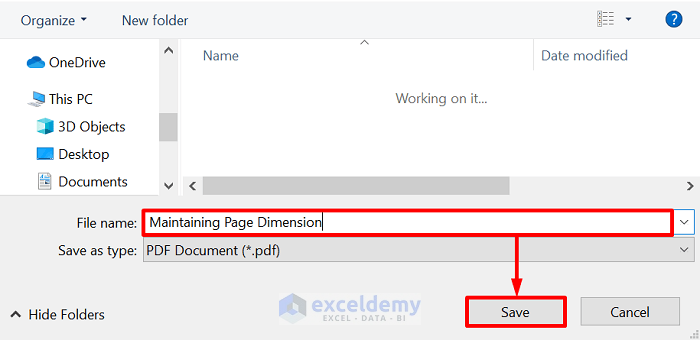
- A window will open to input the file name and destination.
- Write the file name and destination and hit Save.
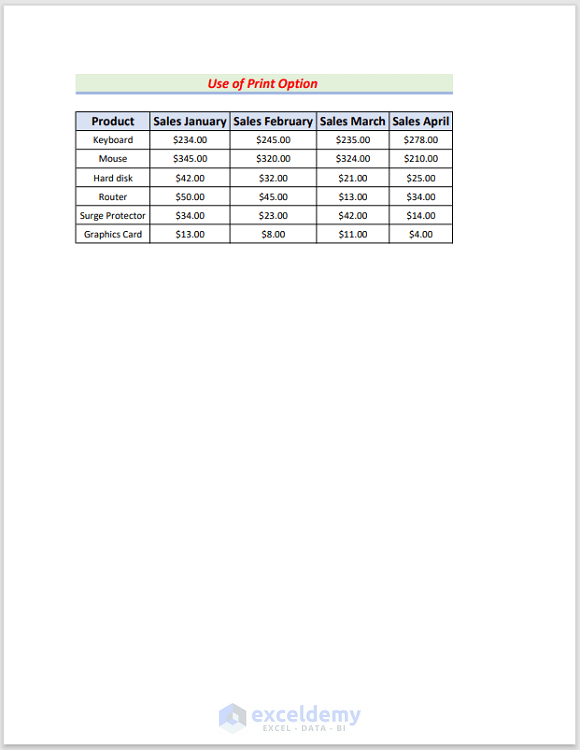
- Open the saved PDF file to see the desired output.
- We solved the Excel to PDF size problem.
Method 2 – Illuminate Excel to PDF Size Problem from Scale to Fit Group
STEPS:
- Select the desired sheet as the Active sheet.
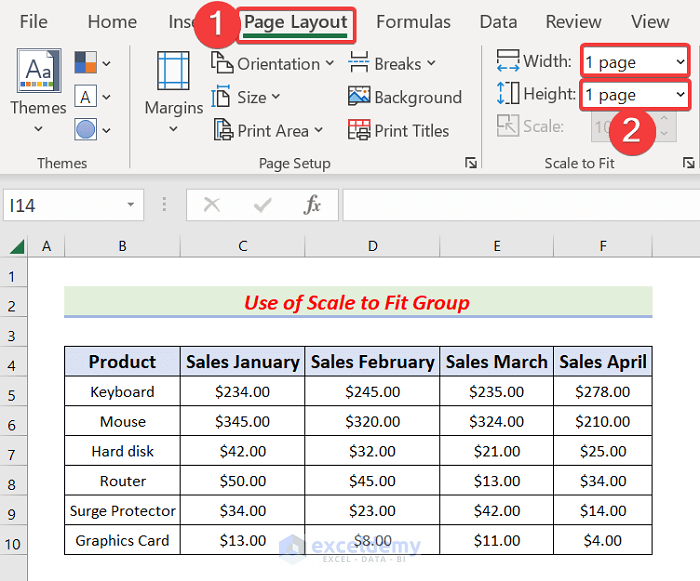
- Navigate to the Page Layout tab.
- From the Scale to Fit group, change both Width and Height to 1 page.
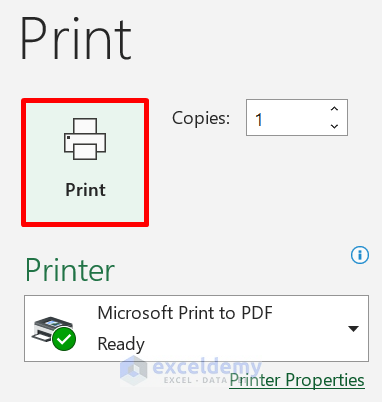
- Press Ctrl + P .
- Click the Print icon.
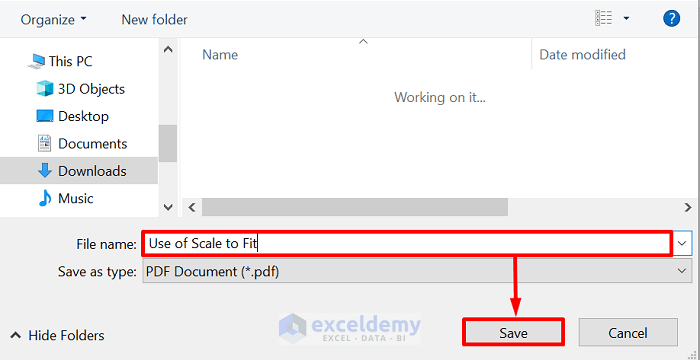
- A window will appear to take the file name and destination.
- Type the name, choose the destination, and tap the Save button.
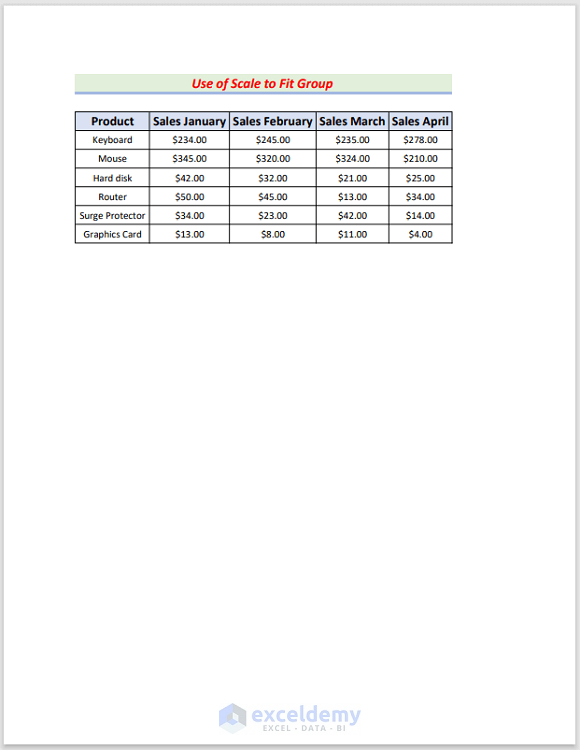
- Open the file.
- It will display to intended output as follows.
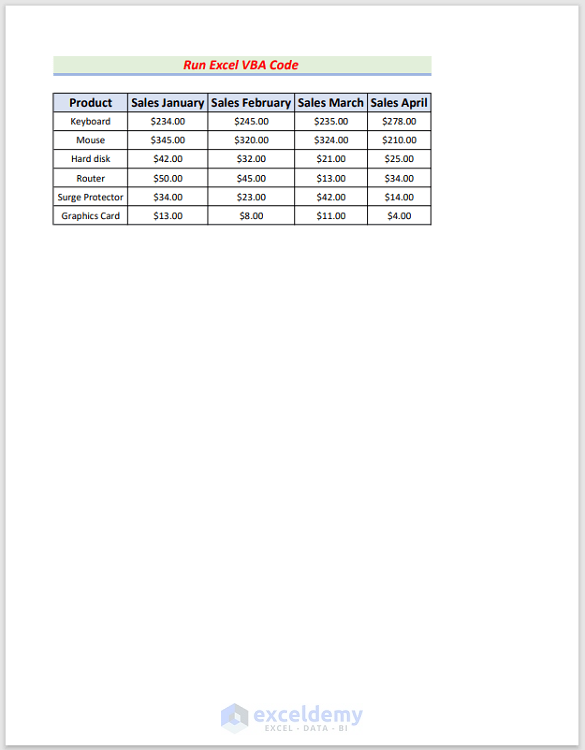
Method 3 – Run an Excel VBA Code to Fix Size Problem from Excel to PDF
STEPS:
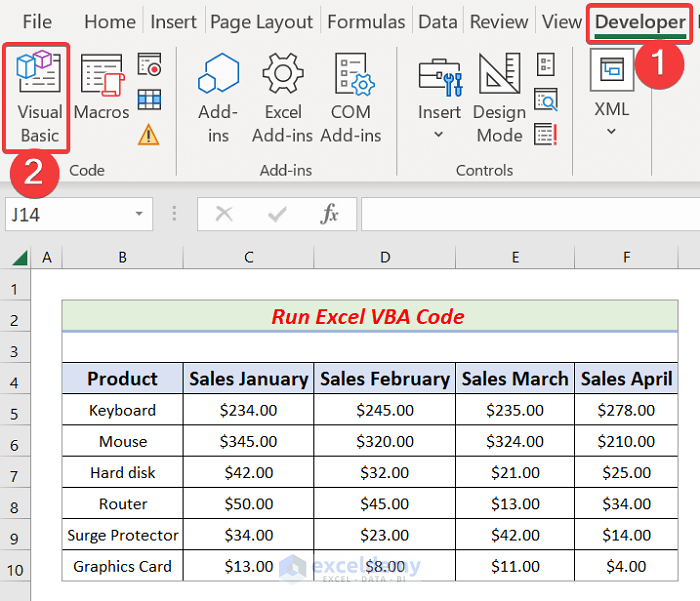
- Choose the Excel sheet and navigate to the Developer tab.
- Click the Visual Basic icon.
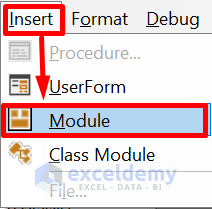
- Click Insert, followed by Module.
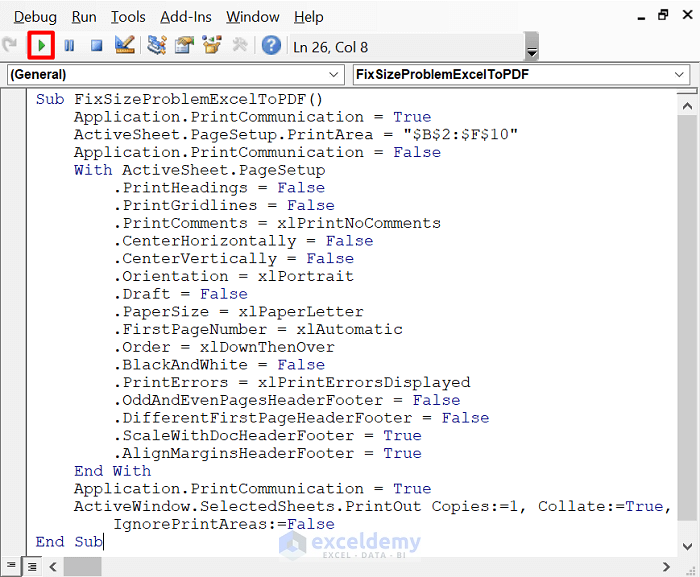
- Input the following code in the Module Box.
Sub FixSizeProblemExcelToPDF()
    Application.PrintCommunication = True
    ActiveSheet.PageSetup.PrintArea = "$B$2:$F$10"
    Application.PrintCommunication = False
    With ActiveSheet.PageSetup
        .PrintHeadings = False
        .PrintGridlines = False
        .PrintComments = xlPrintNoComments
        .CenterHorizontally = False
        .CenterVertically = False
        .Orientation = xlPortrait
        .Draft = False
        .PaperSize = xlPaperLetter
        .FirstPageNumber = xlAutomatic
        .Order = xlDownThenOver
        .BlackAndWhite = False
        .PrintErrors = xlPrintErrorsDisplayed
        .OddAndEvenPagesHeaderFooter = False
        .DifferentFirstPageHeaderFooter = False
        .ScaleWithDocHeaderFooter = True
        .AlignMarginsHeaderFooter = True
    End With
    Application.PrintCommunication = True
    ActiveWindow.SelectedSheets.PrintOut Copies:=1, Collate:=True, _
        IgnorePrintAreas:=False
End Sub- Press F5 or click the Run symbol.
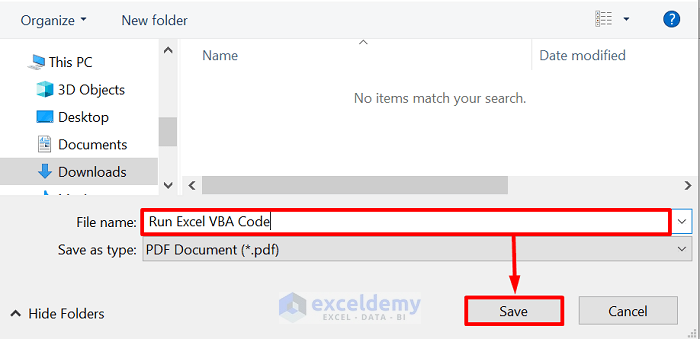
- The Windows Explorer window will appear to take the file name and destination.
- Type the PDF name, choose the destination, and hit the Save button.
- Open the saved file with any PDF reader.
- The issues will disappear, producing the intended outcome like the one below.
Method 2 – Extra Columns in Excel Dataset
STEPS:
- Choose the Active sheet.
- Go to the File tab.
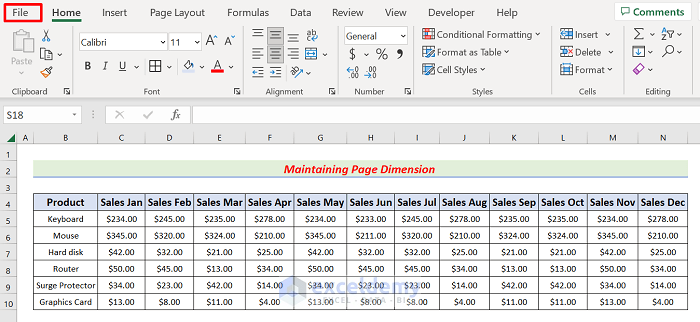
- Click on the Print option.
- IIn the right pane, we find our sheet columns break and will print on more than one page.
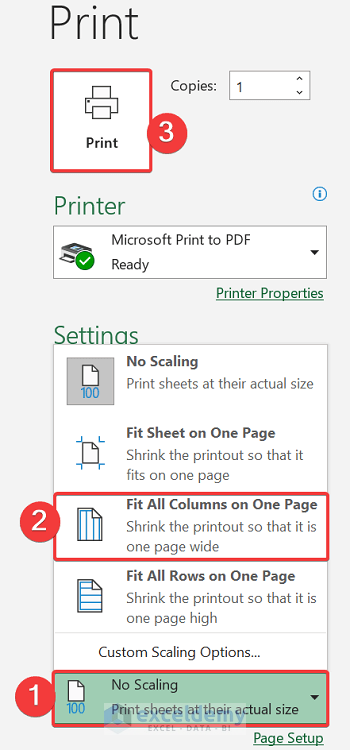
- To solve the issue, we will click
No Scaling → Fit All Columns on One → Print
- Windows Explorer will open up.
- Write the name and pick the destination of the PDF, followed by clicking the Save button.
- After opening the PDF file, the output will display like the below one containing all the columns.

Download Practice Workbook
You are welcome to get a free copy of the sample workbook we referred to throughout the presentation by clicking on the link immediately below.
Related Articles
- How to Convert Excel to PDF with All Columns
- How to Save Excel as PDF on One Page
- How to Save Multiple Excel Sheets as One PDF
- How to Create a Fillable PDF from Excel
- [Fixed!] Excel to PDF Hyperlinks Not Working
- How to Save Excel as PDF without Cutting Off
- Export Excel to PDF with Hyperlinks
<< Go Back to Export Excel to PDF | Export Data from Excel | Learn Excel
Get FREE Advanced Excel Exercises with Solutions!
