Method 1 – Combine LEFT and FIND Functions to Cut Text in Excel
To cut the first text from cell B5 of the dataset, we will use the LEFT and FIND functions.
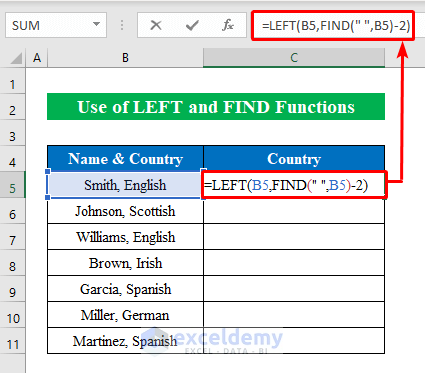
The FIND function extracts the position of a defined text, and the LEFT function returns a given number of characters from the string starting from the left side.
Steps:
- Enter the following formula in cell C5.
=LEFT(B5,FIND(" ",B5)-2)- Press Enter.
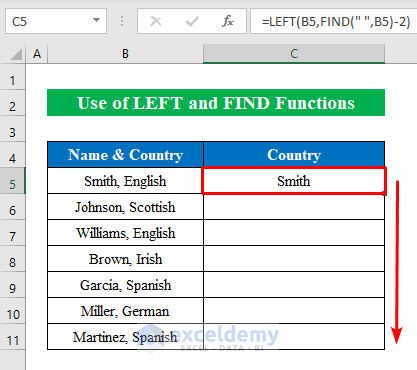
- You will get the first text from cell B5.
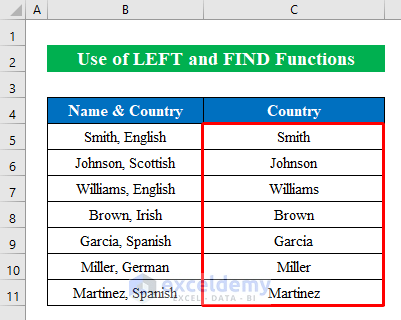
- Drag down the “fill handle” tool to extract text from the remaining cells.
You will get the output shown in the image below.
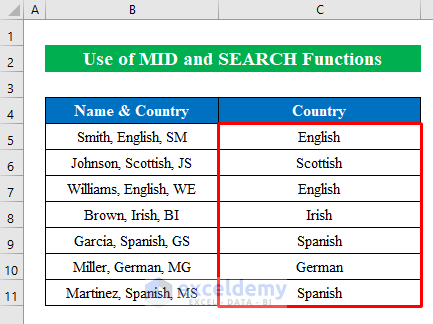
Method 2 – Merge MID and SEARCH Functions to Cut Text in Excel
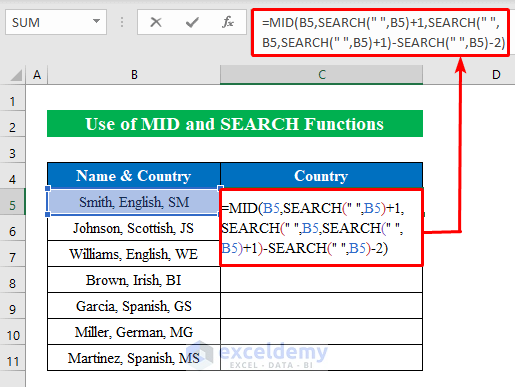
Sometimes you may need to cut text from the middle. To extract the middle text from the dataset,
- Enter the following formula in cell C5.
=MID(B5,SEARCH(" ",B5)+1,SEARCH(" ",B5,SEARCH(" ",B5)+1)-SEARCH(" ",B5)-2)- The SEARCH function extracts the number of characters from a given text string.
- The MID function returns a given number of outputs starting from a given position.
- Press Enter and use the “fill handle” tool for the remaining cells.
- You’ll get the middle text as an output in the new column.
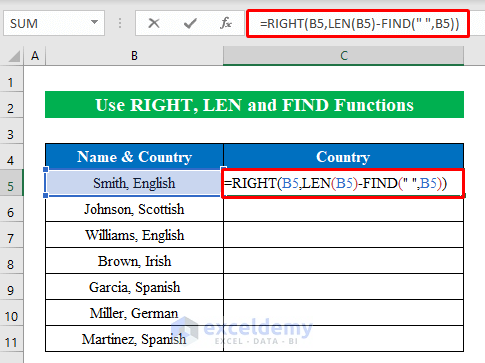
Method 3 – Combine RIGHT, LEN, and FIND Functions to Cut Text
In this method, we will cut the last text of a cell starting from the right.
Steps:
- Enter the following formula in cell C5.
=RIGHT(B5,LEN(B5)-FIND(" ",B5))- The RIGHT function returns the last characters from a given text string.
- The FIND function returns the position of the text.
- The LEN function extracts the length as a number of characters from a string.
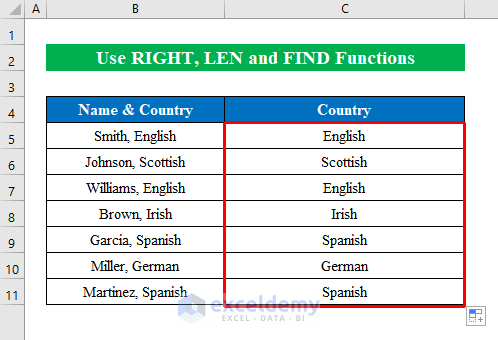
- Press Enter and use the “fill handle” tool for the remaining cells.
- You will get the output shown in the image below.
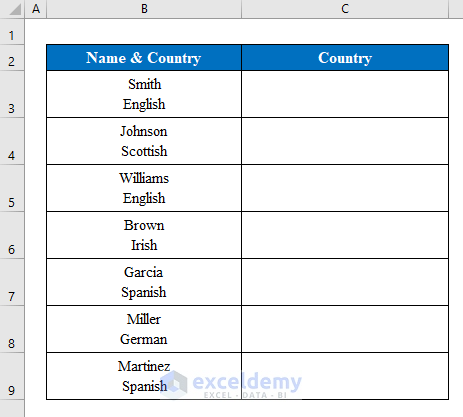
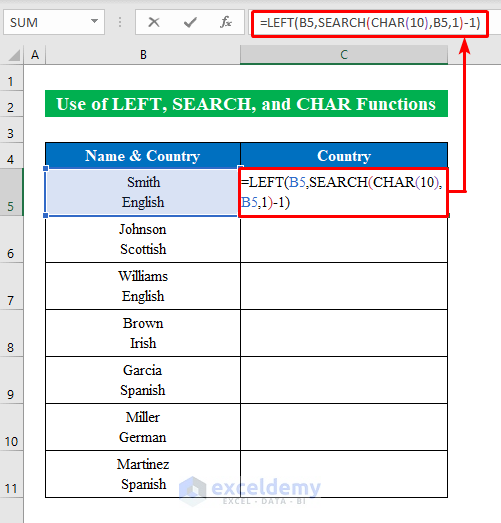
Method 4 – Merge LEFT, SEARCH, and CHAR Functions to Cut Text in Excel
The dataset below contains two texts in a single cell but in different lines.
Steps:
- Enter the following formula in C5.
=LEFT(B5,SEARCH(CHAR(10),B5,1)-1)- The SEARCH function returns the location of one text string within a given string.
- The CHAR function returns a specific character when a valid number is used inside the string.
- The LEFT function provides the total number of characters in a given string.
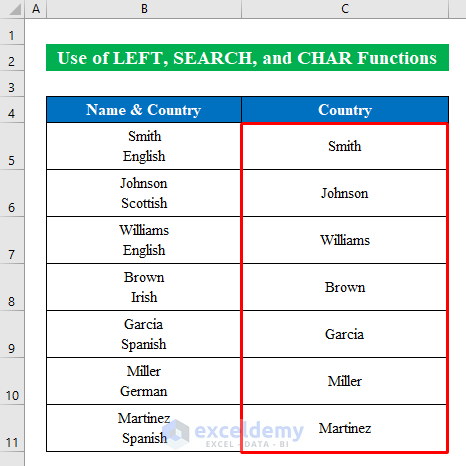
- Press Enter and use the “fill handle” tool for the remaining cells.
- We will get the following output with the first text being extracted from a cell with a line break.
Read More: How to Cut and Paste in Excel
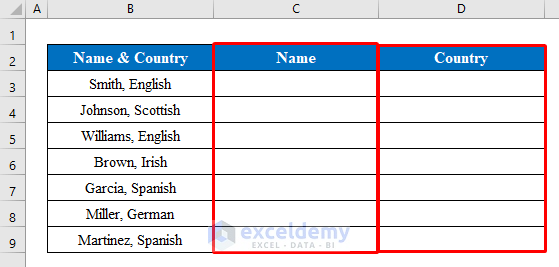
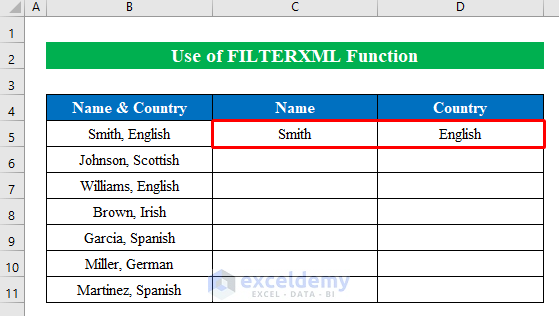
Method 5 – Apply FILTERXML Function to Cut Text in Excel
From the dataset below, we will extract both the texts into different cells.
Steps:
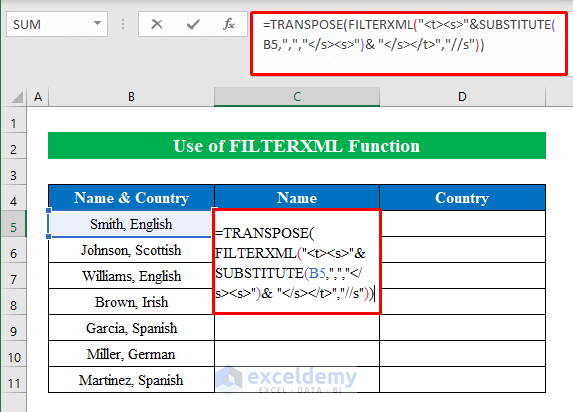
- Enter the following formula in C5.
=TRANSPOSE(FILTERXML("<t><s>"&SUBSTITUTE(B5,",","</s><s>")&"</s></t>","//s"))- The FILTERXML function extracts data from an XML file.
- The TRANSPOSE function converts a vertical range of cells to a horizontal range.
- Press Enter and you will get both texts in two different cells.
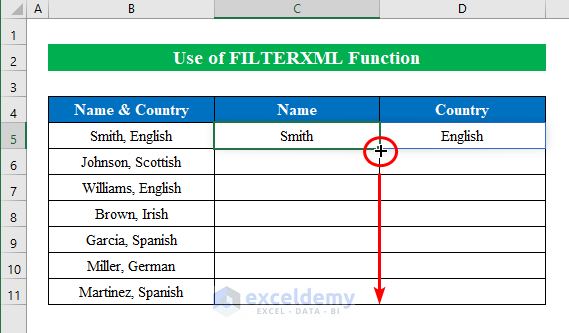
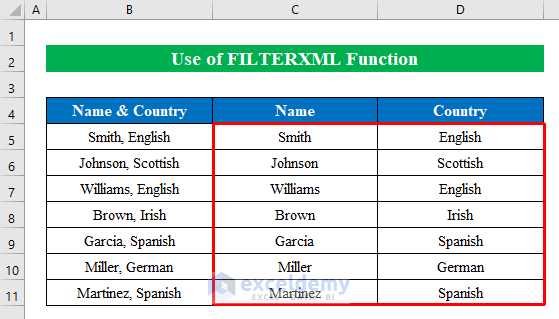
- Use the Fill Handle tool for the remaining cells.
- You will get the following output.
Method 6 – Use Combined Formula to Cut Text and Numbers in Excel
When a cell contains many texts or numbers in a cell, you will need to cut them into many parts in new cells.
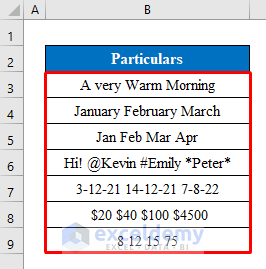
To cut every text or number into different cells,
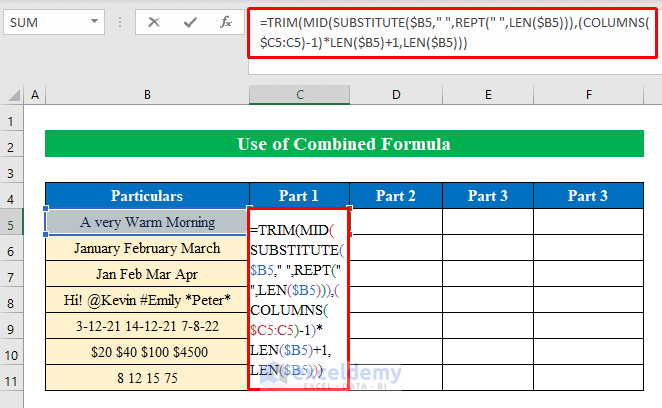
- Enter the following formula in C5.
=TRIM(MID(SUBSTITUTE($B5," ",REPT(" ",LEN($B5))),(COLUMNS($C5:C5)-1)*LEN($B5)+1,LEN($B5)))- The LEN function returns the length with numbers in a string.
- The COLUMNS function returns the count of columns.
- The REPT function is used to repeat texts a given number of times.
- The SUBSTITUTE function replaces text in a string.
- The MID function returns a given number of characters starting from a given position.
- The TRIM function removes extra spaces from a string.
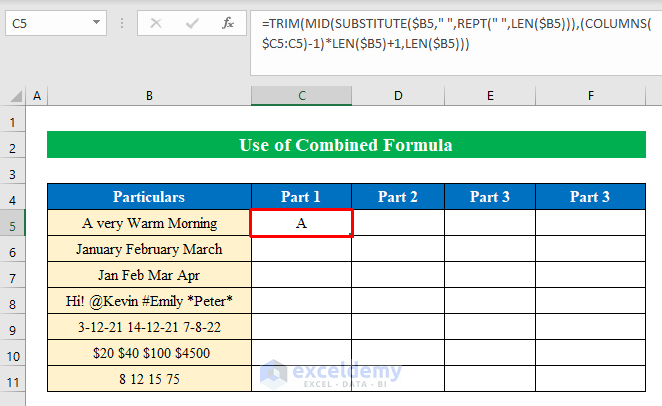
- Press Enter.
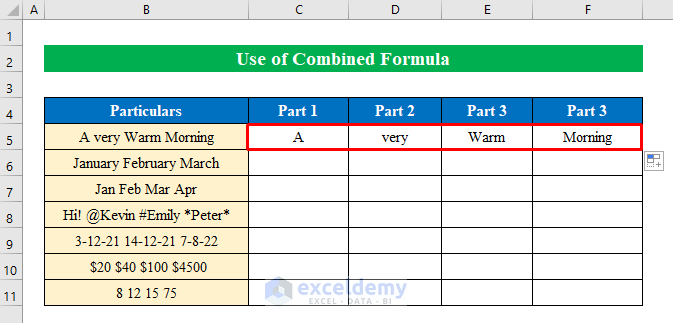
- Drag the “fill handle” horizontally to fill cells with the desired result.
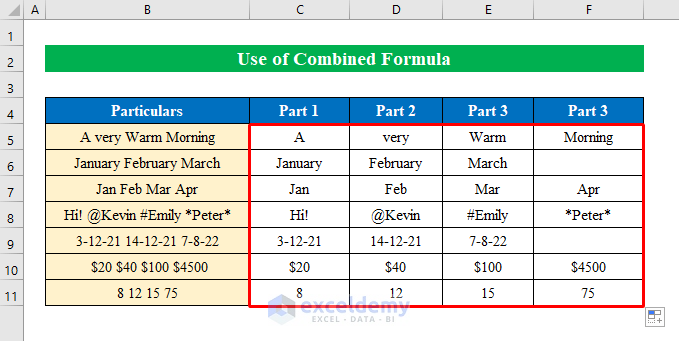
- Drag the “fill handle” vertically. You will get the output shown in the image below.
Download Practice Workbook
Related Articles
<< Go Back to Copy Paste in Excel | Learn Excel
Get FREE Advanced Excel Exercises with Solutions!
