Filtering is a great advantage when using Excel. We can easily filter large datasets according to our needs using the Excel Filter option. Now, sometimes, we need to cut some filtered rows from large datasets to paste and use in other files. In this article, I will show you step-by-step guidelines to cut filtered rows in Excel.
How to Cut Filtered Rows in Excel: Quick Steps
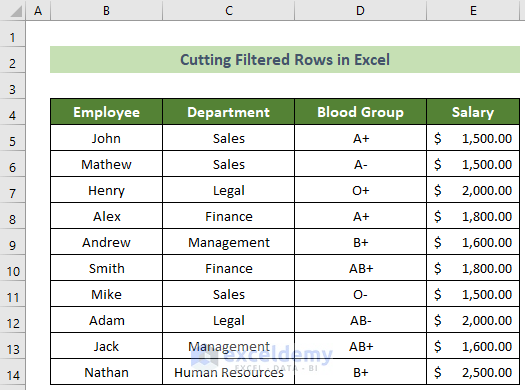
Say, we have a dataset of 10 employees’ names, departments, blood groups, and salaries. Now, we want to cut Sales filtered rows in Excel from the dataset. You can follow the quick steps below to accomplish this result.
In this article, we have used the Office 365 version of Microsoft Excel. But, no worries! You can apply these steps to any version of Microsoft Excel available to you. If you face any problems regarding versions, please leave a comment below.
📌 Step 1: Create Filtered Data Range
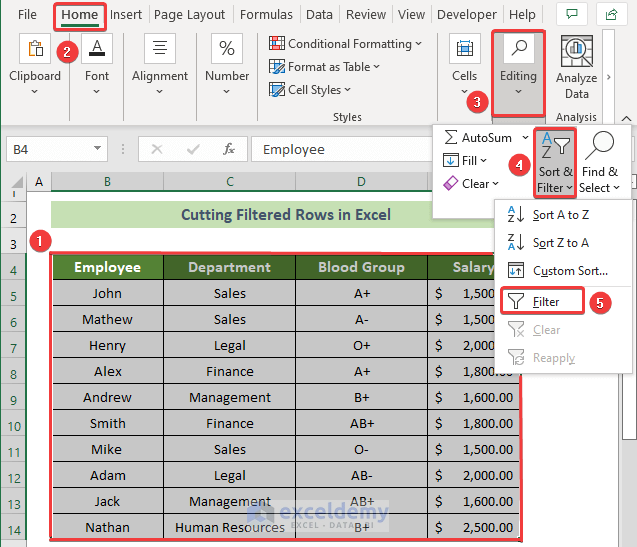
At the very beginning, you need to create filters in your dataset.
- In order to do this, first and foremost, select the whole dataset.
- Subsequently, go to the Home tab >> Editing group >> Sort & Filter group >> Filter option.
Thus, your dataset will have filters in every column now.
📌 Step 2: Filter Desired Category
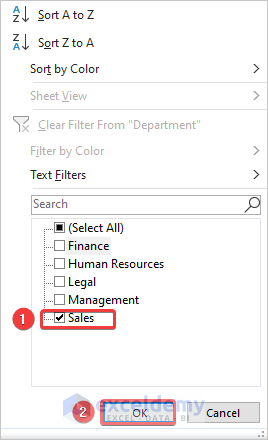
Now, you need to filter your desired category to cut the filtered row in Excel.
- To do this, click on the down arrow inside the Department column.

- As a result, a dropdown menu will appear.
- Following, tick only the Sales option and click on the OK button.
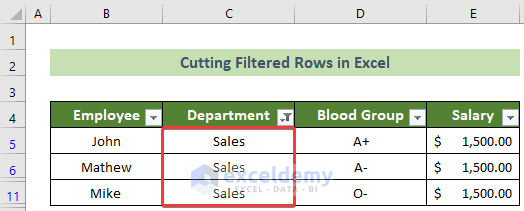
Thus, you will see that the dataset will only show the Sales department’s rows. For example, the outcome would look like this.
📌 Step 3: Copy and Paste Filtered Rows
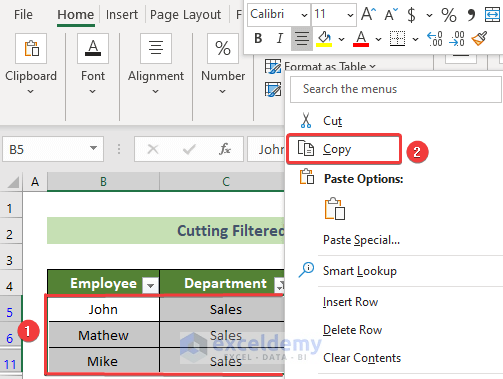
At this time, you have to copy and paste the filtered rows.
- To do this, click your right mouse button after selecting the filtered rows.
- Following, choose the Copy option from the context menu.
- Afterward, select and right-click on the cell where you want to paste the filtered rows (B16 here).
- Subsequently, choose the Paste option from the context menu.

Thus, the filtered rows will be copied into the desired cells.
📌 Step 4: Delete Desired Category’s Rows
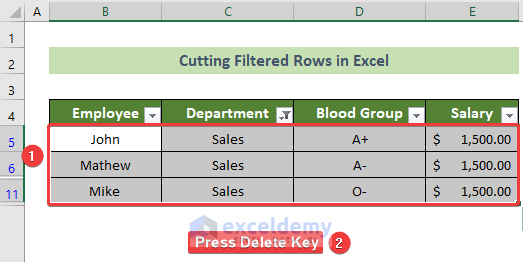
Last but not least, you will need to delete the filtered rows now.
- In order to do this, select the filtered rows and press the Delete key on your keyboard.
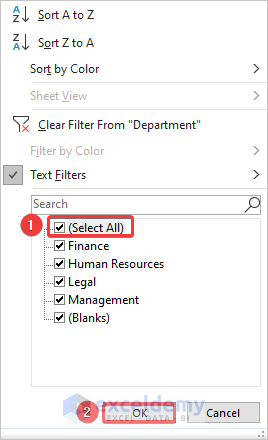
- Afterward, click on the down arrow inside the Department column.
- Subsequently, a dropdown menu will appear.
- Following, tick on the Select All option and click on the OK button.
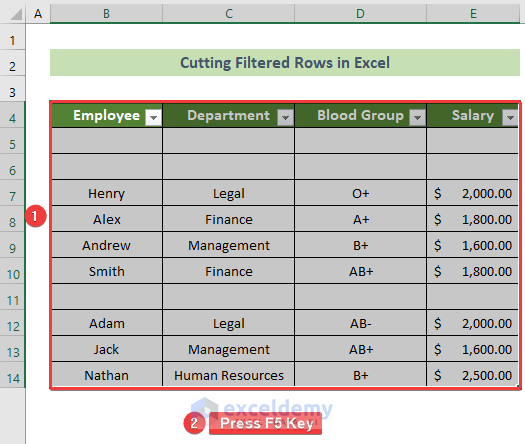
- As a result, your whole dataset will appear again with the previously filtered rows as blanks.

- Now, select the whole dataset and hit the F5 key.
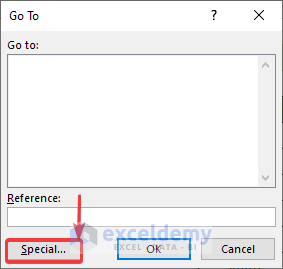
- At this time, the Go To window will appear.
- Following, click on the Special… button.
- As a result, the Go To Special dialogue box will appear.
- Subsequently, put the radio button in the Blanks option from the Select group.
- Following, click on the OK button.

- As a result, all the blanks inside the dataset will be selected.
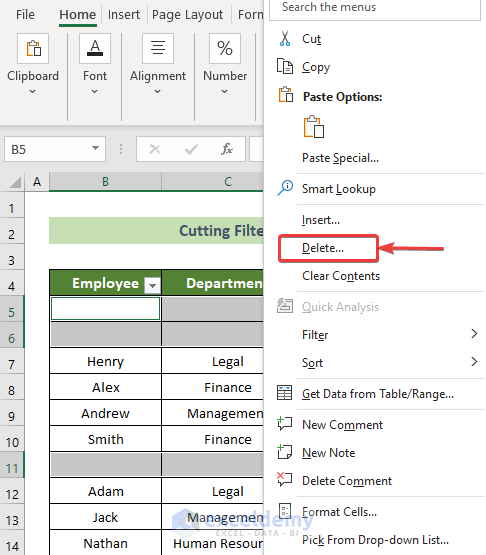
- Now, press your right mouse button and choose the Delete… option from the context menu.
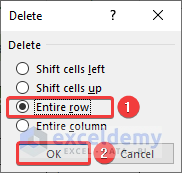
- At this time, the Delete window will appear.
- Choose the Entire row option from the Delete options and click on the OK button.
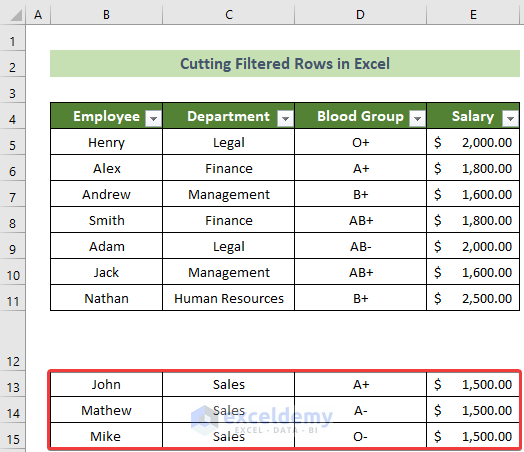
As a result, you can see the filtered rows are deleted. And, finally, you have successfully cut and pasted filtered rows in Excel. And, the final output should look like this.
Read More: How to Cut and Paste in Excel
💬 Things to Remember
- Sometimes, it might appear that instead of copying, pasting, and deleting later, it is faster to cut and paste filtered rows directly. But, in this way, some other rows may also get cut with the filtered rows. That’s why it is better to use the approach we have shown in the article.
Download Practice Workbook
You can download our practice workbook from here for free!
Conclusion
In a nutshell, in this article, I have shown you step-by-step guidelines to cut filtered rows in Excel. I suggest you read the full article carefully and practice accordingly. I hope you find this article helpful and informative. And, you are very welcome to comment here if you have any further questions or recommendations regarding this article.
Related Articles
<< Go Back to Cut in Excel | Copy Paste in Excel | Learn Excel
Get FREE Advanced Excel Exercises with Solutions!
