Fortunately, there are a number of functions in Excel to perform various lookup and search operations easily and swiftly. Today, I am going to show you how to use a lookup function called COLUMNS. For the session, we are using Microsoft Office 365. However, you can use your preferred version (at least Excel 2003). In this article, I will show you 5 ideal examples of using the COLUMNS function in Excel. Now, without further ado, let’s begin.
Introduction to COLUMNS Function in Excel
The COLUMNS function is categorized under the Lookup and Reference functions. It returns the count of columns in a given reference.
- Function Objective
Checks the number of columns in an array or reference and returns the number in digits.
- Syntax
=COLUMNS(array)
- Arguments
| Argument | Required/Optional | Explanation |
|---|---|---|
| array | Required | A reference to a range of cells for which you want the number of columns. |
- Returning Parameter
Integer Values- It returns the number of columns in positive integer values.
- Versions
Workable from Excel version Excel 2003.
How to Use COLUMNS Function in Excel: 5 Ideal Examples
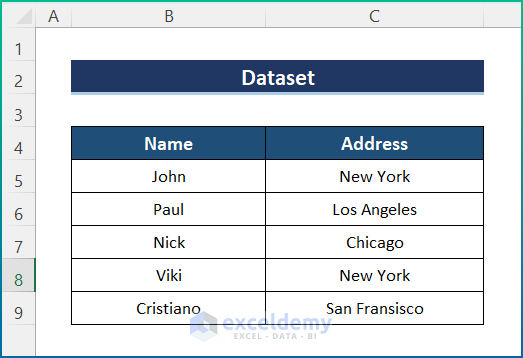
Usually, you can use the COLUMNS function on various occasions. Let’s explore some common uses of COLUMNS. Moreover, we will be using different datasets for different examples. However, keep in mind that these are just some basic examples to demonstrate the usage of the function in different scenarios. At the same time, the usage of the function can go a long way in developing useful formulas for automation. For the purpose of demonstration, I have used the following sample dataset.
1. Basic COLUMNS Operation in Excel
In general, the most basic use of the COLUMNS function is to find the number of columns. However, to find the result, all you need to do is insert the array or reference. Moreover, the function is very simple and handy to operate. Here, I will use the COLUMNS function in order to find the total number of columns for the given dataset. Hence, go through the steps below.
📌 Steps:
- Initially, select cell C11 and write down the following formula.
=COLUMNS(B4:C4)

- Next, press Enter, and it will provide the number of columns.

- After that, put the following formula on cell C12.
=COLUMNS(B4:C4)*ROWS(B4:C9)

- Finally, hit the Enter button to get the number of Total Cells.

2. Use the Excel COLUMNS Function to Get the First and Last Cell
Furthermore, I have joined the ADDRESS and ROW functions to find the cell references of the dataset in Excel. For the purpose of demonstration, I have chosen the complete dataset and calculated the cell reference of the first cell and last cell. However, the process is quite similar to the previous ones. Hence, follow the steps below in order to get your desired outcome.
📌 Steps:
- Firstly, select cell C11 and insert the formula below.
=ADDRESS(@ROW(B4:C9),@COLUMN(B4:C9))
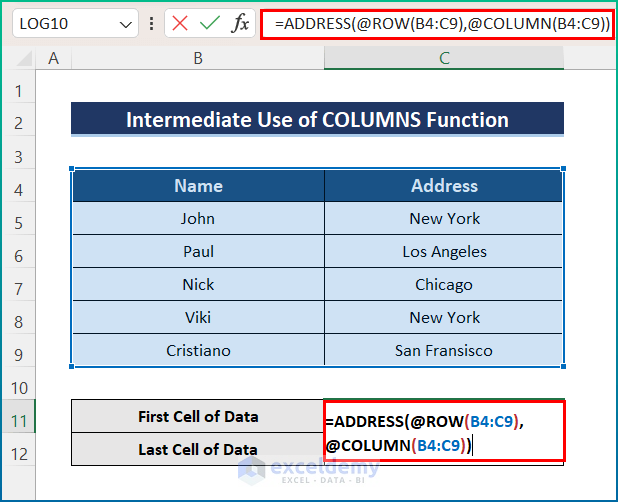
- Secondly, hit the Enter button, and you will receive your final output. Here, I have found the First cell of the dataset.

- Similarly, write the formula below in the next cell.
=ADDRESS(@ROW(B4:C9)+ROWS(B4:C9)-1,@COLUMN(B4:C9)+COLUMNS(B4:C9)-1)

🔎 Formula Breakdown:
- Firstly, the ROW function provides the row numbers sequentially of the cells of data, and the ROWS function gives the total number of rows which is 6.
- Secondly, the COLUMN function gives the number of columns sequentially, whereas the COLUMNS function provides 2 as the number of columns.
- Thirdly, the combination of the ROWS and COLUMNS functions provides the last cell of the dataset.
- Lastly, the ADDRESS function provides the cell reference of the last cell of the provided dataset.
- Lastly, click the Enter key, and you will get the Last cell reference of your dataset.

3. Combine COLUMNS with Excel VLOOKUP Function
Last but not least, I applied the VLOOKUP function to find the Address of Nick. For this reason, I utilized the COLUMNS function in addition to it. Moreover, it is suitable for several situations when the sum satisfies particular conditions. For example, I selected Nick from the dataset and want to call his address from the dataset, and it can be found easily by combining both functions. However, read through the steps below in order to complete the task easily.
📌 Steps:
- First, click cell C11 and write the formula mentioned below.
=VLOOKUP("Nick",$B$5:$C$9, COLUMNS($B$5:$C$9),0)

- At last, hit the Enter key, and you will get your desired result, as in the image below.

4. Generate a Sequence of Numbers with COLUMNS
Moreover, you can generate a number sequence using the COLUMNS function. The process is simple and handy to operate. For the purpose of demonstration, I have used a different dataset. Hence, follow the steps in order to create a number sequence.
📌 Steps:
- In the beginning, click cell C5 and write the formula mentioned below.
=COLUMNS($A$1:A1)
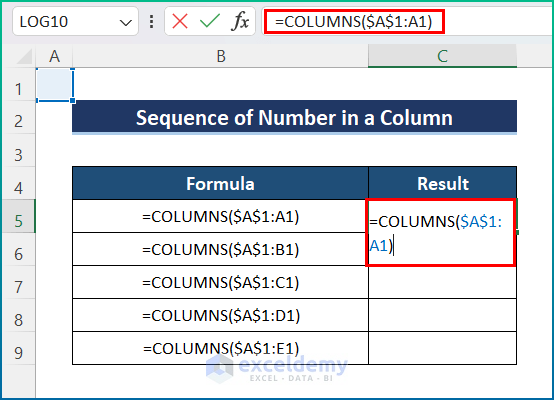
- Next, press Enter, and you will get 1.

- Similarly, put B1, C1, D1, etc., instead of A1 in the formula to generate the sequence.

5. Apply Array in COLUMNS Function
After all, you can use an array instead of a reference in the COLUMNS function. However, you have to input the array. Hence, go through the below steps. For the purpose of demonstration, I have used the following dataset. Here, you have two 3-column rows, containing 1,2, and 3 in the first row and 4,5, and 6 in the second row.

📌 Steps:
- Initially, click cell C5 and write the formula mentioned below.
=COLUMNS({1,2,3;4,5,6})
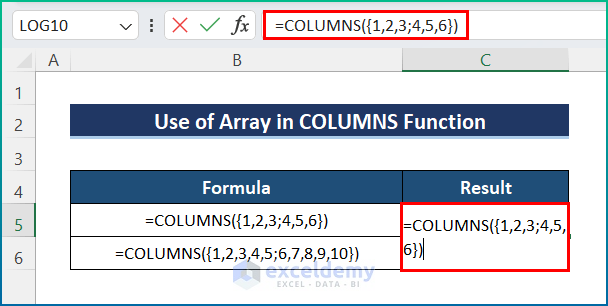
- Lastly, press Enter to get the final result.

Things to Remember
- First, the array argument in the COLUMNS Function can be either a range of cells or single-cell addresses.
- If the range of cells or array contains multiple rows and columns, only the columns are counted.
- However, you can combine a wide range of functions with the COLUMNS function according to your needs.
- You can use the functions or examples for any dataset, but you have to change the dataset parameters accordingly.
- Last, the COLUMNS functions in Excel will always return a positive numeric value.
Download Practice Workbook
You can download the workbook used for the demonstration from the download link below.
Conclusion
These are all the steps you can follow to use the COLUMNS function in Excel. Hopefully, you can now easily create the needed adjustments. I sincerely hope you learned something and enjoyed this guide. Please let us know in the comments section below if you have any queries or recommendations.
<< Go Back to Excel Functions | Learn Excel
Get FREE Advanced Excel Exercises with Solutions!
