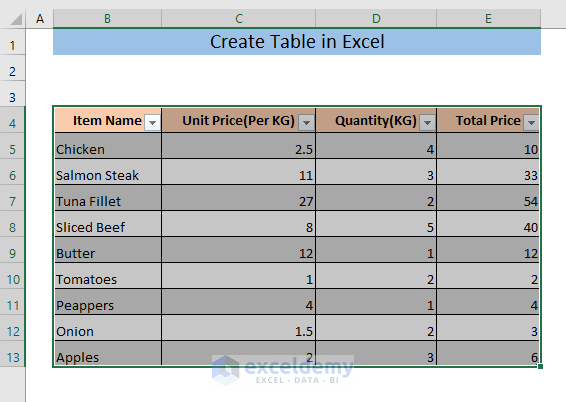
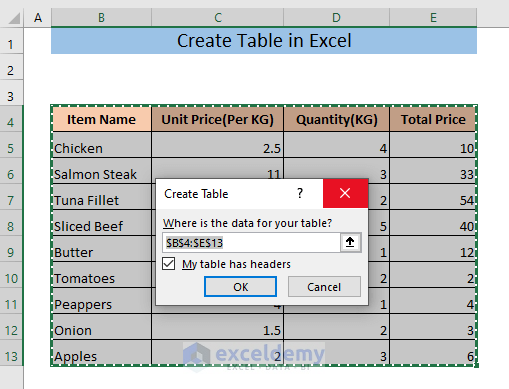
Method 1 – Create Table with Keyboard Shortcut Key
➤ Select the Entire dataset and press the following keys,
CTRL+TThe Create Table window will open.
➤ Check on the box My table has headers, if your dataset has a header row. Otherwise, leave this box unchecked.
➤ Click on OK.
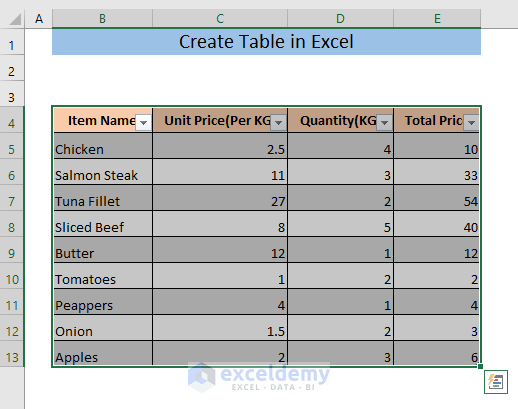
The table will be created.
Read More: Create a Table in Excel Based on Cell Value
Method 2 – Create Table from Insert Tab
➤ Select your data and press,
ALT+N+TIt will open the Create Table window from the Insert tab.
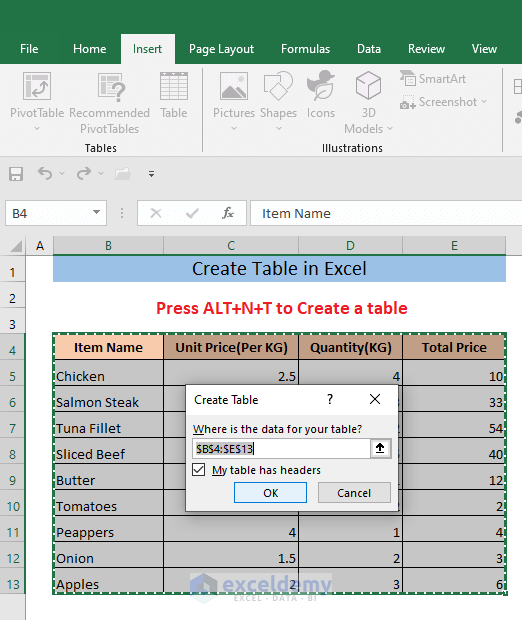
The Create Table window will open.
➤ Check on the box My table has headers if your dataset has a header row.
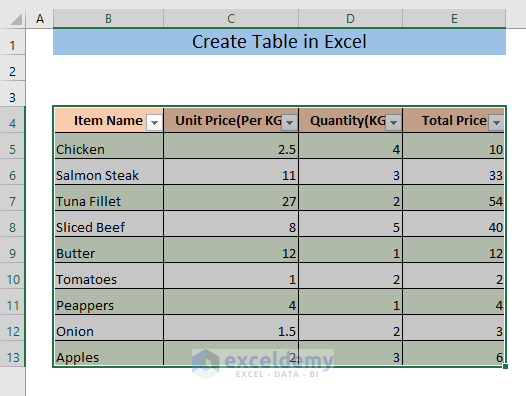
➤ Press OK.

It will create a table with your existing data.
Read More: How to Create a Table Without Data in Excel
Method 3 – Shortcut Key to Create Pivot Table
➤ Select the entire data and press,
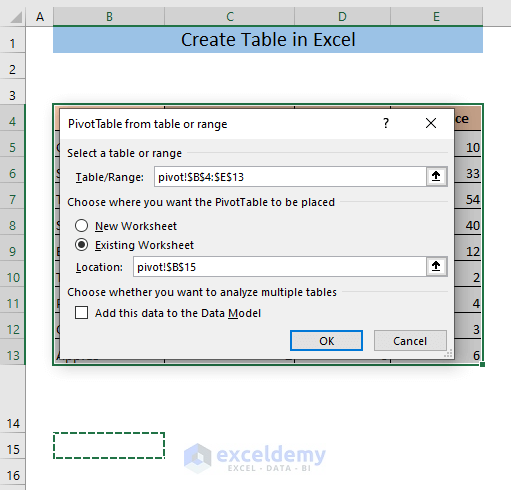
ALT+N+V+TIt will open the PivotTable from table or range window.
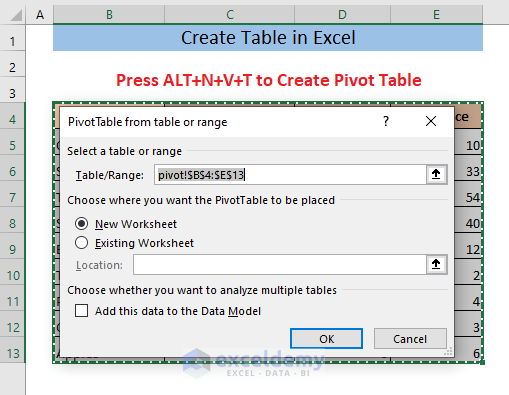
➤ Select Existing worksheet.
You can select a New worksheet if you want to create the pivot table in a new sheet.
➤ Select the cell where you want to create the pivot table in the Location box and press OK.
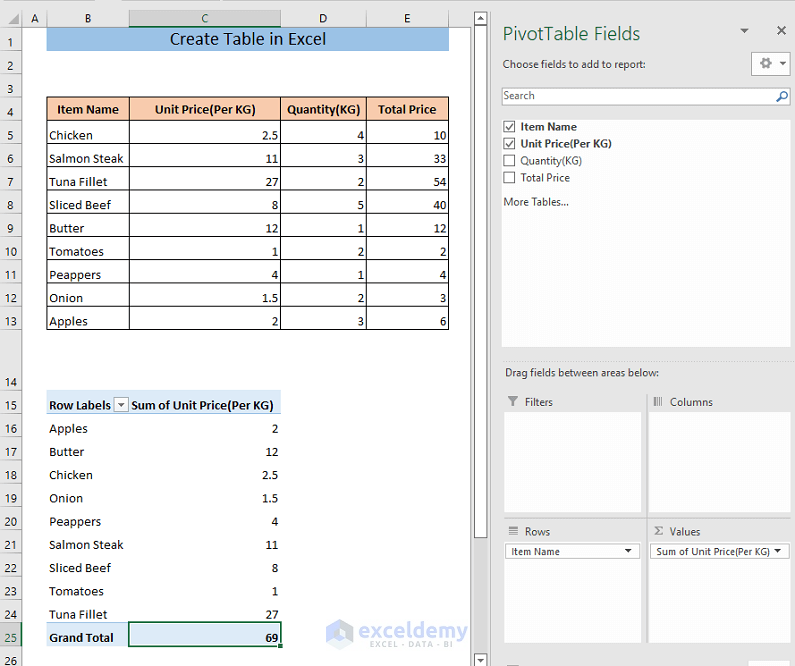
It will create a pivot table with your data.
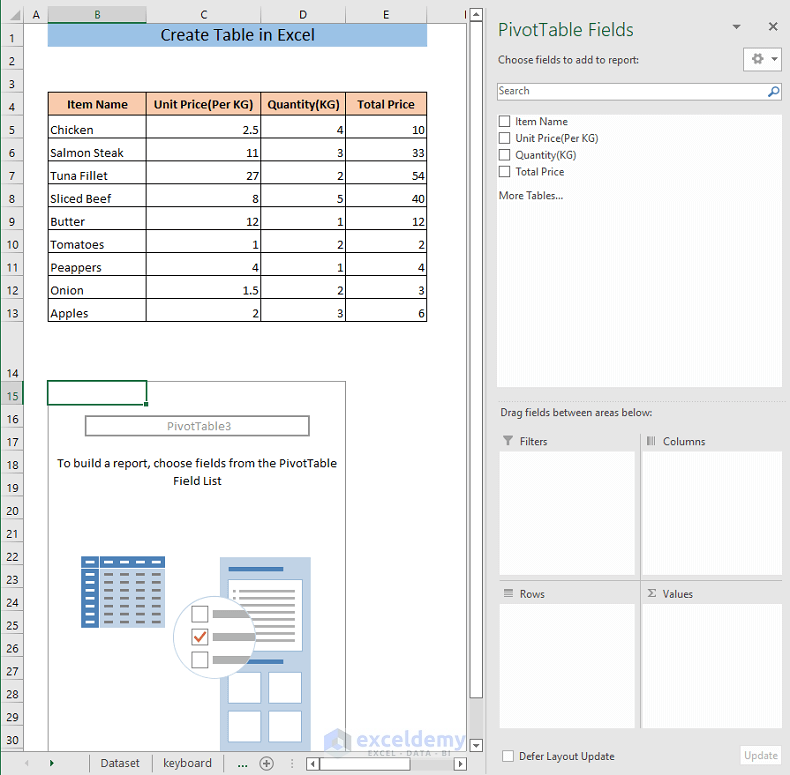
Drag the column headers in different areas of the PivotTable Fields to get different calculations in a tabular form.
Read More: How to Create a Table with Merged Cells in Excel
Method 4 – Shortcut to Create Table from Home Tab
➤ Select the Entire dataset and press,
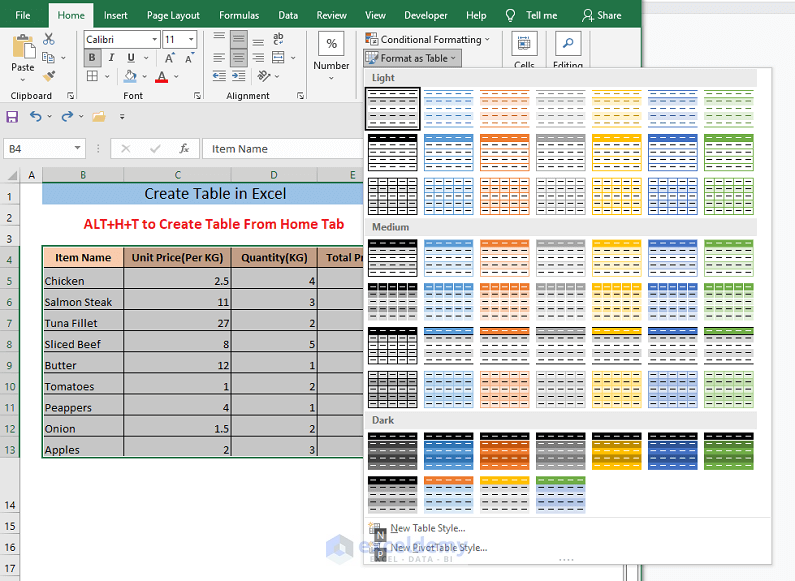
ALT+H+TIt will open the option Format as Table from the Home tab.
➤ Select a suitable style from this option.
The Create Table window will open.
➤ Check on the box My table has headers if your dataset has a header row.
➤ Press OK.
It will create a table with your data.
Read More: How to Add New Row Automatically in an Excel Table
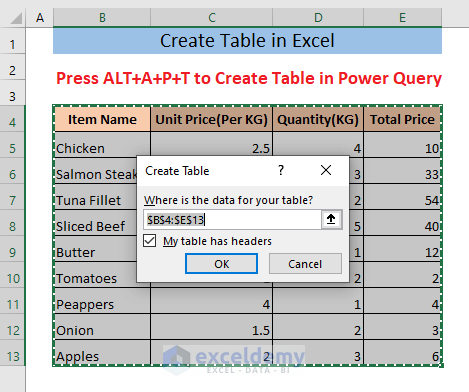
Method 5 – Shortcut to Create Table in Power Query
➤ Select the Entire dataset and press,
ALT+A+P+TThe Create Table window will open.
➤ Check on the box My table has headers if your dataset has a header row.
➤ Press OK.
A table will be created in the Power Query Editor window. You can now transform your data from this table in the Power Query Editor window.
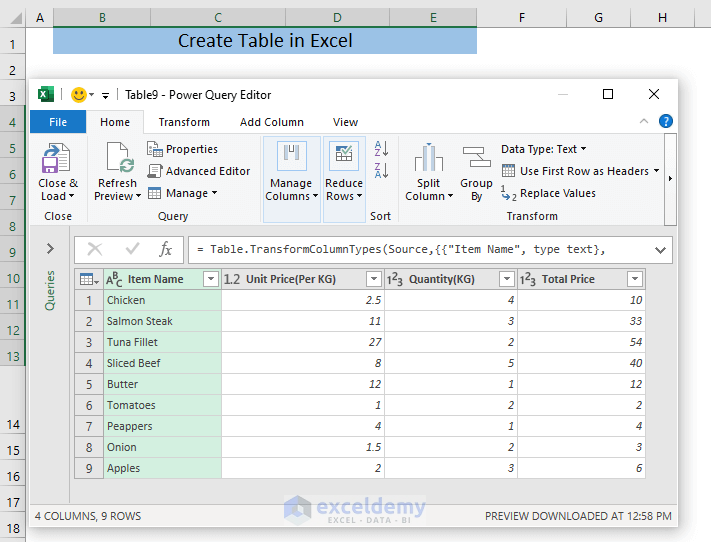
If you close the Power Query Editor, you will see a table has also been created in your Excel sheet.

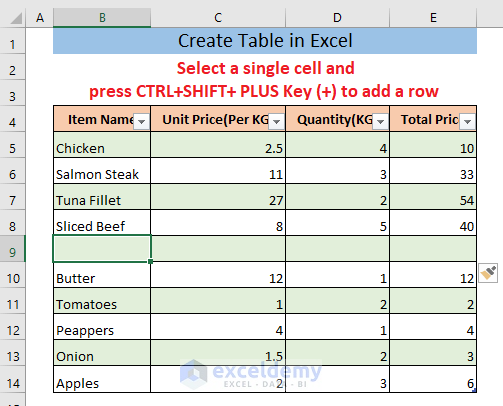
Method 6 – Insert or Delete Rows and Columns with Shortcut
To Insert a Row
➤ Select any cell from the row before which you want to insert the new row and press,
CTRL+SHIFT+PLUS Key (+)It will add a row to your table.
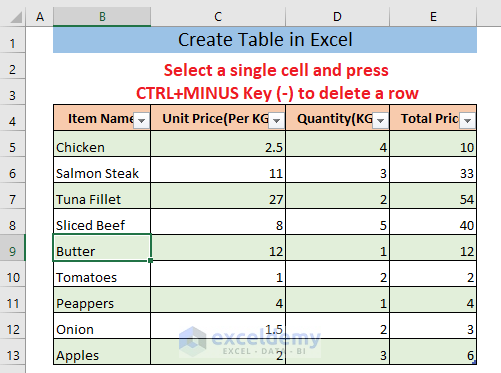
To Delete a Row
➤ Select any cell from the row and press,
CTRL+MINUS Key (-)It will delete the selected row from your table.
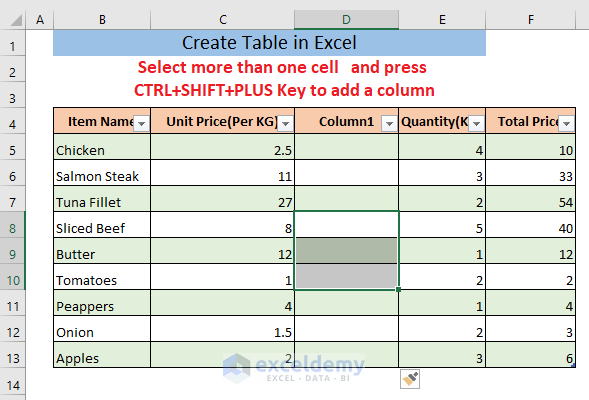
Insert a Column
➤ Select more than one cell from the column before which you want to insert a new column and press,
CTRL+SHIFT+PLUS Key (+)It will add a column to your table.
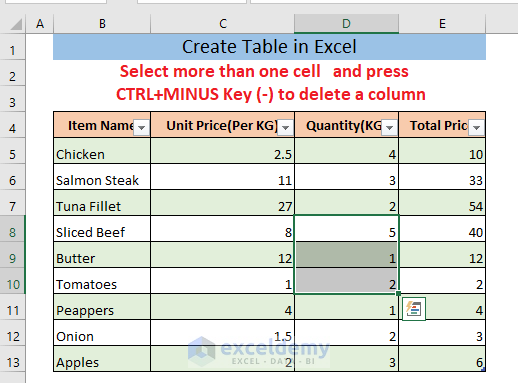
Delete a Column
➤ Select more than one cell from the column and press,
CTRL+MINUS Key (-)It will delete the selected column from your table.
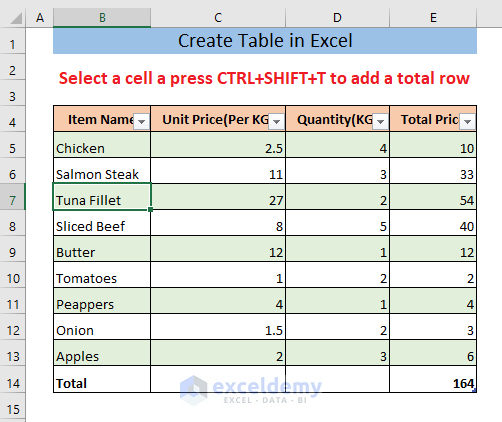
Method 7 – Add a Total Row in the Table
➤ Select any cell from your table and press,
CTRL+SHIFT+TIt will add a Total Row to your table.
Method 8 – Shortcut to Rename a Table
➤ Select any cell from your table and press,
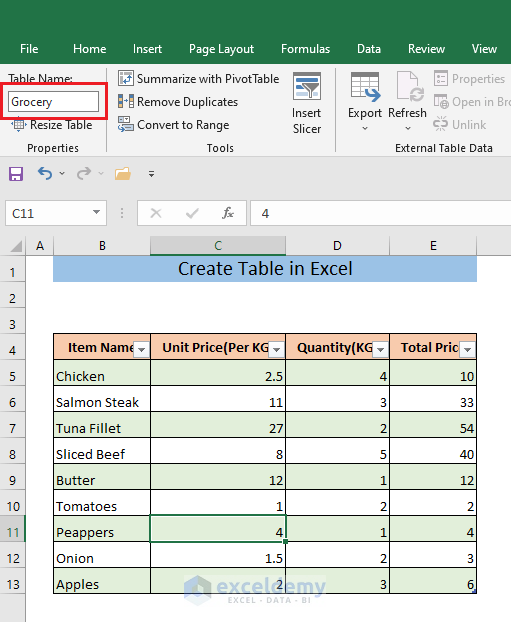
ALT+J+AIt will take the cursor to the Table Name box.
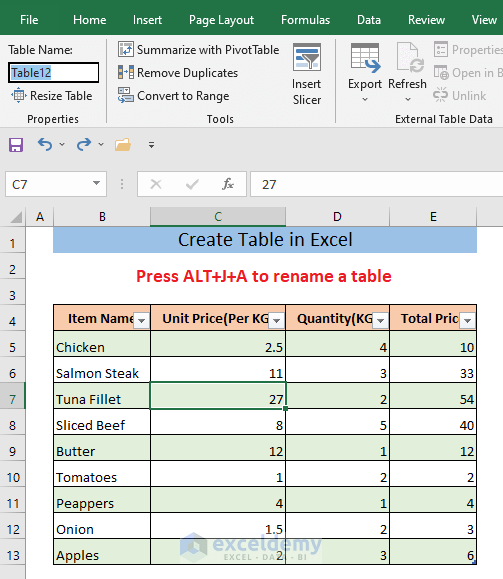
Name your table.
Read More: How to Make a Table in Excel with Lines
Download Practice Workbook
Related Articles
- How to Create a Table in Excel with Multiple Columns
- How to Create a Table with Subcategories in Excel
<< Go Back to Excel Table | Learn Excel
Get FREE Advanced Excel Exercises with Solutions!
