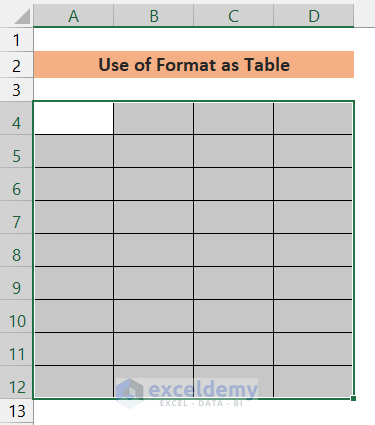
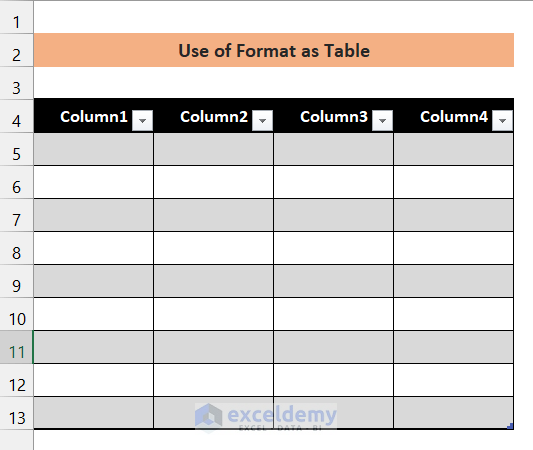
Method 1 – Using the Format as Table Option to Create a Table Without Data
Step 1:
- Select the cells you want to convert into a table. Here, A4:D12
Step 2:
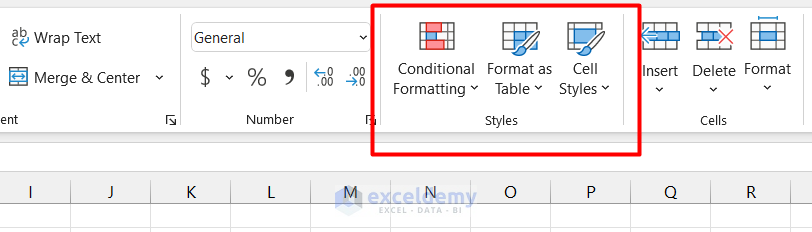
- Go to Styles.
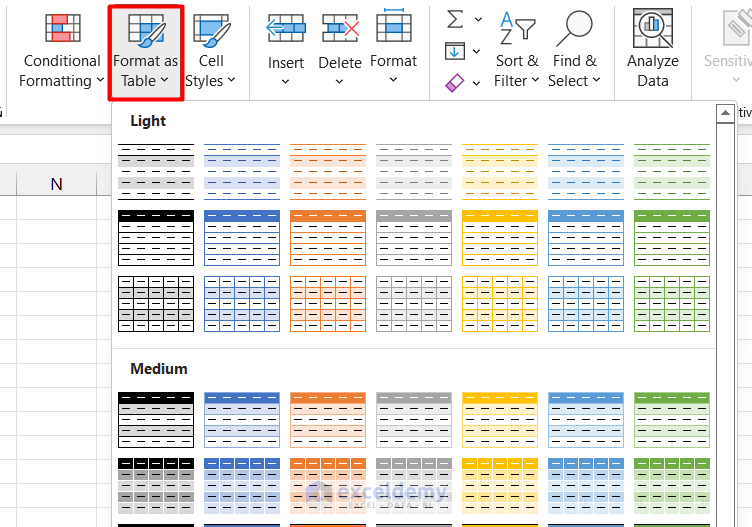
- Select Format as Table.
- Select a predefined table style: Light, Medium, and Dark.
Step 3:
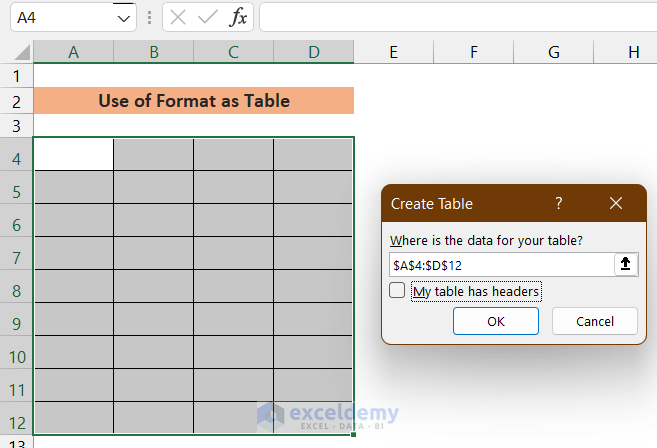
- In Create Table, recheck if the selected cells are displayed in “Where is the data for your table”.
- To create Table Headers, check “My table has headers”
- Click OK.
A table will be created.
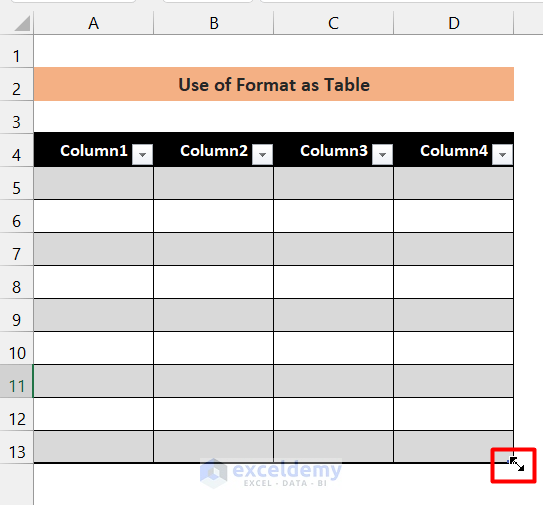
- To add more cells to the table, place the cursor at the bottom corner of the table and drag the sign ↕.
Read More: Create Table in Excel Using Shortcut
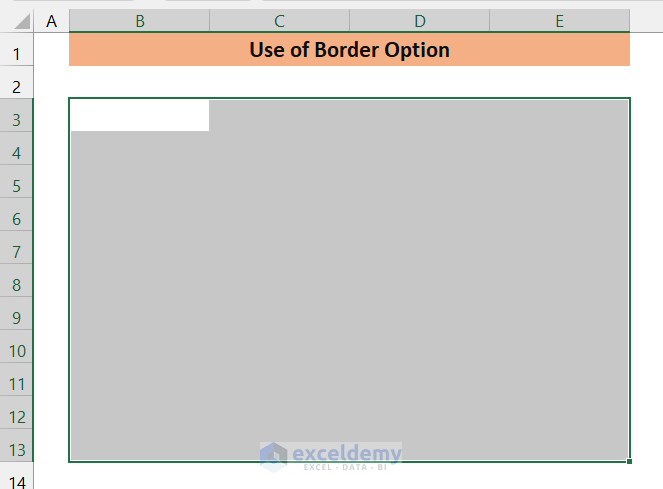
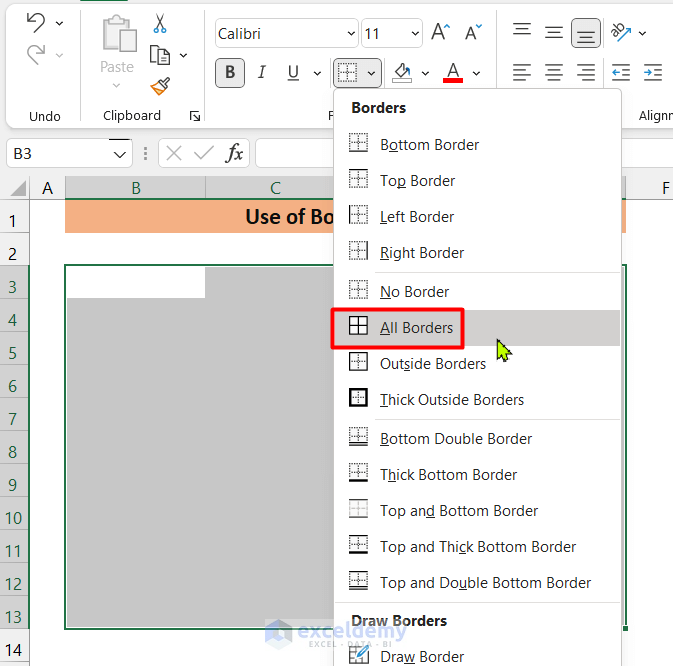
Method 2 – Using the Border Feature to Create a Table Without Data
Step 1:
- Select the cells to create a table. Here, B3:E13.
Step 2:
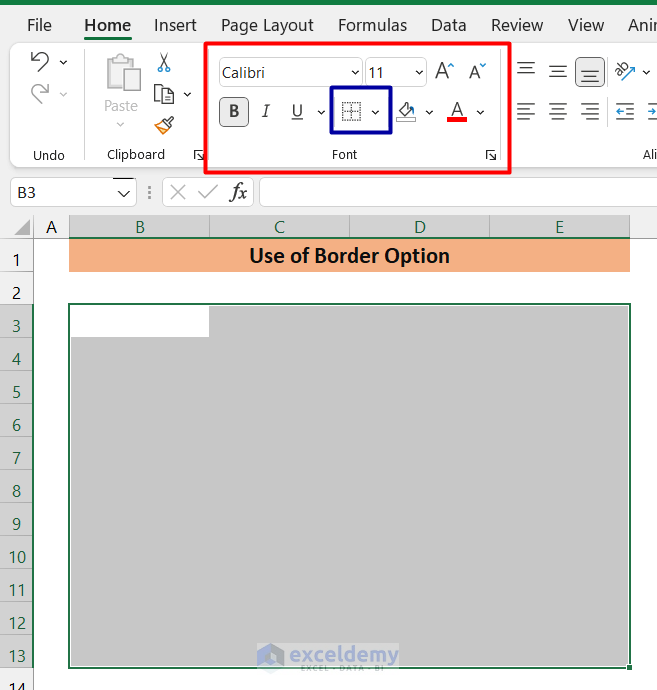
- Go to Font and click Borders.
- Choose a style.
Step 3:
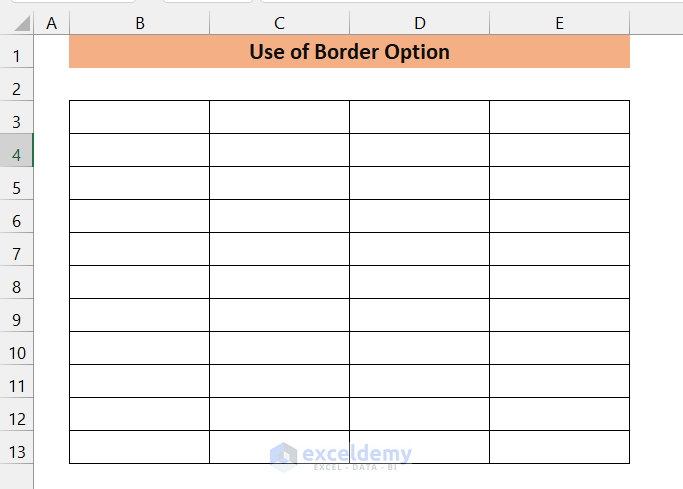
- All Borders were selected, here.
The table will be displayed:
- You can format the table and add column headers:
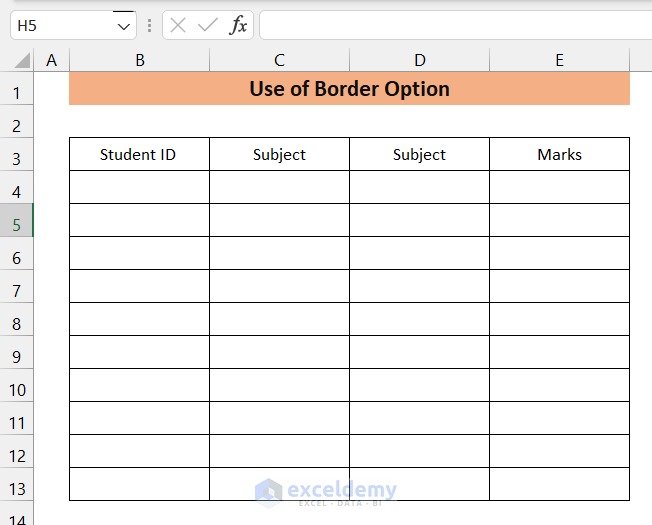
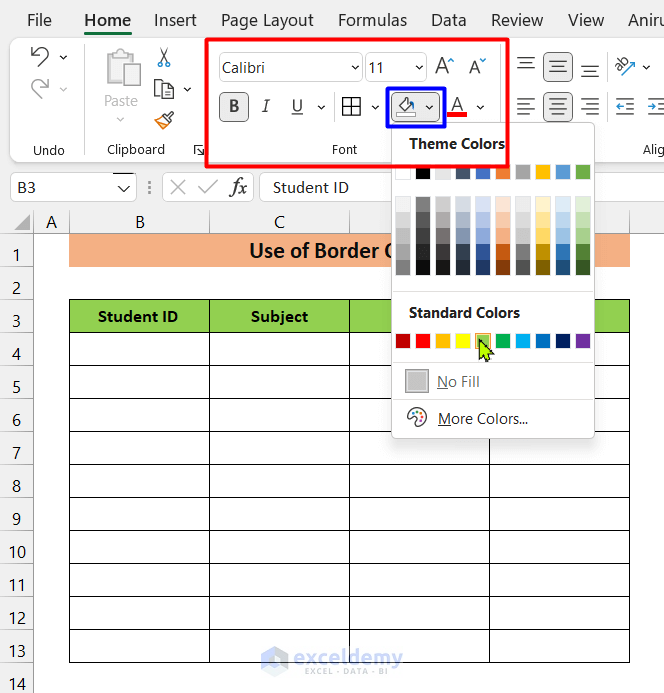
- Bold the header by selecting it and pressing Ctrl+B.
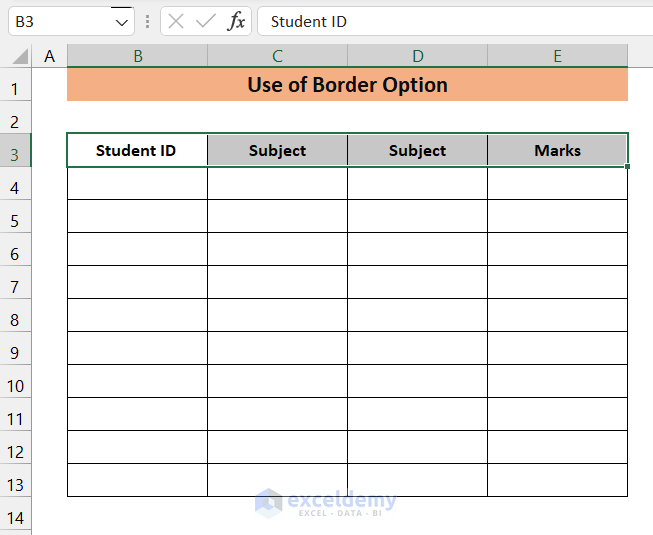
- To change the header color, select the column and go to Font.
- Click Fill and select a color.
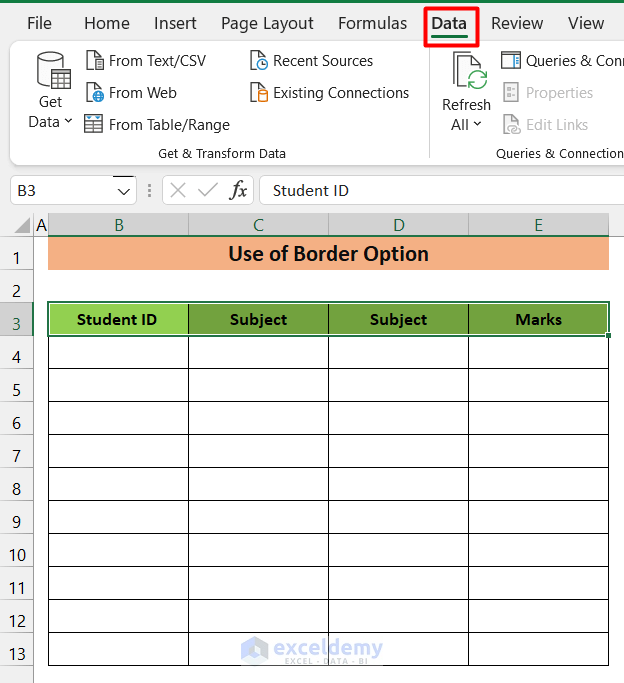
- To add a Filter to the header column, go to the Data Tab.
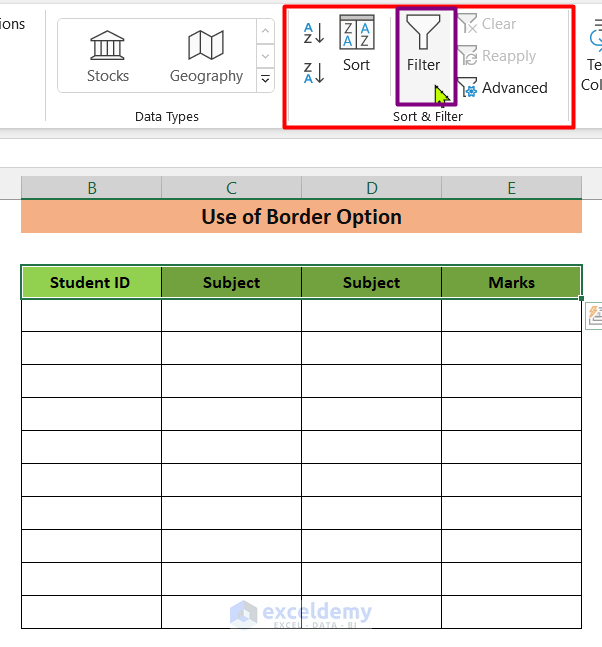
- Select the Header Column and select Sort and Filter.
- Choose Filter.
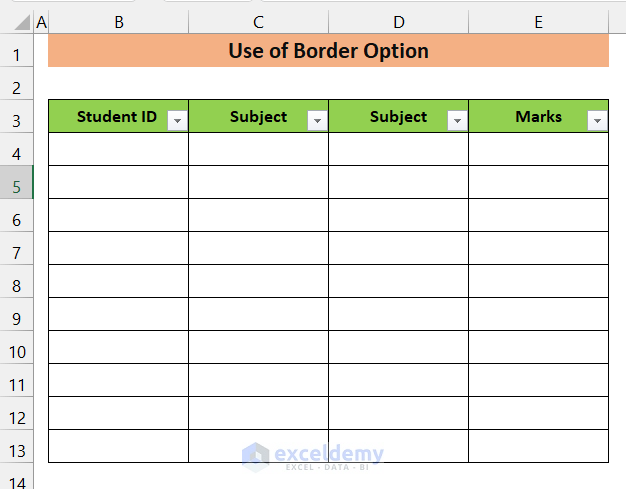
This is the output.
Read More: How to Create a Table with Existing Data in Excel
Things to Remember
- You can change the style of the table in Table Design.
Related Articles
- Create a Table in Excel Based on Cell Value
- How to Create a Table with Merged Cells in Excel
- How to Create a Table in Excel with Multiple Columns
- How to Make a Table in Excel with Lines
- How to Create a Table with Subcategories in Excel
- How to Add New Row Automatically in an Excel Table
<< Go Back to Excel Table | Learn Excel
Get FREE Advanced Excel Exercises with Solutions!
