In this article, we will demonstrate how to create an Excel data entry form that includes checkboxes, such as a To-Do list or checklist. We’ll also show 4 practical examples of Excel data forms using checkboxes.
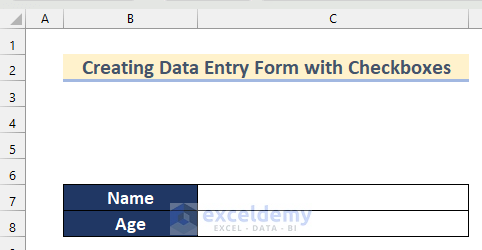
Suppose we have a data entry form where we want to enter the Name and Age of an employee if he agrees to a statement. Let’s create an Excel data entry form that includes checkboxes to accomplish this.
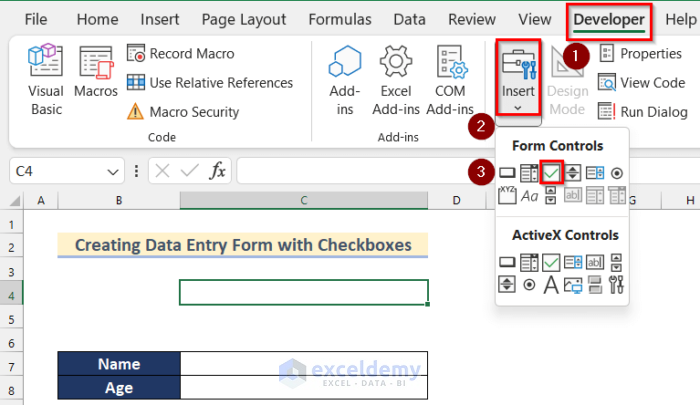
Step 1 – Insert a Check Box from Form Controls
Make sure you have the Developer tab on your ribbon for this step.
- Go to the Developer tab >> click on Insert >> select Check Box from Form Controls.
- Insert a Check Box into your form.
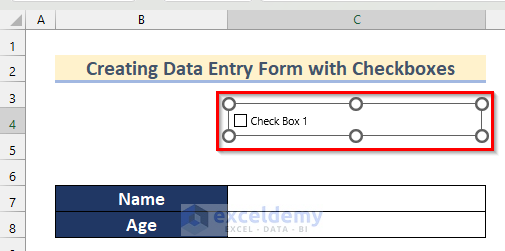
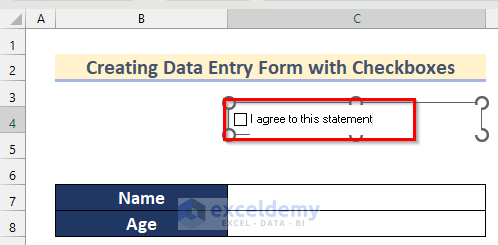
- Change the text in the Check Box to “I agree to this statement”.
Step 2 – Link the Checkbox to a Cell
Next, we’ll create a link to the cell where we will store the status of the checkbox (checked or unchecked).
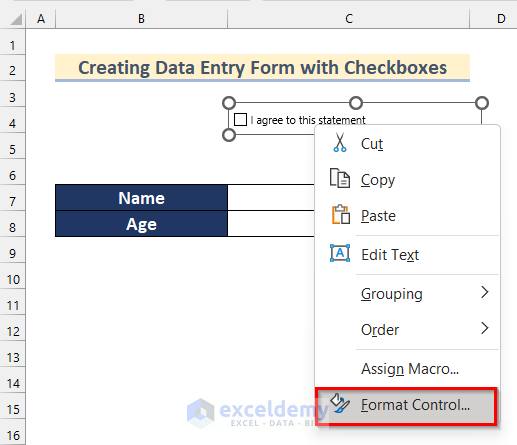
- Right-click on the checkbox.
- Click on Format Control.
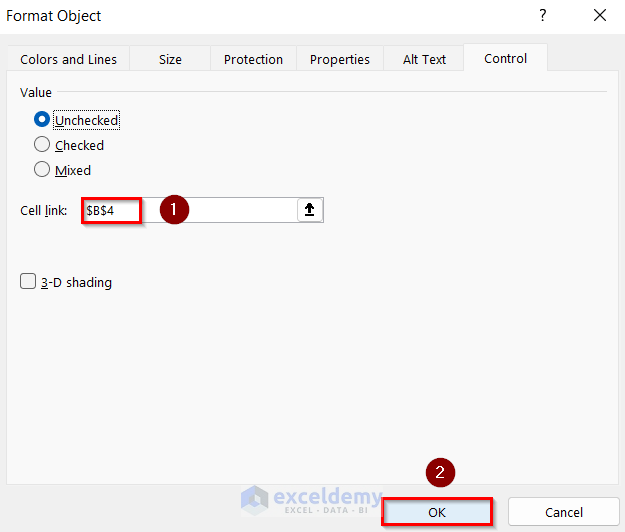
The Format Object box will open.
- Insert cell B4 in the Cell link box.
- Click on OK.
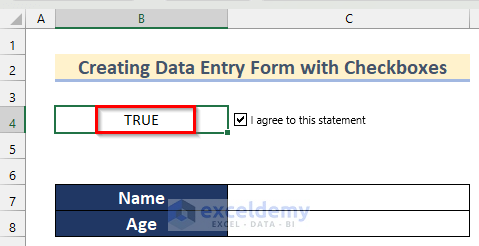
Now, if you check the checkbox, cell B4 will be TRUE.
Read More: How to Create Data Entry Form in Excel
Step 3 – Use Data Validation Feature
To finish, we will use the Data Validation feature to only allow data entry after the checkbox is checked.
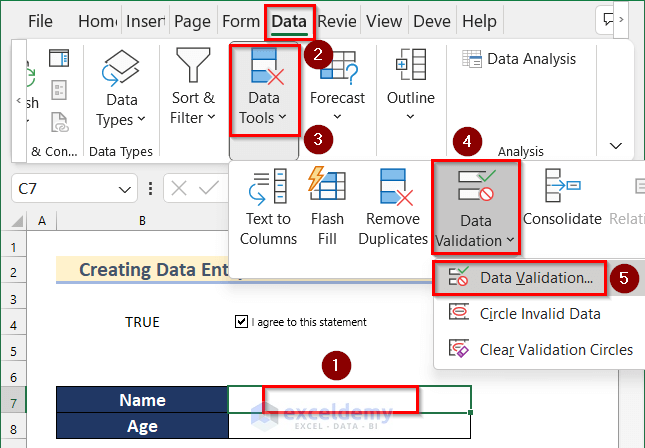
- Select cell C7.
- Go to the Data tab >> click on Data Tools >> click on Data Validation >> select Data Validation.
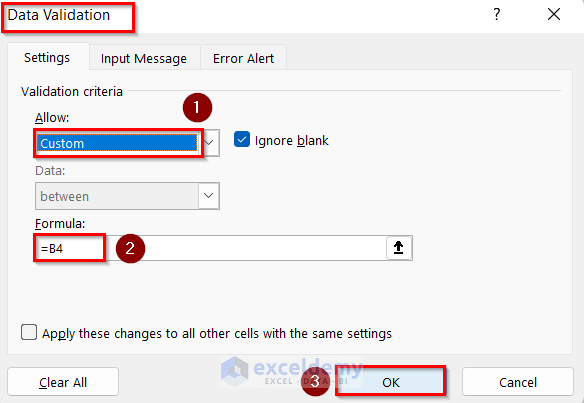
The Data Validation box will appear.
- Select Custom as Validation Criteria.
- Insert the following formula in the formula box:
=B4- Click on OK.
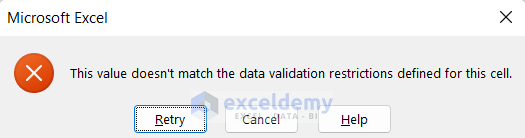
- Try to insert a name in cell C7 without selecting the checkbox.
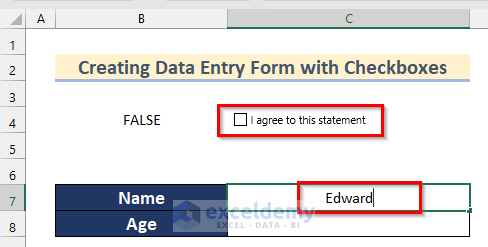
A warning box like the image shown below will pop up.
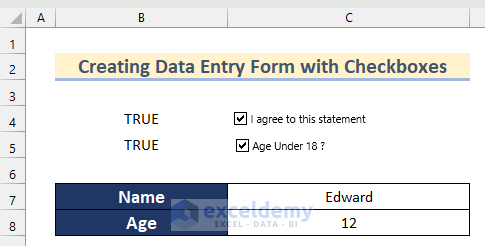
- Now, check the checkbox and try entering any text in that cell.
Entering text in the cell is now possible.

- Similarly, add another checkbox in the Excel form for Age.
Let’s hide the linked cells:
- Select the range B4:B5.
- Go to the Home tab >> click on Font Color >> select White, Background 1.

And that is how to add checkboxes to your Excel data entry form.

4 Examples of Excel Data Entry Forms That Include Checkboxes
We can create data entry forms including checkboxes using Conditional Formatting, or by different functions and formulas. Here are 4 examples of such forms:
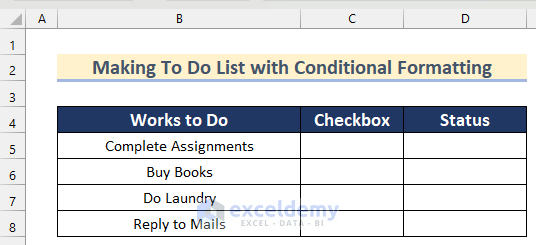
Example 1 – Making a To Do List with Conditional Formatting That Includes Checkboxes
Suppose we have the dataset of a work to do list below. We’ll include checkboxes with Conditional Formatting in this list.
Steps:
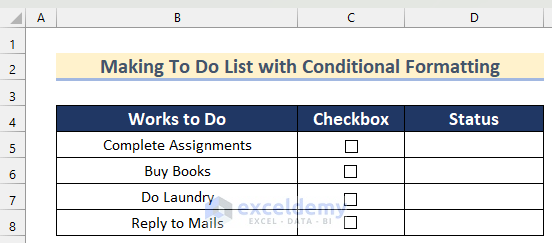
- Insert checkboxes like in the picture below following the steps shown above.
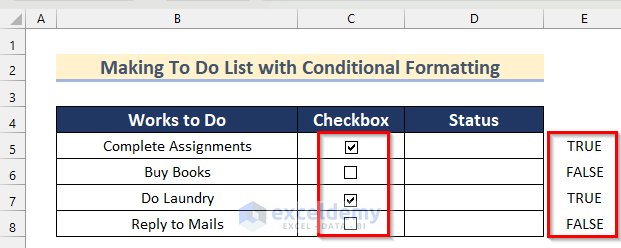
- Create links with cells to check the status of the checkboxes using the same process as above.
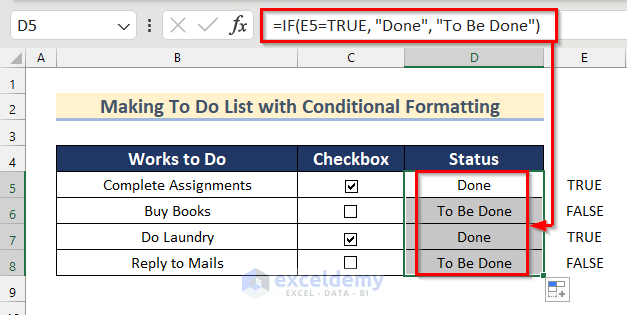
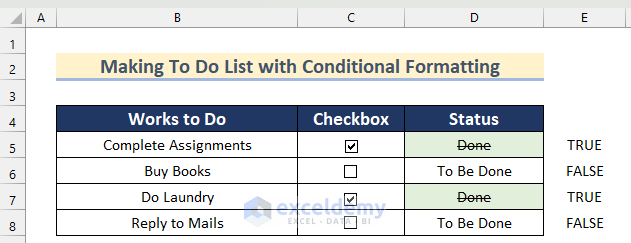
- Insert the following formula in cell D5:
=IF(E5=TRUE,"Done","To Be Done")- Press Enter and drag down the Fill Handle tool to AutoFill the formula for the rest of the cells.
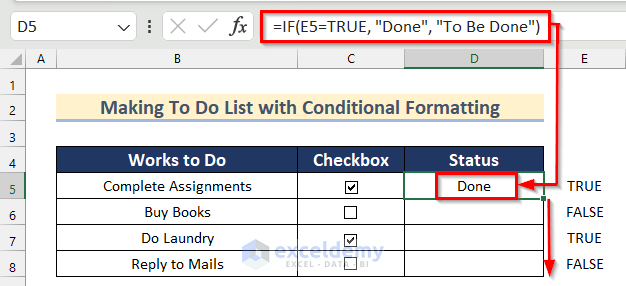
In this way, we find the status of the work (Done or To Be Done).
- Select the range D5:D8.
- Go to the Home tab >> click on Conditional Formatting.
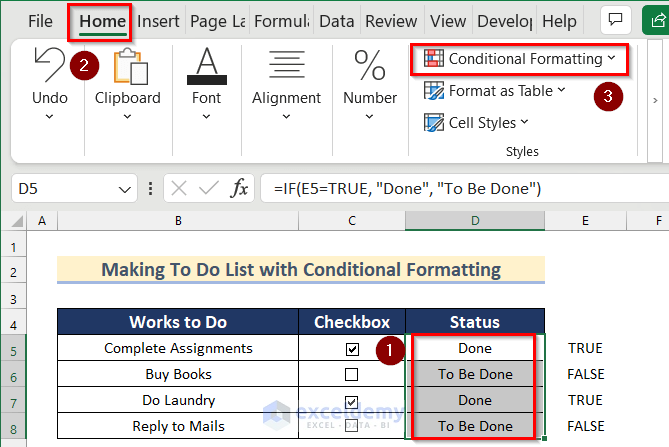
- Select New Rules.

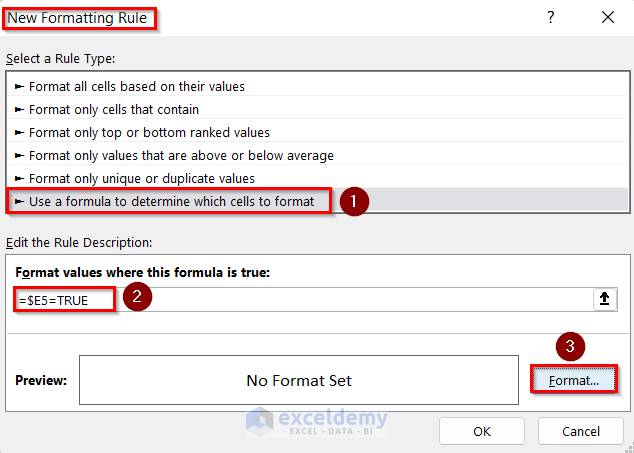
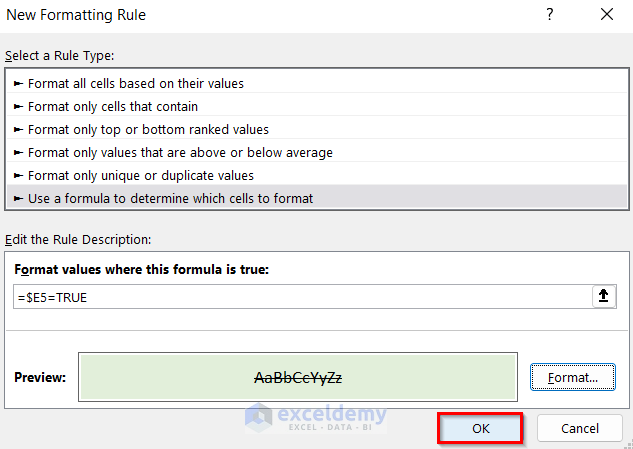
The New Formatting Rule box will open.
- Select Use a formula to determine which cells to format option.
- Insert the following formula in the box:
=$E5=TRUE- Click on Format.
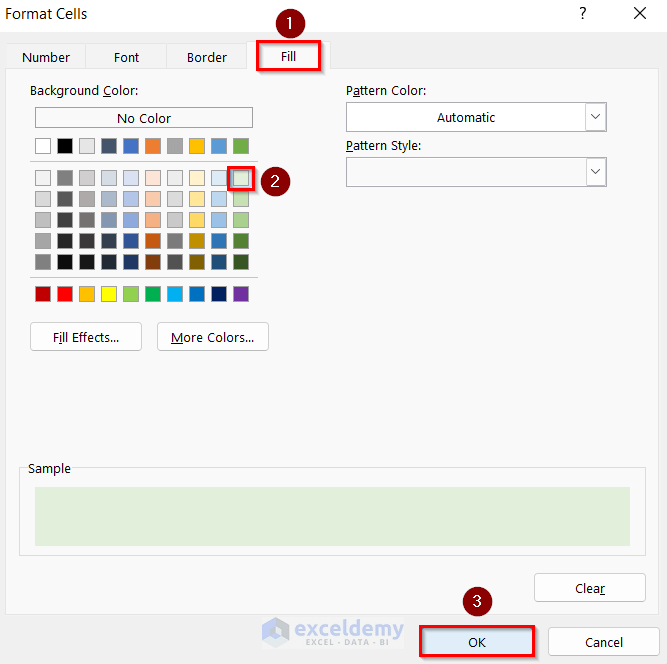
The Format Cells box will appear.
- Go to the Font tab >> tick the Strikethrough option.
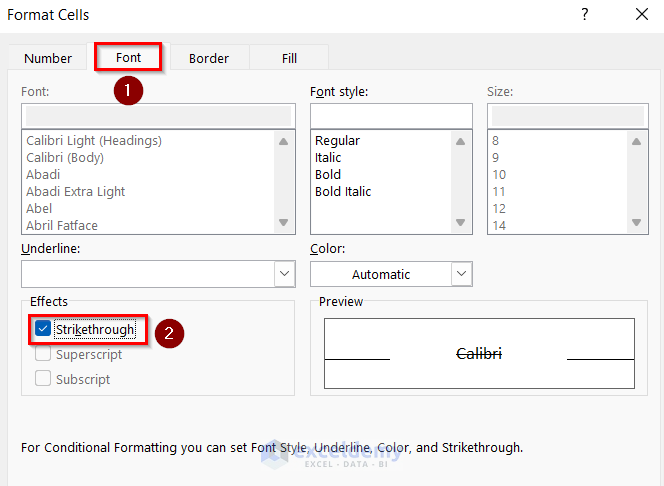
- Go to the Fill tab >> select any color of your choice.
- Click on OK.
- Click on OK.
In this way, we can include checkboxes in our To Do List with Conditional Formatting.
- To hide the linked cells, click on Column E and right-click on it.
- Select Hide.

- Our To–Do list with checkboxes is complete.

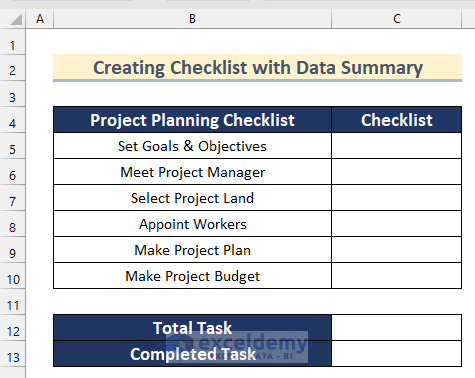
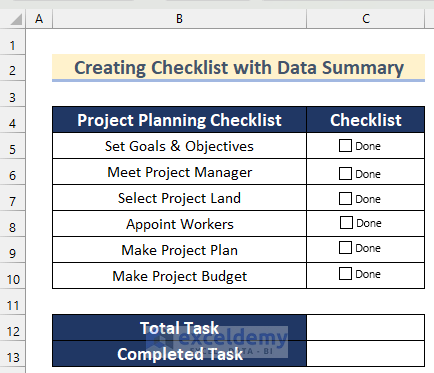
Example 2 – Create a Checklist with Data Summary Using the COUNTIF Function
We can also create checklists by means of different functions. Suppose, we have a list of the different tasks of a project below. We’ll add checkboxes and use the COUNTA & COUNTIF functions to create a checklist with data summary.
Steps:
- Insert checkboxes in the range C5:C10 following the steps shown above.
- Create links with the range D5:D10 to check the status of the checkboxes using the steps shown above.
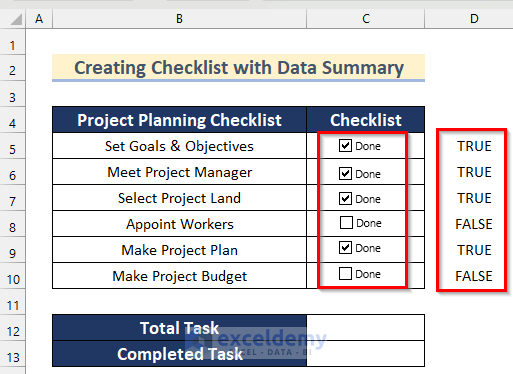
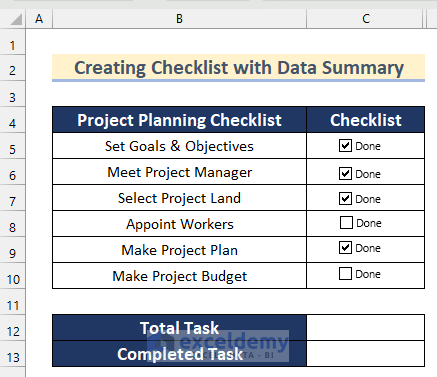
- Hide Column D by following the steps in Example 1.
- Insert the following formula in cell C12 and press Enter:
=COUNTA(B5:B10)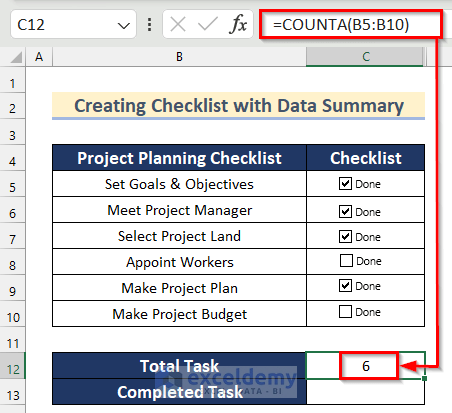
- To count the number of completed tasks, insert the following formula in cell C13:
=COUNTIF(D5:D10,TRUE)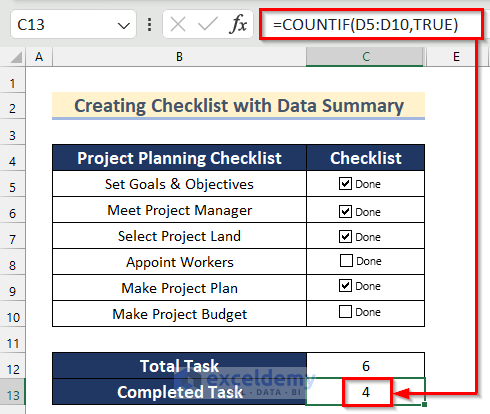
Read More: How to Create Data Entry Form with Drop Down List in Excel
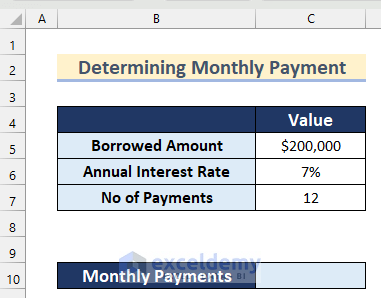
Example 3 – Determine the Monthly Payment Using a Checkbox
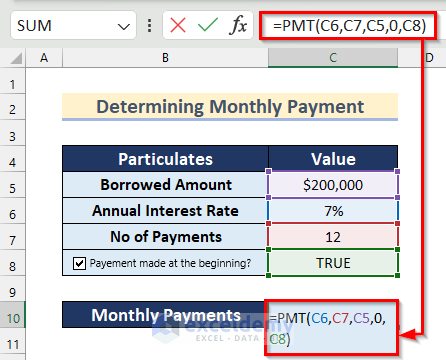
Suppose we have the dataset below containing values for Borrowed Amount, Annual Interest Rate and No of Payments. The value of Monthly Payments can vary depending on whether the payments are made at the beginning of the month or not. We can use a checkbox to return a result based on this condition.
Steps:
- Insert a checkbox and change the text by following the steps shown above.
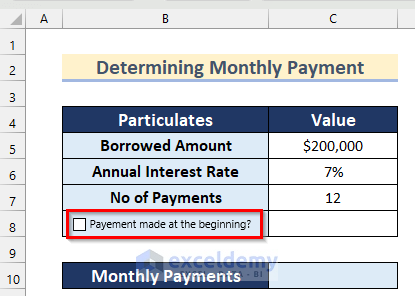
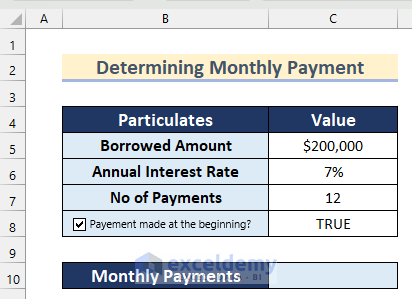
- Create a link to this checkbox from cell C8 like above.
- Select cell C10 and insert the following formula:
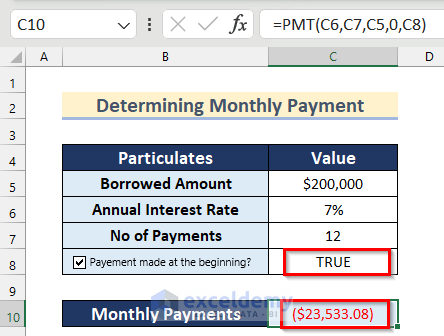
=PMT(C6,C7,C5,0,C8)- Press Enter.
Now, we will get a value for Monthly Payments if payments are made at the beginning of the month.
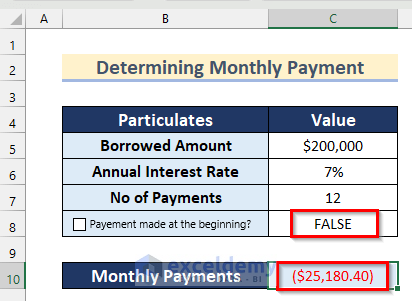
- Unselect the checkbox, and the value of Monthly Payments will change.
Thus, we can determine the monthly payment using a checkbox in Excel.
Read More: How to Create Data Entry Form in Excel VBA
Example 4 – Use Checkboxes to Create an Interactive Report
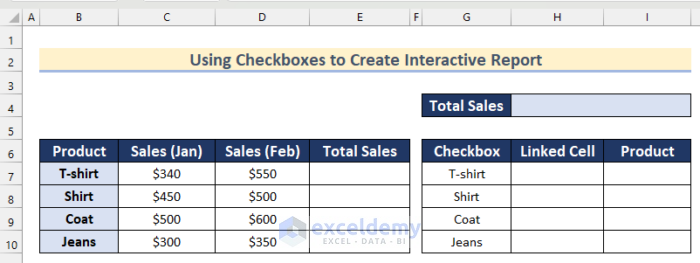
In the last example, we will create an interactive report using checkboxes in Excel. Suppose we have the Sales value over 2 months for some products. Let’s use checkboxes to find the Total Sales of selected products.
Steps:
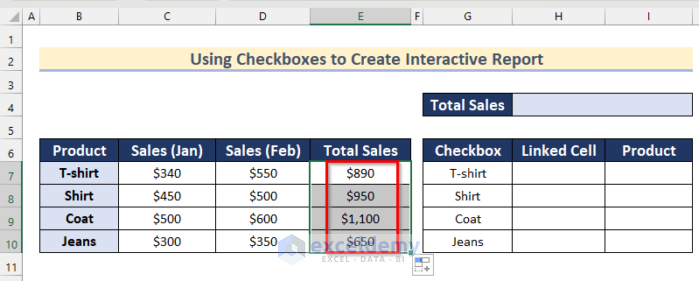
- Insert the following formula in cell E7:
=SUM(C7:D7)- Press Enter and drag down the Fill Handle tool to AutoFill the formula in the rest of the cells.
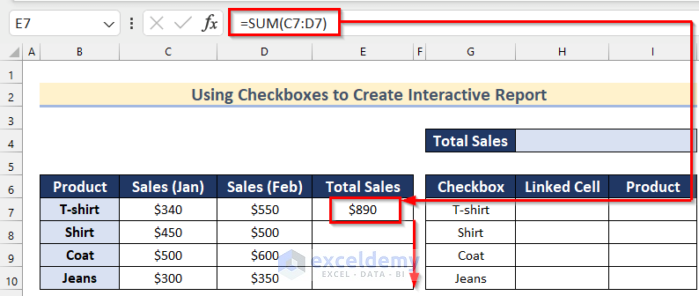
The Total Sales values for all the products is returned.
- Insert checkboxes for all the products following the steps shown above.
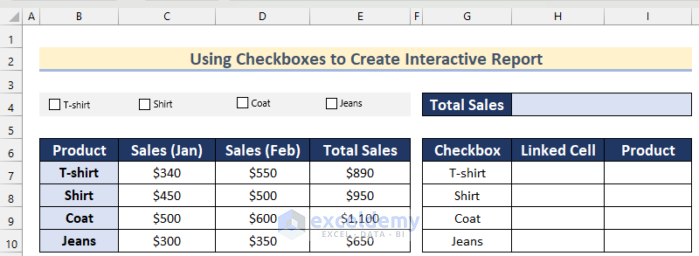
- Create links with the range H7:H10 with the corresponding product name using the steps shown above.
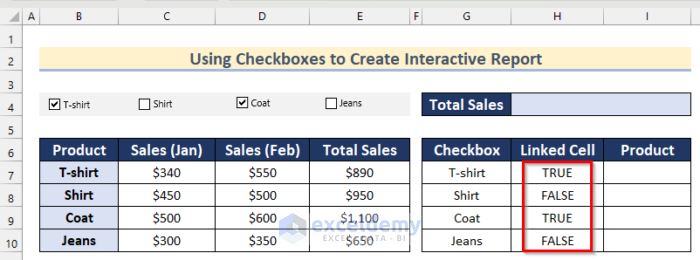
- Select cell I7 and insert the following formula:
=IF(H7=TRUE,G7,"-")- Press Enter and drag down the Fill Handle tool to AutoFill the formula.
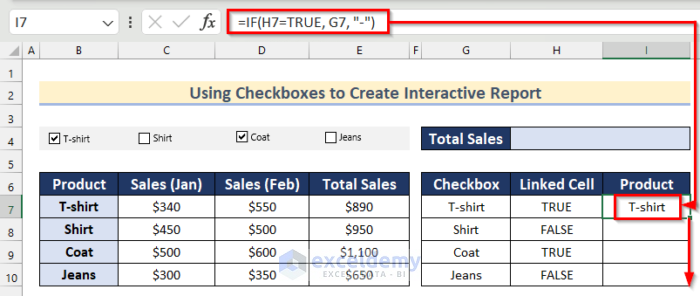
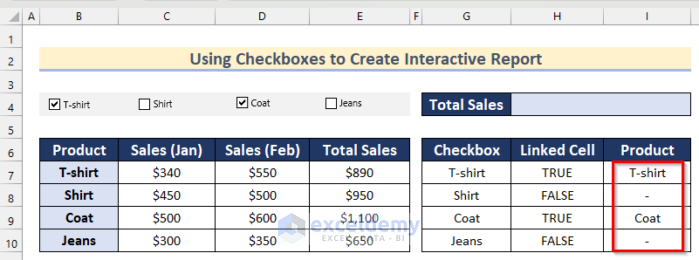
Now, only the products that are checked are selected in the Product list.
- Insert the following formula in cell H4 and press Enter:
=DSUM(A6:E10,"Total Sales",I6:I10)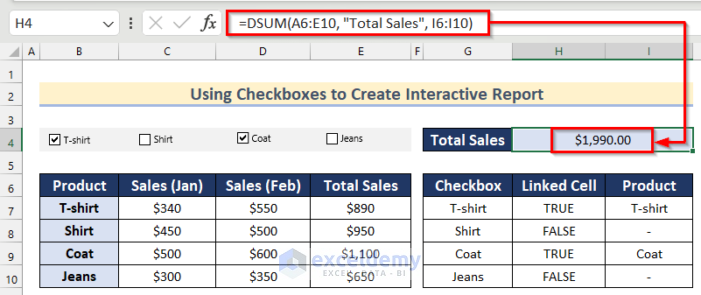
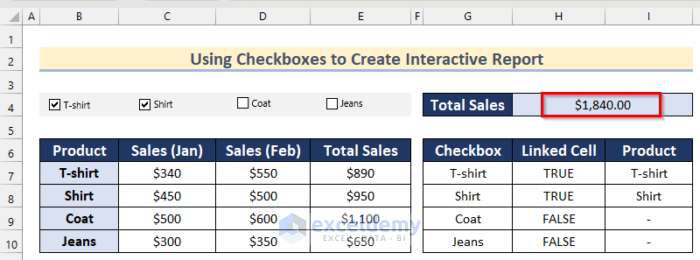
Now, as we check or uncheck products, the Total Sales value will change.
Read More: How to Create an Excel Data Entry Form Without a UserForm
Download Practice Workbook
Related Articles
- How to Populate an Excel Spreadsheet from a Web Form
- How to Create an Autofill Form in Excel
- How to Create a Printable Form in Excel
- How to Make a Fillable Form in Excel
- How to Design Form in Excel
- How to Make an Excel Spreadsheet Look Like a Form
<< Go Back to Data Entry Form in Excel | Data Entry in Excel | Learn Excel
Get FREE Advanced Excel Exercises with Solutions!
