Method 1 – Using the Data Validation Command
Steps:
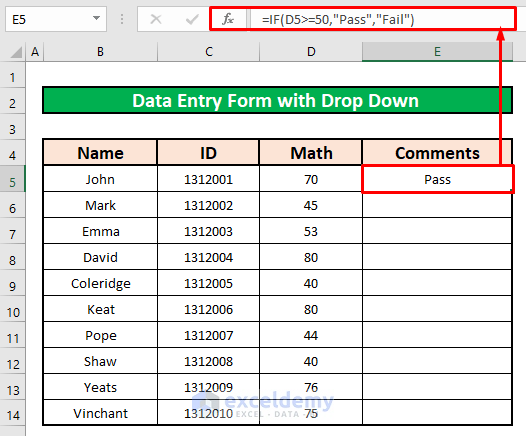
- Select a cell. We will select E5 for the convenience of our work.

- Enter the following formula:
=IF(D5>=50,"Pass","Fail")- Where D5>=50 is the logical_test of the IF function. If the mark is greater than or equal to 50, he /she will pass or not fail.

- Press ENTER. As a result, you will get “Pass” as the return of the IF function.
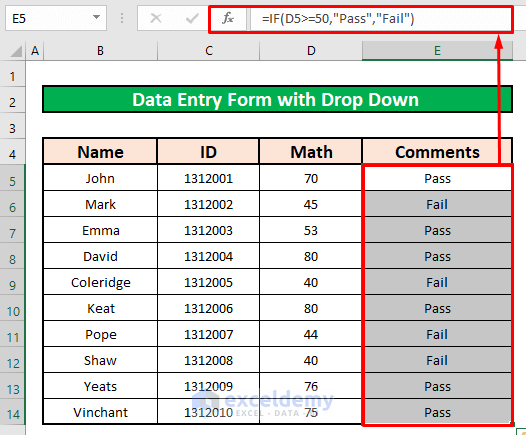
- AutoFill the IF function to the rest of the cells in Column E.
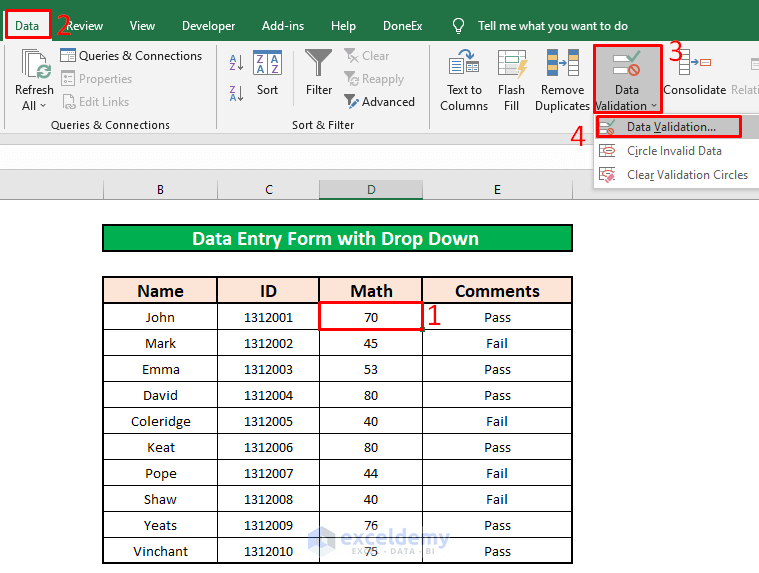
- To create a drop-down list,
- Select a cell, and from your Data tab, go to Data → Data Tools → Data Validation → Data Validation
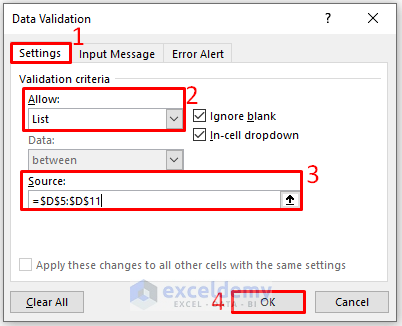
- A Data Validation dialog box will appear. From the Data Validation dialog box, select the Settings tab.
- Select the List option from the Allow drop-down list.
- Type =$D$5:$D$11 in the box named Source.
- Press OK.
- You can create a drop-down list, as in the screenshot below.
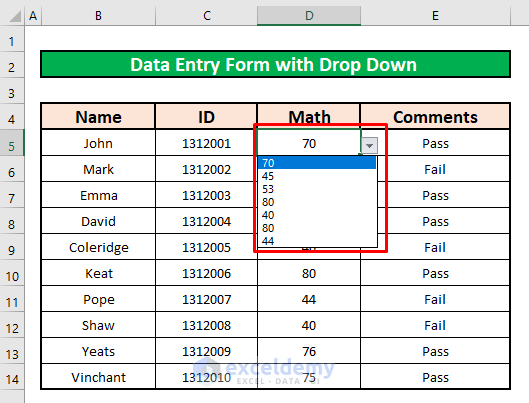
- The comments will change automatically if we change John’s math mark from the drop-down list.
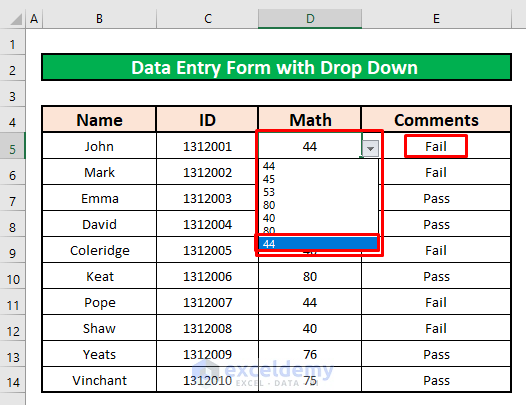
- Select 44 from the drop-down list, and the comments will change automatically, as in the below screenshot.
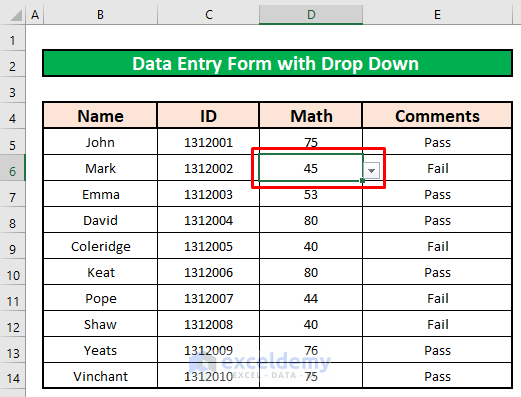
- You can create a drop-down list for the rest of the cell in column D.
Read More: How to Create an Autofill Form in Excel
Method 2 – Applying the Quick Access Toolbar Command
Steps:
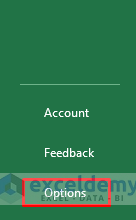
- Select the File option.
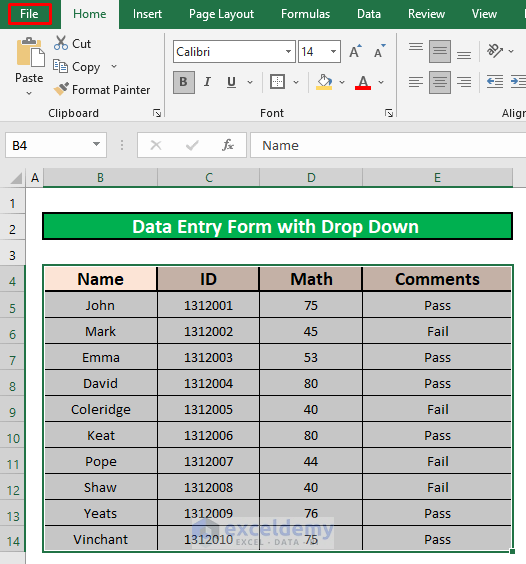
- A window will open.
- Select Options.
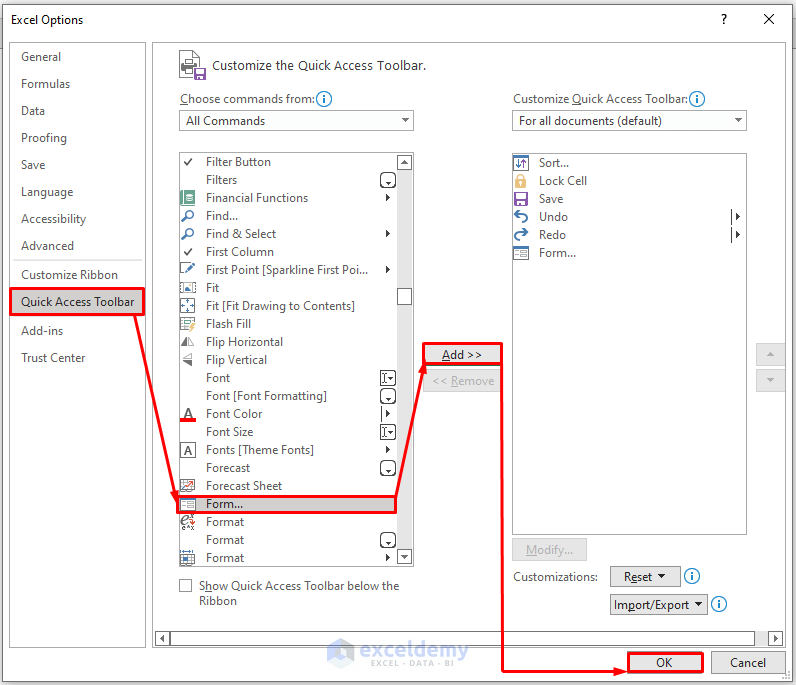
- An Excel Options dialog box will appear. From the Excel Options dialog box, select the Quick Access Toolbar.
- Select the Form option under the drop-down list named Choose commands from.
- Press the Add option.
- Press OK.
Excel Options →Quick Access Toolbar → Form → Add → OK
- You will see the Form sign on the ribbon bar.
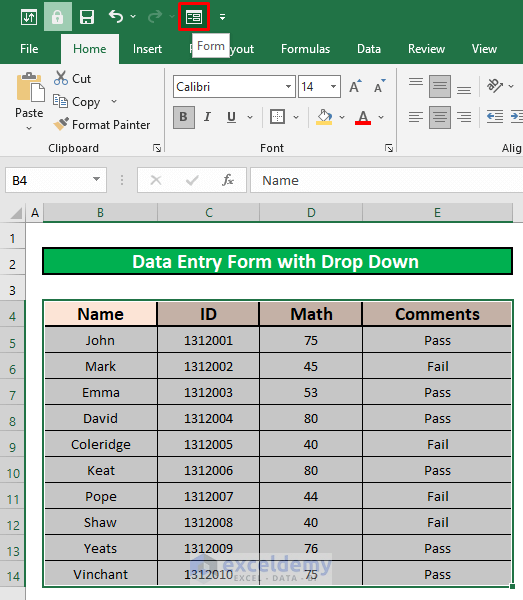
- Click the Form sign in the ribbon bar. A data entry form named Data Entry Form with Drop Down will pop up.
- Change the value by pressing the Find Next option.
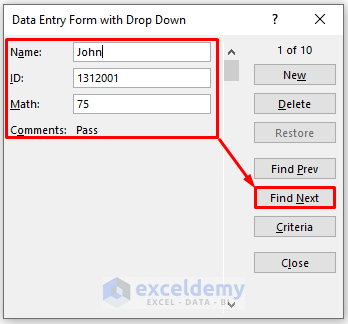
- You will be able to change the data entry form, as in the below screenshot.

Read More: How to Create an Excel Data Entry Form without a UserForm
Things to Remember
#DIV/0! error happens when a value is divided by zero(0) or the cell reference is blank.
In Microsoft 365, Excel will show the #Value! Error if you don’t select the proper dimension. The #Value! error occurs when any of the elements of the matrices is not a number.
Download the Practice Workbook
Download this workbook to practice.
Related Articles
- How to Populate an Excel Spreadsheet from a Web Form
- How to Make a Fillable Form in Excel
- How to Create a Printable Form in Excel
- How to Create Data Entry Form in Excel
- How to Create Data Entry Form in Excel VBA
- How to Create an Excel Data Entry Form That Includes Checkboxes
- How to Design Form in Excel
- How to Make an Excel Spreadsheet Look Like a Form
<< Go Back to Data Entry Form in Excel | Data Entry in Excel | Learn Excel
Get FREE Advanced Excel Exercises with Solutions!
