Method 1 – Use the Quick Access Toolbar to Create a Data Entry Form in Excel
Step 1: Create an Excel Table
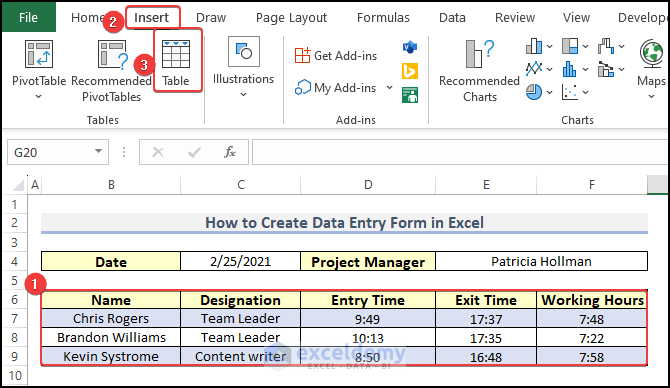
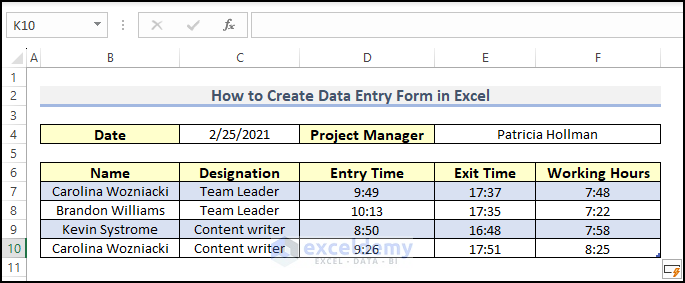
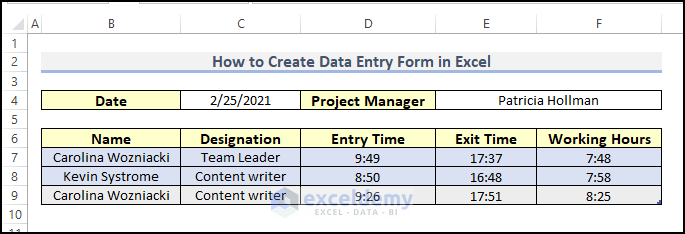
We can create a table with the available data.
- Select the whole data (e., B6:F9).
- Click on Insert.
- Click on Table from the ribbon.
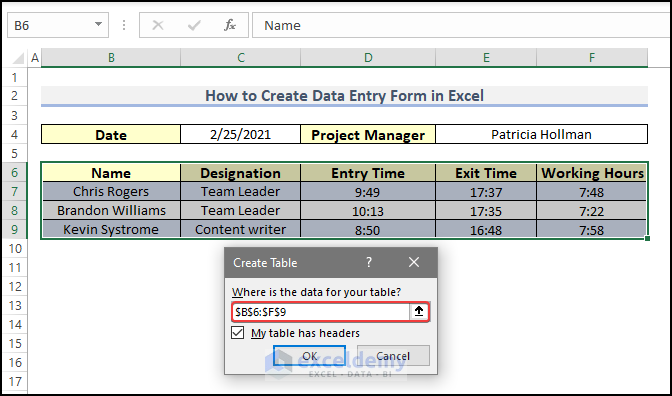
A Create Table box will appear.
- Check the My table has headers box as the range is automatically set due to the table selection in the first step.
- Click OK.
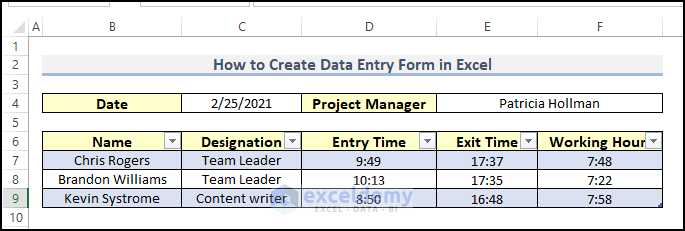
- The table will be formed.
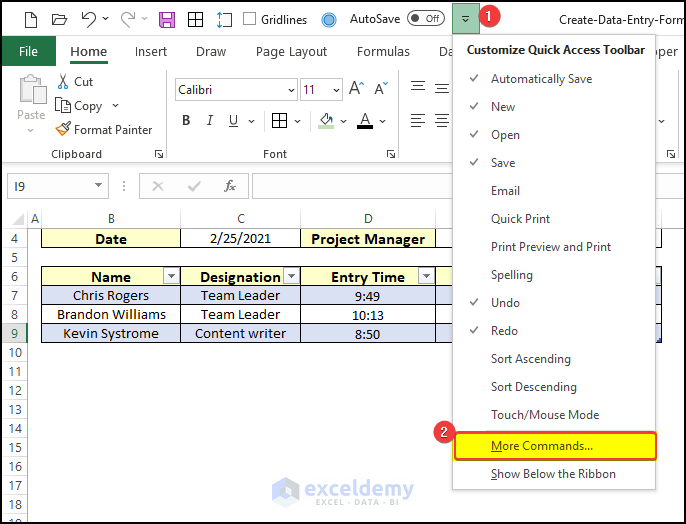
Step 2: Add Form Command to Quick Access Toolbar
- Click on the Customize Quick Access Toolbar option.
- Choose More Commands.
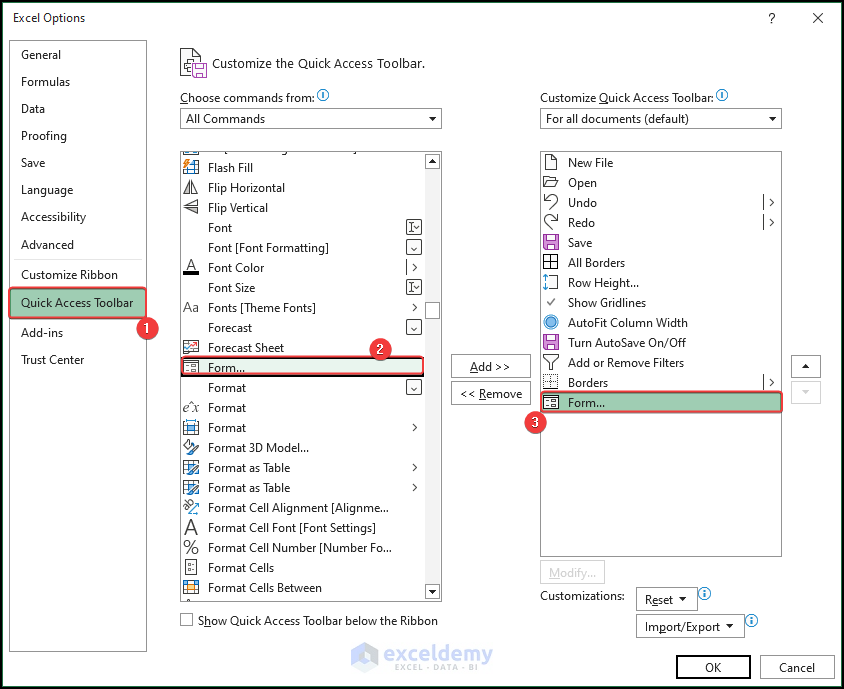
An Excel Options box will appear.
- Pick All Commands from the Choose commands from the section.
- Choose the Form command and click Add.
- Press OK.
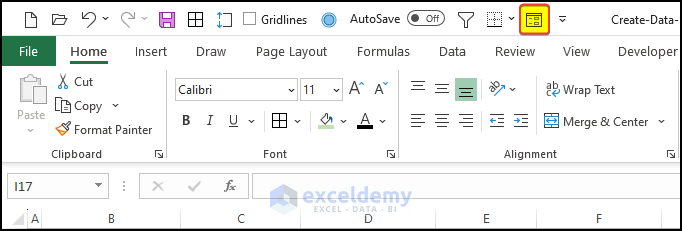
- You will have the Form command in the Quick Access Toolbar.
Step 3: Add a New Set of Information
- Click any cell from the table (D8).
- Click the Form command from the Quick Access Toolbar.
- Click New from the Form Criterion and input your information according to the columns.
- Press Close.

- See the newly added information aligned in a row with the respective columns.
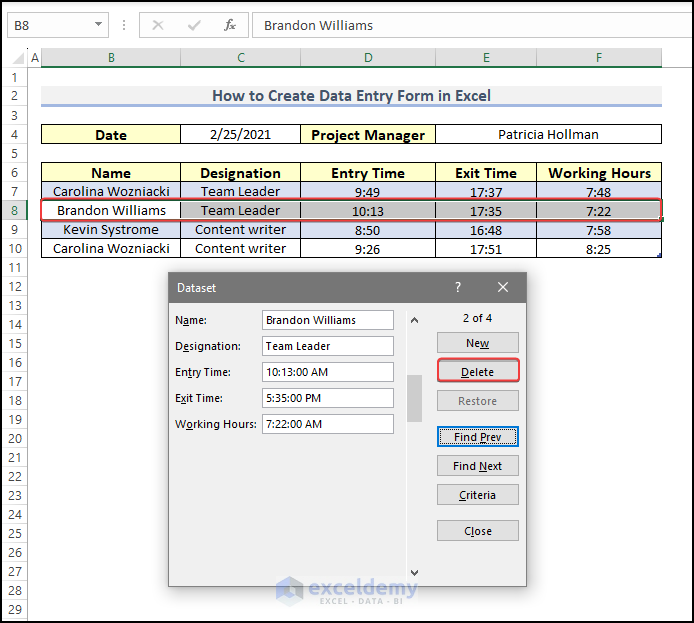
Step 4: Remove a Previous Set of Information
- Select the set of information by scrolling the cursor.
- Click on Delete.
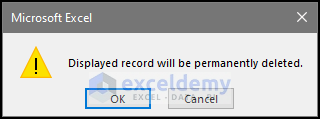
- Click OK when the warning box is displayed.
- The selected row will be deleted with their information.
Step 5: Final Form Outline After Taking All Submission
After we make all the submissions, users can download the file and see the form submission result by themselves.

Method 2 – Utilizing Microsoft Forms to Create Data Entry Form in Excel
Step 1: Go to OneDrive and Add a Form Survey
Add the Form from the OneDrive web app.
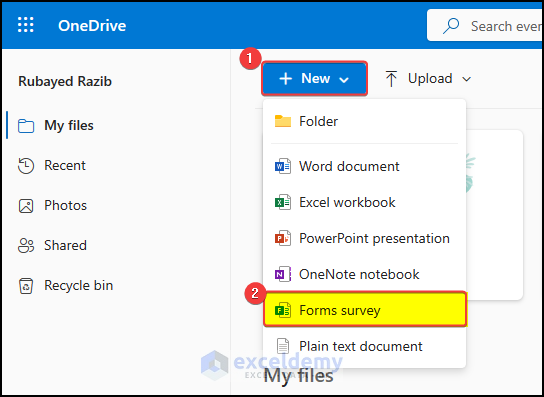
- Log in to your OneDrive account and then go to the Homepage.
- On the Homepage, click the New drop-down menu, and click on the Forms Survey from the menu.
Step 2: Set the Type of Inquiry and Add Questions
Set the type of form, here we choose the Text type of inquiry.
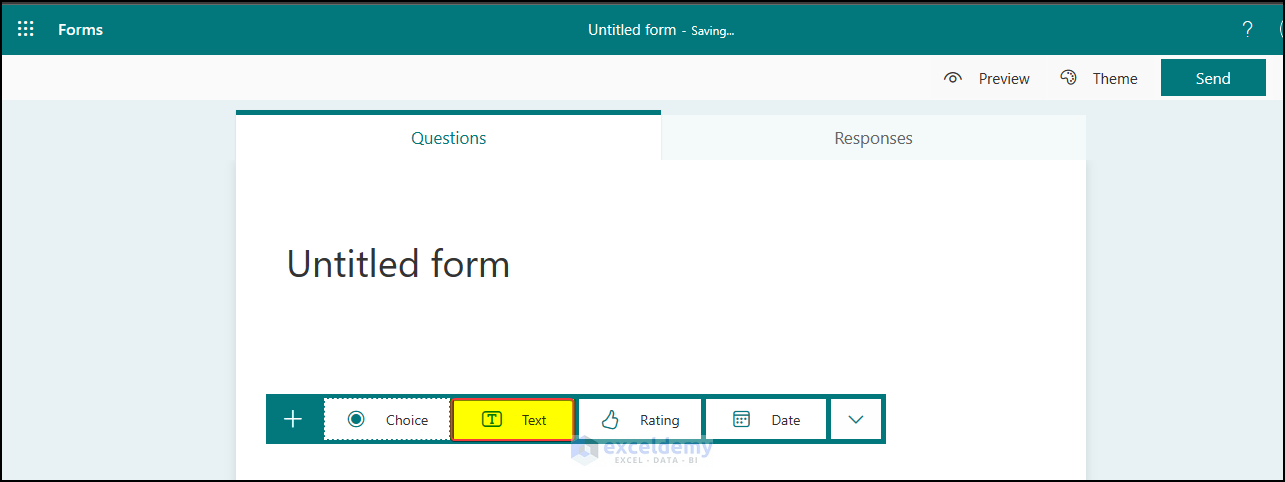
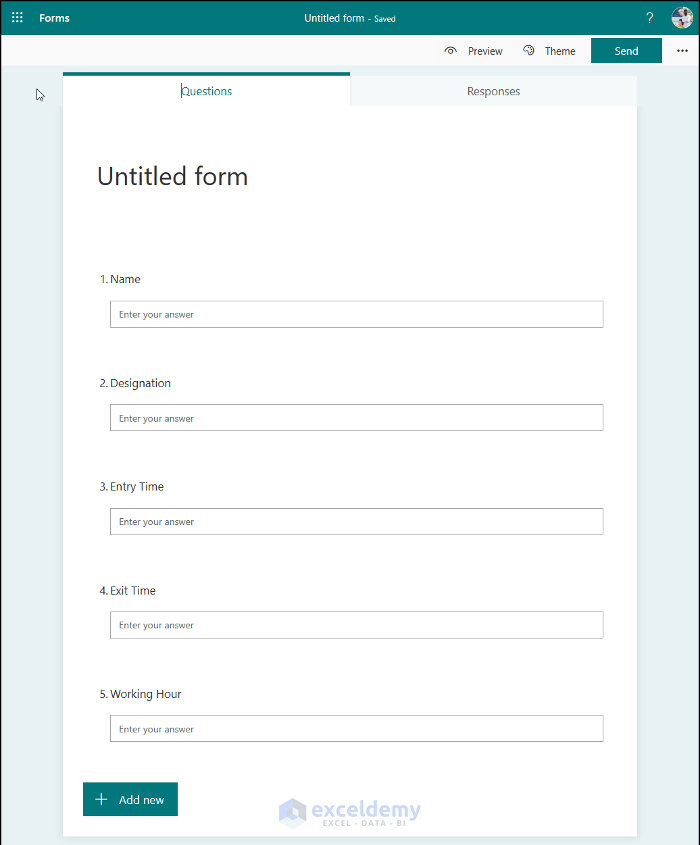
Step 3: Organize the Form with the Question Set
You will receive a prompt for the input of questions.
- Enter the questions and press Add New to add another question.

- Do this repeatedly and see that all the questions are now added to the form.
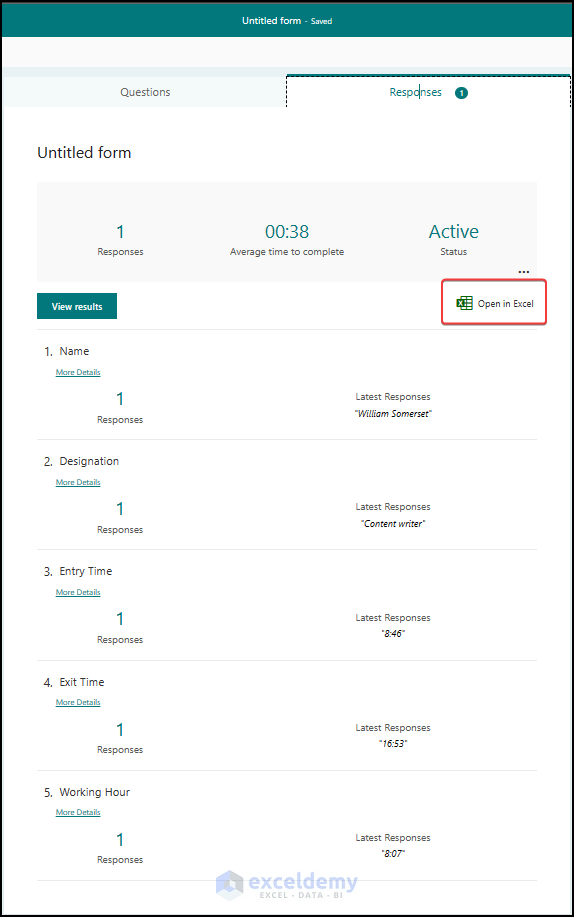
Step 4: Submit a Sample Response and Test the Output
We submitted a sample response to the questions we had created just before to assess our newly created form.
- We can see an option showing over the response tab, Open in Excel. We will see the input data shown here if we download the Excel sheet.
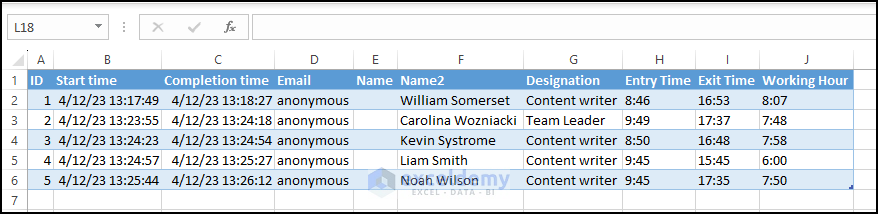
Step 5: Submit More Responses and Complete Survey Form
Multiple users might enter numerous entries to the form. After we get all the responses, we can finally download the Excel sheet and see the form output.
We have the ID, Start time, and Completion time of each participant. We also got the entries from the questions.
Reasons for Data Entry Form Not Working
There could be some severe reasons which could lead to the failure of data entrance.
The reasons are:
Entry of More Than 32 Columns
If the table has more than thirty-two columns, it will not be able to create a form and will show a warning message box.
List Not Extended
If the worksheet already holds some data outside the table, the table cannot be extended as there is already data input. So, better to clean prior to creating the data entry form.
Cursor Outside the Table
If the cursor detects a cell outside the table, it will not be able to take any further information. So, the data entry form will not work. So, make sure to place the cursor within the table.
Range Name
If you name the range of something that is already for another range, you may encounter an error. The form will always consider that range. So, the Data entry form will not work according to the commands. Provide a unique name to the range.
Frequently Asked Questions
1. How to Create a Data Entry Form in Excel with a Drop-Down List?
We need to add a drop-down list from the data validation tool.
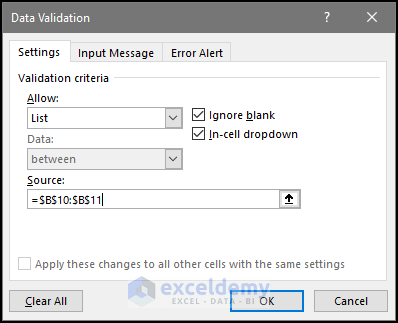
- Go to the Data tab > Data tools > Data Validation > Data Validation.
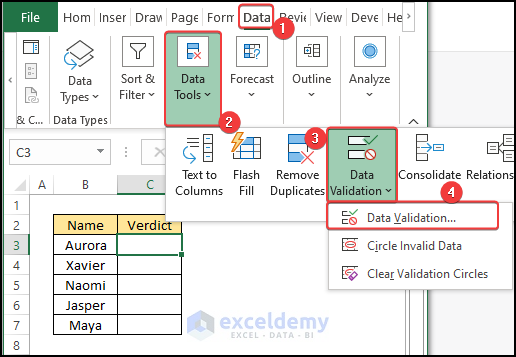
- A new window will open; in that window, enter the data validation type in the Allow box and the output value range in the source range box.
- Click OK after this.
- See a drop-down menu appearing in cell C4.
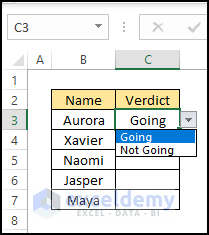
- Copy this drop-down menu and then paste this onto cell C3:C7.
- Enter the value using the drop-down menu in the range of cell C3:C7.

2. Can Multiple Users Input Data into the Same Data Entry Form?
Yes, multiple users can input data into the same data entry form if the file is saved on a shared network drive or cloud-based storage service, for example, in the case of a dual-entry system.
3. How Do You Automate Data Entry in Excel?
To automate data entry in Excel, you can use macros. Macros are instructions that automate repetitive tasks, such as data entry. You can also customize the macro to perform other tasks, such as formatting the data or validating input. Additionally, you can assign a keyboard shortcut or create a button to run the macro more easily.
Things Need to Remember
- Define the data range: First, define the range of cells where you want to input data in the form.
- Use clear labels: Use clear labels for each data field to make it easy for users to understand what data they should enter in each field.
- Use drop-down lists: Use drop-down lists to provide predefined options for data fields that have limited choices, such as gender, country, or product type.
- Use data validation: Use data validation to restrict the type of data that can be entered in each field. This can help prevent errors and ensure data consistency.
- Use conditional formatting: Use conditional formatting to highlight errors or inconsistencies in the data as it is entered in the form.
- Use error messages: Use error messages to provide feedback to users when they enter invalid data in a field.
- Use clear instructions: Provide clear instructions for users on how to fill out the form.
- Evaluate the form: Test the form thoroughly to ensure that it works as intended and that users can easily input and submit data.
Related Articles
- How to Create a Printable Form in Excel
- Populate an Excel Spreadsheet from a Web Form
- How to Make a Fillable Form in Excel
- Create a Printable Form in Excel
- How to Design Form in Excel
- How to Create Data Entry Form in Excel VBA
- Make an Excel Spreadsheet Look Like a Form
- Create an Excel Data Entry Form That Includes Checkboxes
<< Go Back to Data Entry Form in Excel | Data Entry in Excel | Learn Excel
Get FREE Advanced Excel Exercises with Solutions!
