Method 1 – Utilize Excel Ribbon to Generate Excel Form
STEPS:
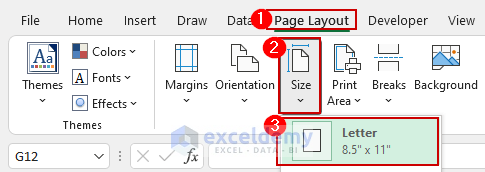
- Go to the Page Layout tab from the ribbon.
- Click on the Size drop-down menu under the Page Setup group and select Letter.
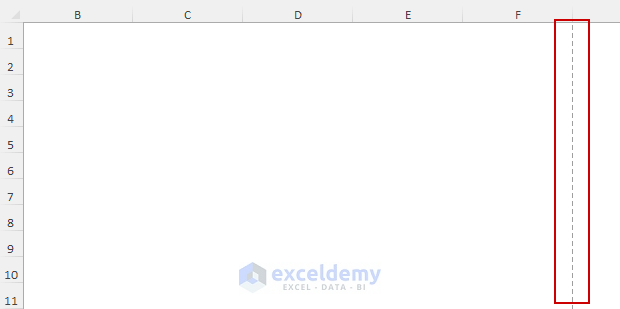
- You can see a dotted line, ensuring you can not cross the line as you want to create a printable form.
We need to generate some drop-down lists for the form.
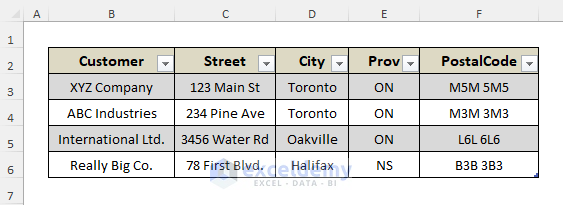
- Go to another sheet to make a table of Customers.
- Select all the data and press CTRL+T.
- A table will be created.
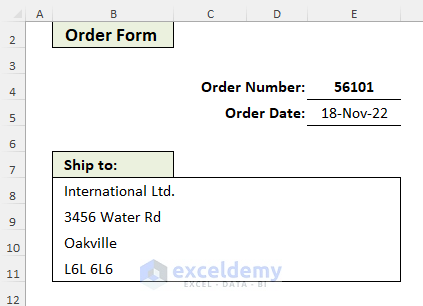
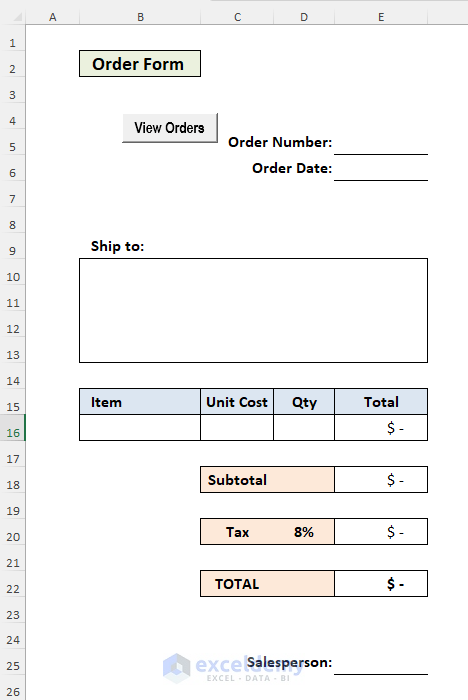
- Go back to the main form sheet and insert some necessary information there. In our case, we will name the form Order Form.
- Add an Order Number and Order Date.
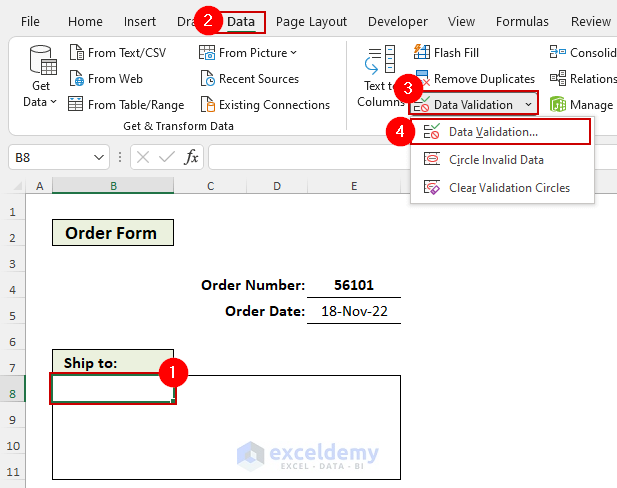
- Insert a box where we will input the Ship to details. Here, we will generate a drop-down list.
- Select cell B8 and go to the Data tab from the ribbon.
- Click on the Data Validation drop-down list under the Data Tools category.
- Select Data Validation.
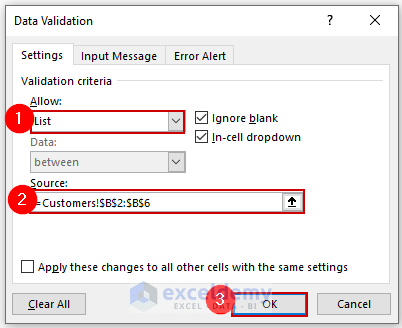
- The Data Validation dialog box will appear.
- Select List from the Allow drop-down menu.
- Go to the customer details table and select all the data.
- Click OK to finish the procedures.
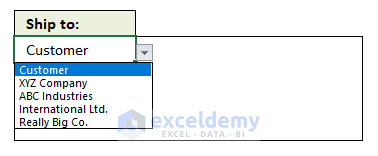
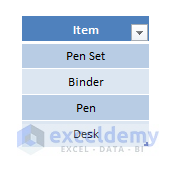
- Now, you can see the drop-down list is created in the cell.
When selecting a customer from the drop-down list, we want to enter the Street, City, and postcode.
- Use the VLOOKUP function.
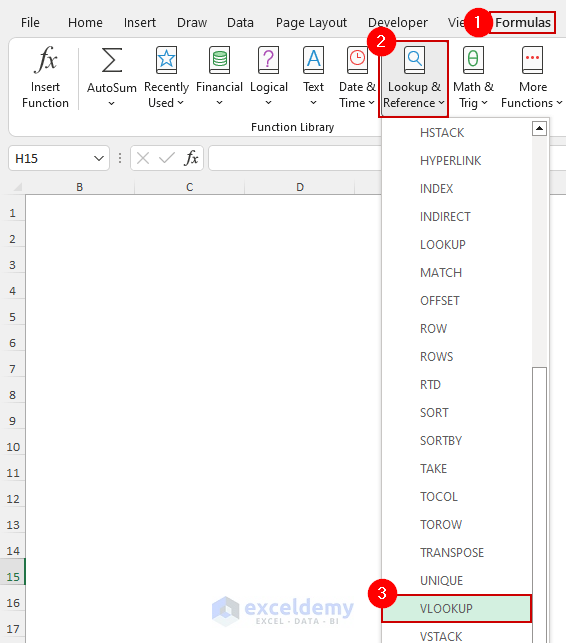
- Go to the Formulas tab and click on the Lookup & Reference drop-down menu under Function Library.
- Scroll down and click on VLOOKUP.
- Function Arguments for the VLOOKUP function will appear.
- Here, the Lookup_value is our drop-down list cell. Table-array is the customer details table, Col-index-num is 2 as we want to put the street name, and the street name is in the 2nd column of the table.
- Once set, Click OK.
- The final formula will be:
=VLOOKUP(B8,Table3[#All],2,FALSE)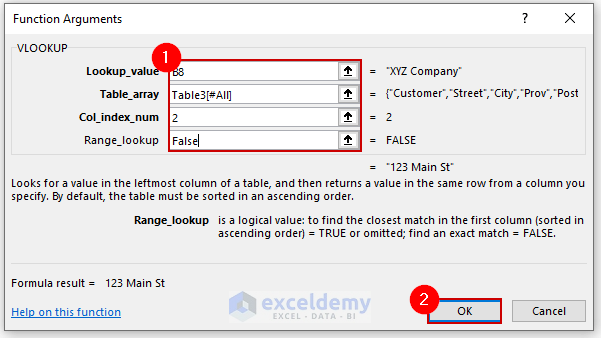
We used the formula to put the city and the postcode. All we need to do is change the column number in the formula.
We want a drop-down list for Item. We will do the same for Customer.
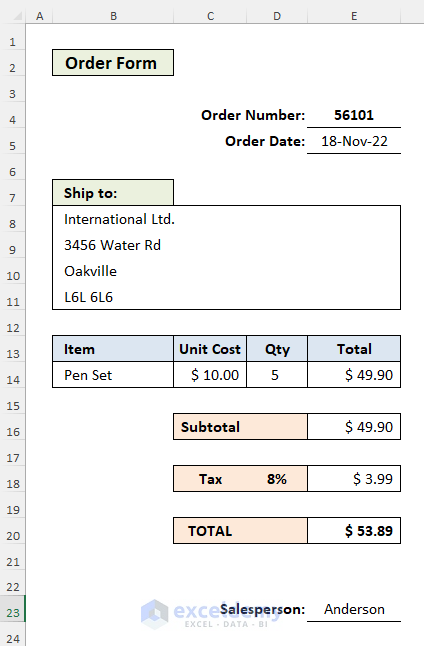
- Choose cell E16 and enter the following formula:
=C16*D16- Press Enter.
- Employ the SUM function to determine the subtotal. Choose cell E18 and enter the following formula:
=SUM(E16:E16)- Press the Enter.
- Calculate the tax using a straightforward multiplication method.
=E18*D20- Press Enter.
- Use the SUM function to determine the total.
=SUM(E18:E20)- Press Enter.
This is our finished form.
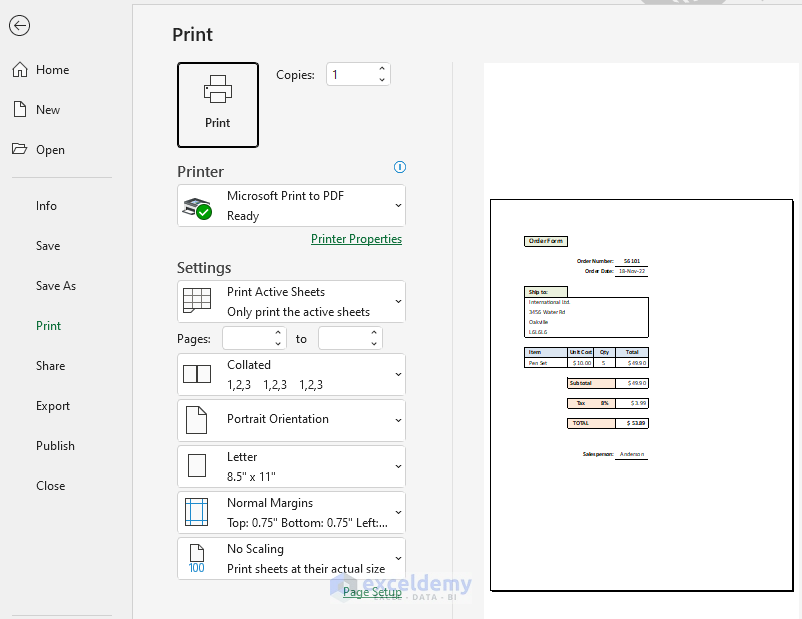
- Press CTRL+P to print the form.
Read More: How to Make a Fillable Form in Excel
Method 2 – Apply VBA Macros to Create a Printable Form in Excel
STEPS:
- In a separate sheet, record the customer’s details.
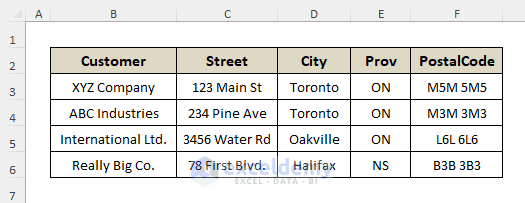
We need to add all that data into a table. To create a table,
-
- Select the whole data.
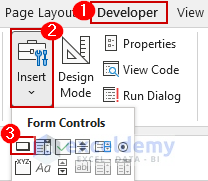
- Go to the Insert tab from the ribbon.
- Under Tables group, click on Table.
- Go to the Developer tab from the ribbon.
- Select Button (Form Control).
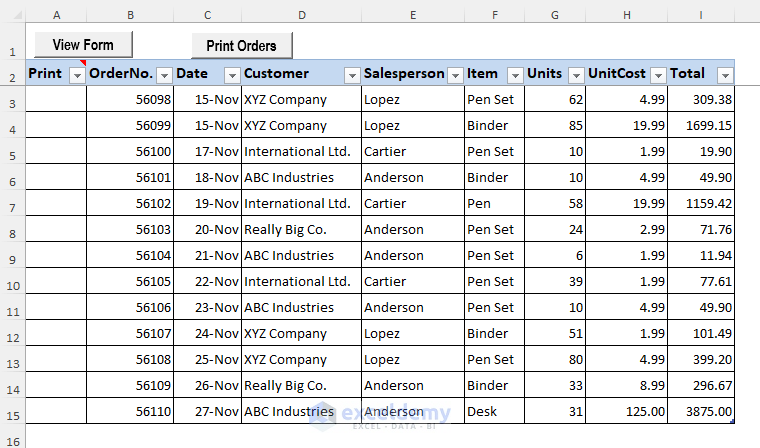
- Edit the name of the button form. As you can see in the previous screenshot, we have two different buttons: View Form and Print Orders.
- Create the form we want to print.
- Select the cell E16 and insert the following formula:
=C16*D16- Press Enter.
- To calculate the subtotal, use the SUM function. Select cell E18 and enter the following formula:
=SUM(E16:E16)- Press Enter.
- To compute the tax, use a simple multiplication formula:
=E18*D20- Press Enter.
- To calculate the total, use the SUM function:
=SUM(E18:E20)- Press Enter.
Our form is now ready.
- Enter our VBA Macros:
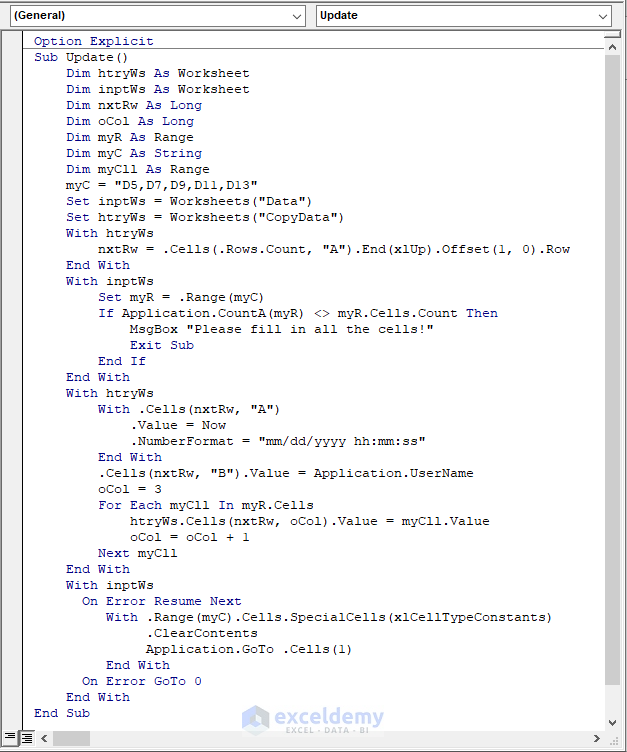
VBA Macro Code:
Option Explicit
Sub Update()
    Dim htryWs As Worksheet
    Dim inptWs As Worksheet
    Dim nxtRw As Long
    Dim oCol As Long
    Dim myR As Range
    Dim myC As String
    Dim myCll As Range
    myC = "D5,D7,D9,D11,D13"
    Set inptWs = Worksheets("Data")
    Set htryWs = Worksheets("CopyData")
    With htryWs
        nxtRw = .Cells(.Rows.Count, "A").End(xlUp).Offset(1, 0).Row
    End With
    With inptWs
        Set myR = .Range(myC)
        If Application.CountA(myR) <> myR.Cells.Count Then
            MsgBox "Please fill in all the cells!"
            Exit Sub
        End If
    End With
    With htryWs
        With .Cells(nxtRw, "A")
            .Value = Now
            .NumberFormat = "mm/dd/yyyy hh:mm:ss"
        End With
        .Cells(nxtRw, "B").Value = Application.UserName
        oCol = 3
        For Each myCell In myR.Cells
            historyWks.Cells(nxtRw, oCol).Value = myCll.Value
            oCol = oCol + 1
        Next myCll
    End With
    With inptWs
      On Error Resume Next
         With .Range(myC).Cells.SpecialCells(xlCellTypeConstants)
              .ClearContents
              Application.GoTo .Cells(1) ', Scroll:=True
         End With
      On Error GoTo 0
    End With
End Sub- Click on the Save button to save the macro, or press CTRL+C.
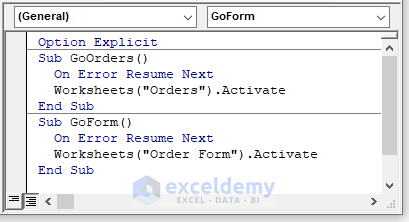
- We will need another code to represent the active cell.
VBA Code:
Option Explicit
Sub GoOrders()
  On Error Resume Next
  Worksheets("Orders").Activate
End Sub
Sub GoForm()
  On Error Resume Next
  Worksheets("Order Form").Activate
End Sub- Save the code by pressing CTRL+C.
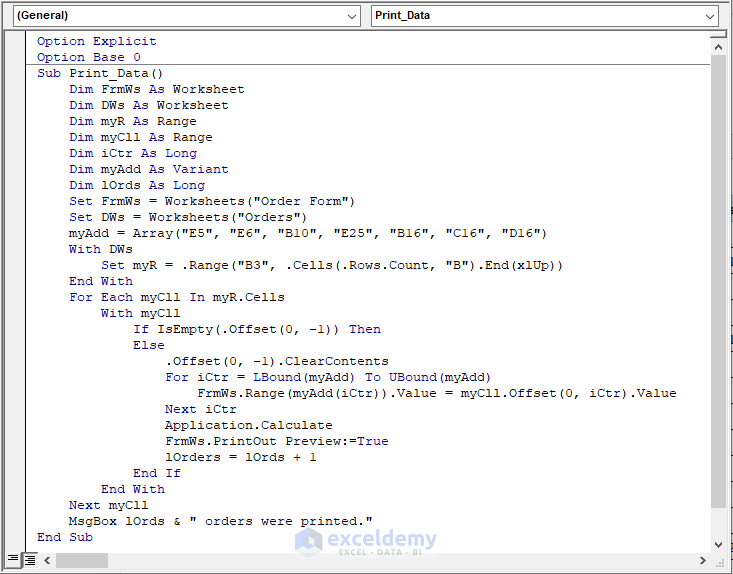
- To print the data, use the following code:
Code:
Option Explicit
Option Base 0
Sub Print_Data()
    Dim FrmWs As Worksheet
    Dim DWs As Worksheet
    Dim myR As Range
    Dim myCll As Range
    Dim lC As Long
    Dim myAdd As Variant
    Dim lOrds As Long
    Set FrmWs = Worksheets("Orders Forms")
    Set DWs = Worksheets("Orders")
    myAdd = Array("D5", "D6", "C10", "D25", "C16", "E16", "E16")
    With DWs
        Set myR = .Range("C3", .Cells(.Rows.Count, "C").End(xlUp))
    End With
    For Each myCll In myR.Cells
        With myCll
            If IsEmpty(.Offset(0, -1)) Then
            Else
                .Offset(0, -1).ClearContents
                For lC = LBound(myAdd) To UBound(myAdd)
                    FrmWs.Range(myAdd(LC)).Value = myCll.Offset(0, LC).Value
                Next LC
                Application.Calculate
                FrmWs.PrintOut Preview:=True
                lOrders = lOrds + 1
            End If
        End With
    Next myCll
    MsgBox lOrds & "."
End Sub- To save the macro, click the Save button or use CTRL+C.
NOTE: The locations you’ve supplied on this line are put into the appropriate places on the order form, starting with Column B and going right. Modify these references to correspond with your order form.
myAdd = Array("D5", "D6", "C10", "D25", "C16", "E16", "E16")Change the worksheet names towards the beginning of the code to reflect the worksheet names:
Set FrmWs = Worksheets("Orders Forms")
Set DWs = Worksheets("Orders")- When you copy the code into your workbook, be sure to paste the following line at the head of the code module.
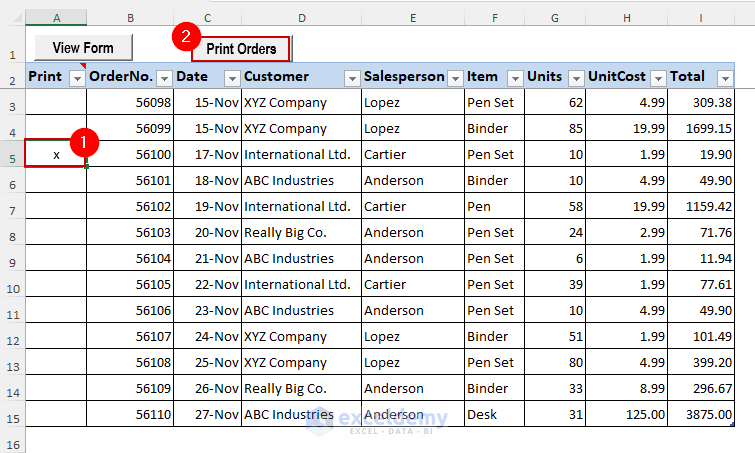
- On the Orders sheet, mark orders to print and click the Print Orders button.
- Make a list of orders in a worksheet, leaving the first column empty.
- Insert an x in column A for the orders you want to print.
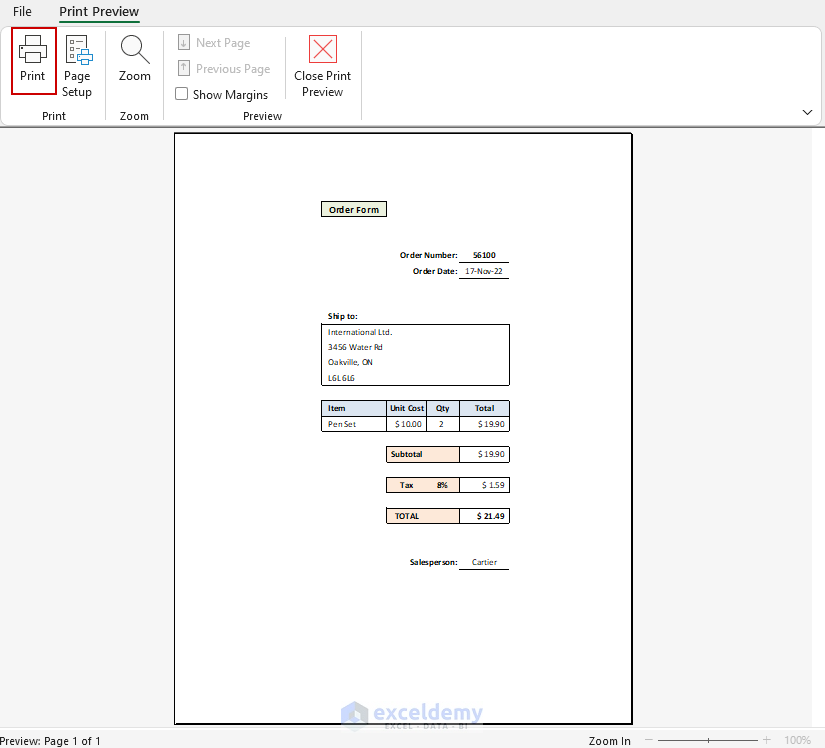
- Click on Print Orders.
- This will open a Print Preview window.
- Click on Print.
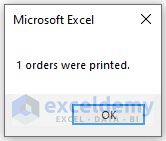
- After completing the procedures, a Microsoft Excel dialog box will appear, showing the number of printing order confirmations.
Read More: How to Create Data Entry Form in Excel VBA
How to Use the Form Command in Excel
STEPS:
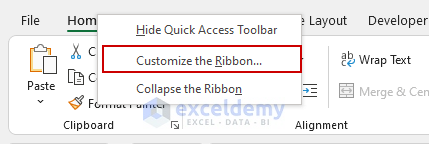
- Right-click on the ribbon.
- Select Customize the Ribbon.
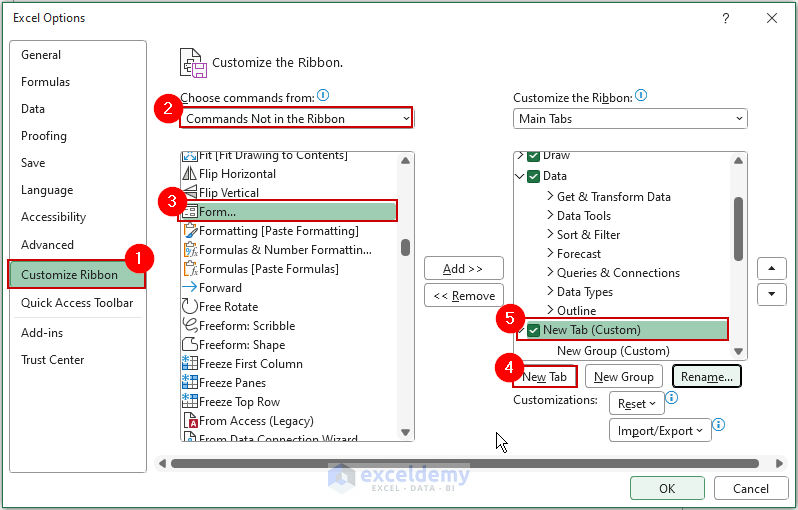
- This will open the Excel Options dialog box.
- Go to Customize Ribbon.
- Select Command Not in the Ribbon from the Choose commands from the drop-down menu.
- Scroll down a bit and choose Form.
- Click on New Tab. (If you want to add this command to a group, click on New Group).
- This will add a New Tab on the ribbon.
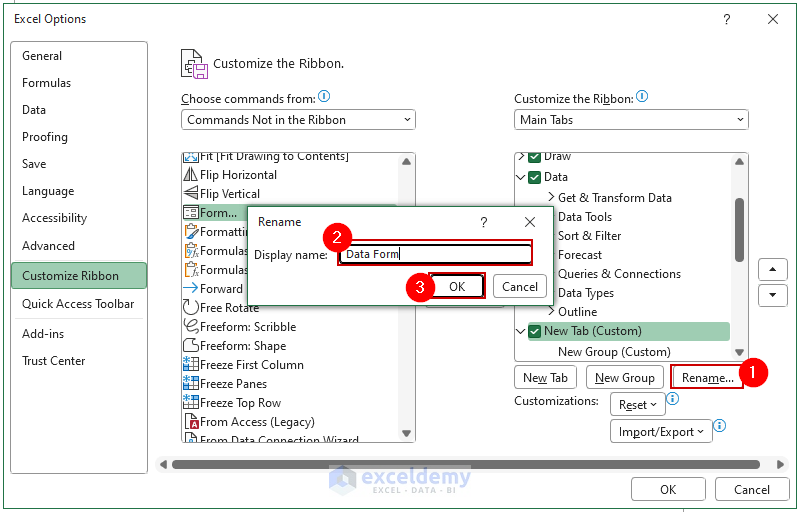
- Click on the Rename button.
- The Rename dialog box will appear.
- Name the tab on the Display name field.
- Click OK.
- Select the New Group under the Data Form tab we created.
- Click on Add.
- Click OK to complete the procedure.
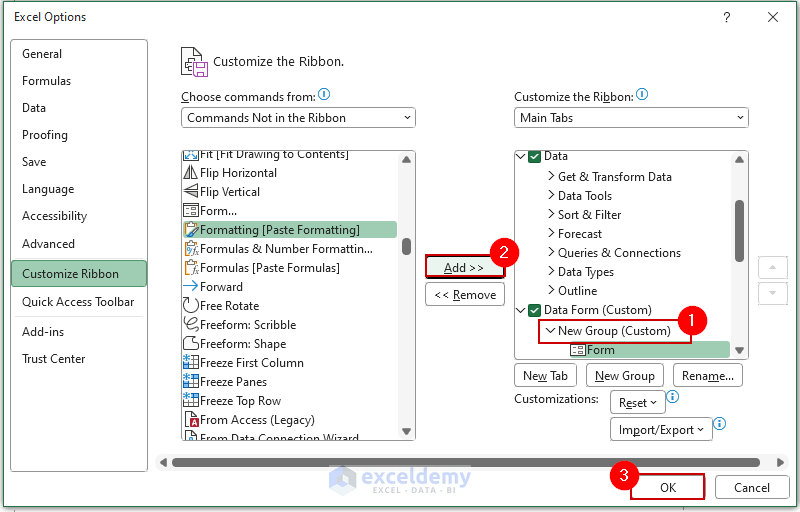
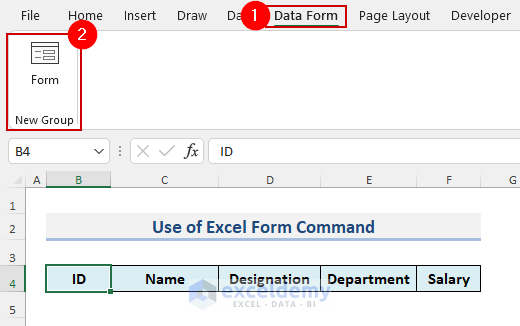
- You can see that the Data Form tab will be added to your Excel ribbon.
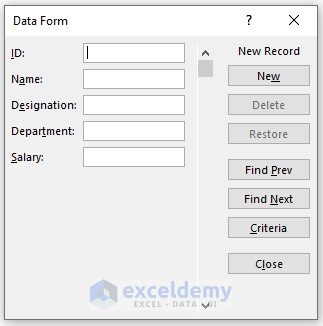
- To create the form, create a column list and select the cell where you want to use it.
- This will open a Microsoft Excel msg.
- Click OK.
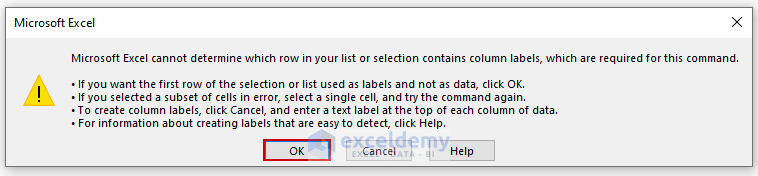
- The Data Form dialog box will show up, you can add records per your requirements.
Read More: How to Create an Excel Data Entry Form Without a UserForm
Download the Practice Workbook
You can download the workbook and practice.
Related Articles
- How to Design Form in Excel
- How to Create an Excel Data Entry Form That Includes Checkboxes
- How to Make an Excel Spreadsheet Look Like a Form
- How to Populate an Excel Spreadsheet from a Web Form
- How to Create an Autofill Form in Excel
- How to Create Data Entry Form in Excel
- How to Create Data Entry Form with Drop Down List in Excel
<< Go Back to Data Entry Form in Excel | Data Entry in Excel | Learn Excel
Get FREE Advanced Excel Exercises with Solutions!
