Method 1 – Designing a Printable and Automated Basic Drop-Down Form in Excel
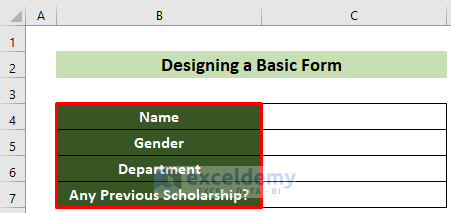
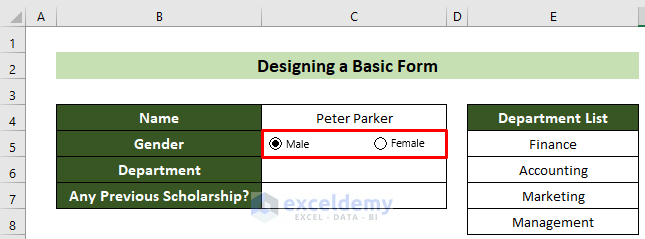
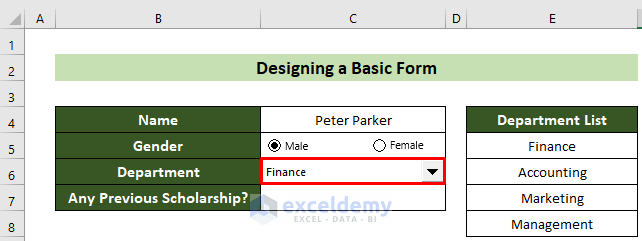
We’ll create a student application form.
Steps:
- Insert your form’s row headers.
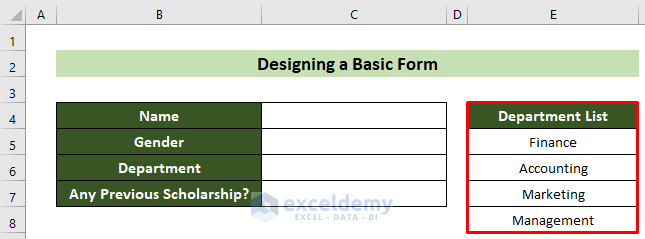
- For drop-down list options, insert your list in the sheet.
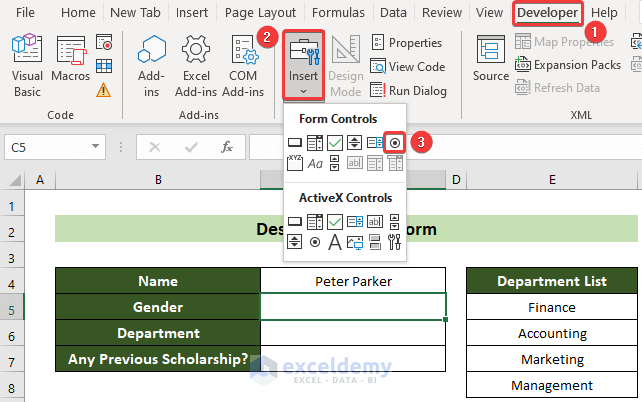
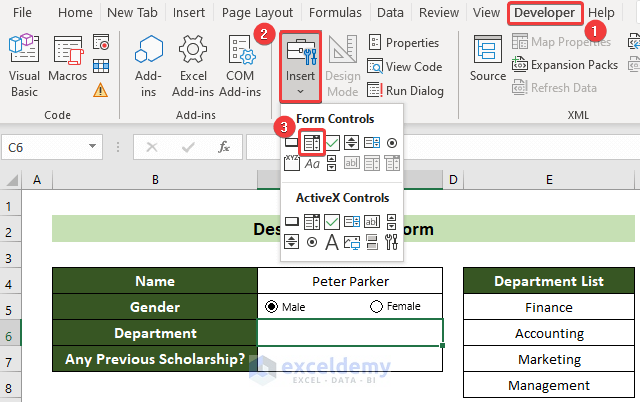
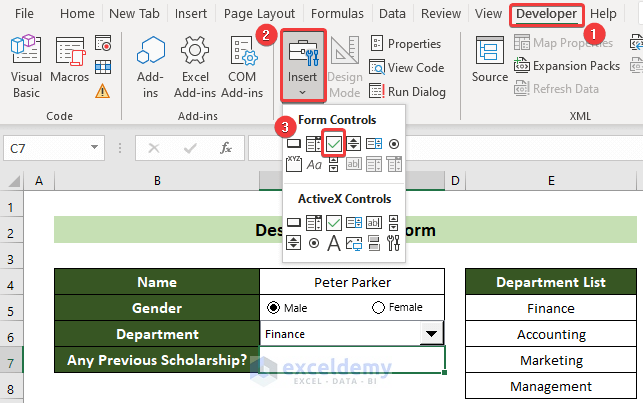
- For Gender options, go to the Developer tab and the Insert tool.
- Choose the Form Controls group and select the Option Button (Form Control) option.
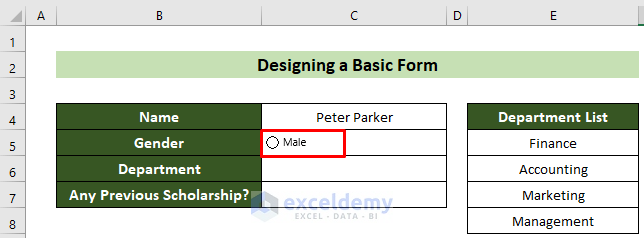
- Click and drag to draw the button in the table.
- Rename it as Male.
- Follow the same procedure to create another option button named Female.
- Click on the option that you want.
- For Department fill up, go to Developer tab and the Insert tool, select the Form Controls group and choose the Combo Box (Form Control) option.
- Draw the box in a cell.
- Right-click on the box and choose the Format Control… option.
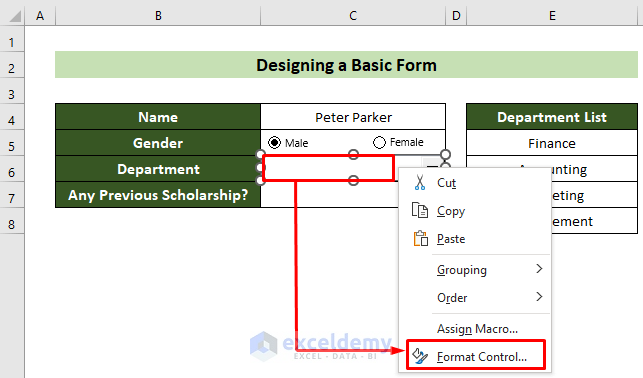
- The Format Object window will appear.
- Go to the Control tab, put cells E5:E8 in the Input range: text box, and click on the OK button.
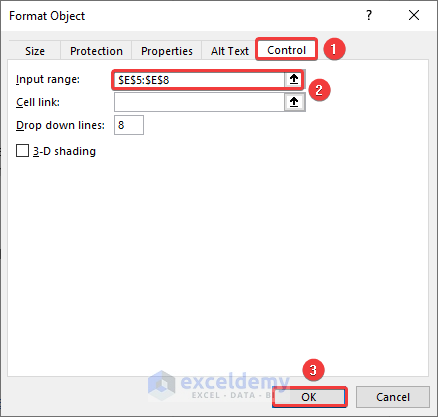
- The drop-down will get the chosen list as options.
- Choose and option from the list.
- Go to the Developer tab and the Insert tool, choose the Form Controls group and select the Check Box (Form Control) option.
- Draw the checkbox in the table.
- Rename it as Yes.
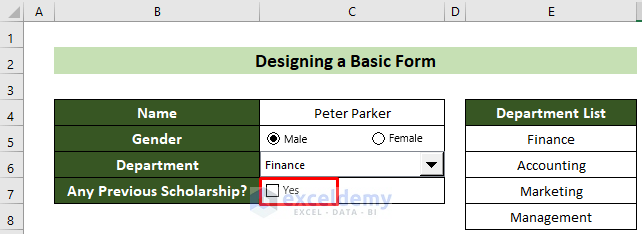
- Create another check box named No and tick your desired option.
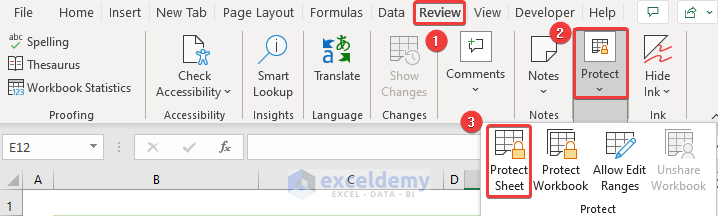
- Go to the Review tab and select the Protect tool, then choose the Protect Sheet option.
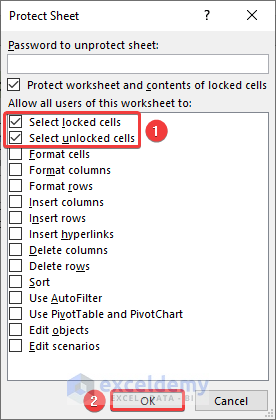
- The Protect Sheet window will appear.
- Tick the first two options and click on the OK button.
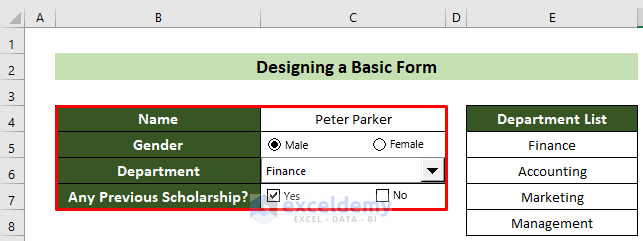
- Your printable basic form is ready. Due to sheet protection, the elements can’t be changed. The final design of the form should look like this.
Read More: How to Create Data Entry Form in Excel
Method 2 – Designing a Data Entry Form in Excel
Steps:
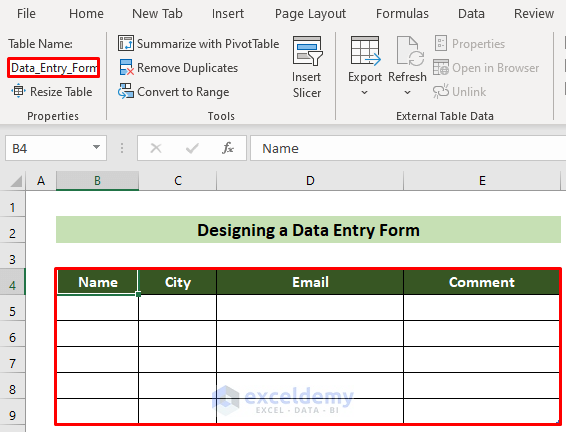
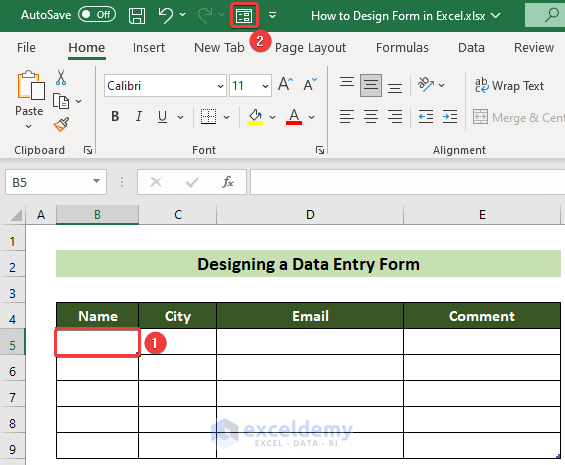
- Create a table named Data_Entry_Form that you need to fill by user inputs.
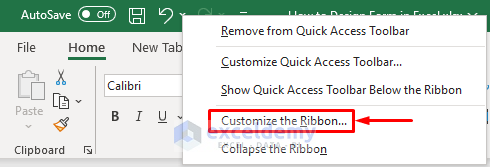
- Right-click on the Excel ribbon.
- Choose the Customize the Ribbon… option.
- The Excel Options window will appear.
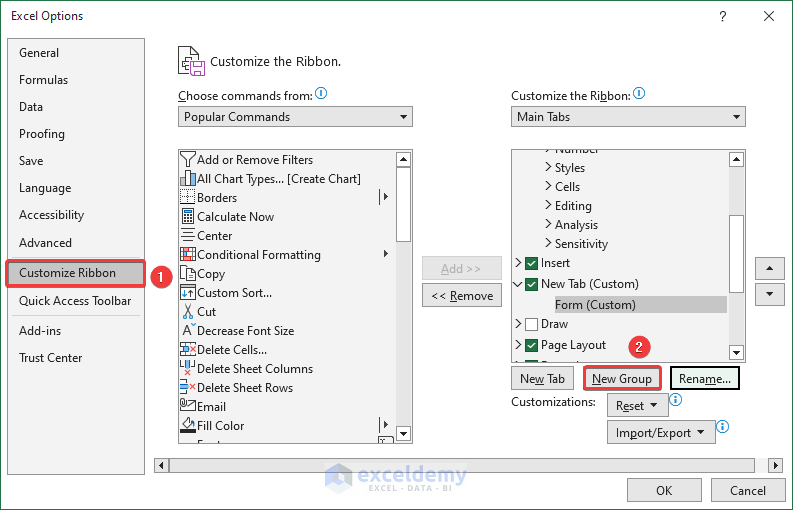
- Choose the Customize Ribbon tab and click on the New Group button.
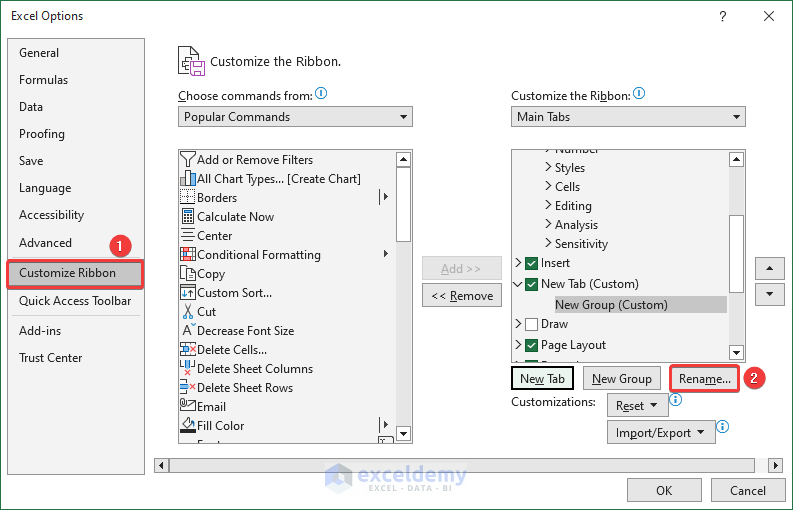
- Click on the Rename… button on the same tab of the same window.
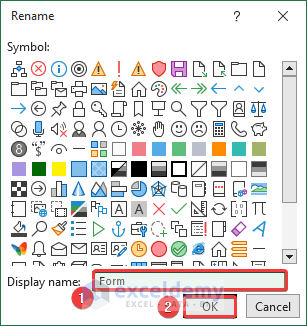
- The Rename window will appear.
- Write Form in the Display name: text box and click on the OK button.
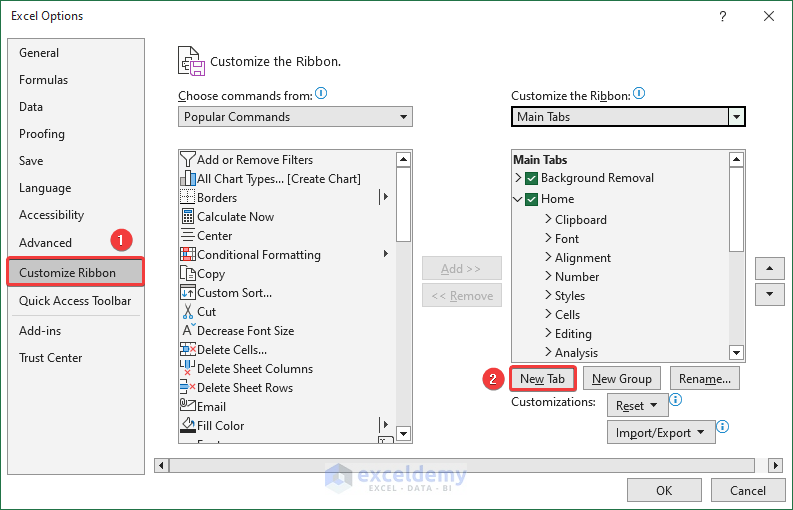
- Click on the New Tab button.
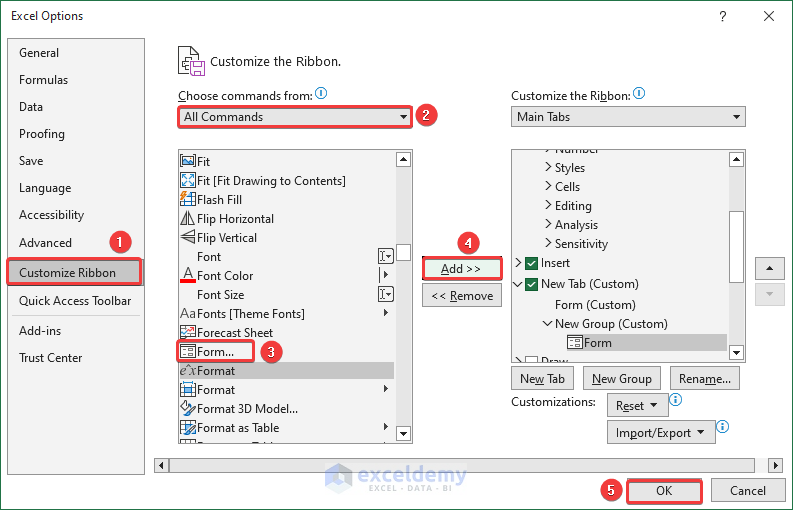
- Choose the option All Commands from the Choose commands from: options.
- Choose the Form… option from the All Commands list.
- Click on the Add button and hit OK.
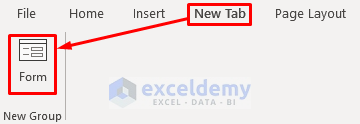
- There will be the Form command in a new tab at your Excel toolbar.
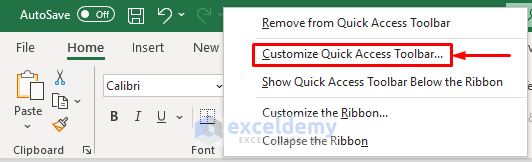
- You can add the command in your ribbon. Go to your Excel ribbon and right-click on the ribbon. Choose the option Customize Quick Access Toolbar… from the options.
- The Excel Options window will appear.
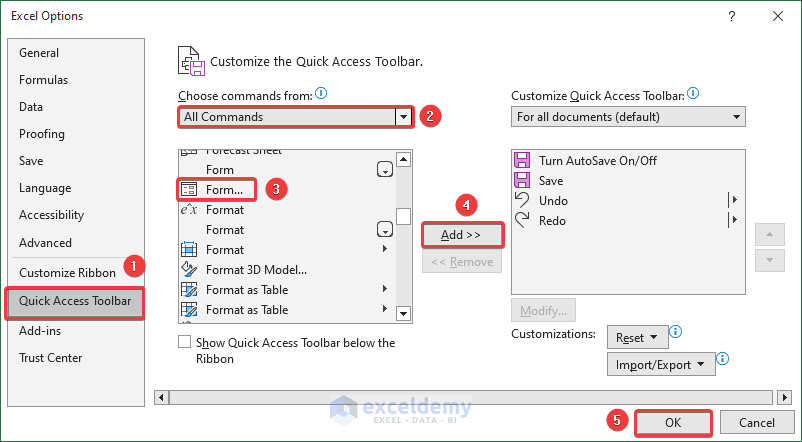
- Go to the Quick Access Toolbar tab, and select All Commands option from the Choose Commands from: options.
- Choose the Form… option from the All Commands list. Click the Add button and hit OK.
- The Form command is added to your toolbar for easier access.
- Click inside your table (cell B5 here) and click on the Form icon in the toolbar.
- The Data Entry Form window will appear. You’ll get text boxes according to the headers of the created table.
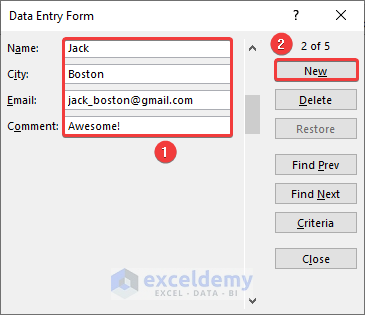
- Insert values in every text box according to your requirements.
- Click on the New button.
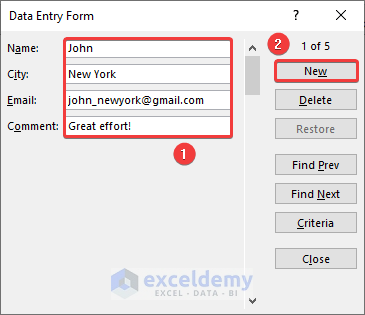
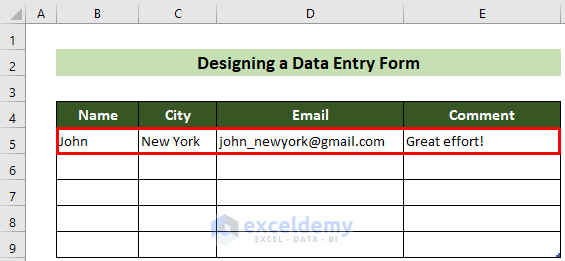
- The new information is inserted into the first row of the table.
- Click the New button, and the same form window appears to allow further entry.
- You can enter as many rows as you want.

Say, you want to restrict the comments to 15 characters.
- Select the cells E5:E9 where you want to apply your data validation.
- Go to the Data tab and select the Data Tools group.
- Choose the Data Validation tool and select the Data Validation option.

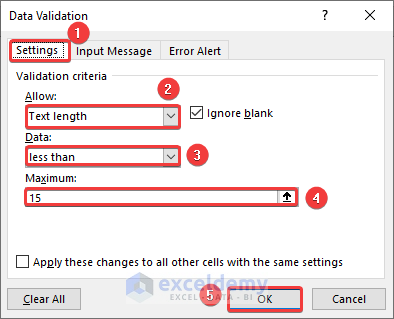
- The Data Validation window will appear.
- Go to the Settings tab and choose the option Text length in the Allow: options list.
- Select the less than option from the Data: options list and insert the value 15 inside the Maximum: text box.
- Click on the OK button.
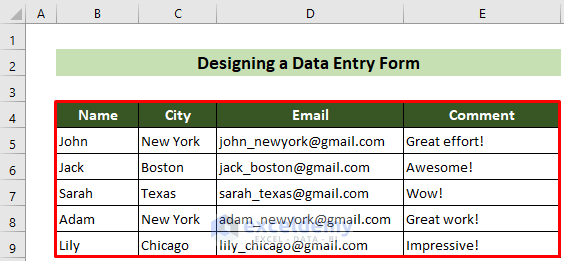
- Your data validation applies to the comment cells of your table. If you insert a comment longer than 15 characters, it will not take the input and will show you the warning message.
- You can fill the whole table with your required data. Here’s a sample.
Note: This type of form is applicable to tables with headers.
Read More: How to Make a Fillable Form in Excel
Download the Practice Workbook
Related Articles
- How to Create Data Entry Form with Drop Down List in Excel
- How to Create a Printable Form in Excel
- How to Create an Autofill Form in Excel
- How to Create an Excel Data Entry Form Without a UserForm
- How to Create an Excel Data Entry Form That Includes Checkboxes
- How to Populate Excel Spreadsheet From a Web Form
- How to Create Data Entry Form in Excel VBA
- How to Make an Excel Spreadsheet Look Like a Form
<< Go Back to Data Entry Form in Excel | Data Entry in Excel | Learn Excel
Get FREE Advanced Excel Exercises with Solutions!
