Step 1 – Enable Form by Customizing Quick Access Toolbar
First we need to customize the quick access toolbar so that the Form tab will appear in it.
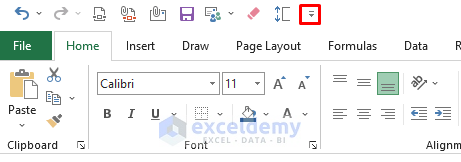
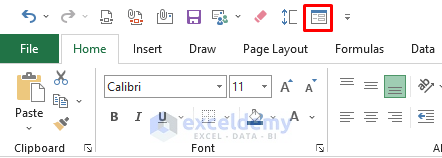
- Go to the Quick Access Toolbar.
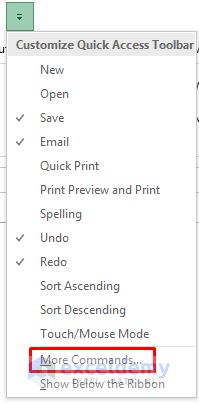
- Select Customize Quick Access Toolbar from the drop-down options.
- Select More Commands.
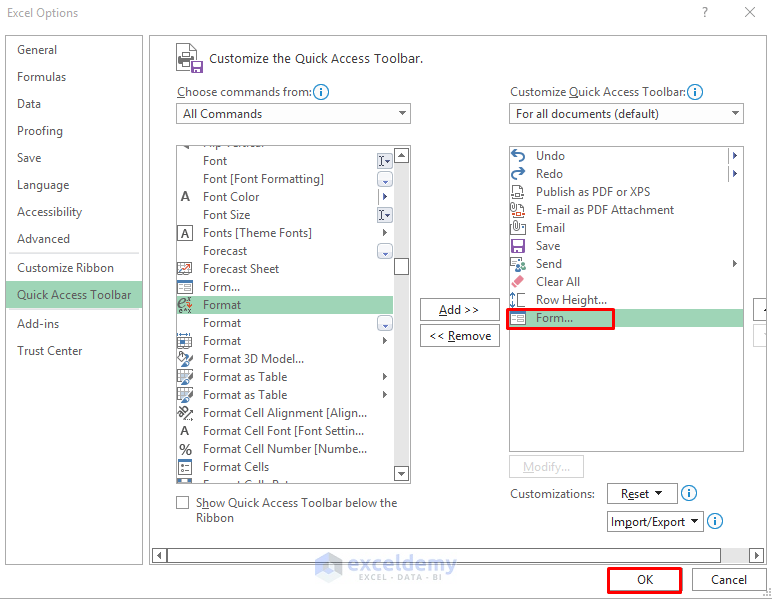
The Excel Options dialog box will open.
- From the Choose commands from section, select All Commands.
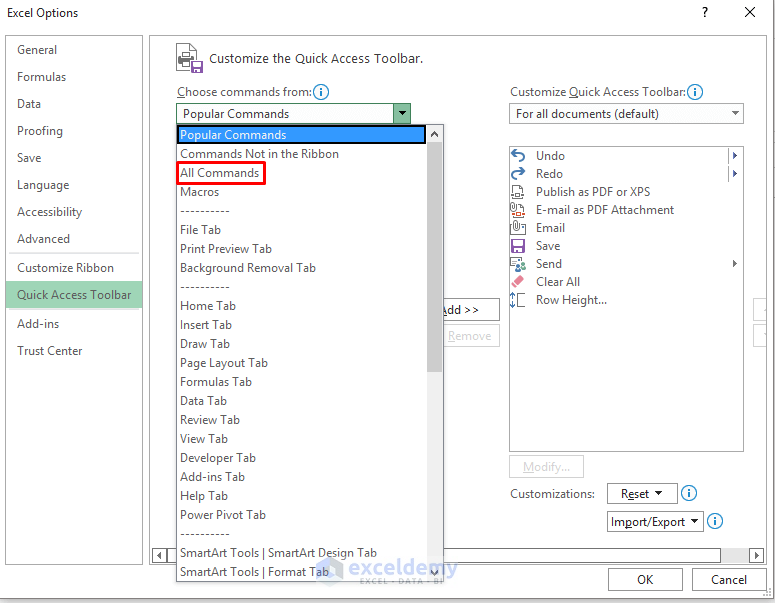
- Scroll down to show the Form option.

- Click on Add to set the Form tab in the Quick Access Toolbar.
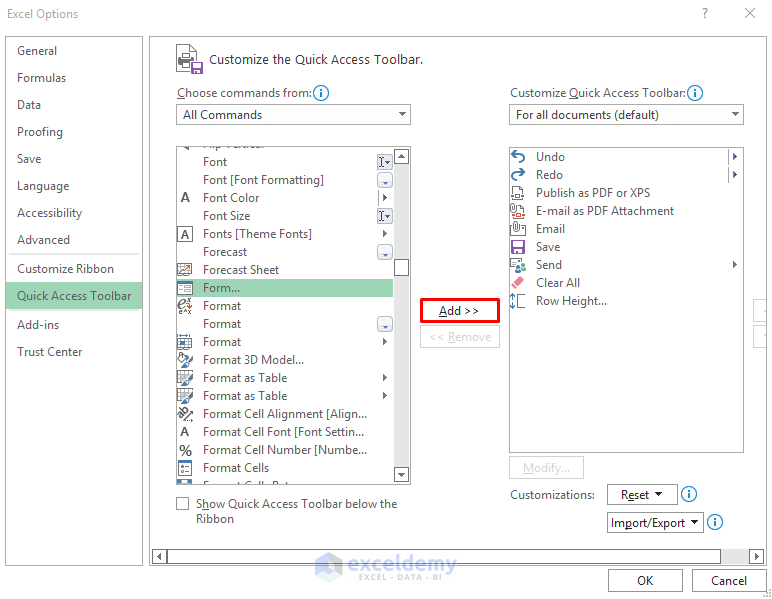
- Click on OK to apply the change.
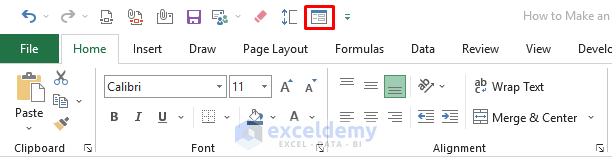
The Form option will appear in the Quick Access Toolbar.
Step 2 – Creating Excel Table
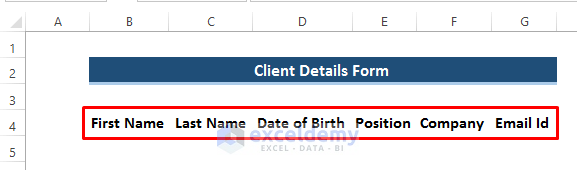
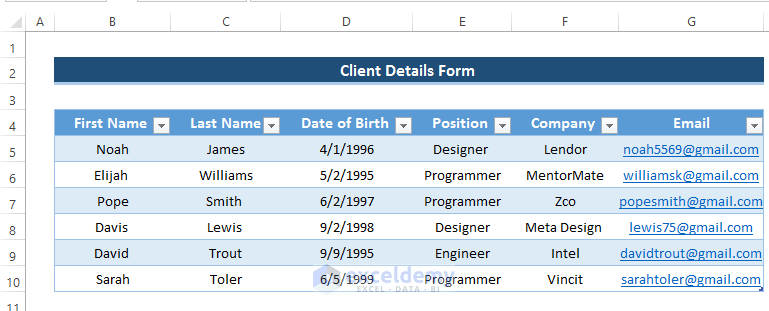
Suppose we want to create a Client Details form. We’ll need to capture information such as first name, last name, date of birth, position, company, and email.
- In a fresh worksheet enter some Headings like in the image below.
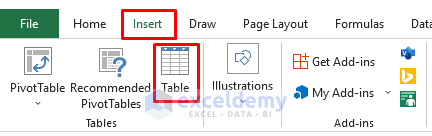
- Select the range of cells B4 to G4.

- Go to the Insert tab on the ribbon.
- From the Tables group, select Table.
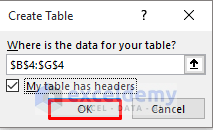
A Create Table dialog box will appear.
- Click OK.
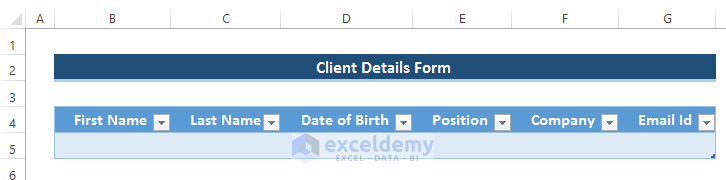
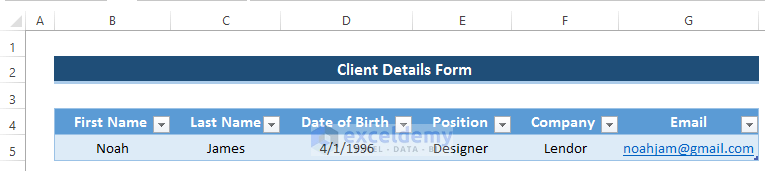
As a result, we will have a table that looks like the screenshot below.
Step 3 – Entering Data Using Form in Excel
Now we can enter some data in a Form, and our input will be stored in the table.
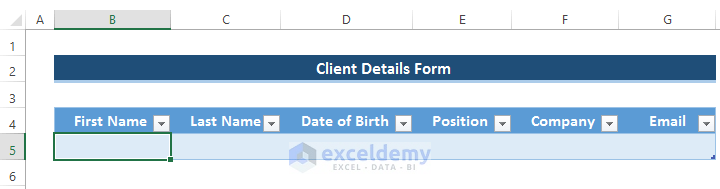
- Select cell B5.
- Select the Form tab from the Quick Access Toolbar.
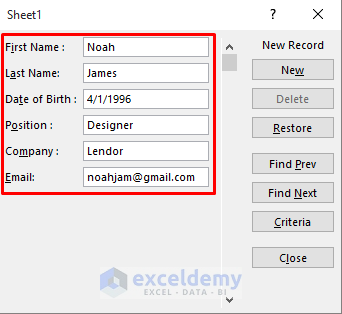
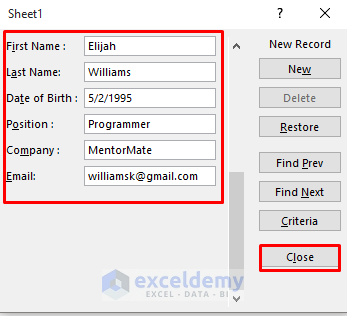
This will open up a Sheet1 Form box to enter client details.
- Fill out every field for the first client.
- Click on Close.
- The data entered into the Form will be captured in a row in our table.
- Select any cell in the table.
- Click on the Form option in the Quick Access Toolbar.
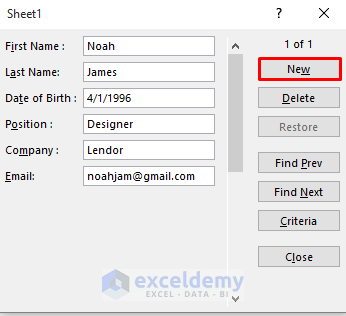
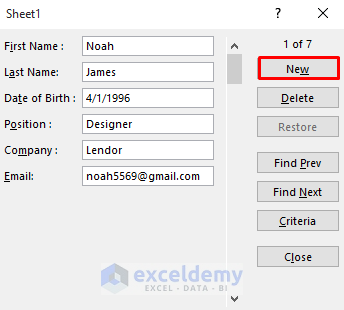
The Form box opens with the previously entered record loaded.
- To start a new record, click on New.
The Form clears.
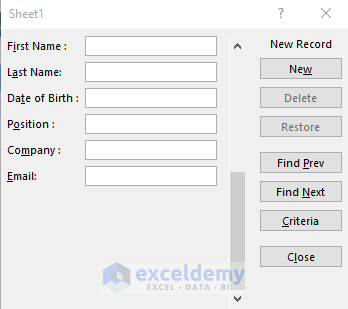
- Enter the details of the next client.
- Click on Close.
The client details will be added to the table.
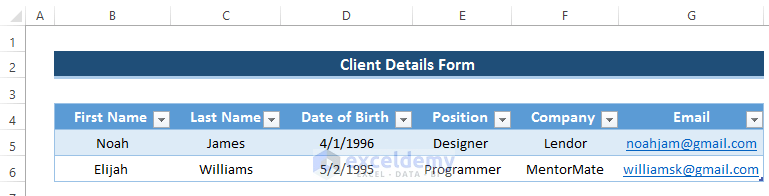
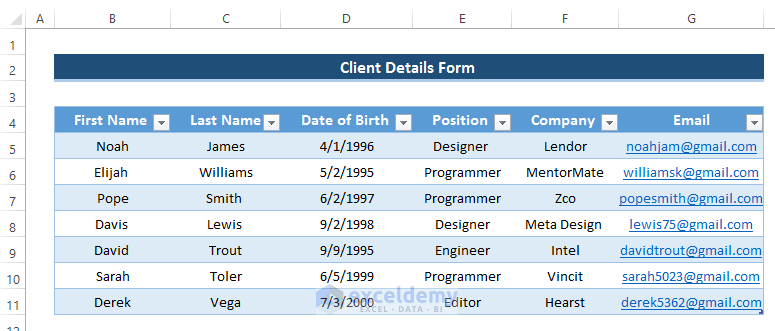
- After entering multiple client details one by one, we will have the following details in the table.
Step 4 – Editing Existing Records with Excel Form
Suppose one the clients’ email has changed and we need to update it in our dataset. We can do this via the Form.
- Select any cell in the table.
- Select Form from the Quick Access Toolbar.
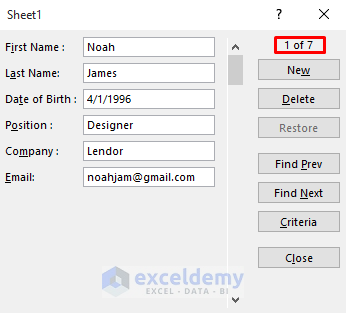
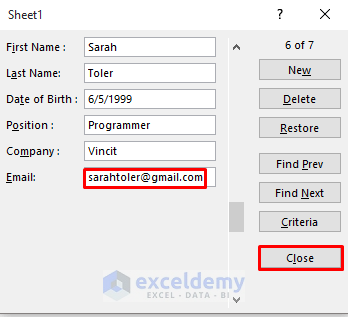
The Form opens. We can see which record (row in the table) we’re looking at in the top right corner of the Form.
- Change the email and click on Close.
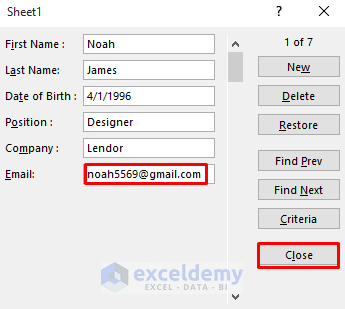
The email will automatically change in the table.
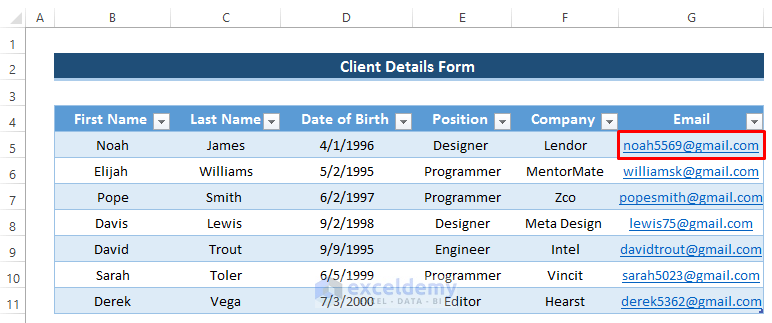
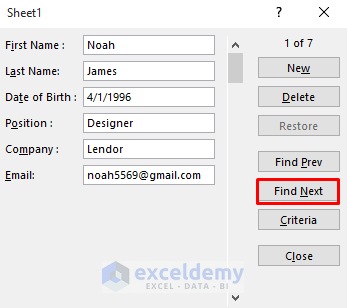
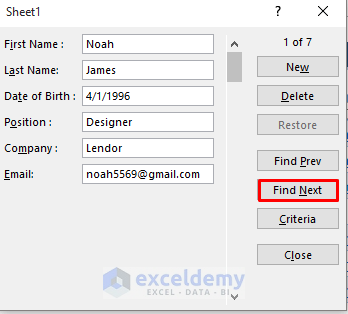
Say we want to change the email of our sixth client:
- Open the Form using the steps above.
- Click on Find Next until you have the correct client’s details loaded.
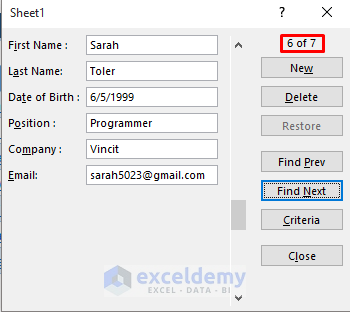
- Edit the email of that client.
- Click on Close.
- The change reflects automatically in the table.

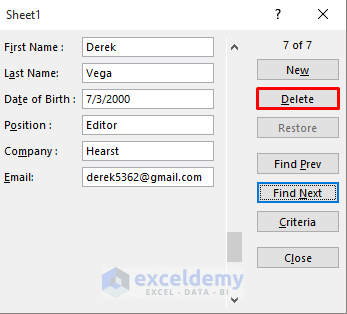
Step 5 – Using Form to Remove Existing Record
Let’s remove client number 7.
- Open the Form using the steps above.
- Click on Find Next until client 7’s details are loaded.
- Click on Delete.
- Click OK in the confirmation dialog box that will appear.
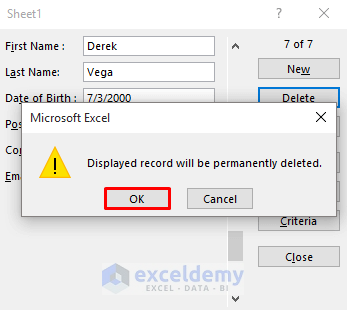
The row will be automatically removed from the table.
Read More: How to Create Data Entry Form in Excel
Step 6 – Restrict Data Entry into Spreadsheet by Data Validation
One of the main advantages to capturing data using a Form is the ability to restrict data entry by some rules. If the input doesn’t meet the criteria for valid entry, it will be rejected.
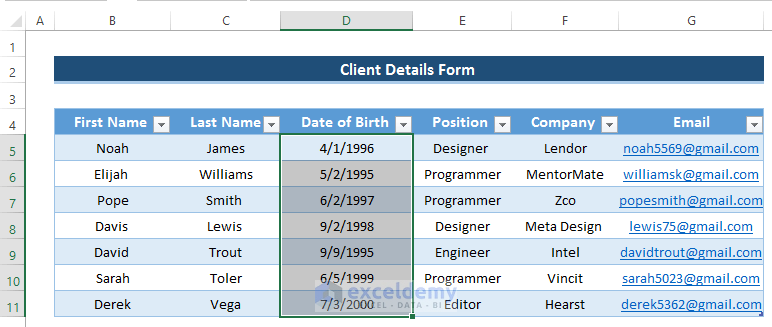
For example, in our dataset let’s set an Age Limit based on the Date of Birth field. Only dates within the specified range will be accepted.
- Select the range of cells D5 to D11.
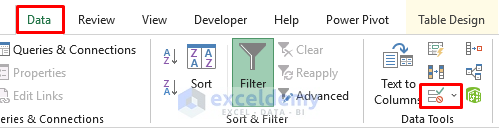
- Go to the Data tab in the ribbon.
- From the Data Tools section, select the Data Validation option.
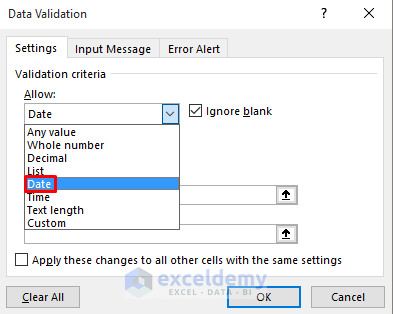
The Data Validation dialog box will open.
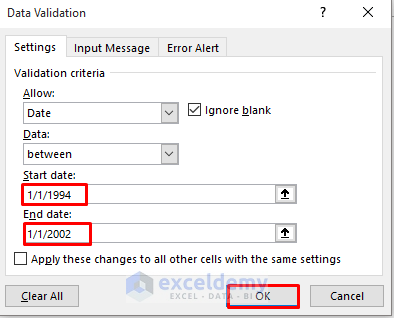
- Go to the Validation criteria section.
- In the Allow section, select the Date option.
- Set the Start date and End date.
- Click on OK.
Let’s test our rule by adding a new client’s details.
- Click on the Form tab in the Quick Access Toolbar after selecting any cells in the table.
- As we want to enter new client detail, click on New.
- Enter the new client details as in the image below.
- Click on Close to apply.
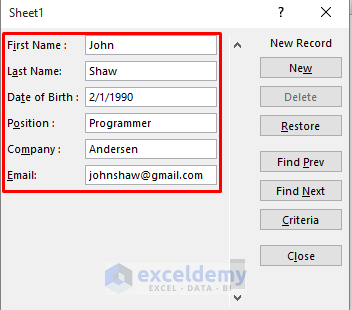
An error is shown, because the Date of Birth is not in the accepted range.

Things to Remember
- You need to utilize an Excel Table with the data entry Form.
- You can’t use formulas in a Form.
- There are restrictions on both the amount of fields, and the amount of data you can load in a field.
Download Practice Workbook
Related Articles
- Create an Excel Data Entry Form without a UserForm
- Create Data Entry Form with Drop Down List in Excel
- Create an Excel Data Entry Form That Includes Checkboxes
- How to Create an Autofill Form in Excel
- How to Create a Printable Form in Excel
- How to Make a Fillable Form in Excel
- How to Populate an Excel Spreadsheet from a Web Form
- How to Design Form in Excel
- How to Create Data Entry Form in Excel VBA
<< Go Back to Data Entry Form in Excel | Data Entry in Excel | Learn Excel
Get FREE Advanced Excel Exercises with Solutions!
