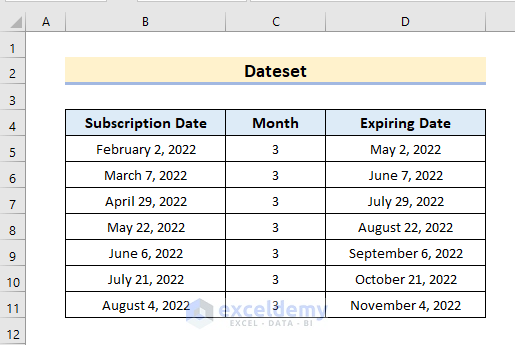
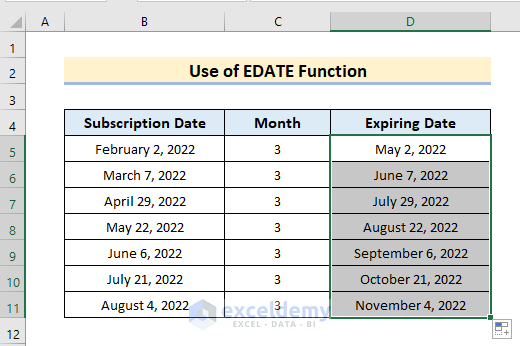
To demonstrate how to add months to a date in Excel, we’ll use the following dataset representing a subscription, where column B shows the subscription start date and column C the expiry date.
We used Microsoft Excel 365 in this article, but you can use any other version that is convenient for you.
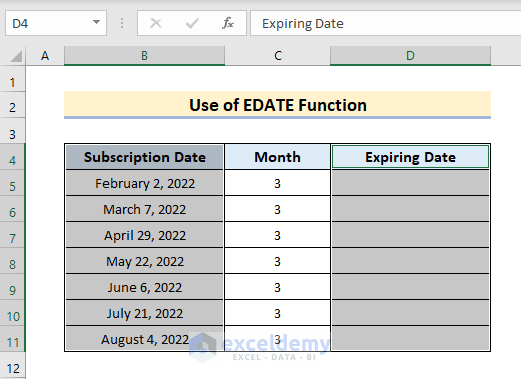
Method 1 – Using the EDATE Function
The EDATE function returns the serial number for a specified date. Before using it, we’ll need to format the columns in Date format.
Steps:
- Select columns B and C.
- In the Home tab, tap the Dropdown box next to General.
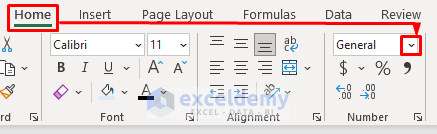
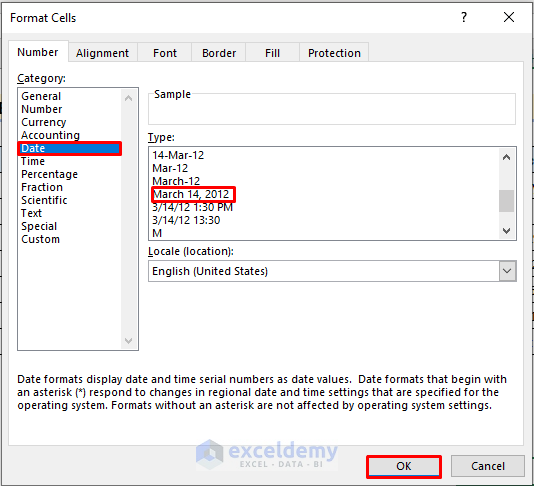
- Click Date.
- Choose any Date format.
- Click OK.
- Go to cell D5.
- Enter the following EDATE formula:
=EDATE(C5,D5)- Press Enter.

- Use the Fill Handle to copy the formula to the cells below.
Here is the result:
Read More: How to Add Months to a Date in Excel
Method 2 – Using Excel Date Functions
We can combine some Excel Date functions to perform the task. Here, the DATE function takes numeric values in its arguments and gives out a date. 3 arguments are required for the Date function – year, month, and day. The YEAR function returns the year in a 4-digit number. Similarly, the DAY function returns the day from a cell reference, and the MONTH function returns the precise month number. As we want to add 3 months to the date, we’ll add 3 with the month parameter.
Steps:
- Enter the following formula in cell D5:
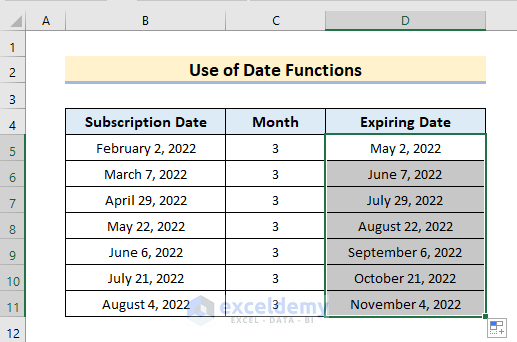
=DATE(YEAR(B5),MONTH(B5)+3,DAY(B5))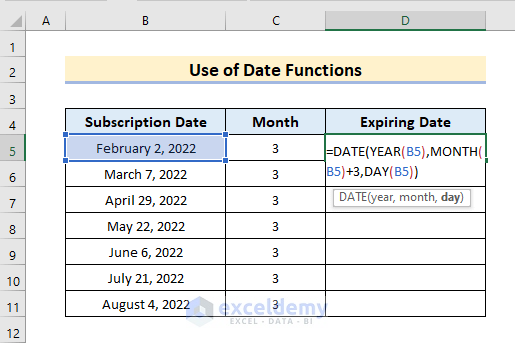
- Use the Fill Handle to copy the formula to the cells below.
Read More: How to Add Years to a Date in Excel
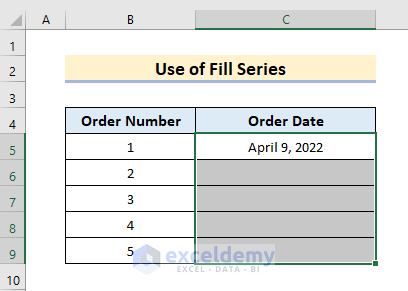
Method 3 – Using the Fill Series Feature
The Fill Series Feature fills a series based on the sequence of the previous data.
Steps:
- Select the range D5:D9.
- Navigate to Home > Editing > Fill > Series.
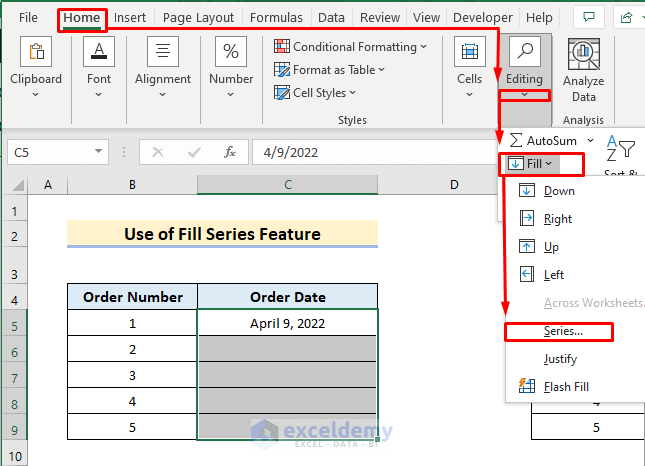
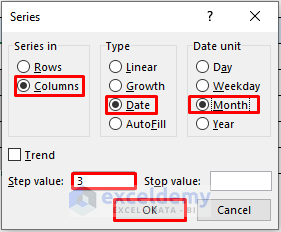
A Series box will pop up.
- Select Columns > Date > Month.
- Enter 3 in the Step value box.
- Click OK.
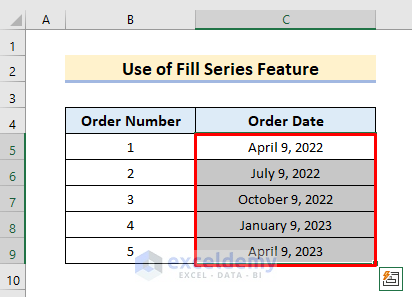
The Fill Series Function will autofill the results.
Read More: How to Add 6 Months to a Date in Excel
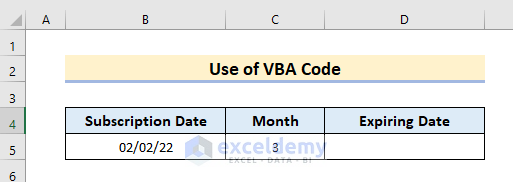
Method 4 – Using VBA Code
We can also apply the DateADD function to update the date using VBA code. Let’s add 3 months to the date in the dataset below.
Steps:
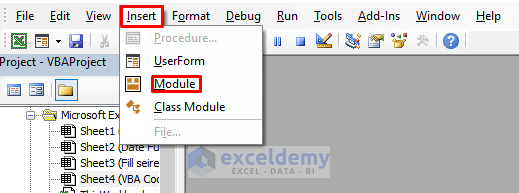
- Press Alt+F11 to open the VBA window.
- Press Insert and then click Module.
A module box will pop up.
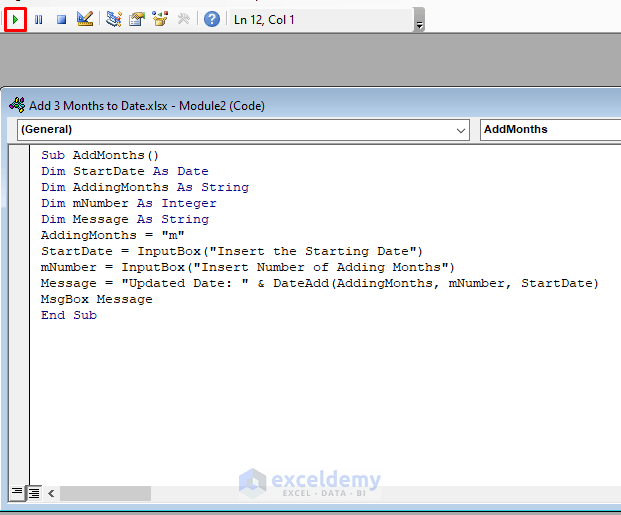
- Enter the following code in that box:
Sub AddMonths()
Dim StartDate As Date
Dim AddingMonths As String
Dim mNumber As Integer
Dim Message As String
AddingMonths = "m"
StartDate = InputBox("Insert the Starting Date")
mNumber = InputBox("Insert Number of Adding Months")
Message = "Updated Date: " & DateAdd(AddingMonths, mNumber, StartDate)
MsgBox Message
End Sub- Run the code by clicking the Play icon.
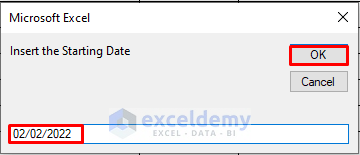
An Input Box will pop up.
- Enter your input date.
- Click OK.
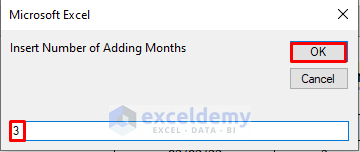
- Enter he number of months to add.
- Click OK.
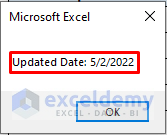
The Output Box will open, displaying the correct result.
Read More: How to Add 30 Days to a Date in Excel
Download Practice Workbook
Related Articles
- How Do I Add 7 Days to a Date in Excel
- How to Add Days to a Date in Excel Excluding Weekends
- How to Add Weeks to a Date in Excel
- How to Create a Formula in Excel to Change Date by 1 Year
- How to Add 2 Years to a Date in Excel
- How to Add 3 Years to a Date in Excel
<< Go Back to Adding Days to Date | Date-Time in Excel | Learn Excel
Get FREE Advanced Excel Exercises with Solutions!
