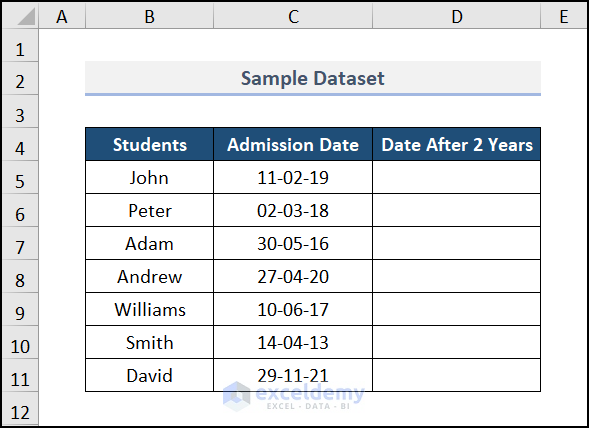
The dataset showcases Students’ Admission Dates.
Method 1 – Utilizing an Arithmetic Formula
Steps:
- Go to D5 and enter the following formula.
It adds 2 years to the existing date.
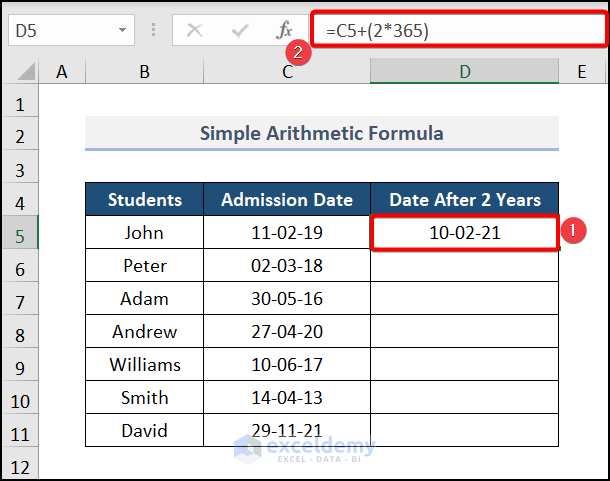
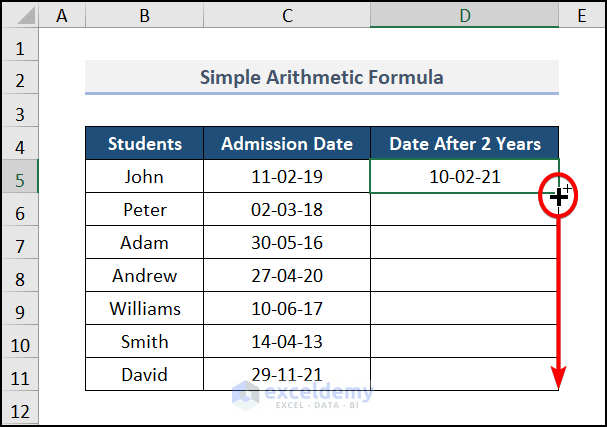
- Press ENTER and drag down the Fill Handle to see the result in the rest of the cells.
This is the output.
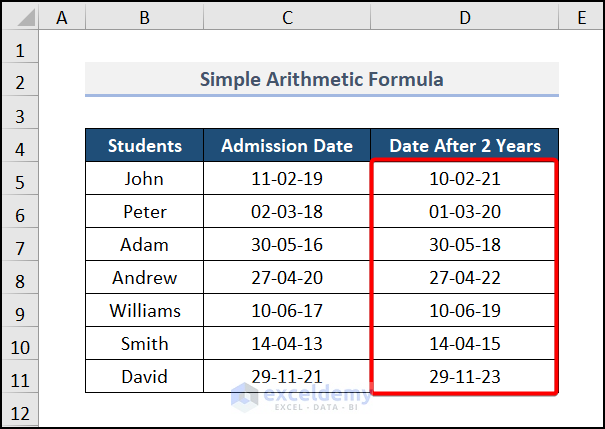
This method does not consider years with 366 days.
Read More: How to Add 3 Years to a Date in Excel
Method 2 – Using the EDATE Function
Steps:
- Go to D5 and enter the following formula.
It takes 24 months, as the end_date argument was entered as (2*12) with the start_date in C5.
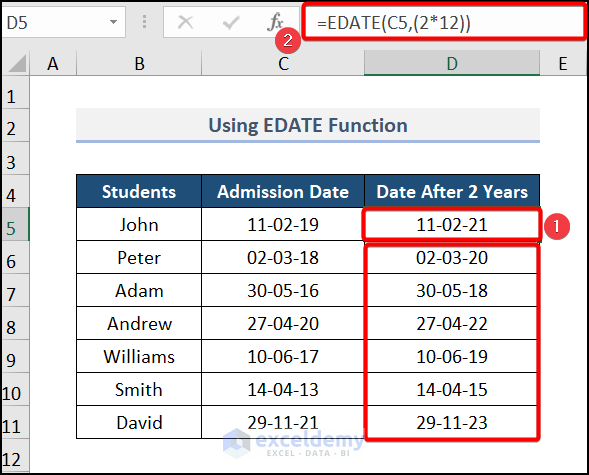
- Press ENTER.
Read More: How to Create a Formula in Excel to Change Date by 1 Year
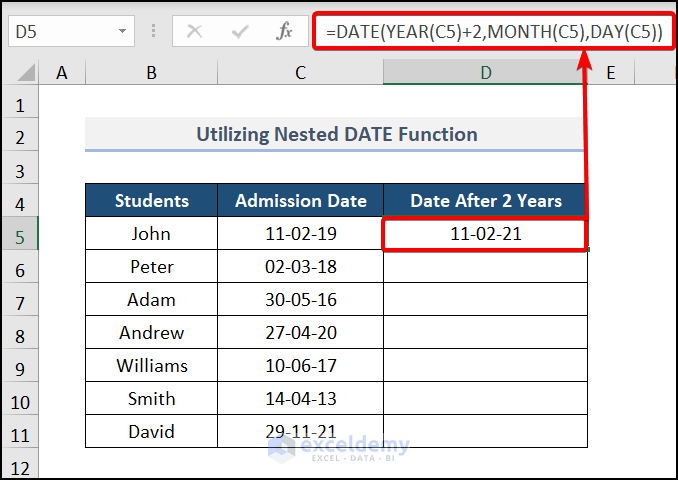
Method 3 – Applying the Nested DATE Function
Steps:
- Go to D5 and enter the following formula.
Formula Explanation:
- DAY(C5) takes the day number of C5.
- MONTH(C5) provides the month number of C5.
- YEAR(C5)+2 adds 2 years to the existing year in C5.
- The DATE(YEAR(C5)+2, MONTH(C5), DAY(C5)) syntax returns the output.
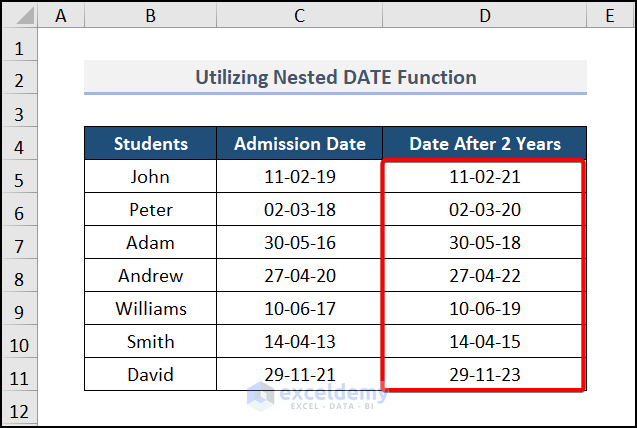
- Press ENTER and drag down the Fill Handle to see the result in the rest of the cells.
This is the output.
You can also add 3 years to the existing date. Enter the end_date argument (3*12). The procedure is identical to Method 2.
3 years were added to the existing dates.
The formula is:

Read More: How to Add Years to a Date in Excel
How to Add Days to a Date in Excel
Add days using Method 3. Add the number of days to the DAY function. This is the formula.
The YEAR function remains unchanged, but 15 was added the DAY function.

Read More: How to Add 6 Months to a Date in Excel
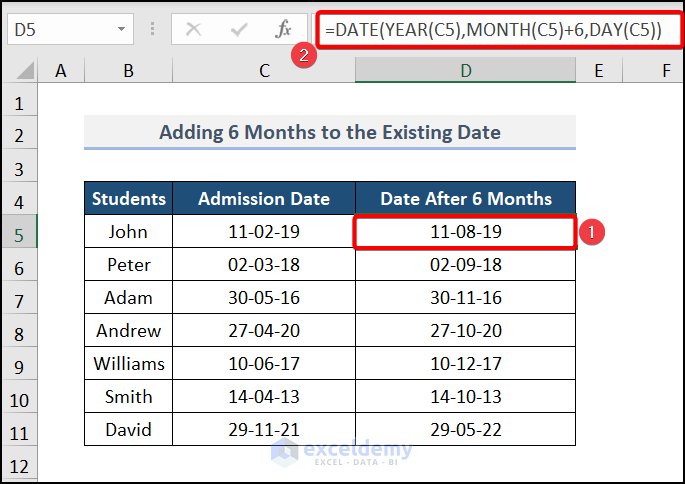
How to Add Months to a Date in Excel
Use the formula of Method 3. Add the number of months to the MONTH function. The formula is:
6 was entered in the MONTH function. This is the output:
Read More: How to Add Months to a Date in Excel
Practice Section
Practice here.
Download Practice Workbook
Download the practice workbook.
Related Articles
- How Do I Add 7 Days to a Date in Excel
- How to Add 30 Days to a Date in Excel
- How to Add Weeks to a Date in Excel
- How to Add Days to a Date in Excel Excluding Weekends
- How to Add 3 Months to a Date in Excel
<< Go Back to Adding Days to Date | Date-Time in Excel | Learn Excel
Get FREE Advanced Excel Exercises with Solutions!

Mr. Fahim. This article is quite helpful to me. It will be more helpful if you can enlighten me to show the day in text of your given date column. Then i can find out which day it was on that specific date.
Thanks in advance.
Hello, Mrs. Thomas. Thanks for your feedback. You can easily show the day in the text by using the TEXT function. Follow the steps for better visualization.
Firstly, go to cell E5 and insert the method.
=TEXT(D5,"dddd")It will make the day in full form of the text.
Then press ENTER and drag it down for other cells with the Fill Handle tool.
Finally, you got your result.
For displaying the month in text go to the cell F5 and write up the formula.
=TEXT(D5,"mmmm")Drag down it and get the full result for the dates.
Your three methods don’t produce the same result if the initial year is before a leap year and the date is after 2/28. For example, if the date is 2011-3-1, here are the results:
method #1: 2012-02-29
method #2: 2012-03-01
method #3: 2012-03-01
EDATE(startDate, month-offset) and DATE(y, m, d) take leap years into account. Simply adding 365 days to a date (method #1) assumes that all years are 365 days long.
If your desired result is to maintain the day after adding x number of years, you cannot use method #1. Most people and institutions (banking, due dates on payments, etc.) would assume that adding x number of years takes into account leap years.
I suggest you edit this webpage to add a caveat to method #1, or remove the method entirely.
Hello PF,
Thank you for your valuable input! Adding 365 days isn’t the best way to add full years to a date, especially around leap years. However, there are some specific scenarios where Method #1 can be useful.
For example, if you need to calculate a fixed interval of exactly 365 days—such as certain types of reminders, subscriptions, or analytical periods—then this approach works well.
In these cases, you’re looking for a span of “365 days” rather than the same date in a future year.
For most situations where the goal is to land on the same calendar date in the future, using EDATE or DATE is definitely the better and more accurate choice. Thank you again for your feedback. Discussions like these help to improve the quality and usefulness of our content!
Regards
ExcelDemy