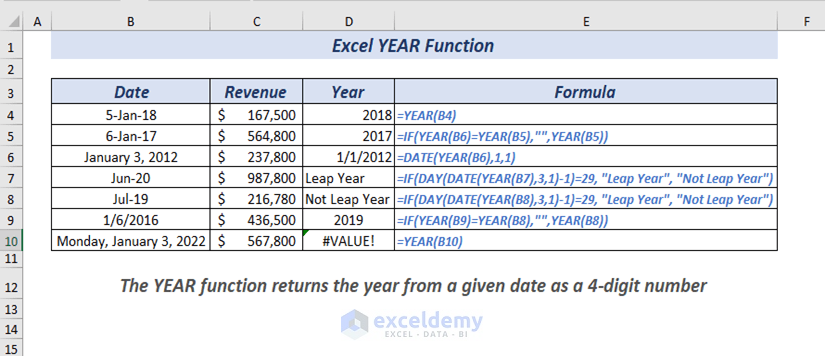
We store various dates in the Excel sheet to store any information on any work, projects, or data. By using the YEAR function, you will be able to extract or calculate the year from a particular date. The YEAR function is used to return the 4-digit number as a year from dates.
In this article, I will show you various examples of how you can use the Excel YEAR function.
Basics of YEAR Function: Summary & Syntax
Summary
The Excel YEAR function calculates a year number from a date and it returns a 4-digit year of the corresponding date.
Syntax
YEAR(serial_number)
Arguments
| Arguments | Required/Optional | Explanation |
|---|---|---|
| serial_number | Required | It is a valid Excel date from where it will return a 4-digit number as a year. |
Return Value
4-digit number as Year corresponding to the specified date.
Version
The YEAR function is available for Excel 2003 and later versions.
How to Use YEAR Function in Excel: 5 Examples
1. Using The Excel YEAR Function to Get Year from Dates
Excel supports a couple of date formats. From any of the valid dates, you can extract the year by using the YEAR function.
Let me show you an example,
⏩ In cell E4, type the following formula to get the year.
=YEAR(B4)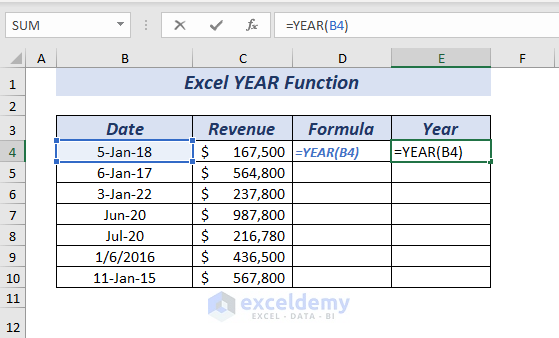
Here, in the YEAR function, I used the B4 cell as serial_number.
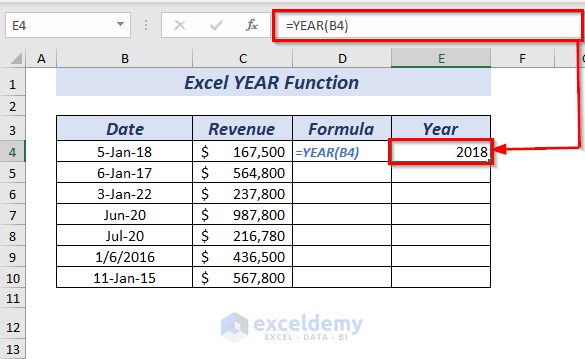
Now, press ENTER, and the YEAR function will return a 4-digit number as a year corresponding to the specified date of the B4 cell.
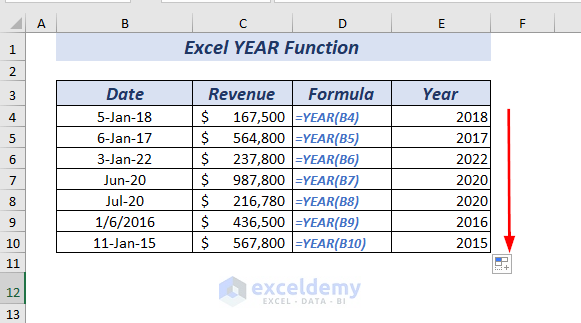
You can follow the same process, or you can use the Fill Handle to get the year of other dates.
2. Using Excel IF & YEAR Function
You can use the IF function and the YEAR function to compare dates depending on any condition you want to provide.
Here, I want to compare two dates and if the year of the two dates is equal then it will return blank otherwise the year of the previous cell’s date.
⏩ In cell E4, type the following formula.
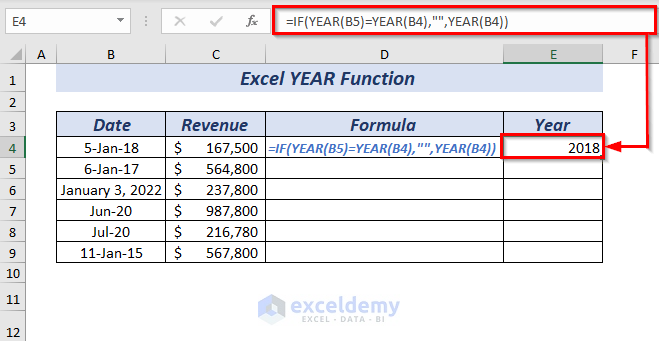
=IF(YEAR(B5)=YEAR(B4),"",YEAR(B4))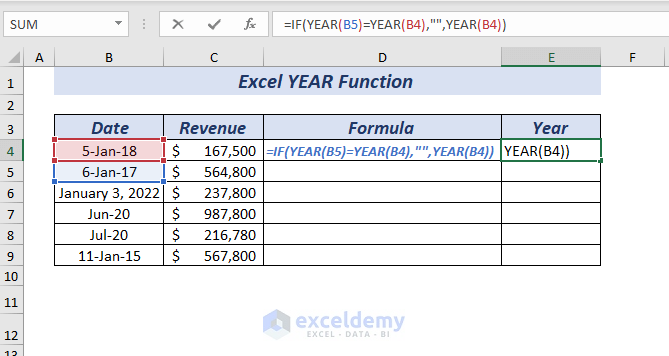
Here, in the IF function, I used YEAR(B5)=YEAR(B4) as logical_test. Now, the YEAR function extracts the year from the selected cells then it will compare if the given dates and years are equal or not. Next, used blank (“”) as value_if_true and used YEAR(B4) as value_if_false so that it returns the year of the cell B4.
Now, press the ENTER key. Hence, you will get the years that are not equal to their adjacent cell otherwise blank.
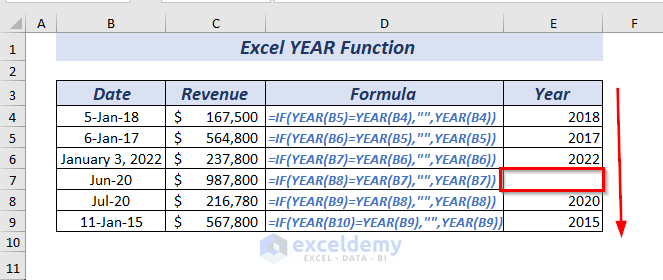
You can follow the same process, or you can use the Fill Handle to apply the formula for the rest of the cell dates.
3. To Form Date Using DATE & YEAR Function
Not only the YEAR function helps to extract years from dates but also it helps to form a date. To form a date, you can use the DATE function and the YEAR function.
To start the procedure,
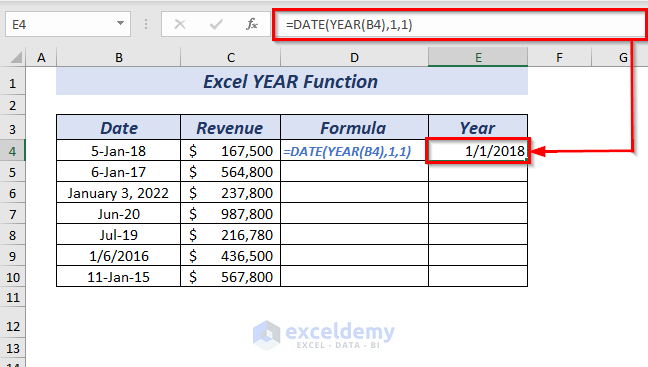
⏩ In cell E4, type the following formula to get the year.
=DATE(YEAR(B4),1,1)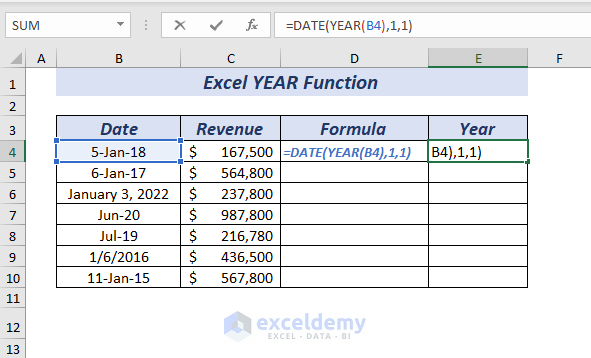
Here, in the DATE function, I used the YEAR(B4) as year to get the year from the date of the selected cell B4. Then used 1 as month and 1 as day.
Finally, the DATE function will form the date as per the formula.
Now, press the ENTER key. Thus, you will get a new date.
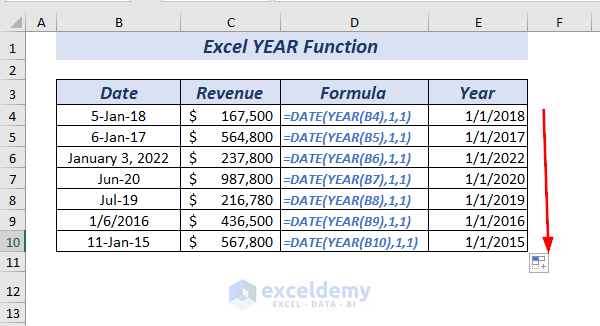
Following the same process, you can get the dates for the rest of the cells.
4. Using Excel YEAR Function to Get Difference Between Years
You can determine the difference of years using the YEAR function. Let’s say, you want to get the estimated year of completion of any work or projects.

⏩ To get the difference in cell F4, type the following formula.
=YEAR(D4)-YEAR(C4)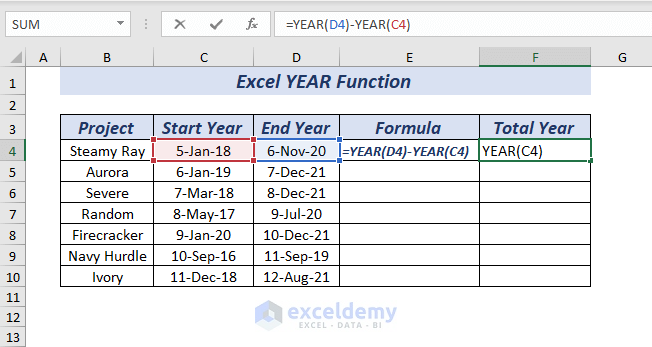
Here, in the first YEAR function, I selected cell D4 as serial_number then in the 2nd YEAR function selected cell C4 as serial_number.
Finally, subtract the YEAR functions to get the difference or the estimated year to complete any project.
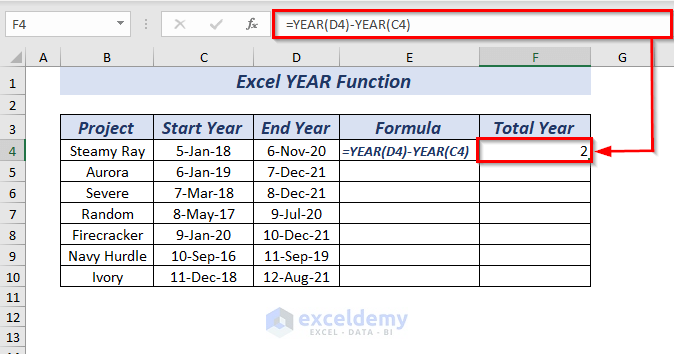
Now, press the ENTER key. Now, you will get the difference of the selected dates in the year.
You can follow the same process, or you can use the Fill Handle to apply the formula for the rest of the dates.

5. Calculating Leap Years in Excel
By using the IF function, DATE function, DAY function, and the YEAR function you can determine the Leap Year from a date.
To determine whether a date’s year is Leap Year or Not Leap Year,
⏩ Type the following formula, in cell E4.
=IF(DAY(DATE(YEAR(B4),3,1)-1)=29, "Leap Year", "Not Leap Year")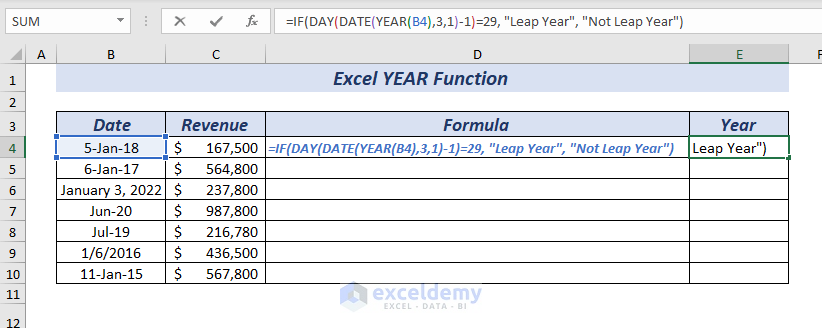
Here, in the IF function, I used DAY(DATE(YEAR(B4),3,1)-1)=29 as logical_test then, used Leap Year as value_if_true and used Not Leap Year as value_if_false.
The DAY function used DATE(YEAR(B4),3,1)-1 as serial_number, and the DATE function used YEAR(B4) as a year, as a month used 3, and as day used 1. Forms a date using the year of the B4 cell.
Now, the DATE function will generate a date that will return the 1st day of March in the given year, from which I subtracted 1. Then, the DAY function will get the number of days from the date.
Finally, the IF function will check the condition that the number of days is equal to 29 or not. If the number of days of this month is equal to 29 then it will return Leap Year otherwise Not Leap Year.
To ease your understandability I’m breaking down the formula, check that.
♦ DATE(YEAR(B4),3,1) → Provides a date
• Output: 1-Mar-18
♦ DATE(YEAR(B4),3,1)-1 → becomes
(1-Mar-18) -1
• Output: 28-Feb-18
♦ DAY(DATE(YEAR(B4),3,1)-1) → Get the number of days
• Output: 28
♦ IF(DAY(DATE(YEAR(B4),3,1)-1)=29, “Leap Year”, “Not Leap Year”) → becomes
IF(28=29, “Leap Year”, “Not Leap Year”)
• Output: Not Leap Year
• Explanation: The selected dates year’s February month has 28 days, so it is Not Leap Year
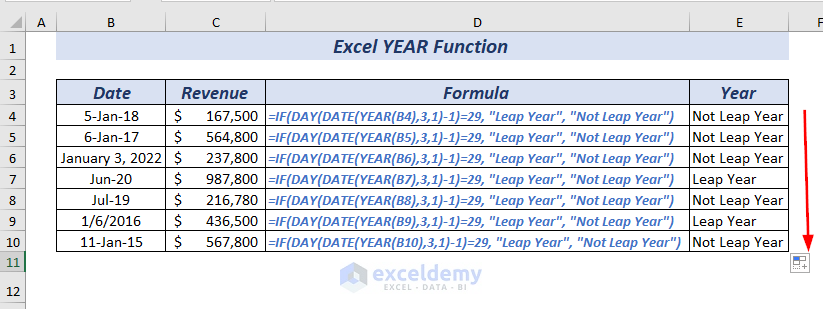
Press ENTER, and you will get the Leap Year and Not Leap Year depending on the corresponding dates years.
.
You can follow the same process, or you can use the Fill Handle to apply the formula for the rest of the dates to know whether the year is Leap Year or Not Leap Year.
Things to Remember
🔺 If the dates are out of the valid range, then the YEAR function returns the #VALUE error.
🔺 In case you put text values on the YEAR function then it will return the #VALUE error.

Ο To display 2-digit you need to use yy.
Ο If you want to display 4-digit you need to use yyyy.
♣ It supports the date as an integer from 1900 to 9999.
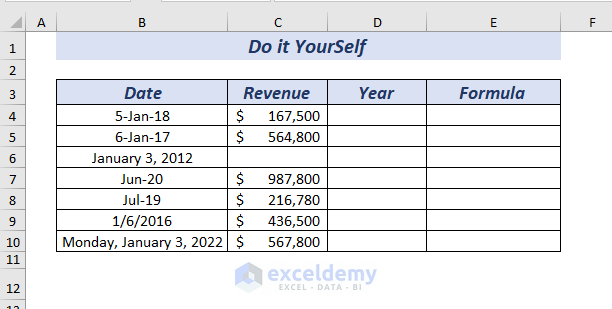
Practice Section
I’ve provided a practice sheet in the workbook to practice these explained examples.
Download to Practice
Conclusion
In this article, I have shown 5 examples of the Excel YEAR function. I also tried to cover the types of errors the YEAR function may show frequently. Last but not least, if you have any kind of suggestions, ideas, or feedback please feel free to comment down below.
<< Go Back to Excel Functions | Learn Excel
Get FREE Advanced Excel Exercises with Solutions!
