Scenario
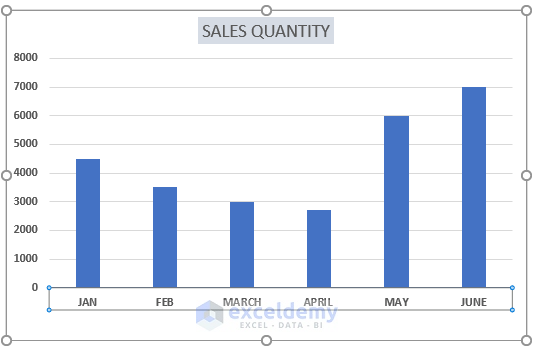
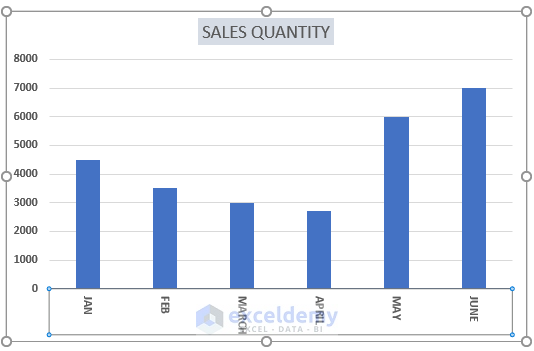
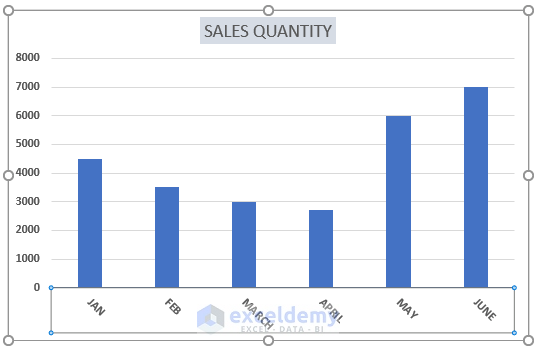
Here, we have an Excel chart of sales quantity containing months on the X-axis and the value of sales quantity on the Y-axis. Now we want to rotate the text.
Method 1 – Changing the Orientation of Text in an Excel Chart
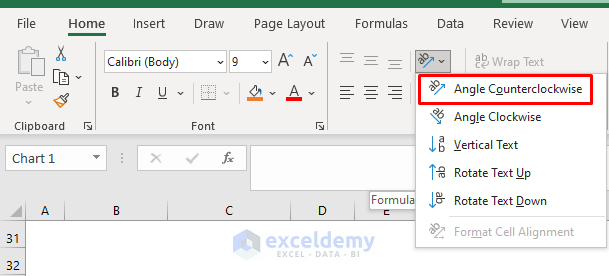
- Select the text on the X-axis.
- Go to the Home tab and click on an option (such as Angle Counterclockwise) to rotate the X-axis text counterclockwise.
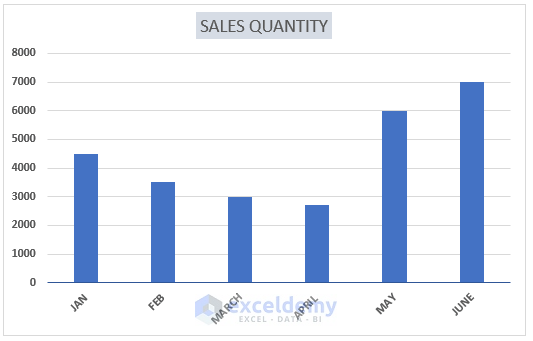
Result:
The output can be seen in the below image:
Read More: How to Add Subscript in Excel Graph
Method 2 – Using Format Axis to Rotate Text in an Excel Chart
In this method, there are two ways to rotate text using Format Axis:
2.1 Selecting Text Options
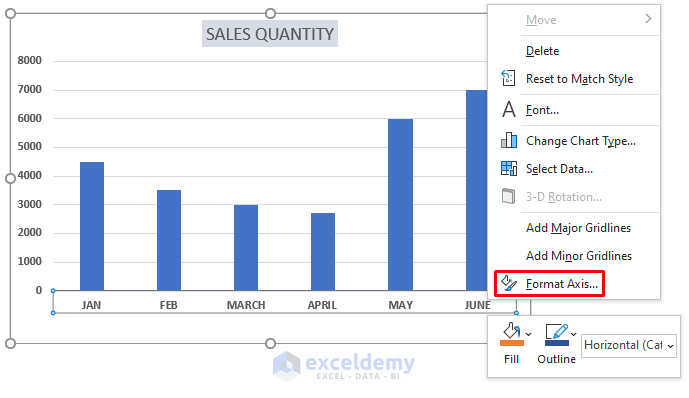
- Select the text on the X-axis.
- Right-click and choose Format Axis.
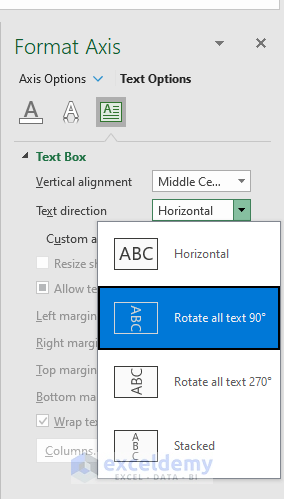
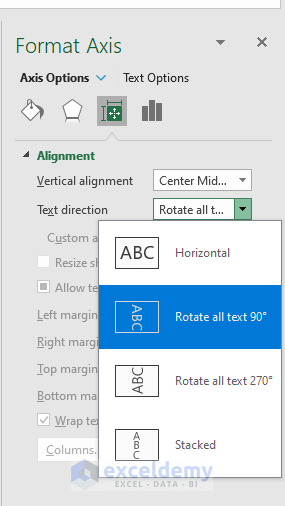
- In the Format Axis dialog box, select Text options.
- Click on the Text Box option.
- Choose a text direction (e.g., Rotate all text 900) to rotate the X-axis text clockwise.
The desired output can be seen in the image below:
Rotate by Selecting a Custom Angle
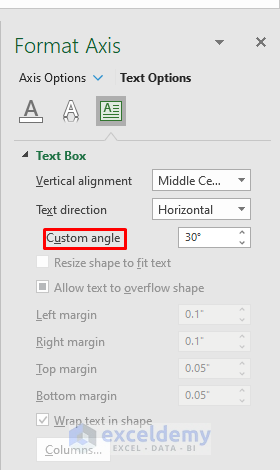
- Right-click the X-axis text and select Format Axis.
- Navigate to Format Axis, select Text Options and click on Text Box.
- Enter a custom angle (e.g., 300) to achieve the desired rotation.
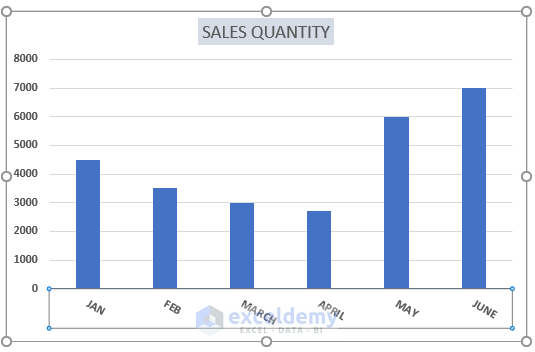
Result:
The desired output can be seen in the image below:
2.2 Selecting Axis Options
- Select the X-axis text and right-click to access Format Axis.
- In the Format Axis dialog, choose Axis options.
- Under Alignment, select a text direction (e.g., Rotate all text 900) for clockwise rotation.
You will get the following output.
Rotate by Selecting a Custom Angle
- Right-click the X-axis text and select Format Axis.
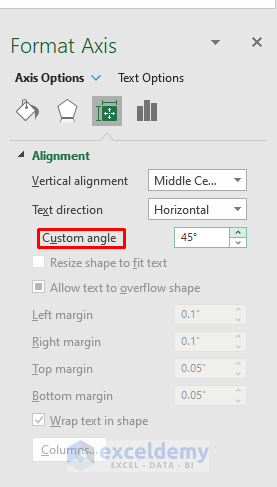
- Go to Format Axis, select Axis Options and click on Text Box.
- Enter a custom angle (e.g., 450) to achieve the desired rotation.
Result:
The desired output can be seen in the image below:
Read More: How to Change Text Direction in Excel Chart
Download Practice Workbook
You can download the practice workbook from here:
Related Articles
- How to Show Coordinates in Excel Graph
- How to Make Excel Graphs Look Professional
- How to Change Chart Color Based on Value in Excel
- [Solved:] Vary Colors by Point Is Not Available in Excel
<< Go Back to Formatting Chart in Excel | Excel Charts | Learn Excel
Get FREE Advanced Excel Exercises with Solutions!
