There are a couple of ways to remove year from date in Excel. Functions such as TEXT offer a format to enter. MONTH and DAY functions extract month and day from a date. Date format, Custom Date format, and Text to Column features also remove the year from the date in Excel. In this article, we use those above-mentioned functions and features to remove the year from the date in Excel.
Let’s say we have sales data Date of products in a year. Now, we want the data containing only month and day removing the year.
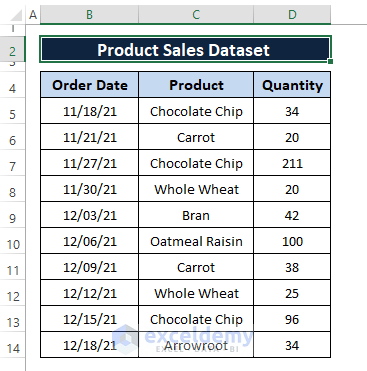
How to Remove Year from Date in Excel: 5 Ways
Method 1: Using TEXT Function to Remove Year from a Date
The TEXT function converts numbers to text strings in a given format. As we want to remove the year portion from a date, we can use the TEXT function to display dates without the year. The syntax of the TEXT function is:
Text(value, format_text)The arguments are:
value: numeric value is to be converted into text.
Format_text: desired format to display the text.
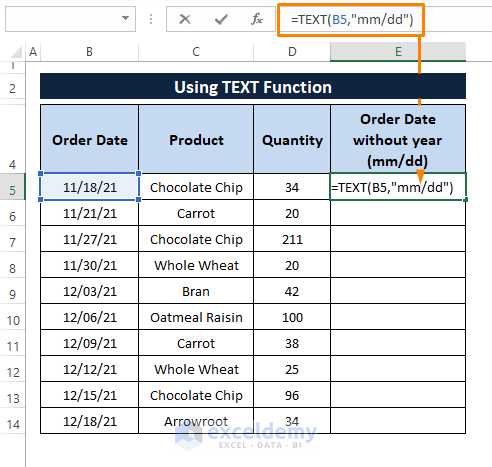
Step 1: Paste the following formula in any adjacent cell (i.e., E5).
=TEXT(B5,"mm/dd")In the formula,
B5: the value.
“mm/dd”: the format_text.
Step 2: Press ENTER and drag the Fill Handle to display just the month and day values in other cells.

From the above screenshot, we can see only the month and day values are in the new column. You can input any format in the format_text argument to display the dates.
Read More: How to Convert Date to Text YYYYMMDD
Method 2: Using MONTH and DAY Function to Remove Year from Date in Excel
Excel’s MONTH and DAY functions extract the month and day values respectively from a given date. Since we have dates, we can fetch the month and day numbers from the dates using the MONTH and DAY functions. After that join the month and day values with the CONCATENATE function or ampersand (&). The syntax of the MONTH and DAY functions are:
MONTH(serial_number)DAY(date)The arguments in the syntaxes are,
serial_number: any valid date.
date: any valid date.
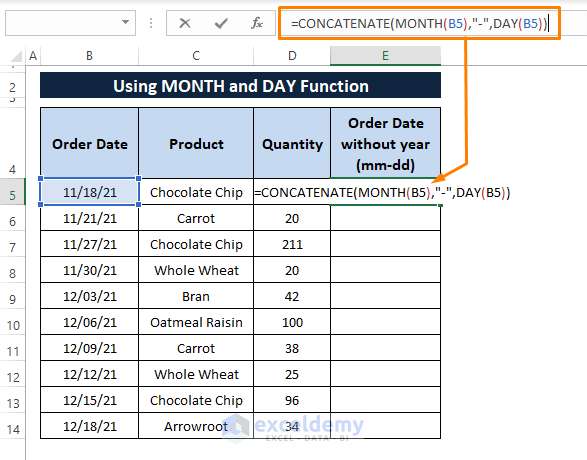
Step 1: Type the below formula in any blank cell (i.e., E5).
=CONCATENATE(MONTH(B5),"-",DAY(B5))The formula first fetches the month and day value from a valid date (i.e., B5). Then joins the month and day values with a delimiter (i.e., –).
Step 2: Hit ENTER, then drag the Fill Handle to show the dates without the year portion as shown in the picture below.
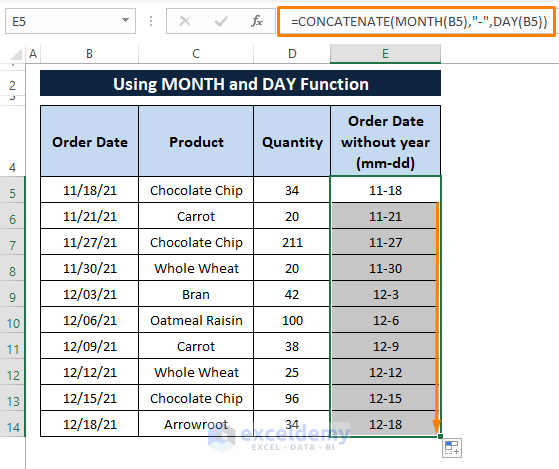
You can use any delimiter to separate the month and day values.
Read More: How to Use Formula to Change Date Format in Excel
Method 3: Using Date Format to Remove Year from Date in Excel
Excel offers multiple Date formats in the Format Cells dialog box. We can select multiple date Types as our data demand. To remove the year portion from a date, we can use one of the offered date-type formats.
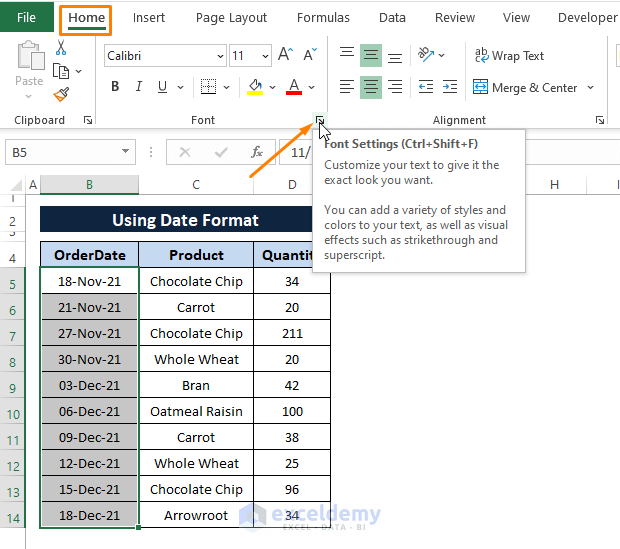
Step 1: Select a range of dates from where you want to remove the year. Then, go to the Home tab > Click on the Font Setting icon (shown in the below image). It brings the Format Cells dialog box.
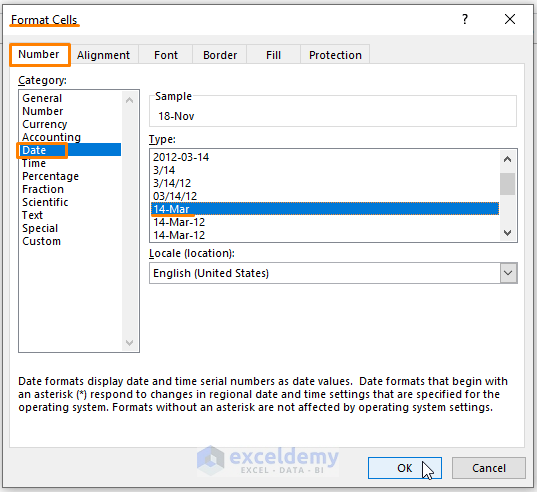
Step 2: In the Number section of the Format Cells dialog box,
Select Date as Category.
Select date Type as day-month or month-day (i.e., 14-Mar or 3/14).
Click OK.
There are alternative ways to bring out the Format Cells dialog box such as a) Keyboard Shortcuts (CTRL+1), and b) Number Section.
a) Keyboard Shortcuts (CTRL+1)
➤ After selecting the range press CTRL+1 altogether to bring out the Format Cells dialog box.
b) Number Section
➤ After selecting the range, go to the Home tab > Number section > Select More Number Formats to bring the Format Cells dialog box.
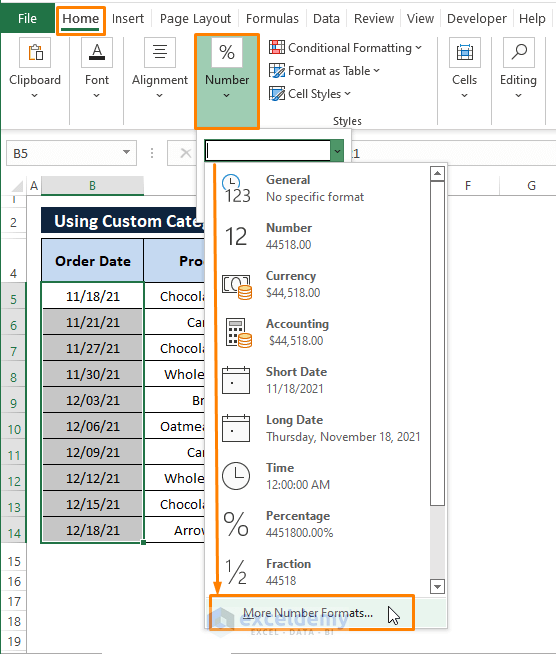
➤ The Format Cells dialog box appears.
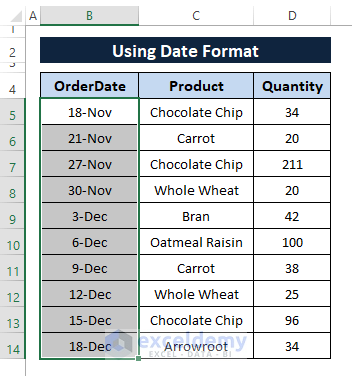
In the Format Cells dialog box, clicking OK leads to removing all the year portions from dates in the cells as depicted in the following picture.
Read More: How to Convert Date to Text Month in Excel
Method 4: Using Custom Category in Format Cells
From the earlier method (i.e., Method 3), we know Excel offers multiple date types and we use one of them to remove year from dates. However, there is another option in the Category section named Custom in the Format Cell dialog box.
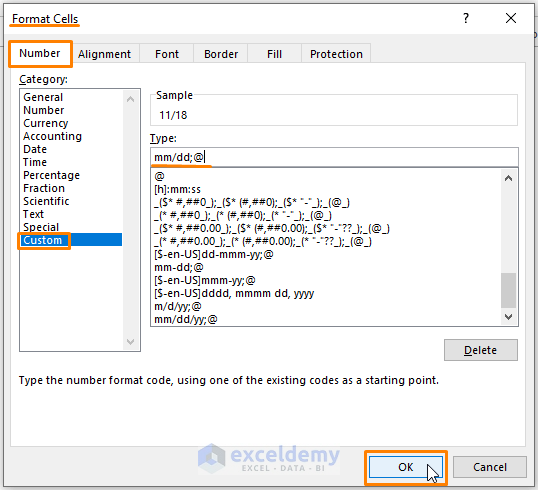
Step 1: Follow any of the ways described in Step 2 of Method 3 to make the Format Cells dialog box appear.
Type the colored text under the Type section of the Format Cells dialog box to display the dates in the format without the year- mm/dd;@
You can use any month-day format to display the outcomes.
Click OK.
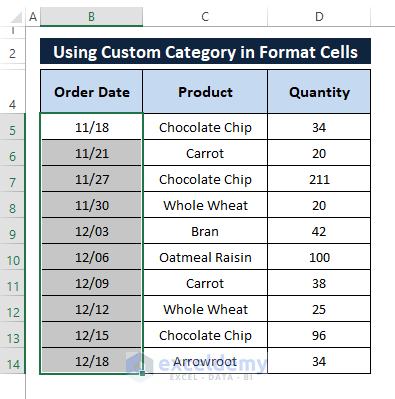
Execution of Step 1 returns the resultant values similar to the image below.
Read More: How to Convert Date to Julian Date in Excel
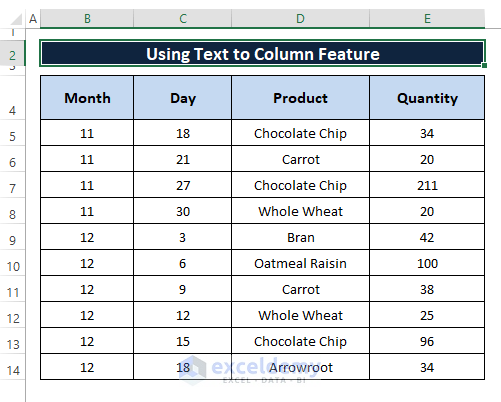
Method 5: Using Text to Column Feature to Separate Month and Day Portions
Excel’s Text to Column feature separates portions of entries by delimiters. We have dates separated by the slash (/) delimiter in the dataset. We can command Excel using the Text to Column feature to separate portions of dates by a slash (/) and display them in separate columns.
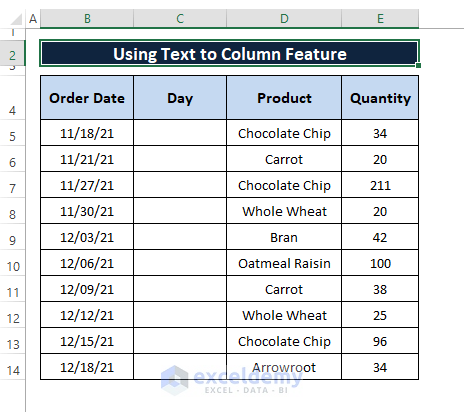
Step 1: Before commencing to apply the Text to Column feature, Insert a column named Day beside the Order Date column.
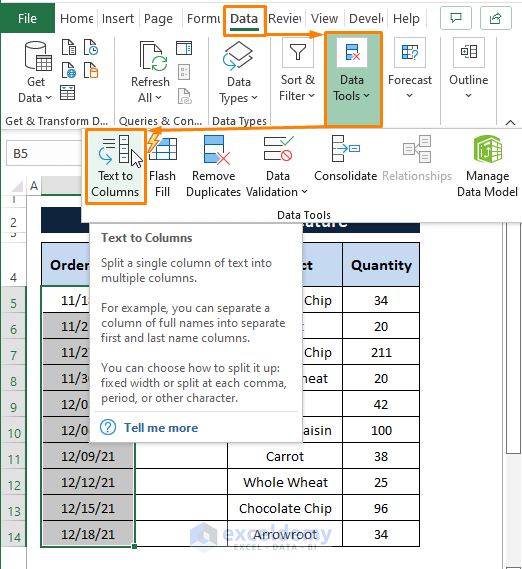
Step 2: Pick the range > Go to the Data tab > Select Text to Column (from the Data Tools section).
Step 3: The Convert Text to Columns Wizards- Step 1 of 3 window appears. In the window,
Mark Delimiter as Choose the file type that best describes your data option.
Click Next.

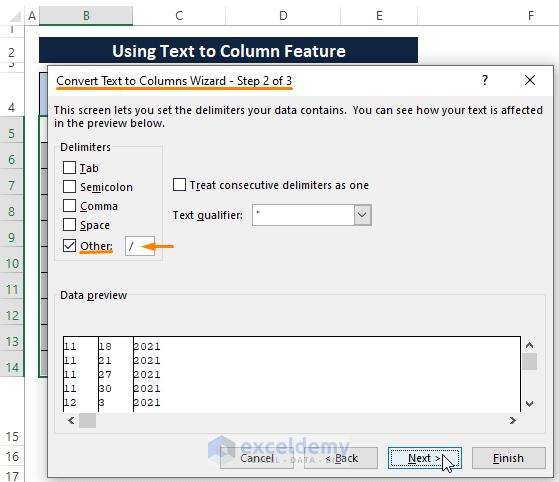
Step 4: Next the Convert Text to Columns Wizards- Step 2 of 3 appears. In the window,
Type Slash as Other Delimiters.
Click on Next.
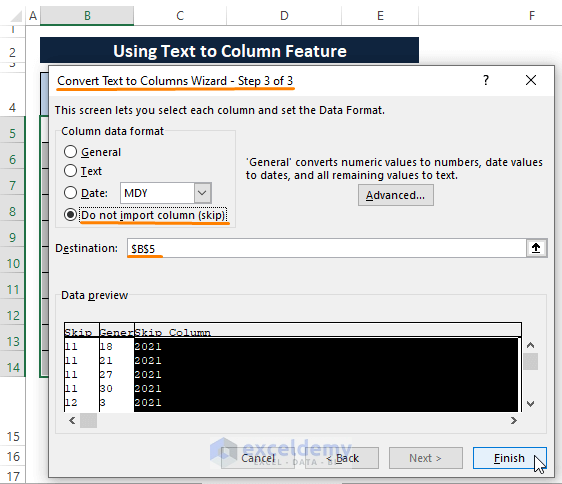
Step 5: At the end, Convert Text to Columns Wizards- Step 3 of 3 window appears. Inside the window,
Mark the Do not import column (skip) option.
Select the Year portion as depicted in the following screenshot.
Click on Finish.
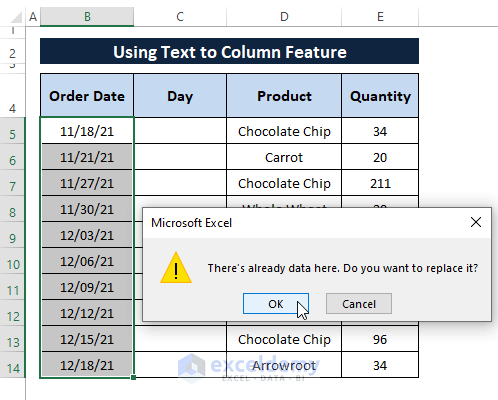
Step 6: A warning appears saying whether you want to replace the data or not.
Click OK.
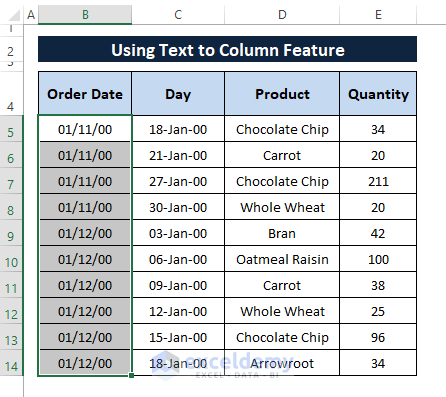
As columns (i.e., Order Date and Day) are in date format, the outcomes of the executed steps will be the same as shown in the picture below.
Step 7: Rename the column Order Date as Month > Choose the General as number Category for both Month and Day columns in the Format Cells window.
Click OK.
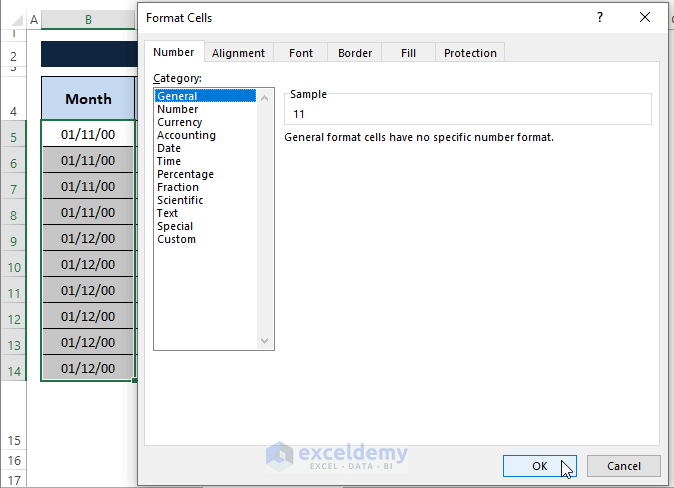
Selecting the General category in the Number section converts the date values to numbers.
Step 8: Clicking OK in Step 7 transforms all the values into general format. After getting the month and day values, Paste the following formula to construct a date with the year in any cell (i.e., D5).
=C5&"-"&D5The ampersand joins the month and day values with a delimiter.

Step 9: Press ENTER and drag the Fill Handle to display dates containing only month and day values as shown in the screenshot below.
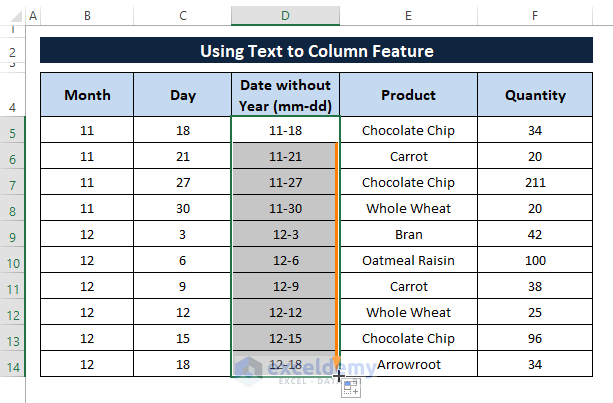
You can make the outcomes look like the following image.

To ease your understanding, we’ve brought back the original date column, hope you can relate to this better now.
Download Excel Workbook
Conclusion
The TEXT function displays a given value in formatted text and combined MONTH and DAY functions can also fetch month and day values from a date. In this article, we also demonstrated multiple features to remove the year from the date in Excel. Though the Text to Column feature needs multiple steps to achieve the goal, it depends on your demand. Hope you find these above-mentioned methods to excel in their purpose. Comment if you have further inquiries or have something to add.
Related Articles
- How to Convert 7-Digit Julian Date to Calendar Date in Excel
- Stop Excel from Converting Date to Number in Formula
<< Go Back to Change Date Format | Date Format | Number Format | Learn Excel
Get FREE Advanced Excel Exercises with Solutions!

Hello,
I found on the net that you’re an excel expert.
I’m looking for a way to make a popup in excel to notify me of an upcoming birthday.
I have an excel workbook that I work with non stop and there are birthdates written in there.
Thank you
Klaudius
Thank you, KLAUDIUS, for your wonderful question.
Here is the solution to your question. Please take a look at the below steps.
I hope this may solve your issue.
Bishawajit, on behalf of ExcelDemy.