This is an overview:

Click here to enlarge this image.
Download Practice Workbook
The Date Format in Excel
Dates in Excel are stored as serial values, with each date represented by a consecutive number. The default date system in Excel for Windows is 1900, and for Mac, 1904.
Different Date Format Codes in Excel
| Day | Result | Month | Result | Year | Result |
| d | 4 | m | 2 | y | 23 |
| dd | 04 | mm | 02 | yy | 23 |
| ddd | Tue | mmm | Feb | yyy | 2023 |
| dddd | Tuesday | mmmm | February | yyyy | 2023 |
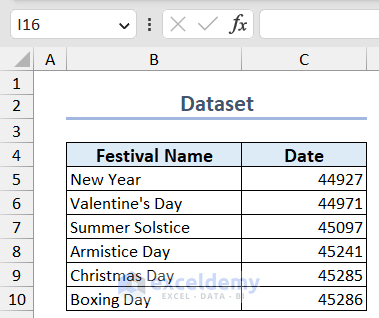
How to Change Date Format in Excel
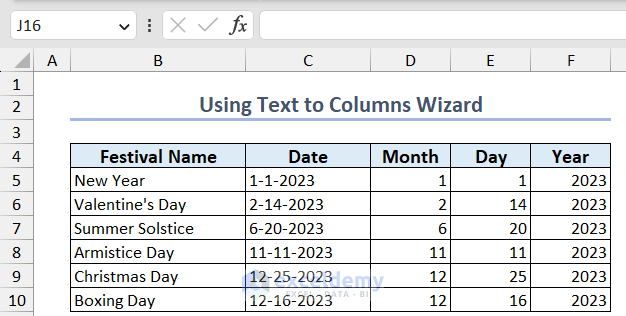
The dataset contains Festivities and Dates. The Date column is in General format.
Change it to Date format:
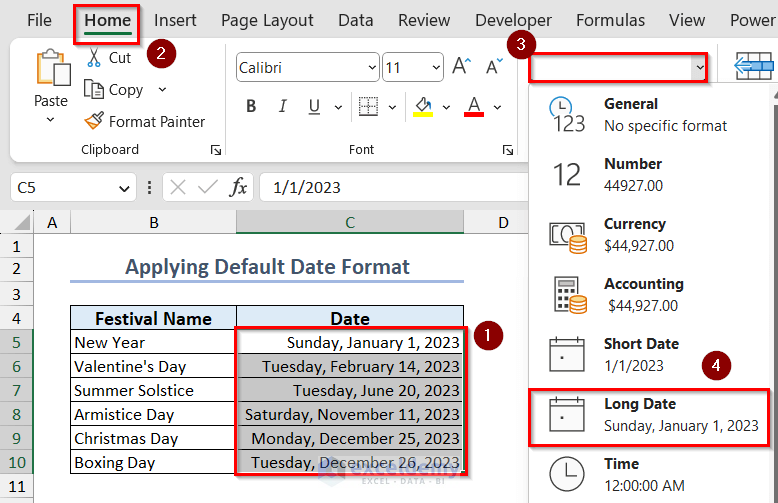
1. Apply the Default Date Format in Excel
- Go to the Home tab.
- Click Number >> select one of the two default date formats: Short Date or Long Date.
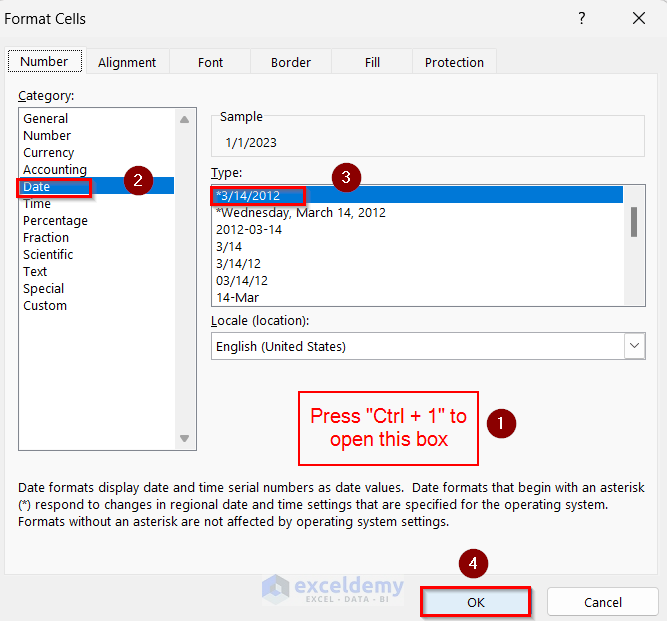
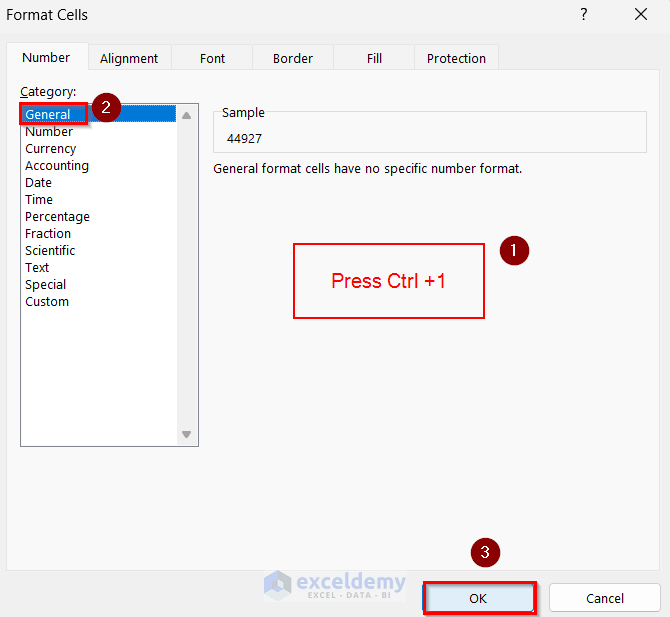
2. Use the Format Cells Box to Change the Date Format
- Select the data range.
- Press Ctrl + 1 to go to Format Cells.
- In Date category >> select a Type >> click OK.
Read More: How to Change Default Date Format from US to UK in Excel
3. Convert Text Values Representing Dates to Dates
- Use the following formula:
=VALUE(C5)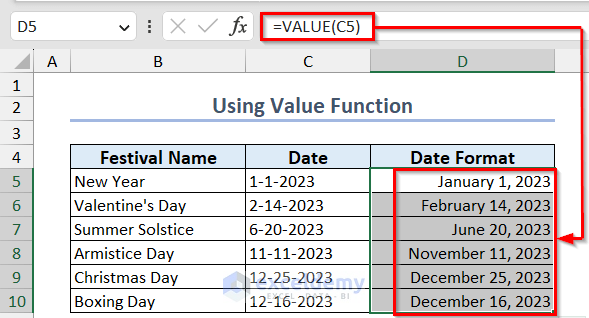
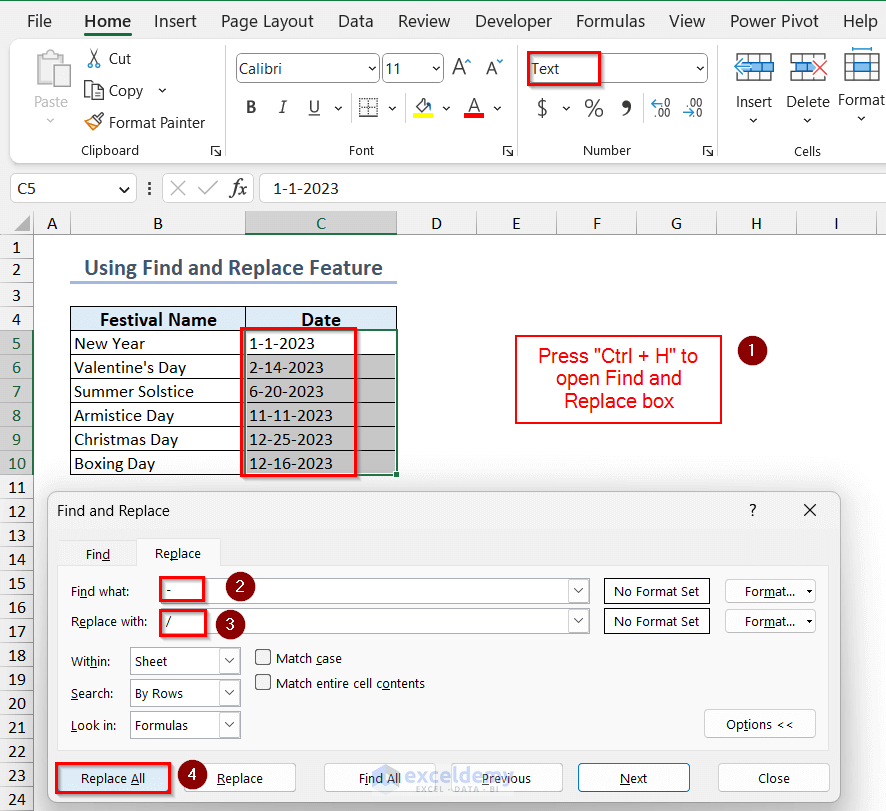
4. Use the Find and Replace Feature to Change the Date Format
- Select the data range >> press Ctrl + H.
- Enter “-” in Find what and “/” in Replace with >> click Replace All.
Click to enlarge the image
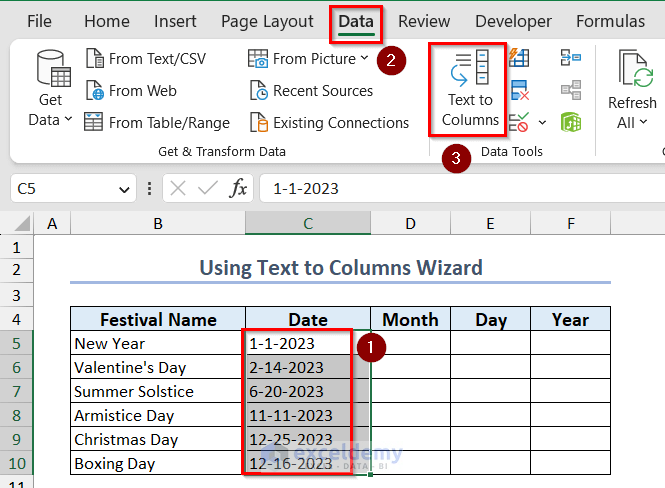
5. Change the Date Format Using the Text to Columns Wizard in Excel
- Select the data range >> go to the Data tab >> click Text to Columns.
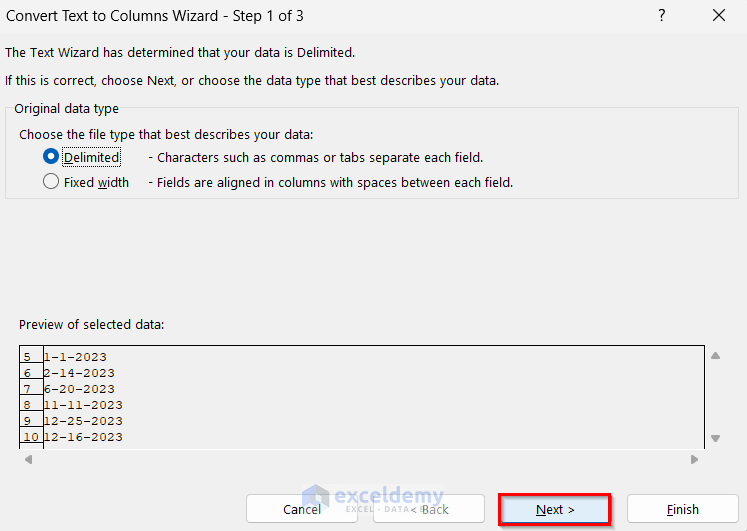
- Click Next.
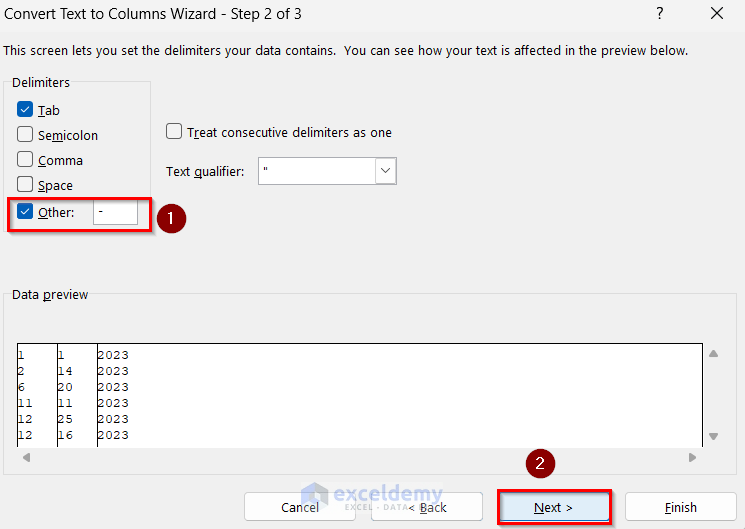
- Select the Delimiters or check Other and enter a delimiter >> click Next.
- Select Date in Column data format >> select a format (here, MDY) >>enter a cell reference in Destination >> click Finish.
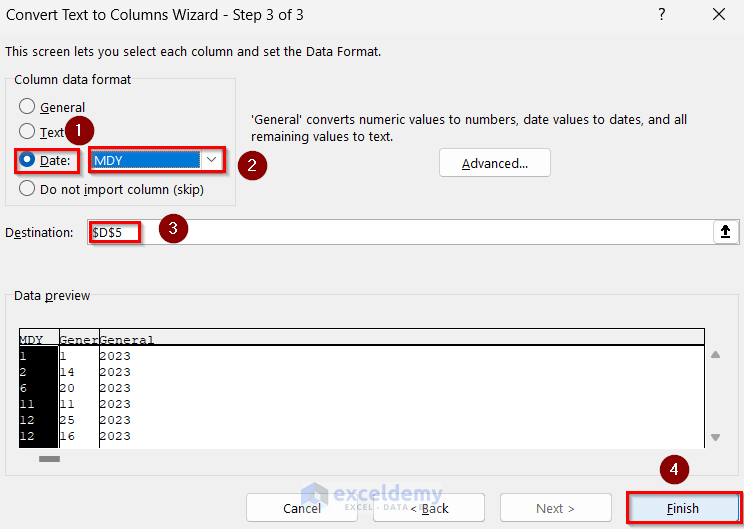
You will see the Date column separated into the Month, Day and Year columns.
Read More: How to Change Date Alignment in Excel
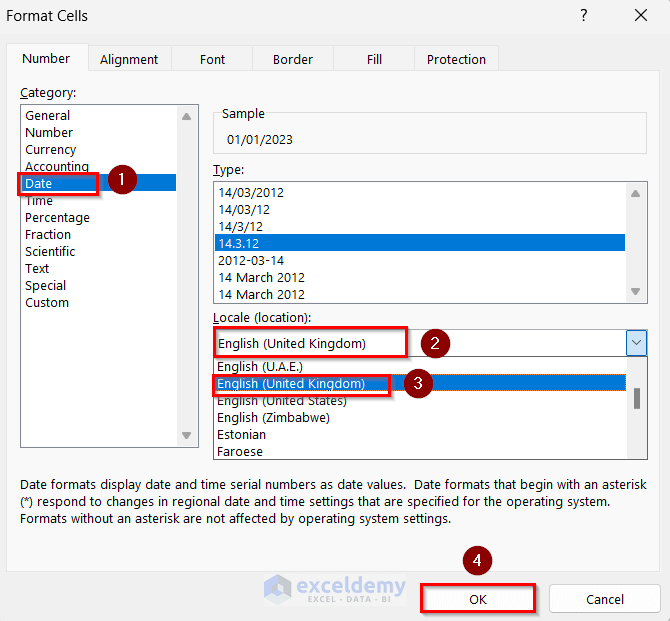
How to Convert the Date Format to Another Locale?
- Open Format Cells by pressing Ctrl + 1.
- Go to Date >> select a Location.
- Click OK.
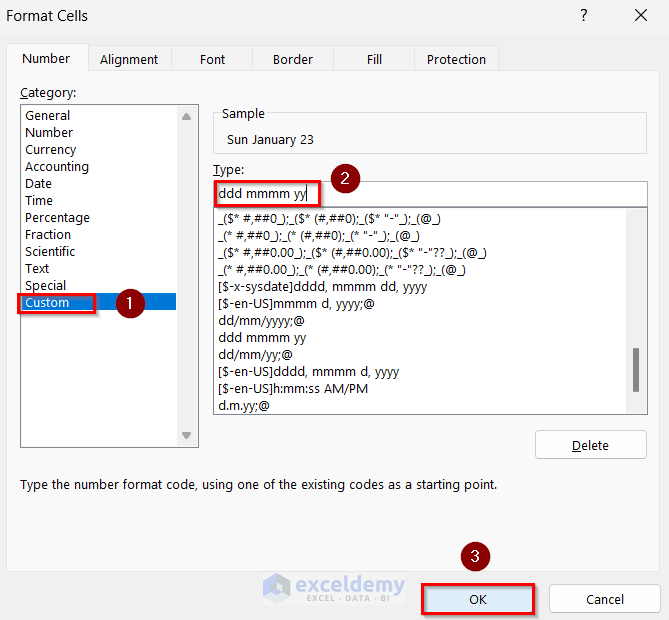
How to Create a Custom Date Format in Excel?
- Open Format Cells by pressing Ctrl + 1 >> go to Custom >> enter a date code in Type (here, ddd mmmm yy) >> click OK.
How to Convert a Date to a Number in Excel?
1. Use the Format Cells Box
- Select the data range >> press Ctrl + 1 to open Format Cells >> select General in Category >> click OK.
2. Convert a Date to a Number Using the Excel DATEVALUE Function
- Use the following formula.
=DATEVALUE("1/1/2023")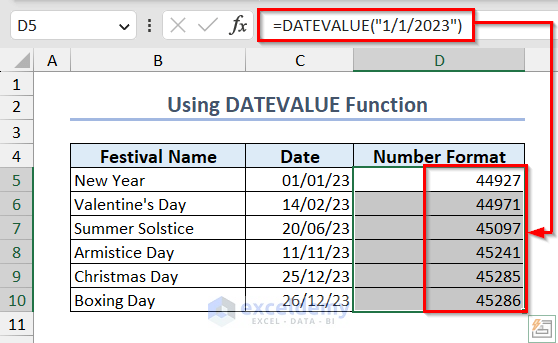
The Excel Date Format Is Not Working
Possible reasons:
- The Cell is not wide enough: you will see Hash marks (####) instead of the value. To resize and autofit the cell, double-click the right border of the cell.
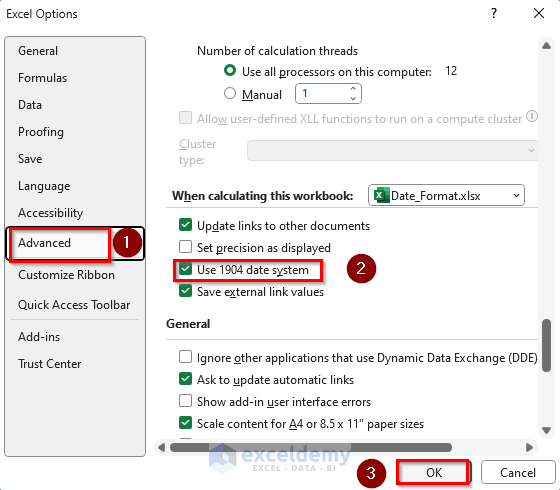
- Negative values are formatted as date: you will see Hash marks (####):
Switch to the 1904 date system:
- Go to File >> click Options >> go to the Advanced tab >> check Use 1904 date system >> click OK.
Frequently Asked Questions
1. How to change the date format permanently in Excel?
Change the date format in the Control Panel:
Open the Control Panel in the Start menu >> click Clock and Region >> click Region >> click Additional Settings >> go to Time in Customize Format >> change the format >> click OK.
2. How to change a date to a text string in Excel?
Use the formula below with the TEXT function:
=TEXT(date,"yy-mm-dd")Excel Date Format: Knowledge Hub
- How to Convert a Date to dd/mm/yyyy hh:mm:ss Format in Excel
- Fix Excel Date Not Formatting Correctly
<< Go Back to Number Format | Learn Excel
Get FREE Advanced Excel Exercises with Solutions!
