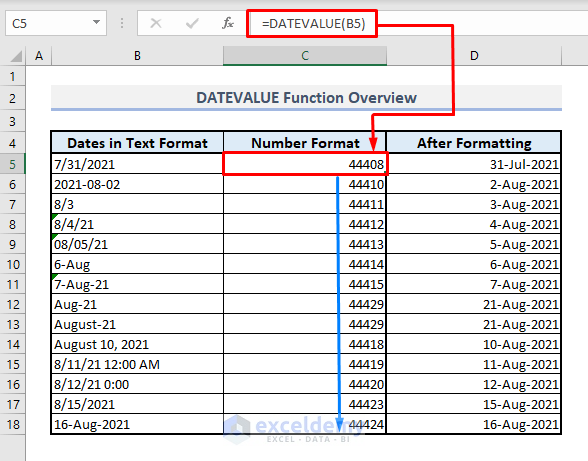
The screenshot below provides an overview of this article demonstrating the application of the DATEVALUE function in Excel.
Introduction to DATEVALUE Function
- Function Objective
The DATEVALUE function converts a date in text format into a numerical representation of the date using Microsoft Excel’s date-time code.
- Syntax
=DATEVALUE(date_text)
- Argument Explanation
| Argument | Compulsory/Optional | Explanation |
|---|---|---|
| date_text | Compulsory | Representing the date in text format. |
- Return Parameter
The function returns a date-time code, which needs further formatting to convert it into a usable date value.
Method 1 – Converting Text Dates to Number Format
In Column B, we have several dates represented as text.
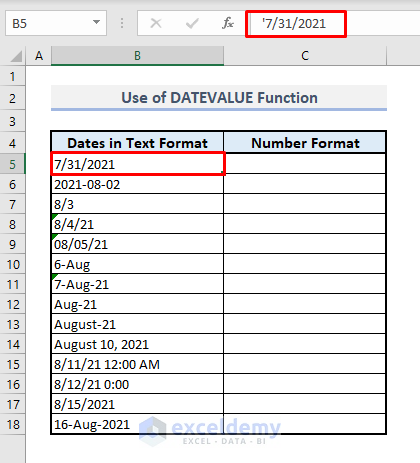
- Select the output Cell C5.
- Enter the formula:
=DATEVALUE(B5)- Press Enter.
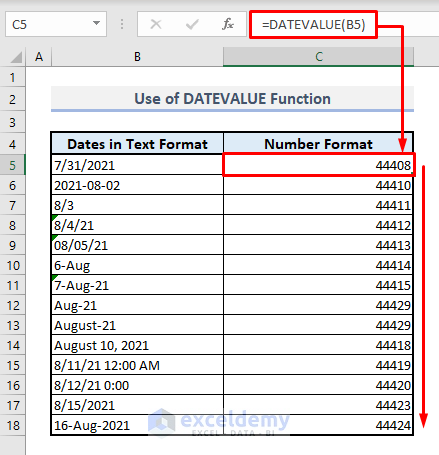
- Autofill the entire column using the Fill Handle.
- Column C will now display numbers representing the date-time codes.
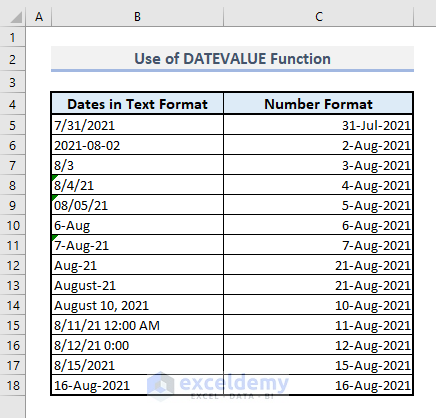
- To customize the number format:
- Select all the numbers in Column C.
- Under the Home ribbon, click the Format Cell dialogue box icon.
- From the Date category, choose your preferred date format.
- Press OK to apply the format.

You’ll see all the dates in the correct and selected format in Column C.
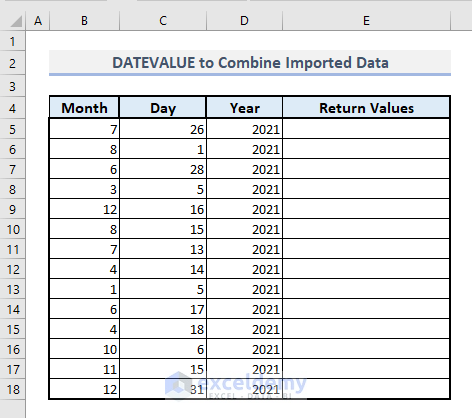
Method 2 – Combining Day, Month, and Year Numbers
When importing date data from another source, you may encounter split texts for days, months, and years.
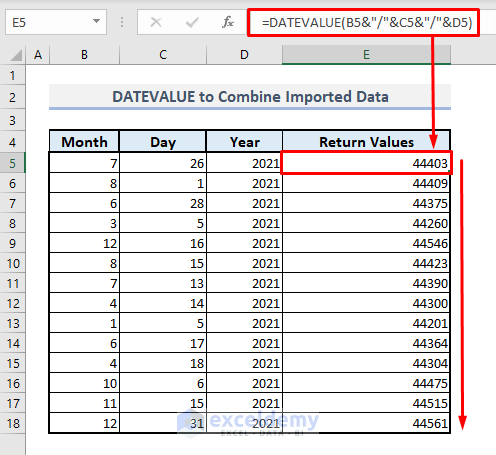
- In Cell E5, enter the following formula:
=DATEVALUE(B5&"/"&C5&"/"&D5)This uses the Ampersand (&) to concatenate data from Columns B, C, and D, with slashes (/) as separators.
- Press Enter and autofill the entire column with the Fill Handle.
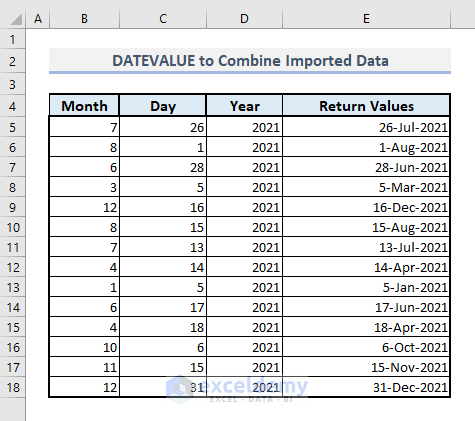
- Format the date-time code numbers in Column E as described in the Method 1.
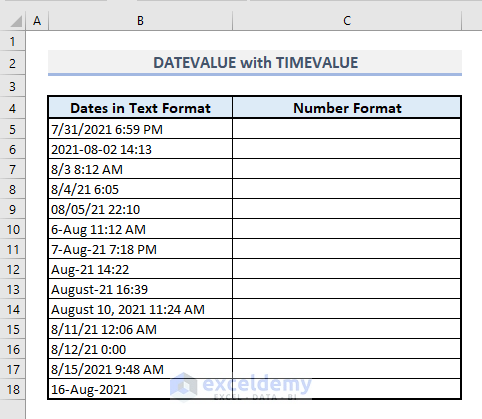
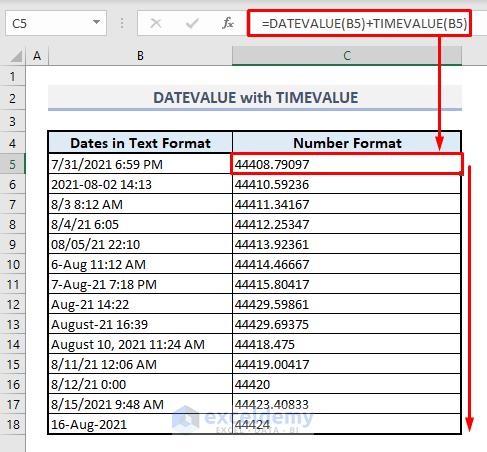
Method 3 – Show Both Dates and Times
Suppose Column B contains dates with times (in text format).
- In Cell C5, enter the formula:
=DATEVALUE(B5)+TIMEVALUE(B5)This combines the DATEVALUE function with the TIMEVALUE function to extract both date and time.
- Press Enter and fill down the rest of the cells with the Fill Handle option.
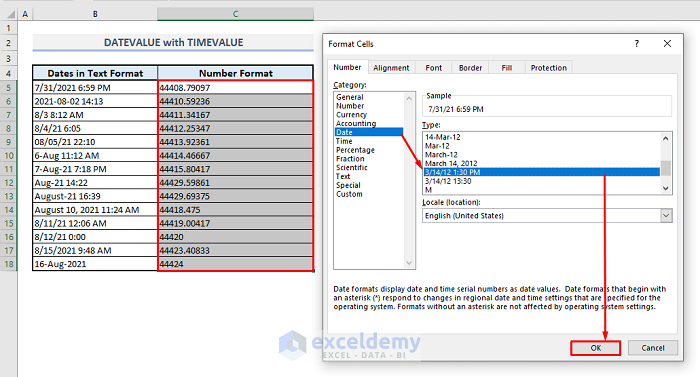
- Open the Format Cells dialog box again from the Number group of commands.
- Select a suitable format from the Date category that displays both date and time.
- Press OK to apply the format.
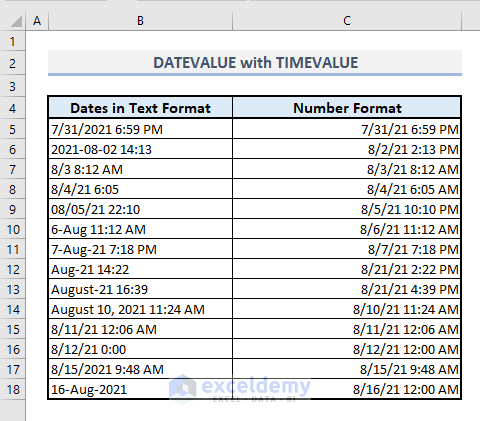
As shown in the screenshot below, Column C will now display dates and times in the proper format.
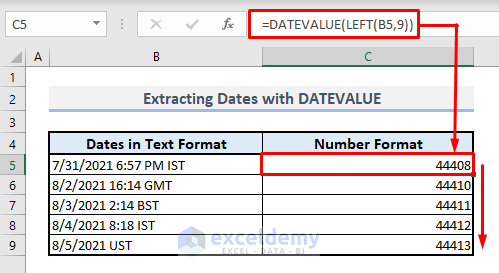
Method 4 – Extracting a Date from the Beginning of a Text String with DATEVALUE and LEFT Functions
When a date appears at the beginning of a cell, alongside other data, the DATEVALUE function alone cannot extract the date-time code. Instead, it results in a #VALUE! error message.
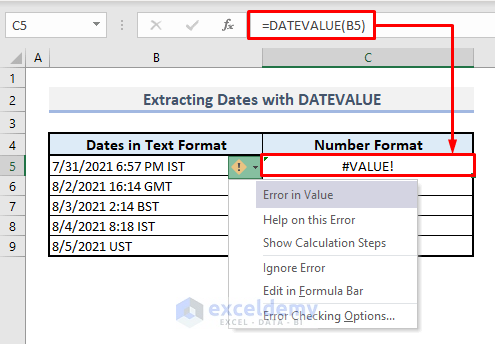
- In Cell C5, enter the following formula:
=DATEVALUE(LEFT(B5,9))The LEFT function extracts the first 9 characters from the text string (which corresponds to the date format).
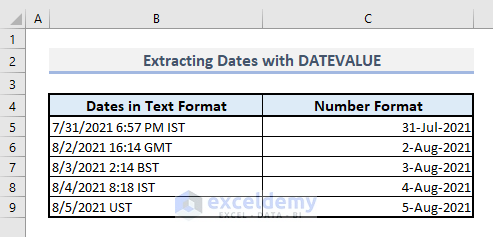
- Press Enter and autofill the entire column with the Fill Handle. Column C will display the date-time codes as return values.
- Convert the number format to the desired date format for Column C to obtain the proper date values.
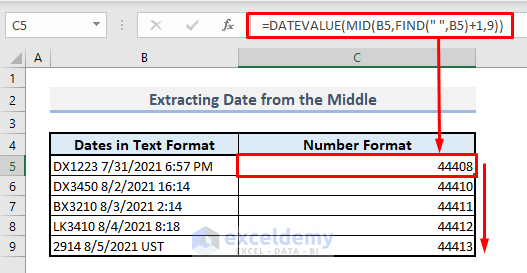
Method 5 – Pulling Out a Date from the Middle of a Text String with DATEVALUE, MID, and FIND Functions
- In Cell C5, enter the following formula:
=DATEVALUE(MID(B5,FIND(" ",B5)+1,9))-
- The FIND function locates the position of the first space character in the text string.
- The MID function extracts 9 characters starting from the position found by the FIND function.
- After pressing Enter, autofill the entire column with the Fill Handle. Column C will now contain the date-time codes.
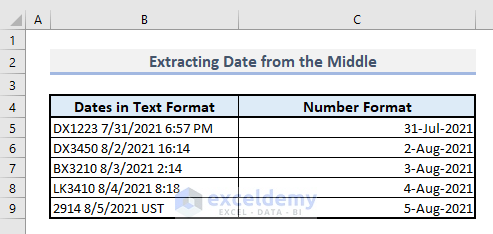
- Modify the number format for Column C to display the expected results in the exact date format.
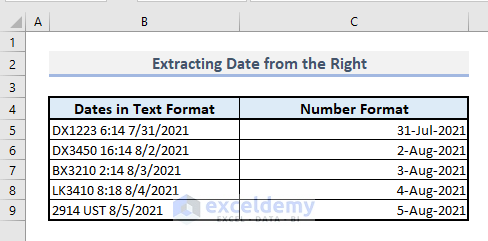
Method 6 – Extracting the Date from the Right of a Text String with DATEVALUE and RIGHT Functions
- In Cell C5, enter the following formula:
=DATEVALUE(RIGHT(B5,9))The RIGHT function extracts the last 9 characters from the text string (representing the date format).
- Press Enter and autofill the remaining cells in Column C with the Fill Handle.
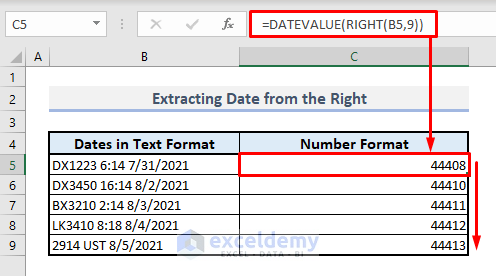
- Convert the date-time codes into the desired date format to obtain the desired results.
Things to Keep in Mind
- The DATEVALUE function returns only the date portion. If a time is present alongside the date in text format, the function will ignore the time value.
- The date code starts with 1 for January 1, 1900, and increases sequentially for subsequent dates. The DATEVALUE function assigns this date code when extracting dates from text format.
- If the DATEVALUE function cannot recognize a date from a text format, it will display a #VALUE! error.
Download the Practice Workbook
You can download the practice workbook from here:
<< Go Back to Excel Functions | Learn Excel
Get FREE Advanced Excel Exercises with Solutions!

This is not working for me. I am getting a #VALUE error
Hello Bill,
The #VALUE! error usually happens when Excel can’t recognize the date text as a valid date.
Please double-check that the date is stored as text (not already a date), the text format matches your system’s regional date settings, and there are no extra spaces in the cell.
You can also try using TRIM() or adjusting the date format (for example, MM/DD/YYYY vs DD/MM/YYYY). Let us know the exact date value you’re using, and we’ll be happy to help further.
Regards,
ExcelDemy