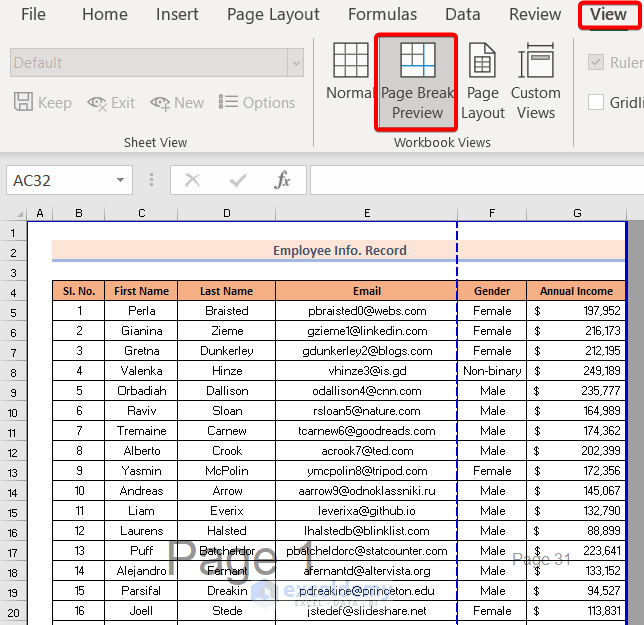
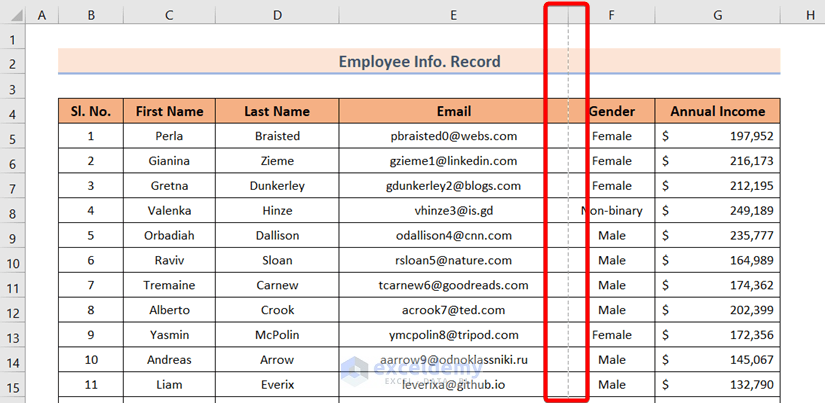
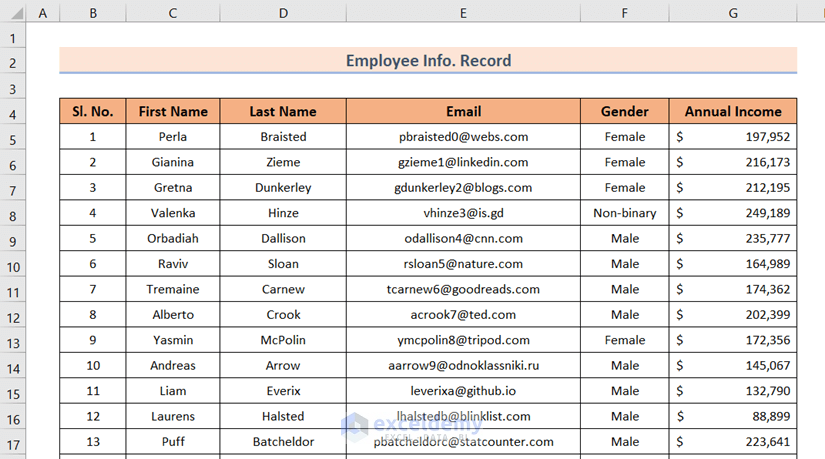
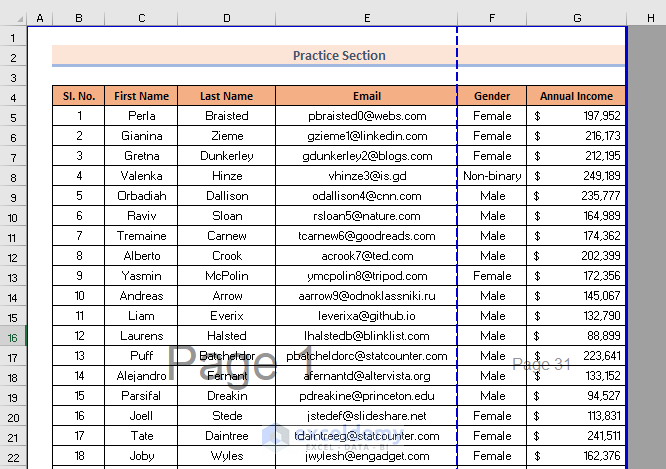
When you view a worksheet in Page Break Preview, Excel displays page breaks as dashed lines. By default, the page number appears at the center of each page.

Method 1 – Using the Ribbon to Remove the Page Number in from the Page Break Preview
- Go to the View tab.
The Page Break Preview mode is selected in Workbook Views.
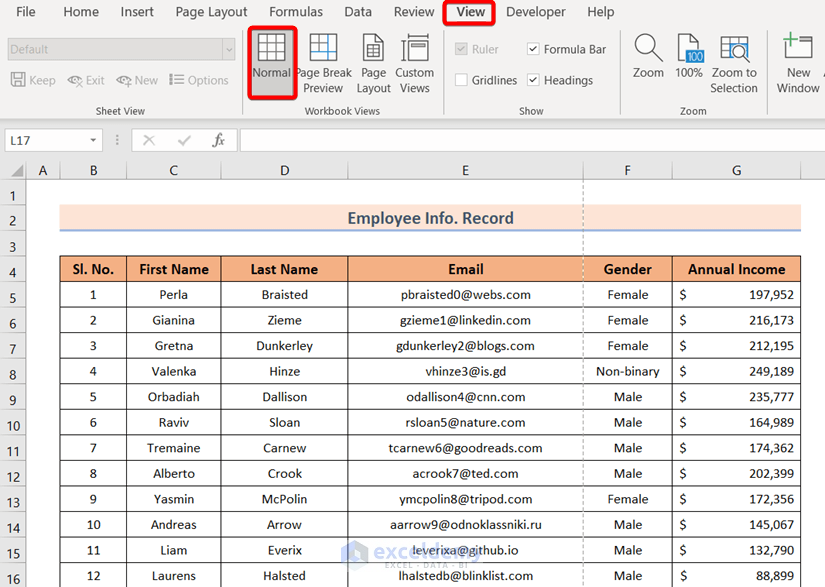
Switch to Normal mode to remove the page number.
- Go to the View tab.
- In Worksheet Views, select Normal.
The default Worksheet Views mode will be activated. The page number will no longer be displayed.
Read More: How to Insert Page Number in Excel Cell Not in Header
Method 2 – Using the Status Bar to Remove the Page Number from the Page Break Preview
If you select the View tab in Page Break Preview mode, your worksheet display the page number.
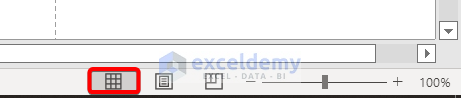
At the bottom-right corner of your Excel sheet the Page Break Preview button is selected.

To remove the page number, go to Normal mode.
- Click the Normal worksheet view button.
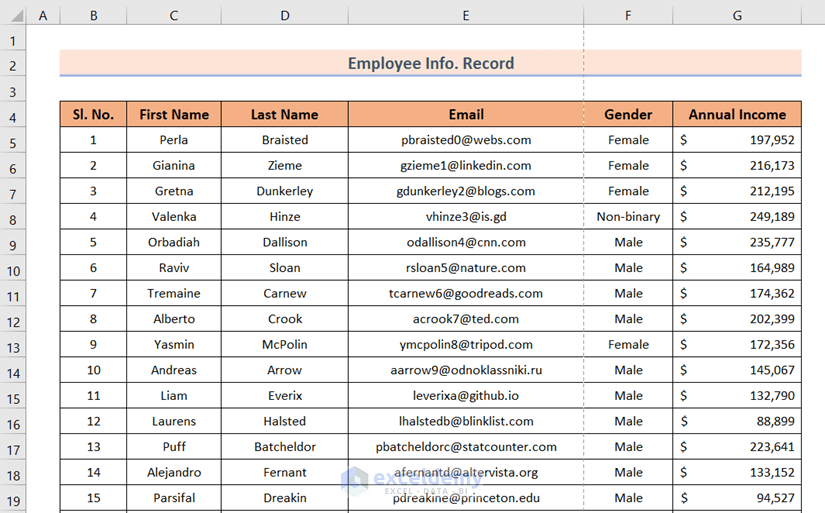
Your worksheet view will switch from Page Break Preview to Normal mode.
The page number will be removed.
Read More: How to Print Page Number in Excel
Remove Page Break Lines
After switching from the Page Break Preview to Normal mode, you will see Page Break Lines.
To remove the lines:
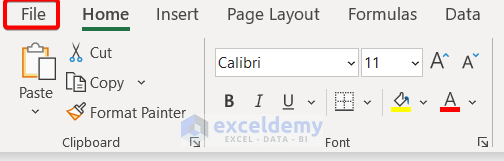
- Go to the File tab.
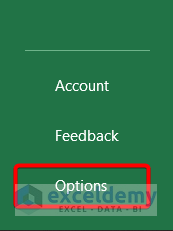
- Select Options.
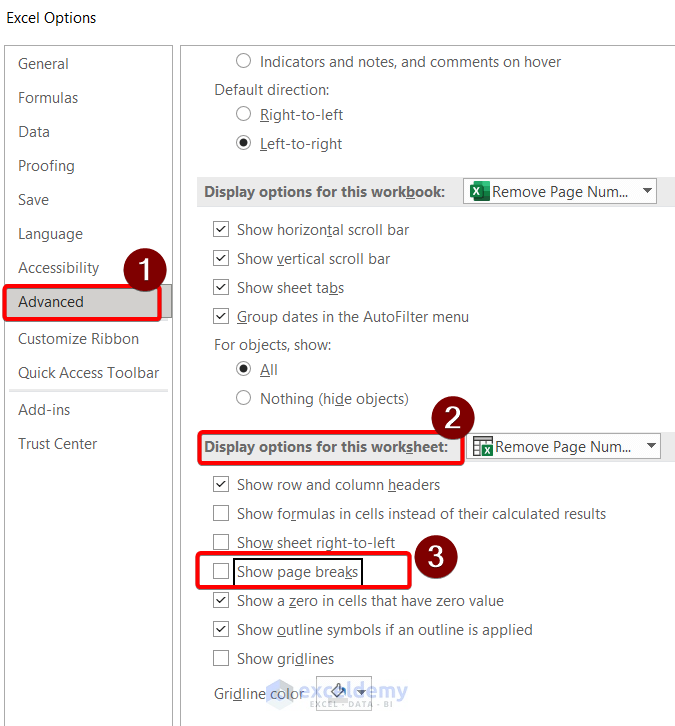
In the Excel Options dialog box:
- Select Advanced.
- Choose ‘Display options for this worksheet’.
- Uncheck ‘Show page breaks’.
- Press OK.
This is the output.
Practice Section
Practice here.
Download the Practice Workbook
Download the Excel file here.
Related Articles
- How to Start Page Numbers at Different Number in Excel
- How to Insert Sequential Page Numbers Across Worksheets
- How to Insert Page Number in Excel
- How to Insert Page Number Using VBA in Excel
- How to Use Formula for Page Number in Excel
<< Go Back to Page Number | Page Setup | Print in Excel | Learn Excel
Get FREE Advanced Excel Exercises with Solutions!

These don’t remove the Page # from teh Page Break View, they simply change to a different view.
Hello Seumas,
You’re absolutely right that switching views (like going from Page Break Preview to Normal view) doesn’t actually remove the page numbers—it just hides them by changing the view.
In Page Break Preview, those page numbers are part of Excel’s built-in display and can’t be permanently removed. The methods shown are intended as practical workarounds to avoid seeing them while working.
If your goal is to work without those page numbers visible, using Normal view is currently the most effective option.
Regards,
ExcelDemy