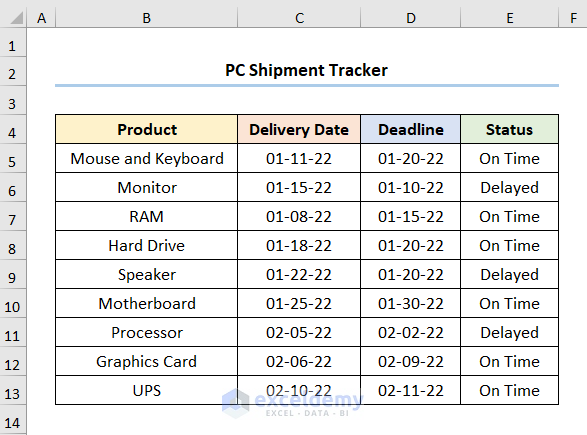
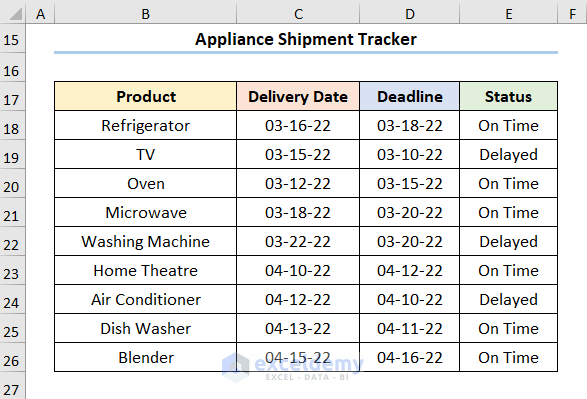
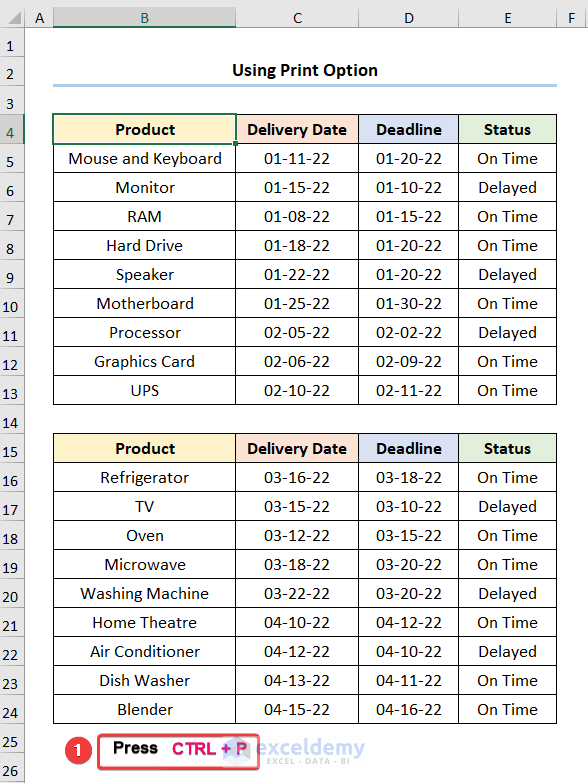
Consider the dataset shown in cells B4:E26 below. The dataset is divided into two parts – the PC Shipment Tracker (which shows the Product names, the Delivery Date, the Deadline, and the Delivery Status respectively), and the Appliance Shipment Tracker.
We’ll use this dataset to demonstrate various formulas for inserting page numbers in Excel in this article.
We have used the Microsoft Excel 365 version here, but you can use any other version according to your convenience.
Method 1 – Using the CONCATENATE Function
If you only have to insert page numbers in a couple of pages, this method using the CONCATENATE function may come in handy.
Steps:
- In cell C25 enter the formula below:
=CONCATENATE("Page ",1, " of ",1)
In this formula, the CONCATENATE function combines the numbers and texts to return the output Page 1 of 1.
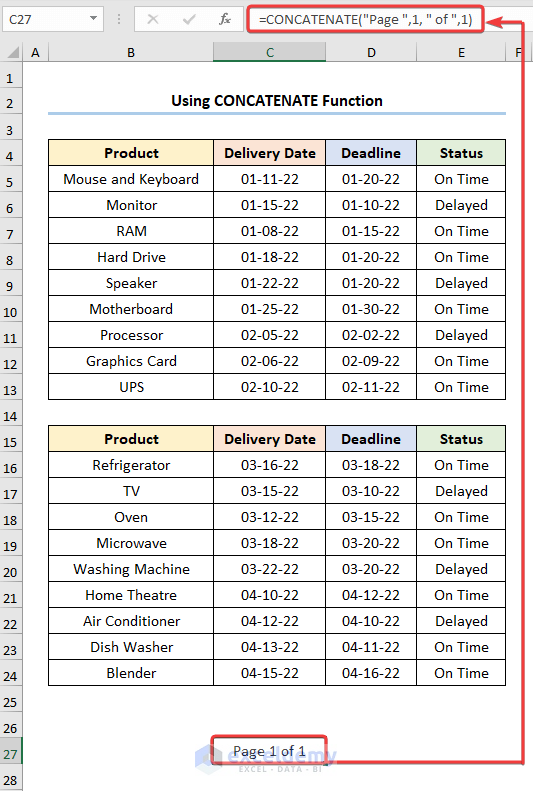
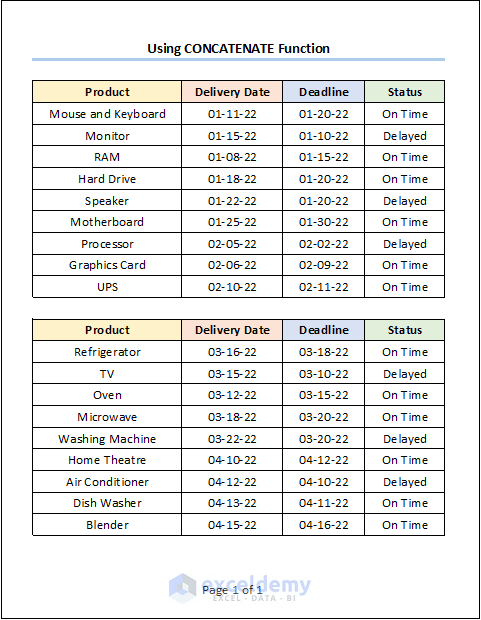
- Press CTRL + P to bring up the Print window.
The results should look like the image below.
Page numbers have been inserted at the bottom of your worksheet.
Method 2 – Using the Ampersand Operator
Steps:
- In cell C27 enter the formula below:
="Page "&" 1"&" of"&" 1"
In this formula, the Ampersand (&) operator combines the texts Page, 1, of, and 1 to return the output Page 1 of 1.
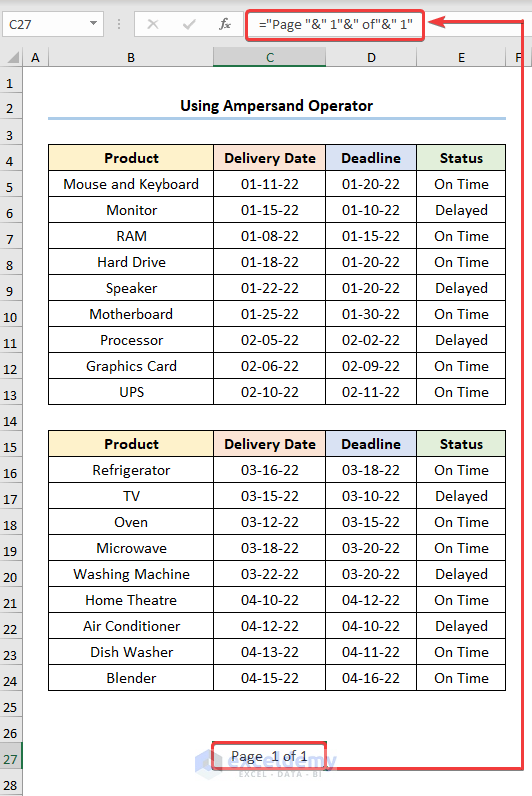
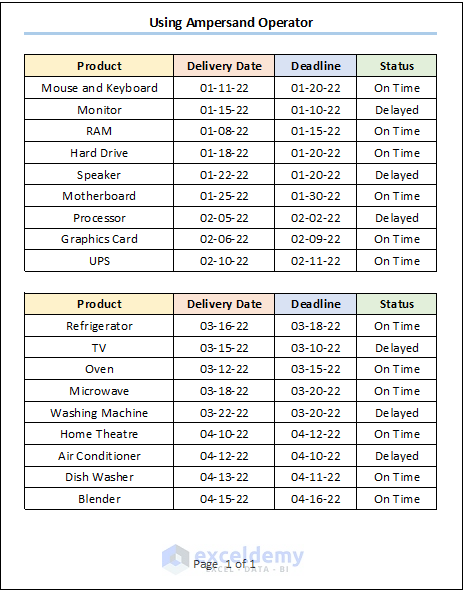
- Press CTRL + P to open the Print window.
The results should appear as in the screenshot below.
Method 3 – Using the TEXTJOIN Function
A similar approach involves using the TEXTJOIN function.
Steps:
- In cell C27 enter the following formula:
=TEXTJOIN(" ",TRUE, "Page", "1", "of","1")
Formula Breakdown:
- =TEXTJOIN(” “,TRUE, “Page”, “1”, “of”,”1″) → concatenates a range of text strings with a delimiter. Here, “ ” is the delimiter argument which is the Blank Space character. TRUE is the ignore_empty argument which ignores empty cells. “Page”, “1”, “of”, and “1” are the text1, text2, text3, and text4 arguments respectively.
- Output → Page 1 of 1
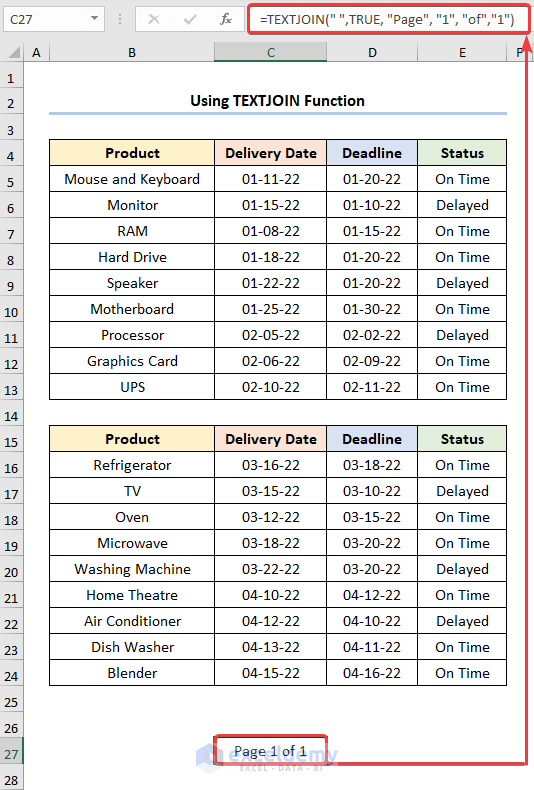
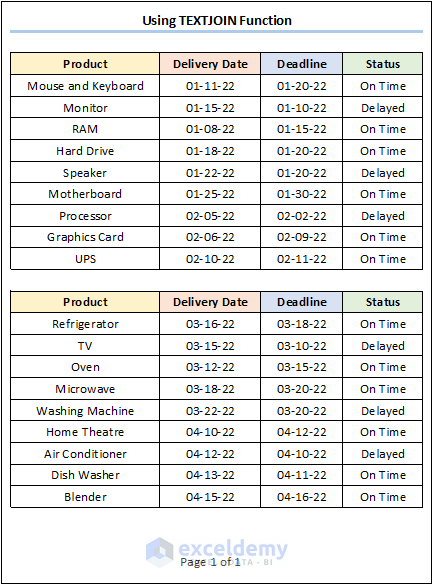
- Press CTRL + P to preview the data before printing.
This generates the results shown in the screenshot below.
Method 4 – Using the Insert Tab with a Formula
This is the conventional approach to inserting page numbers in Excel worksheets.
Case 1 – Inserting Page Number in the Header Section
Steps:
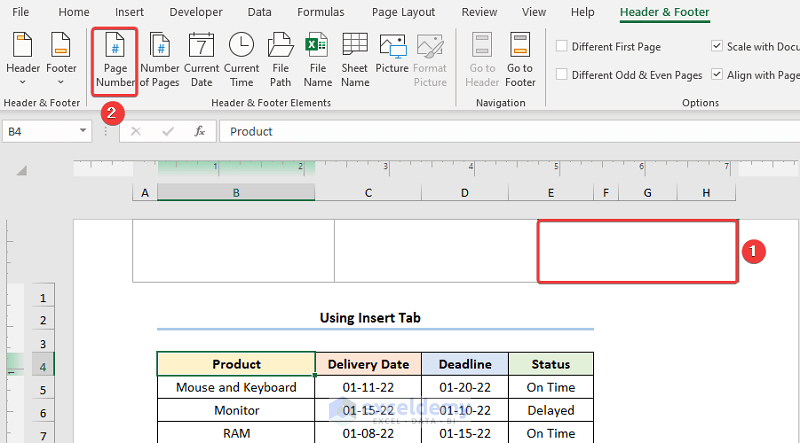
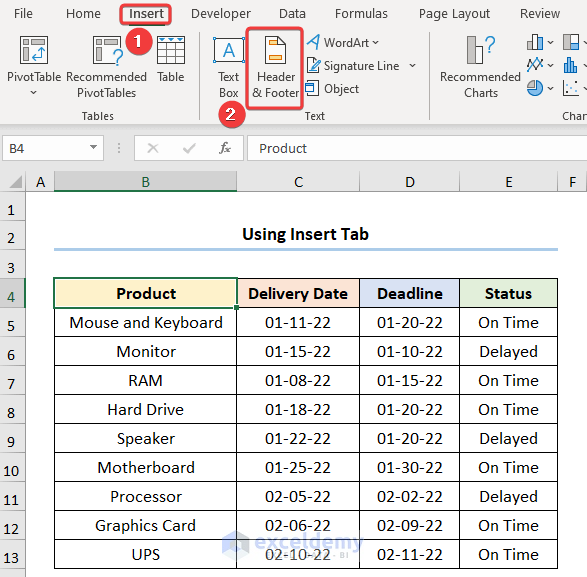
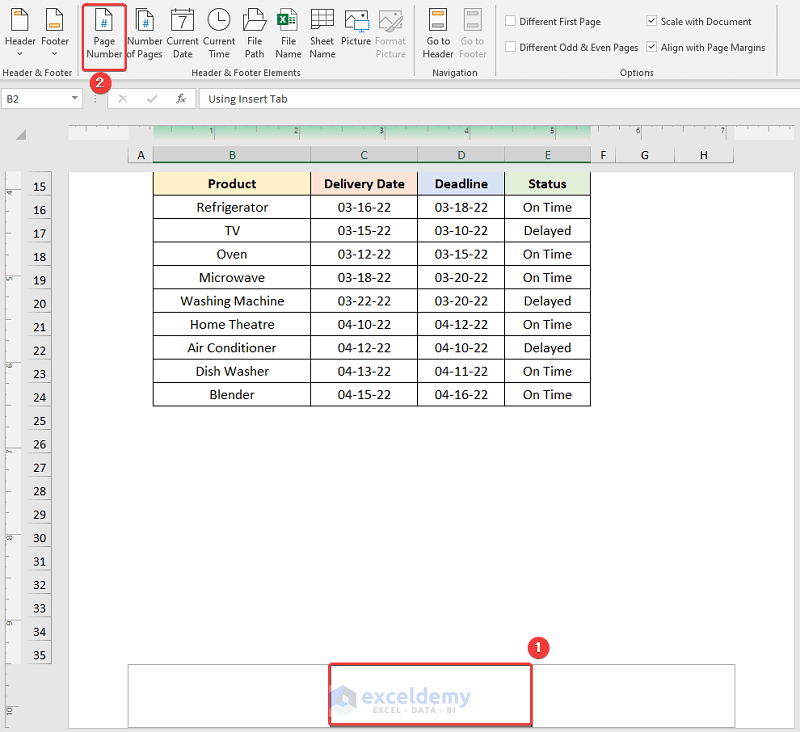
- Navigate to the Insert Tab.
- Click on the Header & Footer option in the Text section.

This opens the worksheet in the Page Layout view showing the Header and the Footer.
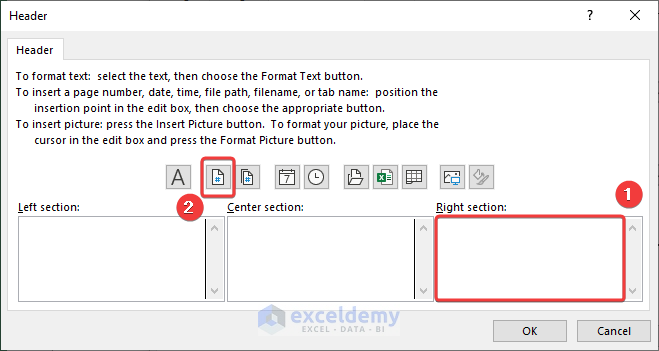
- The Header consists of 3 sections (Left, Center, and Right) where you can insert page numbers. In this case, we chose the Right section.
- Click the Page Number option on the top Ribbon.
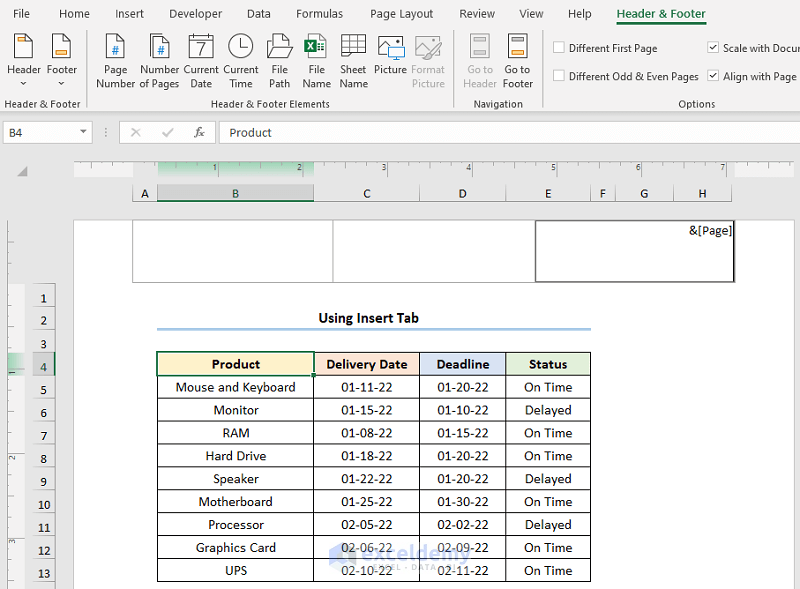
The result shown in the picture below appears.
&[Page]
Here, the Ampersand (&) operator refers to the placeholder for the Page Number.
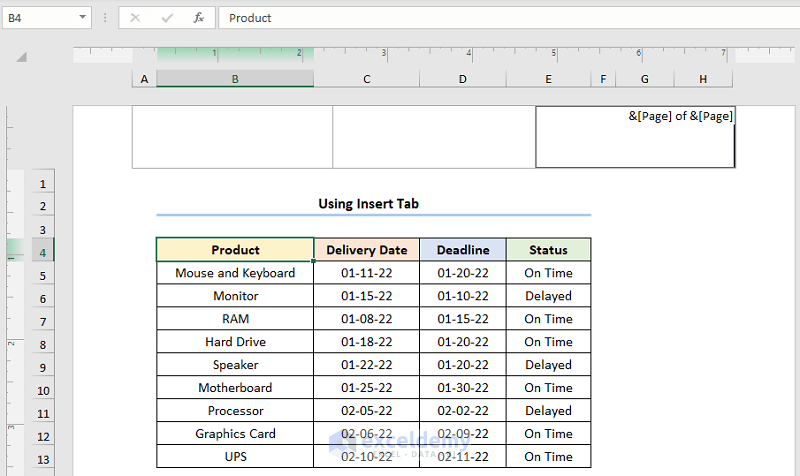
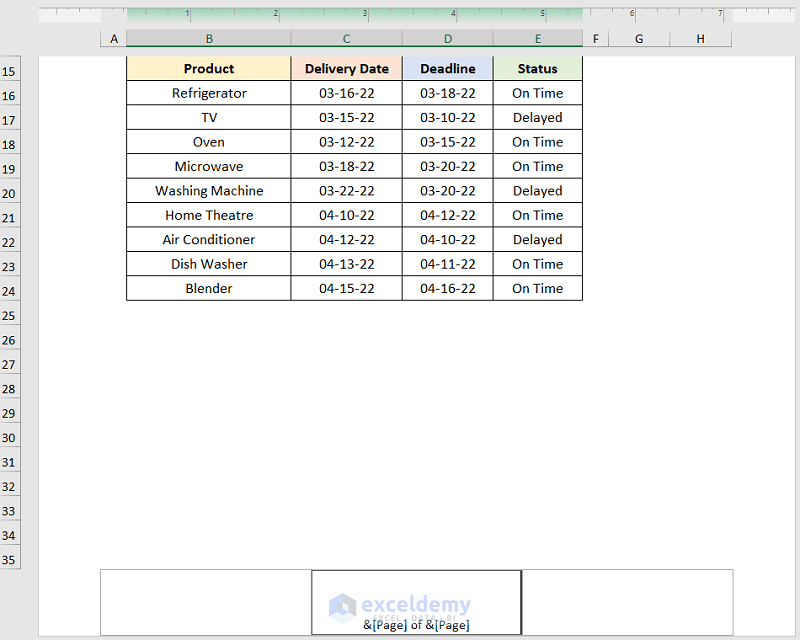
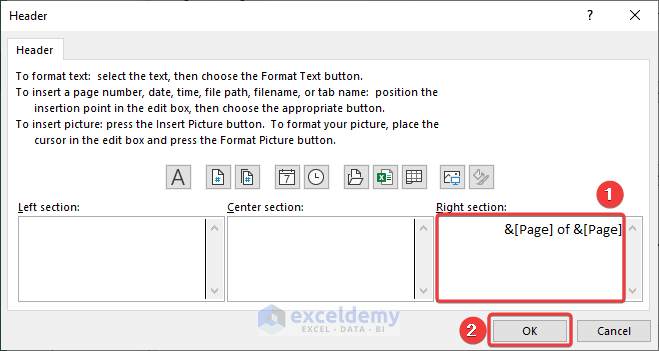
- Type of and press the Page Number option again to obtain the expression below.
&[Page] of &[Page]
- Press CTRL + P to preview the result before printing.

Read More: How to Insert Page Number Using VBA in Excel
Case 2 – Inserting Page Number in the Footer Section
Let’s repeat the procedure to insert the page number in the Footer.
Steps:
- Go to the Insert Tab.
- Click on the Header & Footer option.
The Footer appears at the bottom of the page.
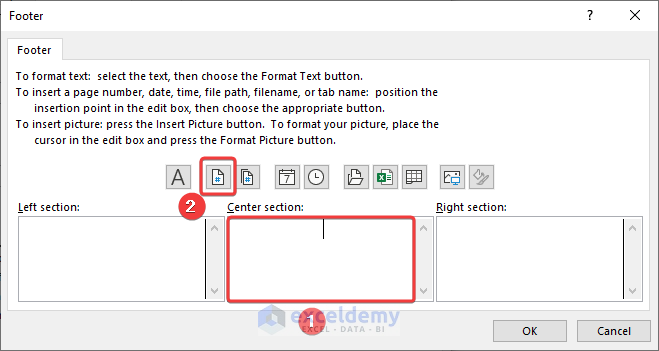
- Choose a section of the Footer to insert page numbers (here, the Center section).
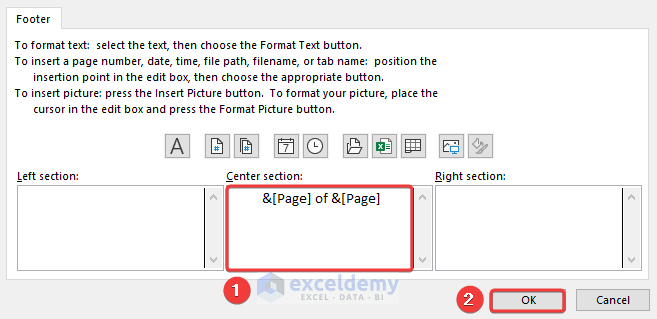
- Click the Page Number button, type of, and again click the Page Number button.
- Alternatively, copy and paste the formula given below:
&[Page] of &[Page]
This generates the result in the screenshot below.
- Press CTRL + P to preview the Print window.
Read More: How to Insert Page Number in Excel Cell Not in Header
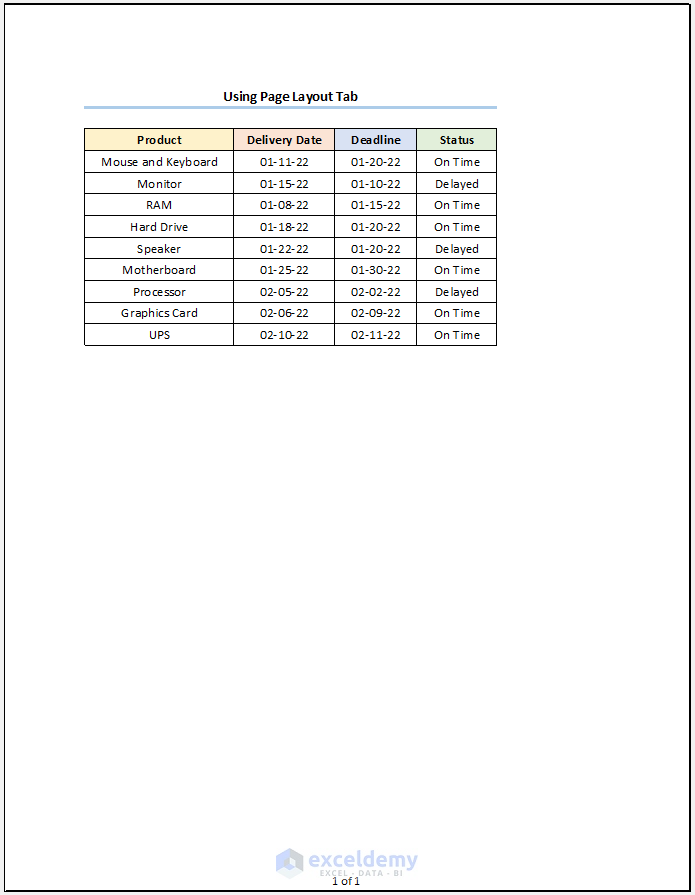
Method 5 – Using Excel Page Layout Tab for Multiple Pages
Steps:
- Go to the Page Layout Tab.
- Click on the tiny arrow button.
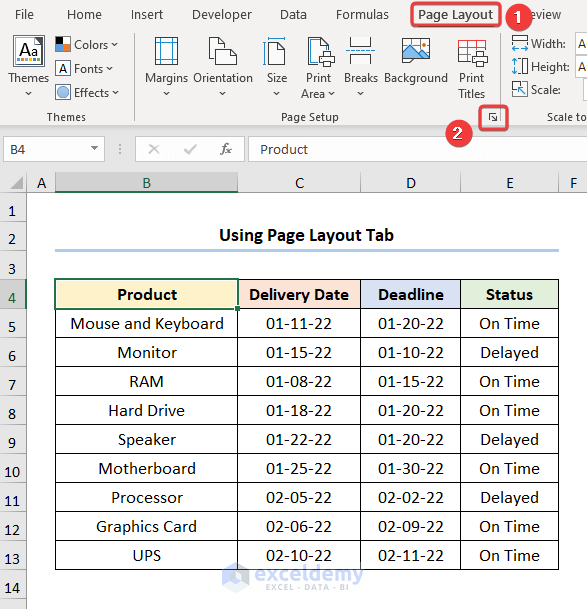
The Page Setup wizard pops up.
- Click the Custom Footer button.
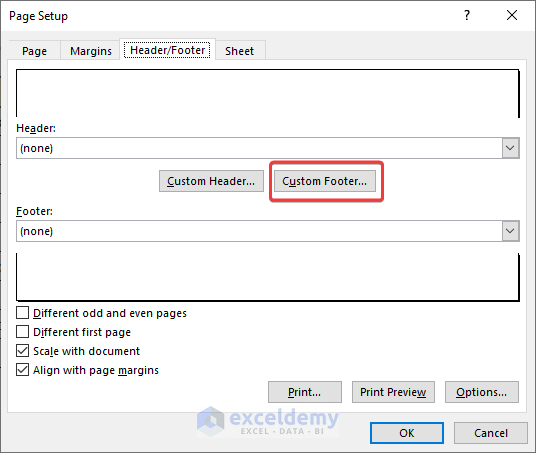
This opens up the Footer dialog box.
- Select the Center section.
- Click OK to close the window.
- Click the Page Number button on the ribbon.
- Type in of and again click the Page Number button.
- Alternatively, copy and paste the expression from here:
&[Page] of &[Page]
- Press CTRL + P to preview the results in the Print window.
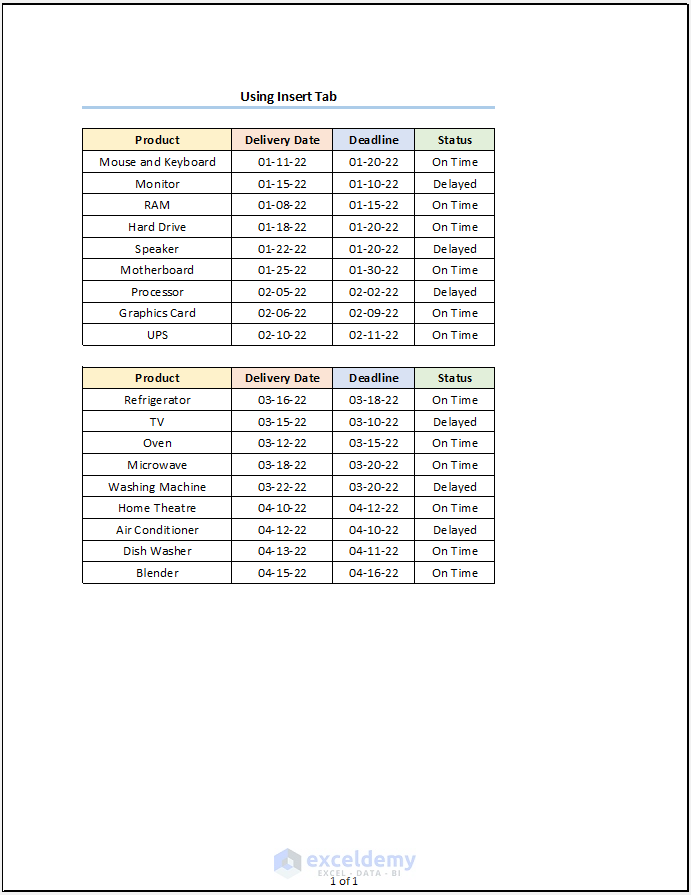
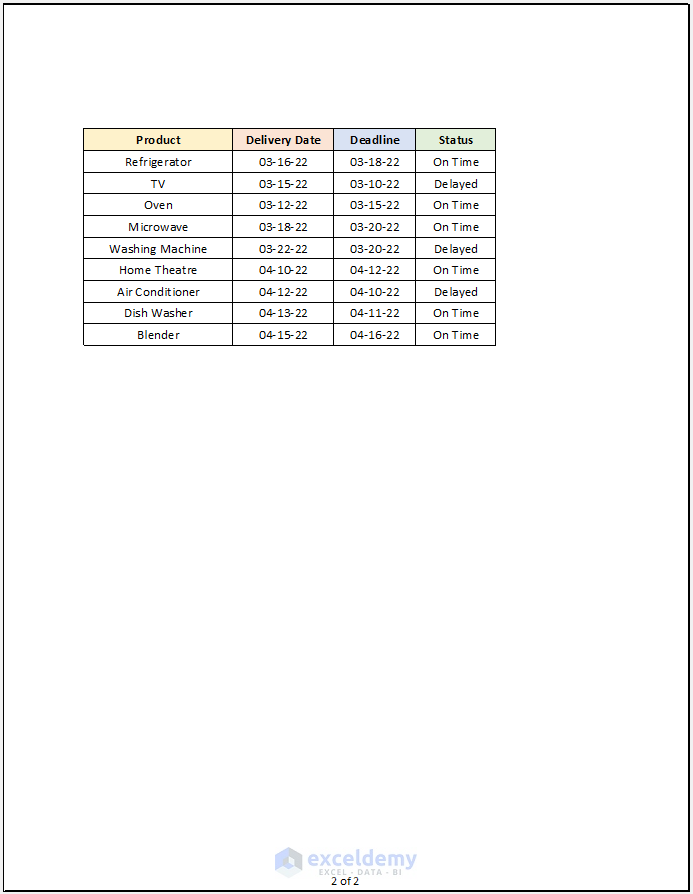
The image below is the first page of the preview.
The image below is the second page of the preview.
Read More: How to Insert Sequential Page Numbers Across Worksheets
Method 6 – Using Print Options with a Formula
You can insert the page number just before printing your Excel sheet.
Steps:
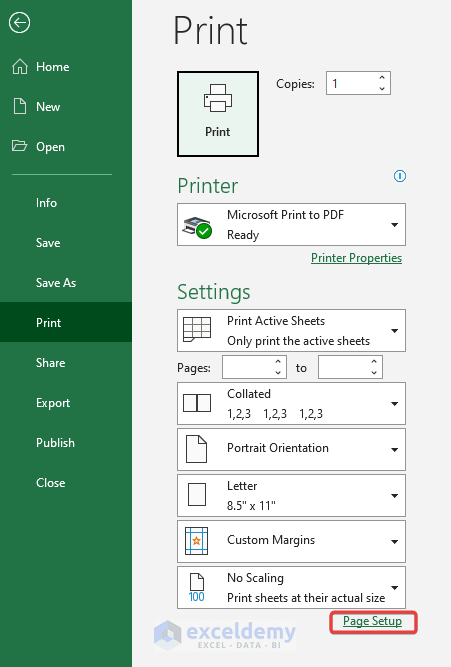
- Use the CTRL + P shortcut to go to the Print option.
This opens the Print Window.
- Click the Page Setup button at the bottom.
The Page Setup dialog box pops up.
- Navigate to the Header/Footer tab.
- Select the Custom Header option.
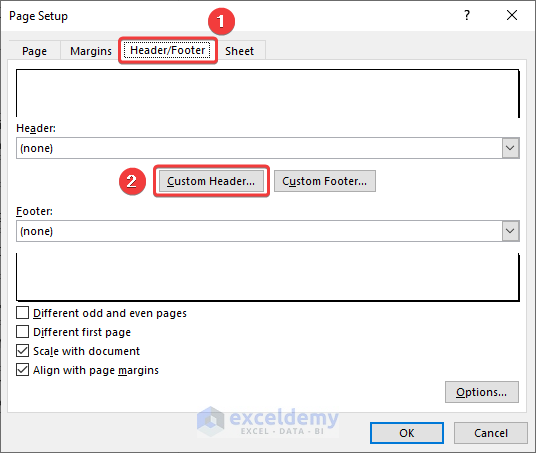
The Header wizard appears.
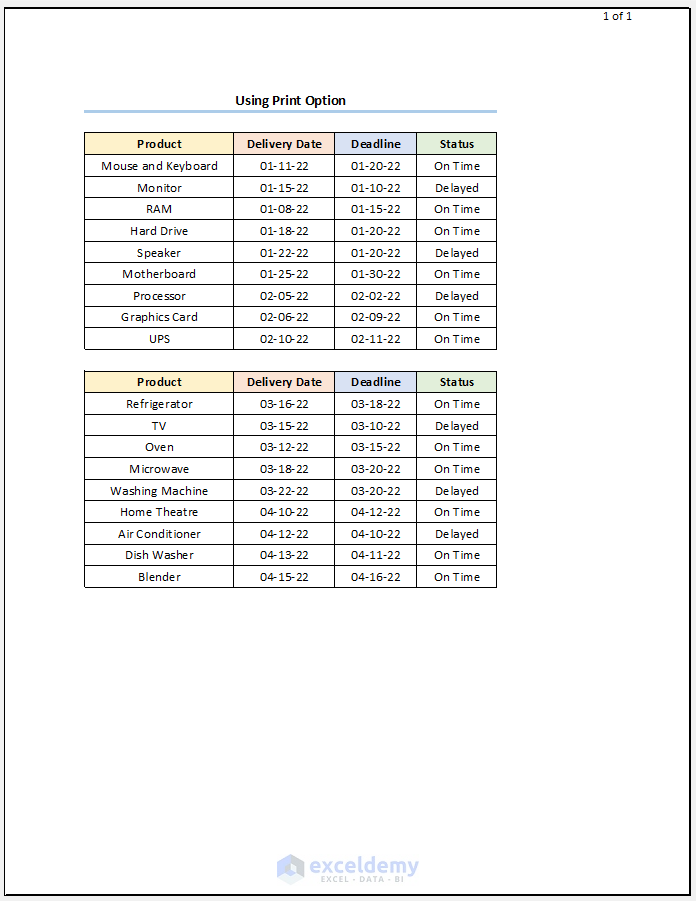
- Choose one of the 3 sections to insert the page number. In this case, we chose the Right section.
- Enter the expression below and click the OK button:
&[Page] of &[Page]
The Print preview should look like the picture given below.
How to Remove Page Numbers in Excel
Removing page numbers in Excel is also very straightforward.
Steps:
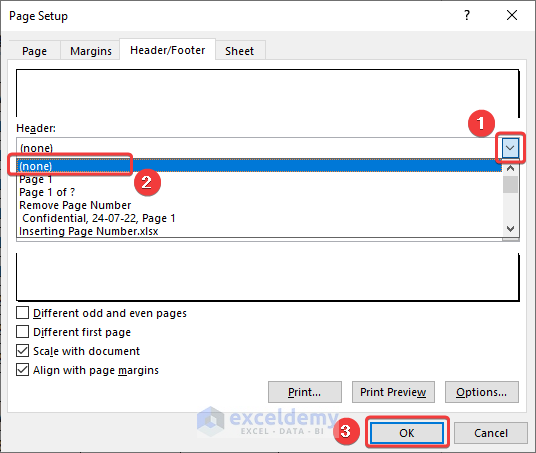
- Go to the Page Layout tab and click the small arrow button.
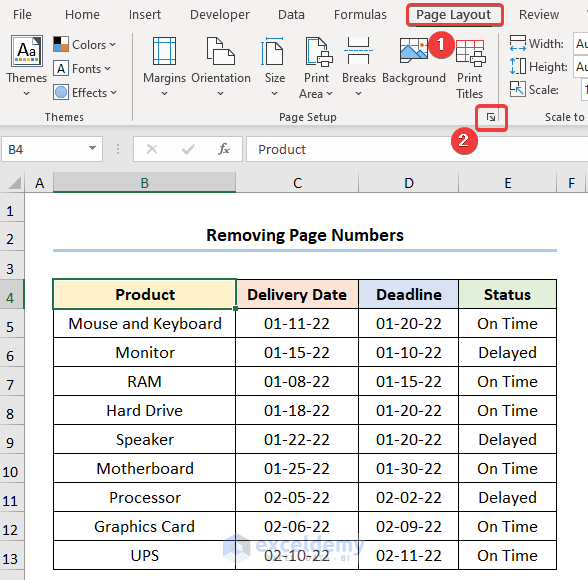
The Page Setup wizard pops up.
- In the Header field, click the drop-down and select the (none) option from the list.
- Click the OK button.
- Press CTRL + P to go to the Print option.
All the page numbers are gone.

Read More: How to Remove Page Number from Page Break Preview in Excel
Download Practice Workbook
Related Article
<< Go Back to Page Number | Page Setup | Print in Excel | Learn Excel
Get FREE Advanced Excel Exercises with Solutions!

=CONCATENATE(“Page “,1, ” of “,1) … this is just wrong. This is not page numbers but just joining some text.
Hello S,
Thank you for your question. Firstly, I would like to apologize for the misunderstanding. Admittedly, the method in question is in fact a quick and dirty way to manually insert page numbers if your document contains only a handful of pages.
That said, the widely accepted process of inserting page numbers in Excel is described in Method 4. Hopefully, this helps.