Here’s the overview of functions that fetch the end of the range.
Download the Practice Workbook
The Range.End Property in Excel VBA
The Range.End allows a user moves to a cell in a particular direction in the current working region. It returns a Range object. Also, it represents the cell at the end of the range that contains the source range. It is equivalent to pressing END+UP ARROW, END+DOWN ARROW, END+LEFT ARROW, or END+RIGHT ARROW.
Syntax:
The expression is a range object.
Argument:
| Name | Requirement | Data Type | Description |
|---|---|---|---|
| Direction | Required | xlDirection | The direction to move |
Select the Last Entry of a Row Using Range.End in Excel
The sample syntax:
This code means it will start from cell A1 or A5, and after that, it will move to the last non-empty cell.
Take a look at this screenshot:

Steps
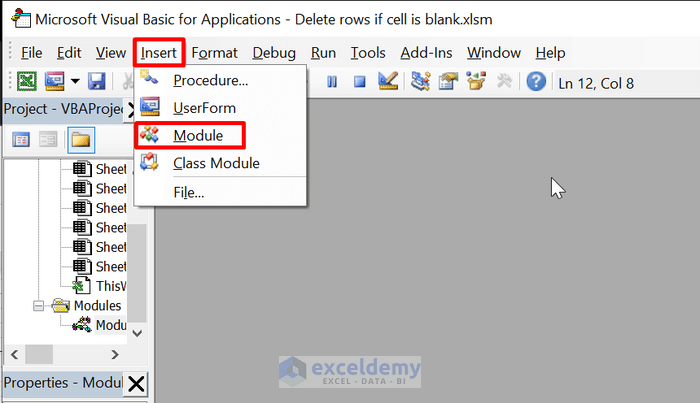
- Press Alt + F11 on your keyboard to open the VBA editor.
- Click on Insert and select Module.
- Insert the following code:
Sub move_to_right()
Range("C4").End(xlToRight).Select
End Sub- Save the file and run the code.
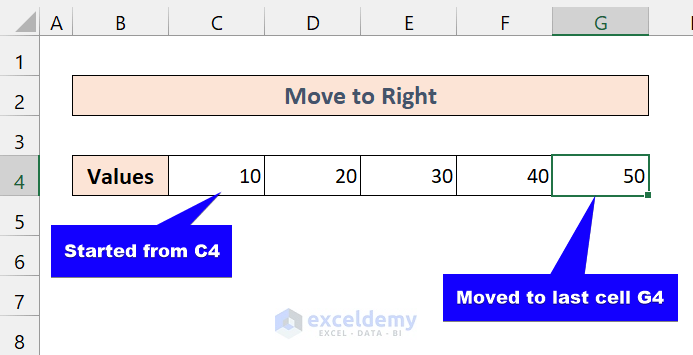
We have selected the last entry of the row using Range.End in VBA.
- To move from right to left, use the following code:
Sub move_to_left()
Range("G4").End(xlToLeft).Select
End Sub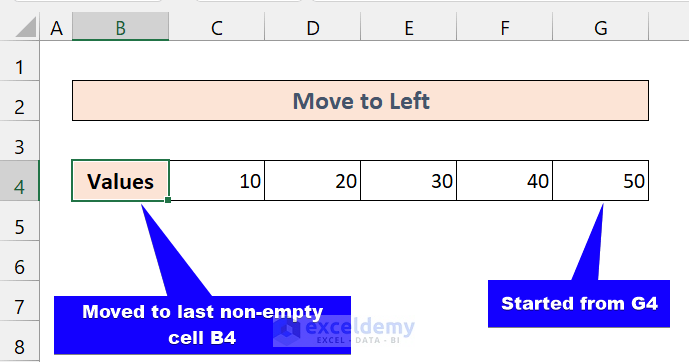
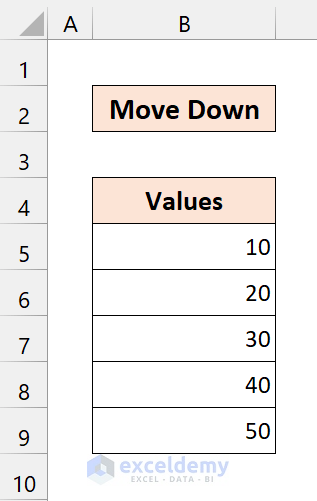
Select the Last Entry of a Column Using VBA Range.End
The Syntax will be like the following:
This code means it will start from cell A1 or A5, and after that, it will move to the last non-empty cell of that particular column.
Steps
- Press Alt + F11 on your keyboard to open the VBA editor.
- Click on Insert and select Module.
- Insert the following code:
Sub move_down()
Range("B5").End(xlDown).Select
End Sub- Save the file and run the code.
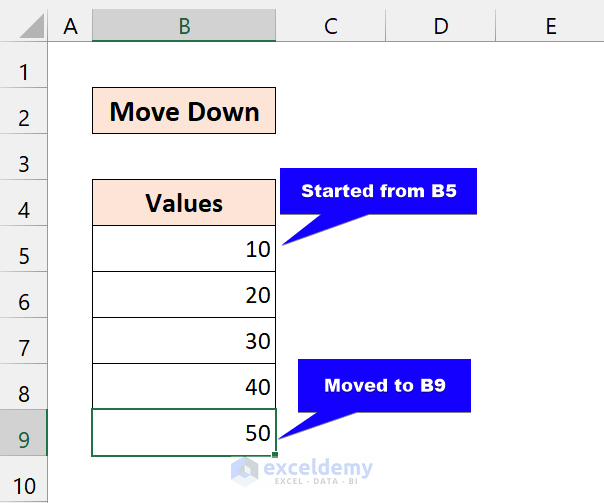
We have selected the last entry of the column using Range.End in VBA.
- To move from down to up, use the following code:
Sub move_up()
Range("B9").End(xlUp).Select
End Sub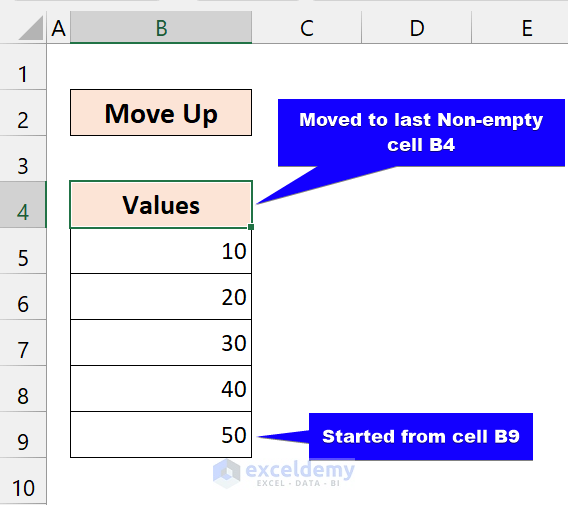
Similar Readings:
- Excel Subscript Out of Range Error in VBA (with 5 Solutions)
- How to Use the Range Object of VBA in Excel (5 Properties)
- VBA for Each Cell in Range in Excel (3 Methods)
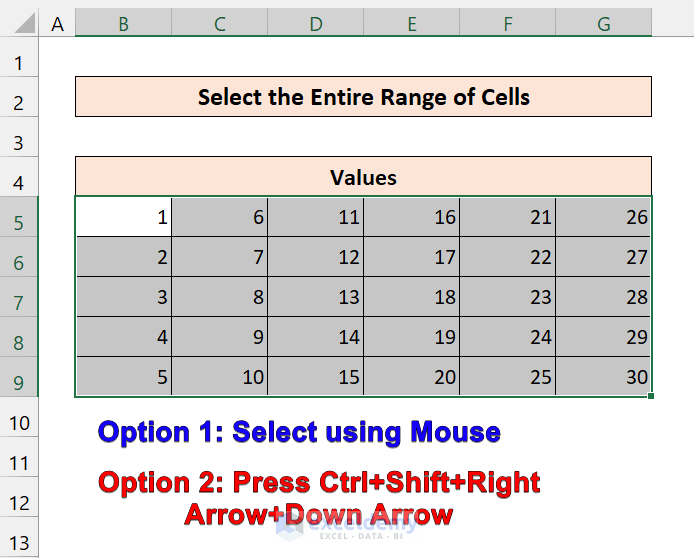
Select an Entire Range of Cells with Range.End in Excel
We have a sample matrix.
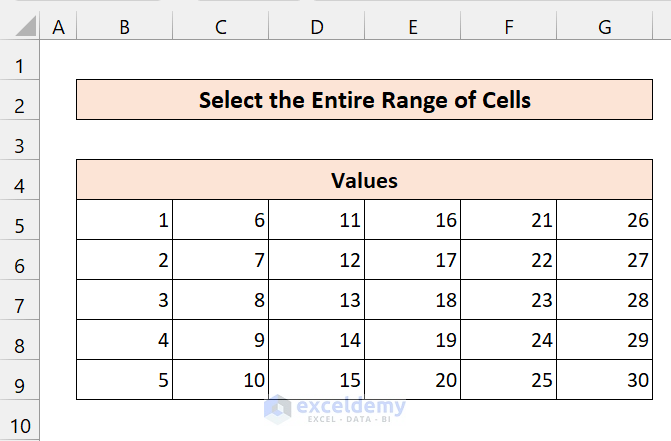
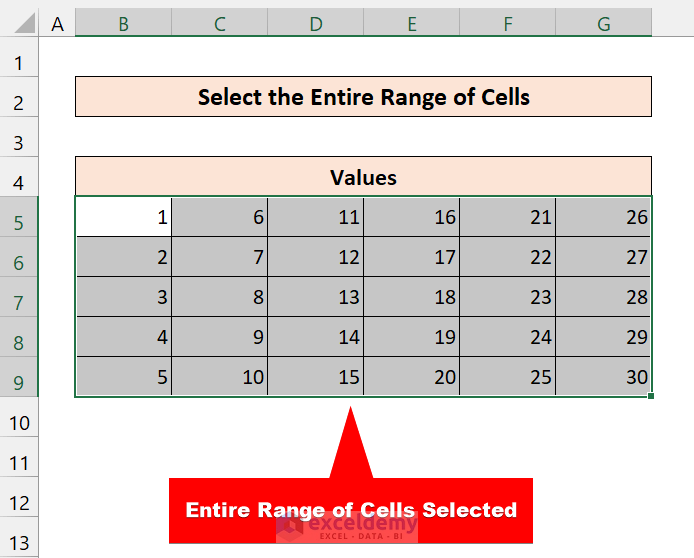
If we select the range of cells B5:G9, it will look like the following screenshot:
Let’s use VBA to do the same.
Steps
- Press Alt + F11 on your keyboard to open the VBA editor.
- Click on Insert and select Module.
- Insert the following code:
Sub select_entire_range()
Range(Range("B5"), Range("B5").End(xlToRight).End(xlDown)).Select
End Sub
Range(Range(“B5”), Range(“B5”).End(xlToRight).End(xlDown)).Select
This line of code first selects cell B5. Then, it will move to the right of that row using Range(“B5”).End(xlToRight).
From there, it will move to last entry of that column using Range(“B5”).End(xlToRight).End(xlDown).
It will pass the address of those first and last cells to another Range function. With the Select option, it will select the entire range of cells.
- Save the file and run the code.
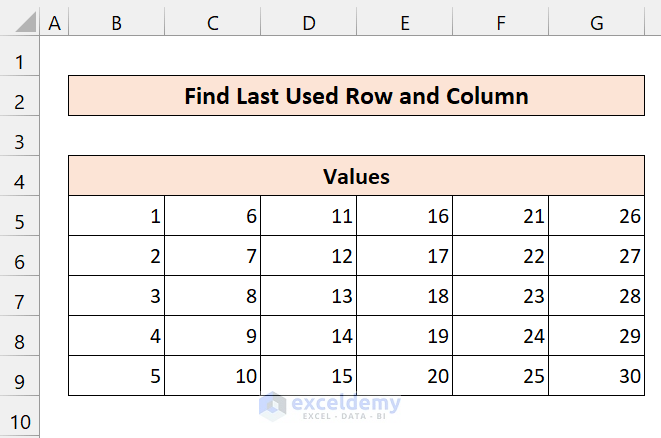
VBA Code to Find Last the Non-Empty Row and Column Using Range.End in Excel
We are going to use the previous dataset:
Steps
- Press Alt + F11 on your keyboard to open the VBA editor.
- Click on Insert and select Module.
- Insert the following code:
Sub last_used()
Dim last_row As Integer
Dim last_column As Integer
Range("B5").Select
last_row = Range("B5").End(xlDown).Row
last_column = Range("B5").End(xlToRight).Column
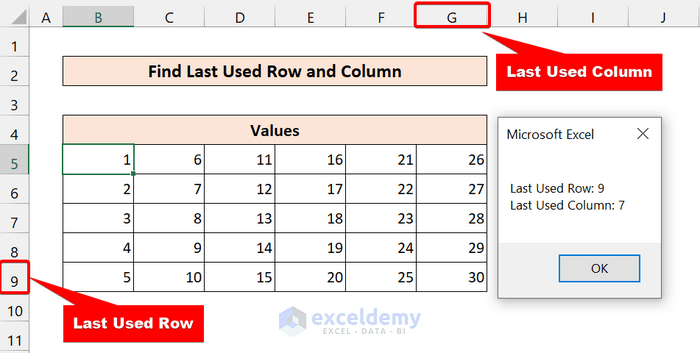
MsgBox "Last Used Row: " & last_row & vbCrLf & "Last Used Column: " & last_column
End SubRange(“B5”).End(xlDown).Row: It will start from cell B5 and move to the last used row. After that, it will return the row number.
Range(“B5”).End(xlToRight).Column: It will start from cell B5 and move to the last used column. After that, it will return the column.
- Save the file.
- Press Alt + F8 on your keyboard to open the macro dialog box.
- Select last_used. Click on Run.
Things to Remember
- The Range.End method moves to the last non-empty cell. So, if your dataset has blanks in between them, it will give you a different result.
- It only works for a single row or column. In order to select a range of cells, you have to combine them as we showed earlier.
Related Articles
- How to Use VBA Range Offset (11 Ways)
- Excel VBA Copy Range to Another Sheet (8 Easiest ways)
- How to Count Text in Excel (7 Easy Tricks)

