In this tutorial, I am going to show you 4 quick tricks on how to perform page scaling in Excel. You can quickly use these methods, especially in large datasets to fit the worksheet into a page setup that you need. Throughout this tutorial, you will also learn some important Excel tools and functions which will be very useful in any Excel-related task.
4 Quick Tricks to Perform Page Scaling in Excel
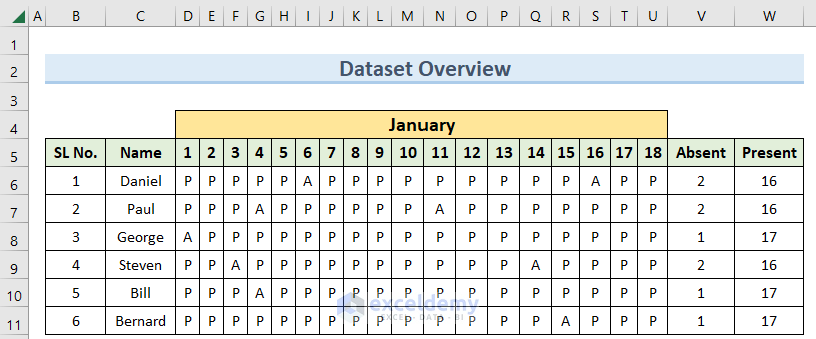
We have taken a concise dataset to explain the steps clearly. The dataset has approximately 6 rows and 5 types of columns. Initially, we are keeping all the cells in General format. For all the datasets, we have 5 unique columns which are SL No., Name, Workdays, Absent, and Present. Although we may vary the number of columns later on if that is needed.
1. Adjusting Width from Scale to Fit Group in Page Setup Tab
In this first method, we will see how we can use the Scale to fit option in Excel to perform page scaling very easily by adjusting the width of the page. To see a print preview in Microsoft Excel, click the File tab in the top-left corner of the Excel window, click the Print option in the left menu, and click the Print Preview button in the Print window. This will open a new window with a preview of your document as it will appear when printed. As you can see below, the initial dataset that we have doesn’t show all the columns in the print preview. So follow the steps below to adjust this.

Steps:
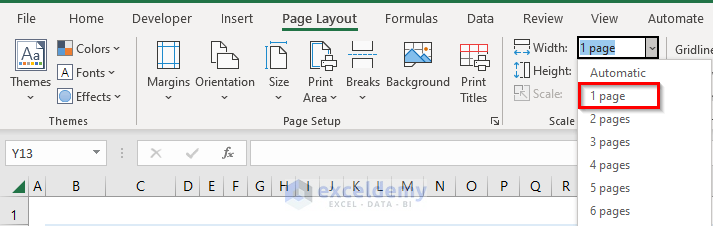
- First, go to the Page Layout tab and click on the drop-down icon beside the Width option as in the image below.

- Now, from the available options, click on 1 page.
- Next, go to the File tab after setting the width.
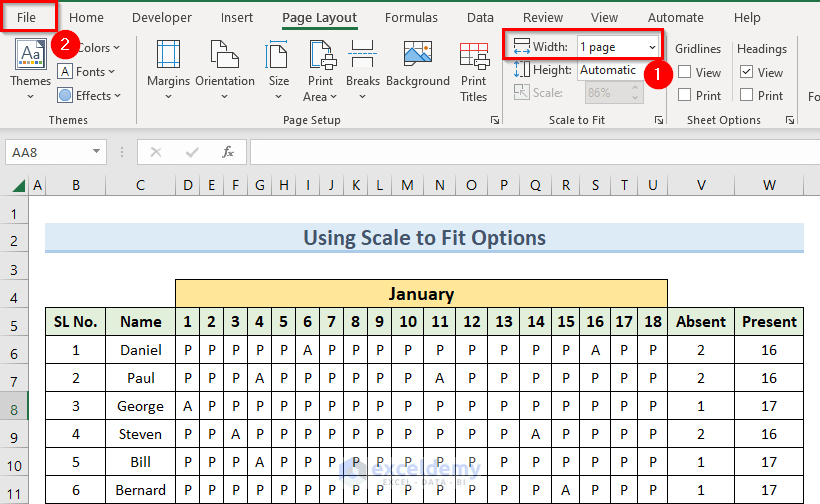
- Finally, in the Print option, you should see that all the columns are now appearing in the preview window.

So as you can see, we can easily scale worksheets using this Scale to Fit option.
Read More: [Solved!] Excel Scaling Issues
2. Scaling Page Using Fit to Option
Another option we can use is to use the Fit to option inside Excel. Using this, we can quickly do page scaling in our worksheet. Below are the steps to do this.
Steps:
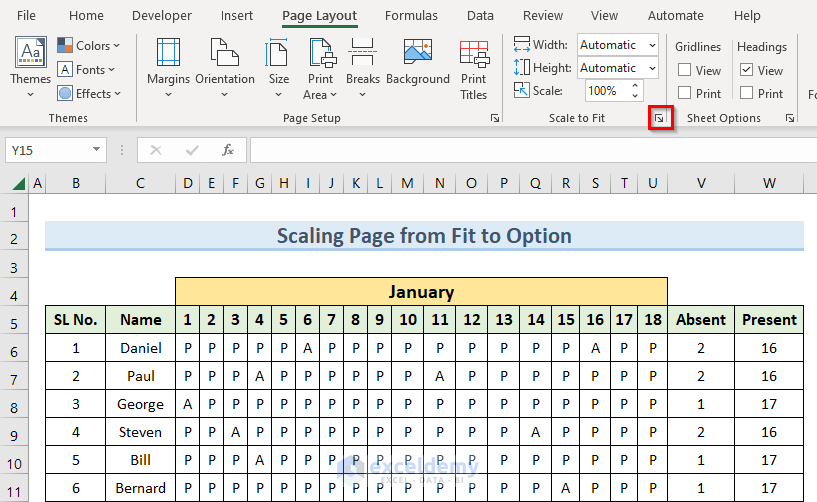
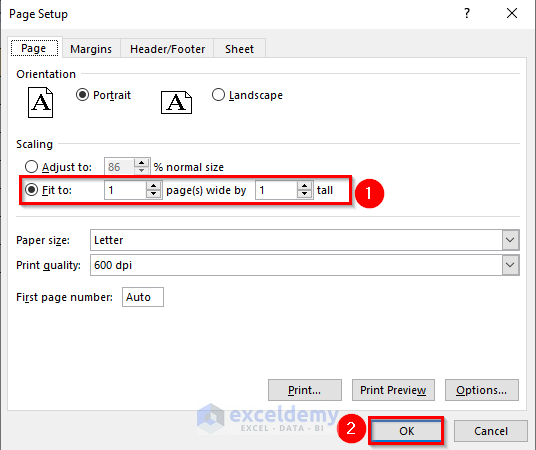
- To begin with, navigate to the Page Layout tab and click on the arrow beside Scale to Fit option as we can see in the image below.
- Now, set the page(s) wide value to 1 and the tall value to 1 as well.
- Lastly, press OK.
- As a result, this should scale the worksheet to fit it on a single page as we set the criteria.

So in this way, we will be able to scale the page using the Fit to option as above.
Read More: How to Use Scaling Option in Excel
3. Applying Adjust to Option
We can also do page scaling in Excel using the Adjust to option in the Page Setup window. Let us see how we can achieve this.
Steps:
- Similarly as before, go to the Page Layout tab and click on the small arrow beside Scale to Fit.

- Now, set the Adjust to value to 80% and click on OK.

- Consequently, this option will scale the dataset to fit the size of the print layout.

As we can see above, this method is also very effective in scaling pages.
4. Implementing VBA for Page Scaling
If you are familiar with VBA in Excel, then you can perform page scaling with just a few lines of code. Follow the steps below to see this in action.
Steps:
- Initially, go to the Developer tab and click on Visual Basic.

- Next, in the new window, click on Insert and select Module.

- Then, in the Module window enter the following code:
Sub ScalePage()
With ActiveSheet.PageSetup
.Zoom = False
.FitToPagesWide = 1
.FitToPagesTall = 1
End With
End Sub

This VBA code defines a Subroutine called ScalePage that sets the page scale for the active sheet in an Excel workbook. The With statement in this code allows you to specify a group of related properties and methods of an object (in this case, the ActiveSheet.PageSetup object) that you can then use without having to specify the object name each time. The PageSetup object is used to access the properties of the active sheet’s page layout, and the Zoom property is set to False to disable zooming. The FitToPagesWide and FitToPagesTall properties are both set to 1 to ensure that the active sheet fits on a single page when printed.
- After that, go to the Developer tab and click on Macros.

- Now, select the macro we just created and click on Run.

- As a result, the VBA code will adjust the scaling of the worksheet to fit the print area.

So the VBA option is very useful and quick in scaling worksheets.
Download Practice Workbook
You can download the practice workbook from here.
Conclusion
I hope that you were able to apply the methods that I showed in this tutorial on how to perform page scaling in Excel. As you can see, there are quite a few ways to achieve this. So wisely choose the method that suits your situation best. If you get stuck in any of the steps, I recommend going through them a few times to clear up any confusion. If you have any queries, please let me know in the comments.
Related Articles
- Scale Data from 1 to 10 in Excel
- How to Create a Rating Scale in Excel
- Scaling Formula in Excel
- How to Do Data Scaling in Excel

