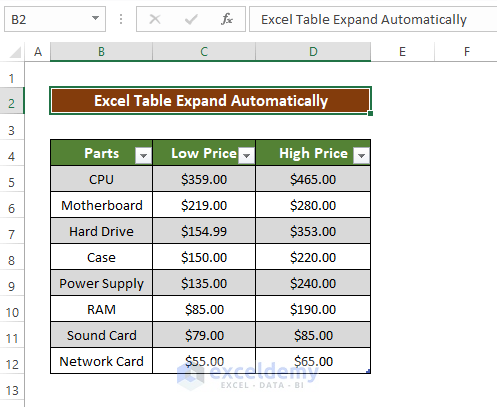
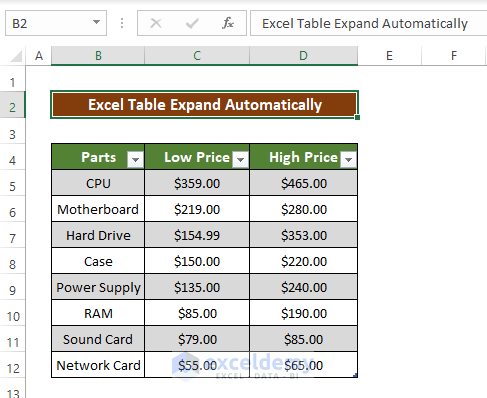
In the sample dataset below, some aspects of the table can become unclear due to inadequate row height and column width.
Method 1 – Make an Excel Table Expand Automatically Using AutoCorrect Option
Steps
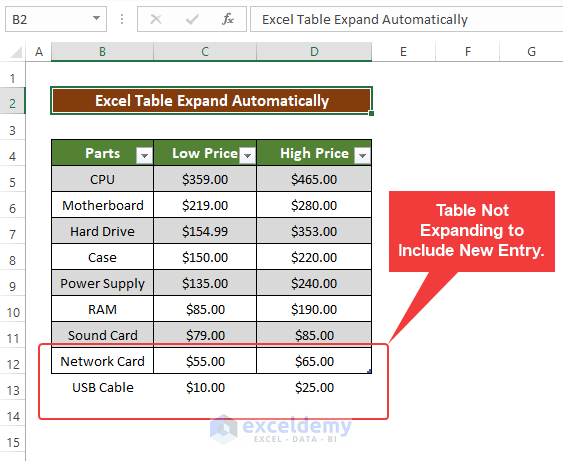
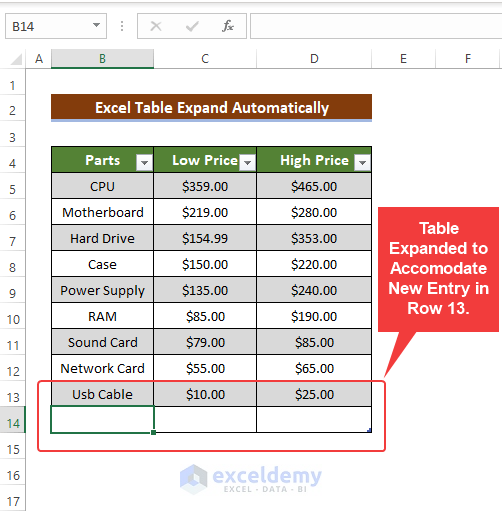
- Enter any new entry below the existing table.
- The table isn’t expanding to accommodate new data.
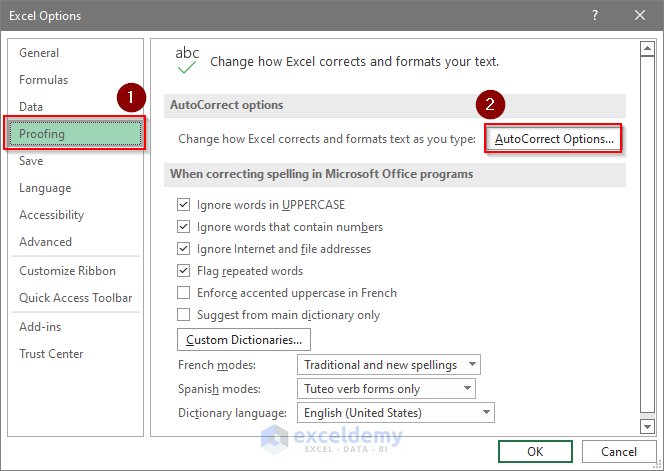
- To resolve this, go to File > Option (Double Click) > Proofing > AutoCorrect Option.
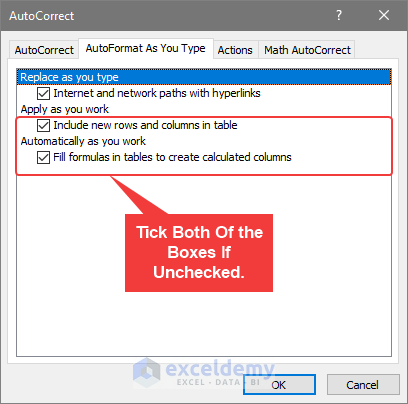
- A new window will open. In that window, go to AutoFormat As You Type.
- Tick the second and third checkboxes if they are unchecked.
- Click OK.
- After clicking OK, try to enter a new row containing new data.
- The table now expands as new information is added.
Read More: How to Rename a Table in Excel
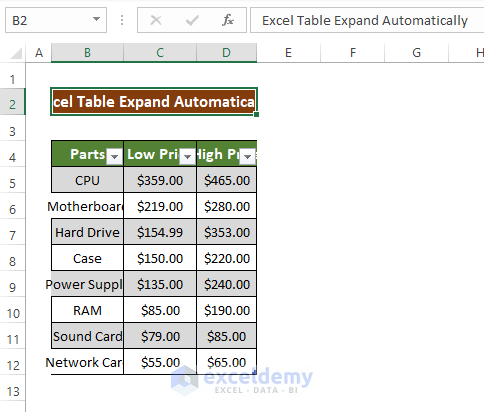
Method 2 – Expand an Excel Table Changing Column Width
Steps
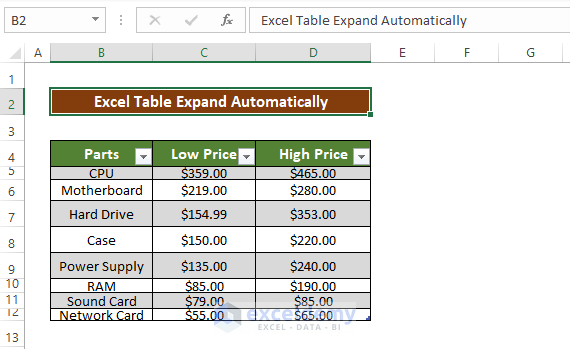
- The table columns below are too narrow.
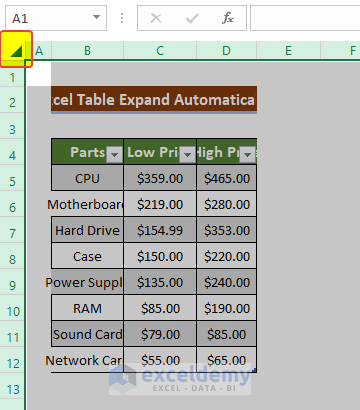
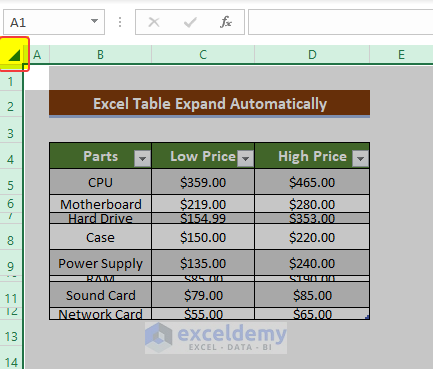
- Click on the Select all button in the corner of the worksheet.
- From the Home tab, go to Cells > Format Cells > AutoFit Column Width
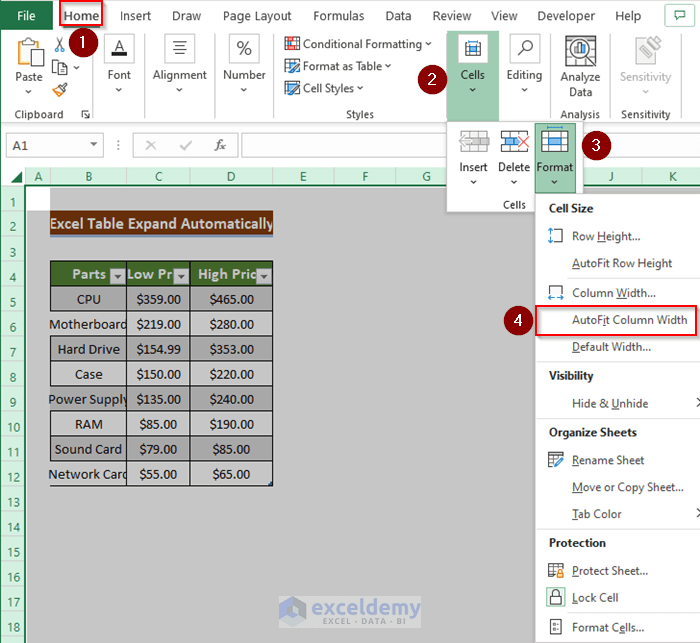
- Click AutoFit Column Width.
- The table is now expanded.
Read More: How to Extend Table in Excel
Method 3 – Make an Excel Table Expand Changing Row Height
Steps
- In the table below the rows are too shallow.
- To resolve this issue, click on the Select all icon in the corner of the worksheet.
- From the Home tab, go to Cells > Format Cells > Autofit Row Height.
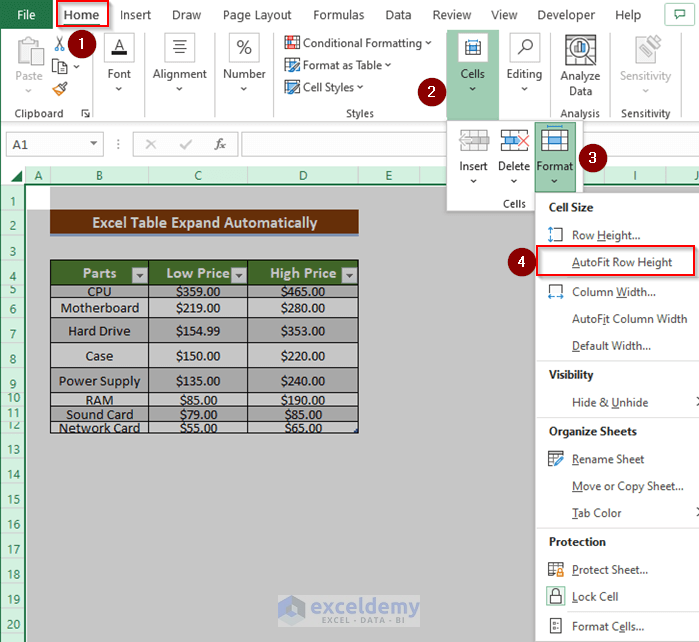
- Click AutoFit Row Height.
- The issue is resolved.

Read More: How to Insert or Delete Rows and Columns from Excel Table
Download Practice Workbook
Download this practice workbook below.
Related Articles
- How to Use Sort and Filter with Excel Table
- How to Remove Format As Table in Excel
- Excel Table Formatting Problems
- [Fix]: Formulas Not Copying Down in Excel Table
- How to Remove Table Functionality in Excel
- How to Remove Table in Excel
- How to Undo a Table in Excel
- How to Mirror Table in Excel
<< Go Back to Edit Table | Excel Table | Learn Excel
Get FREE Advanced Excel Exercises with Solutions!
