Instead of writing the same thing again and again, we often use Copy and Paste command. It saves both time and hustle. In Microsoft Excel, we can copy the desired cells and paste them into the required location keeping the exact format. In this article, I am going to explain two very simple and efficient ways to Keep Gridlines in Excel when Copy and Paste.
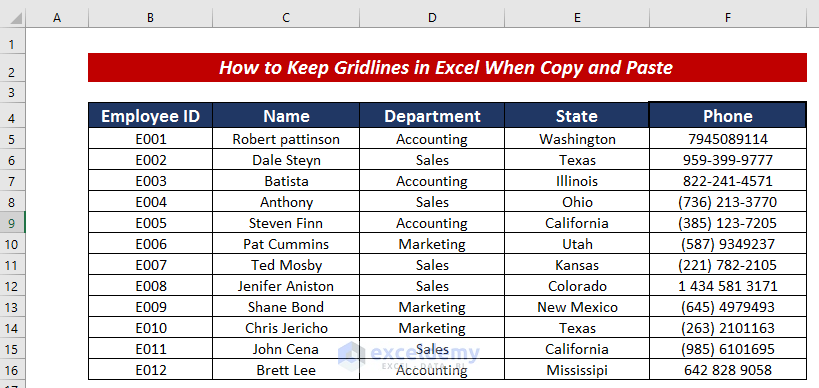
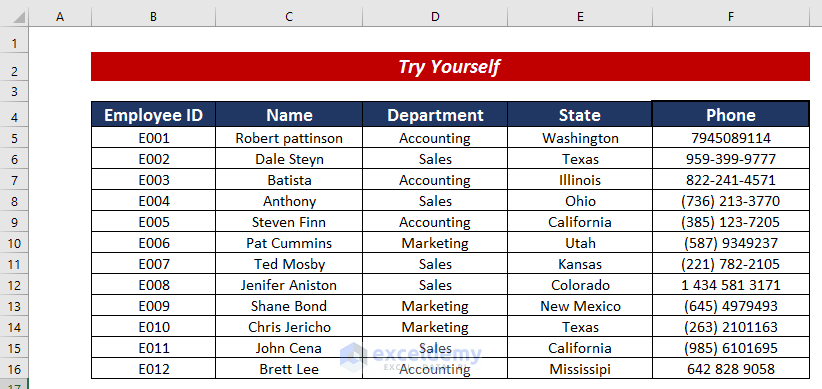
For more explanation, I am going to use a dataset of personal information of a company decorated in the Employee ID, Name, Department, State, and Phone columns.
How to Keep Gridlines When Copy and Paste in Excel (2 Easy Ways)
1. Applying Normal Paste Method to Keep Gridlines
We can keep the gridlines in Excel when Copy and Paste just applying the normal Copy & Paste command.
Steps:
- Select the cells that you want to paste keeping the gridlines. Here, I have selected cells C4:E14.
- Then, go to the Home tab.
- From the ribbon, click on Copy.
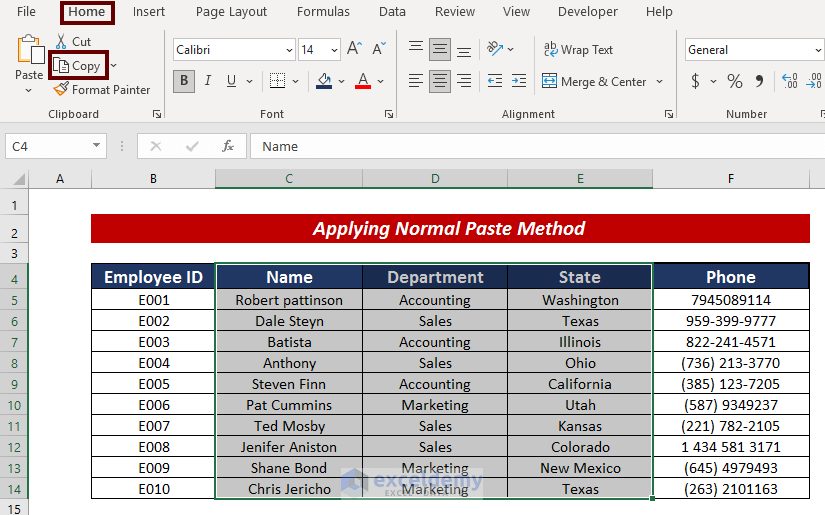
Alternatively, you can press CTRL + C to copy the cells.
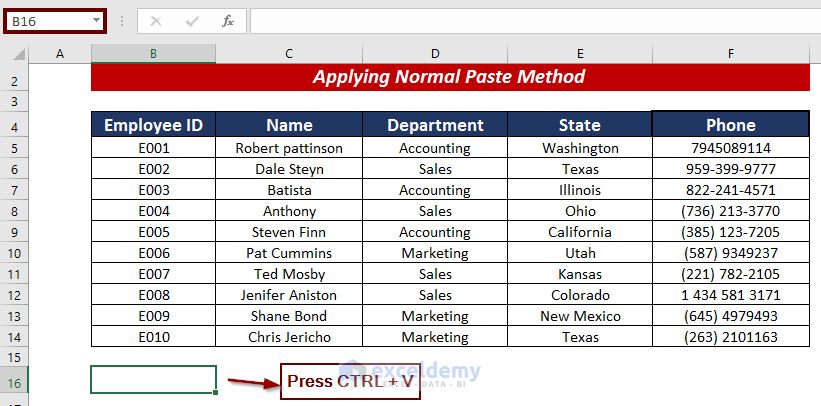
- Followingly, choose the cell where you want to Paste the cells.
- Press CTRL + V to paste the selected cells with gridlines.
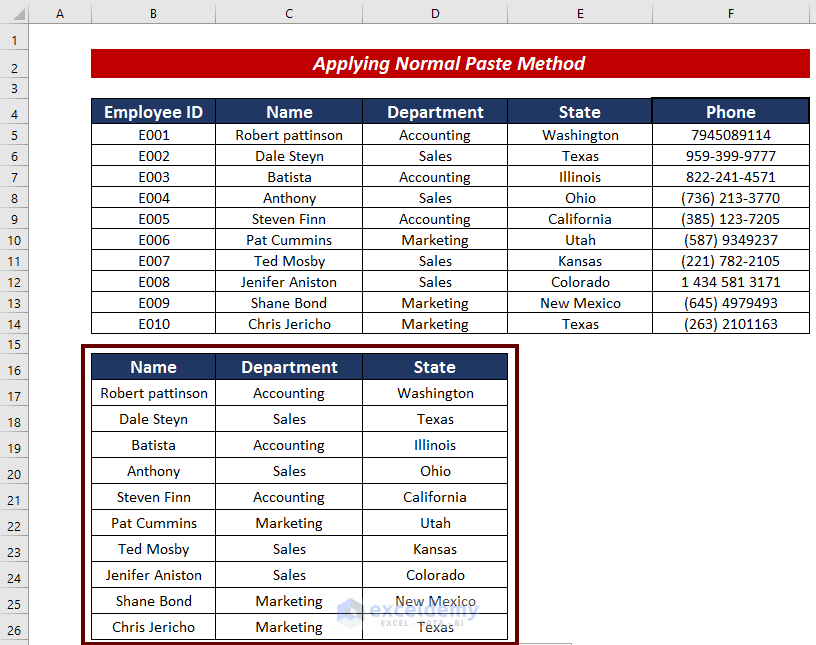
Thus, we can have the copied cells keeping gridlines.
2. Using Excel Paste Special Method to Keep Gridlines
Paste Special has many different ways to paste the copied cells. In terms of keeping the gridlines issue, we can follow the following four ways. They are described in detail in the following section.
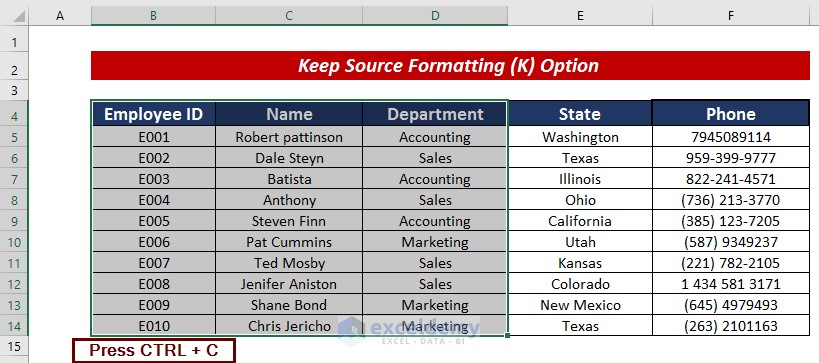
2.1. Keep Source Formatting (K) Option
Using the Keep Source Formatting (K) option is a way to keep gridlines while pasting the copied cells.
Steps:
- Firstly, select the cells that you want to paste. Here, I have selected cells B4:D14.
- Next, press CTRL + C to copy the selected cells.
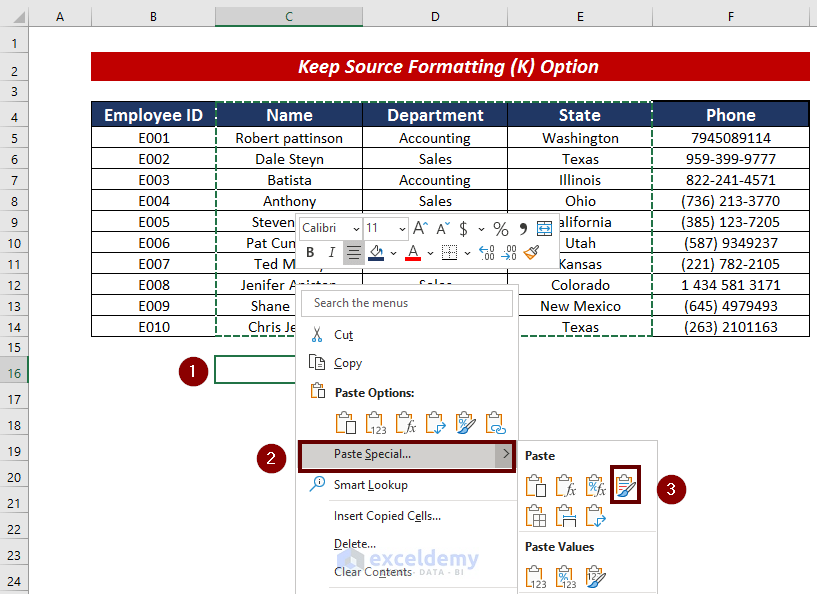
- Choose the cell where you want to have the output. In my case, I chose cell C16.
- Now, Right-click on the mouse.
- Click on the Paste Special extended functions button.
- From the available options, pick the Keep Source Formatting (K) option.
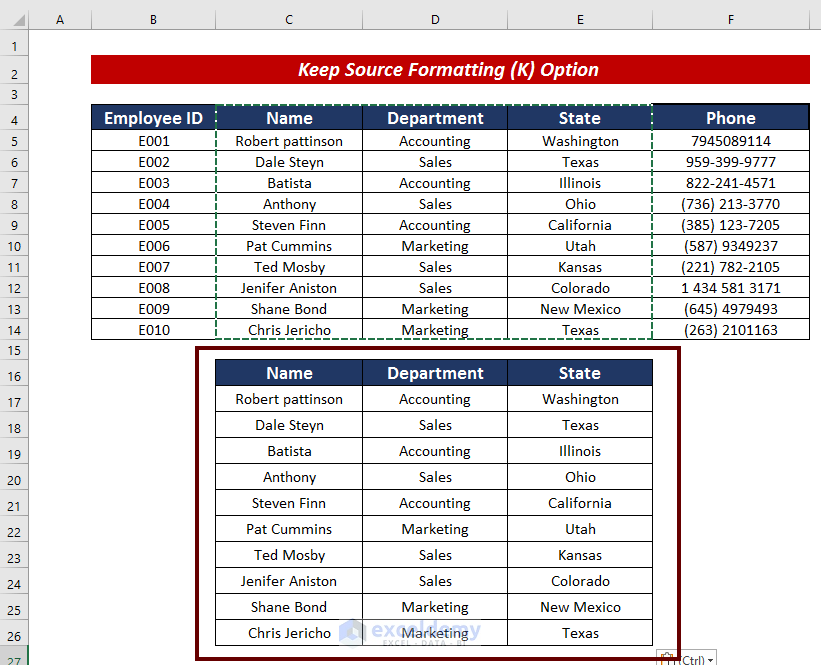
This is how we can have the copied cells keeping gridlines.
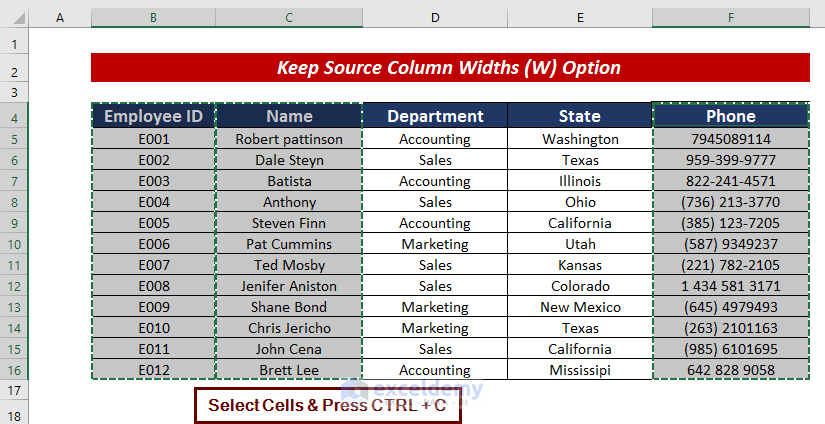
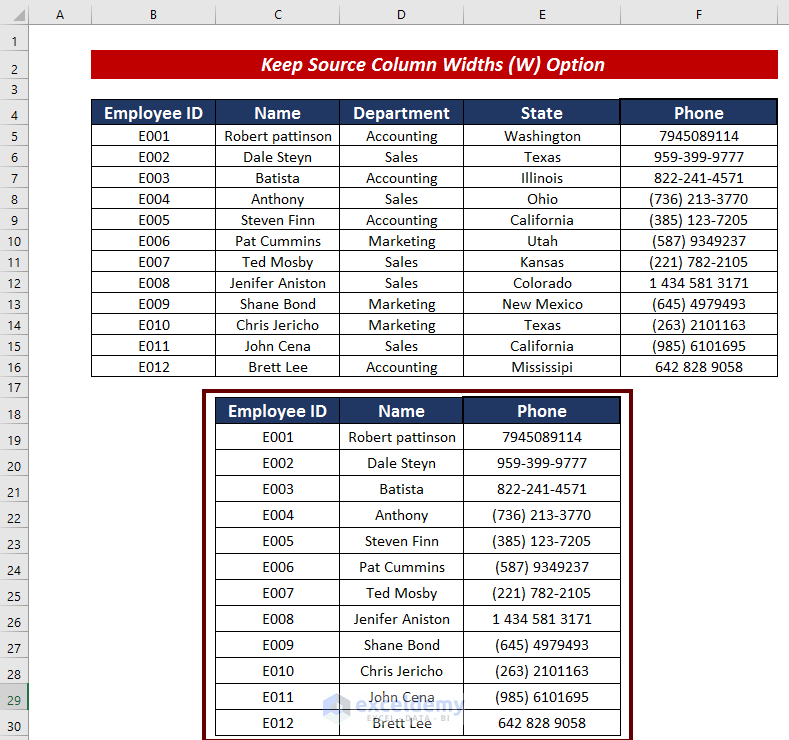
2.2. Keep Source Column Widths (W) Option
Another way is applying the Keep Source Column Widths (W) option as a way to keep gridlines while pasting the copied cells.
Steps:
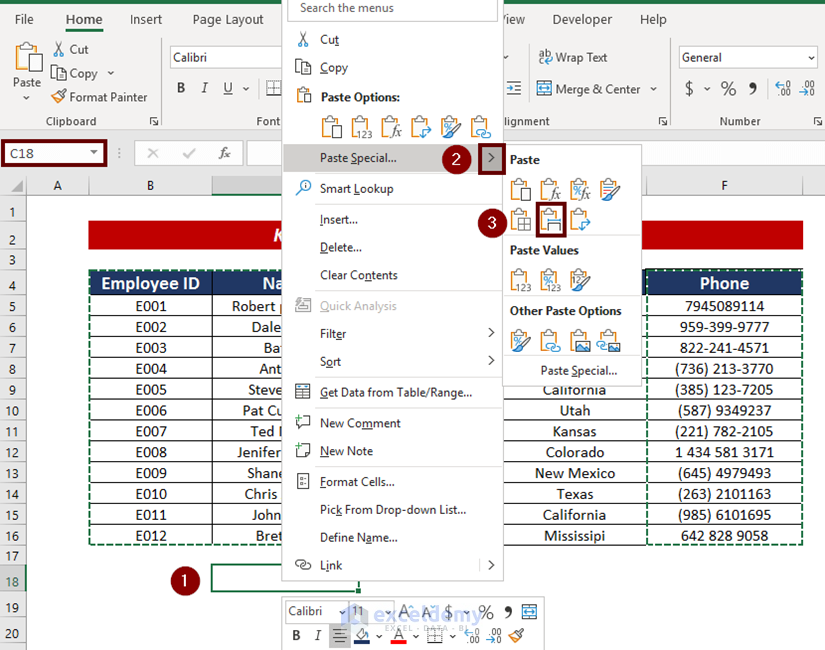
- Select the cells that you want to paste keeping the gridlines. Here, I have selected cells B4:C16 and F4:F16 at a time to have them in adjacent columns.
- .Then, copy the cells using the Copy command.
- Next, pick a cell where you want to have the output. In my case, I chose cell C18.
- Right-click on the mouse.
- Then, click on the Paste Special extended functions button.
- From the available options, choose the Keep Source Column Widths (W) option.
We can have the copied cells with gridlines on the chosen location.
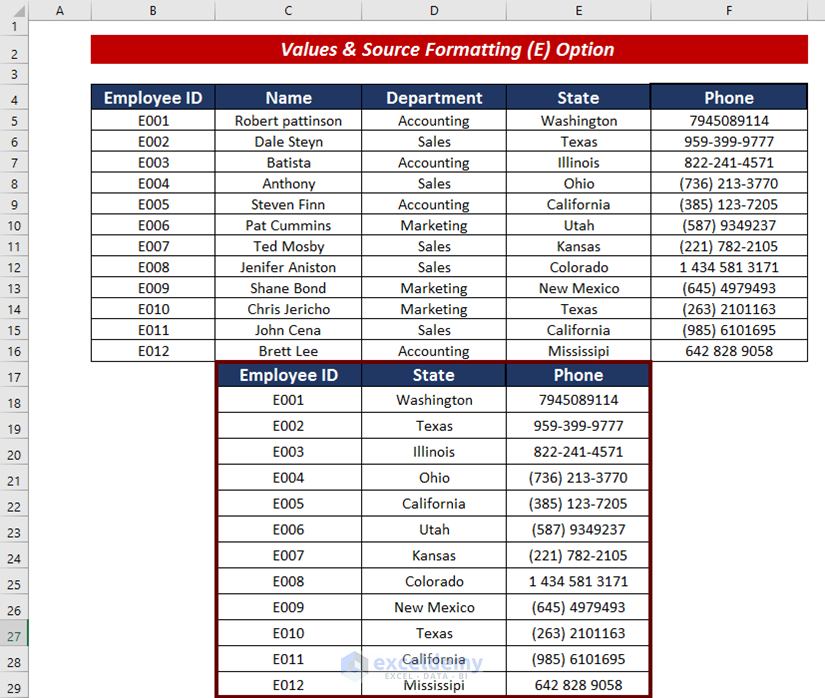
2.3. Values & Source Formatting (E) Option
We can even use the Value & Source Formatting (E) option to keep gridlines while pasting the copied cells.
Steps:
- First of all, you have to choose and select the cells that you want to paste keeping the gridlines. Here, I have selected cells B4:B16 and E4:F16 at a time to have them in adjacent columns.
- Input the Copy command to copy the cells.
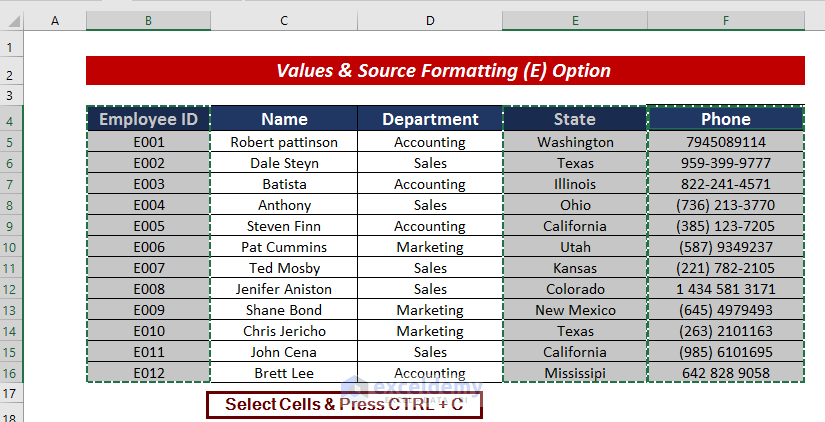
- Next, pick a cell where you want to have the output. In my case, I chose cell C17.
- Now, Right-click on the mouse.
- Click on the Paste Special extended functions button.
- Afterward, choose the Value & Source Formatting (E) option from the available options.
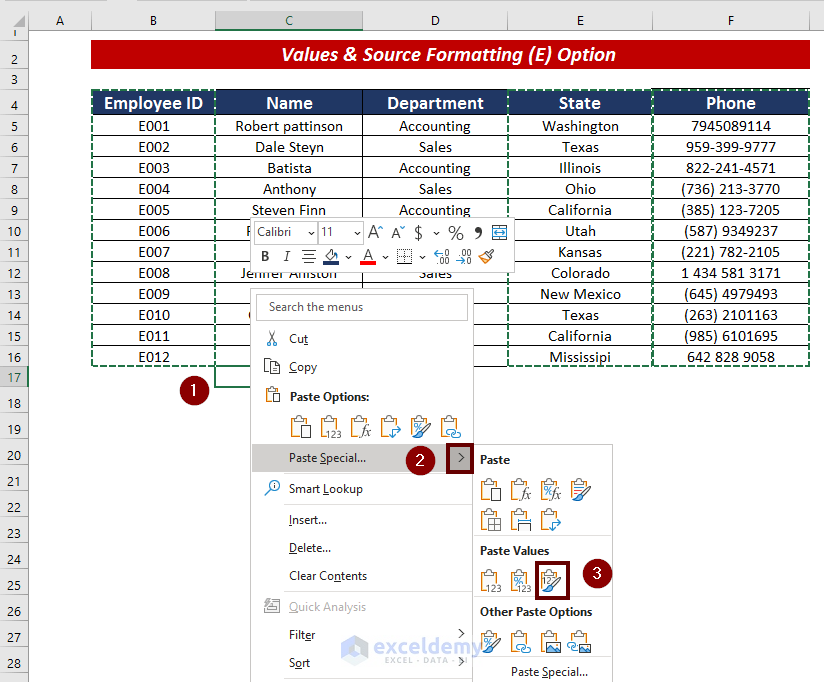
Thus, we can have the copied cells keeping gridlines.
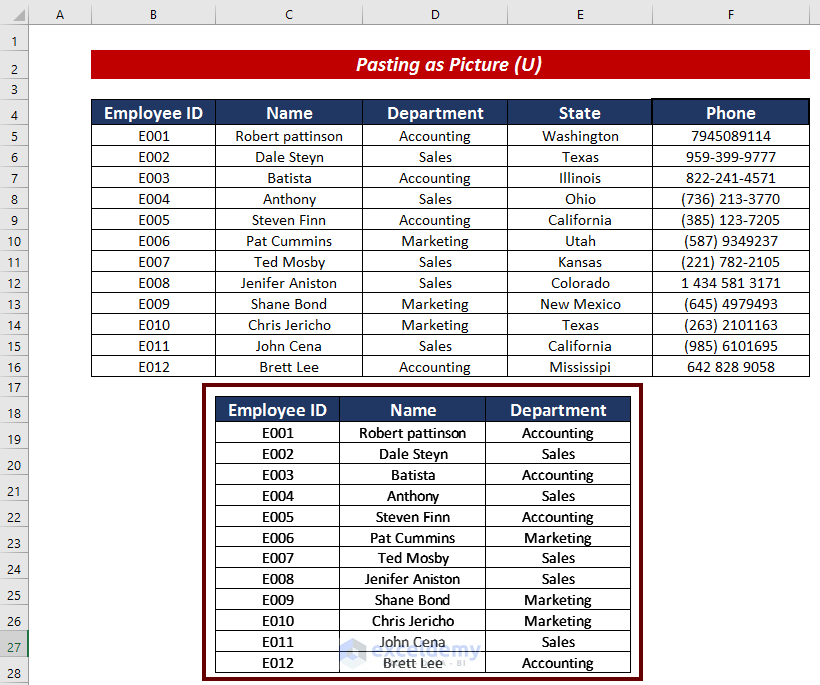
2.4. Pasting as Picture (U)
If we can have the cells as image, we will have all the formatting in an exact way. For this, we can use the Picture command from the Paste Special options.
Steps:
- Select the cells that you want to paste. Here, I have selected cells B4:D16.
- Next, press CTRL + C to copy the selected cells.
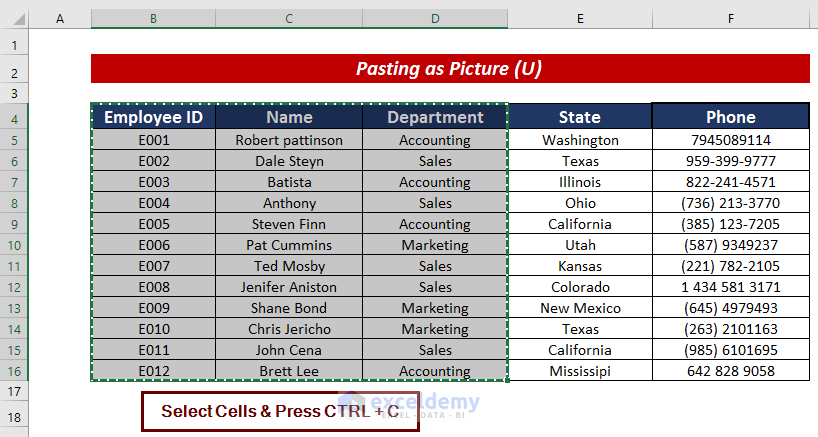
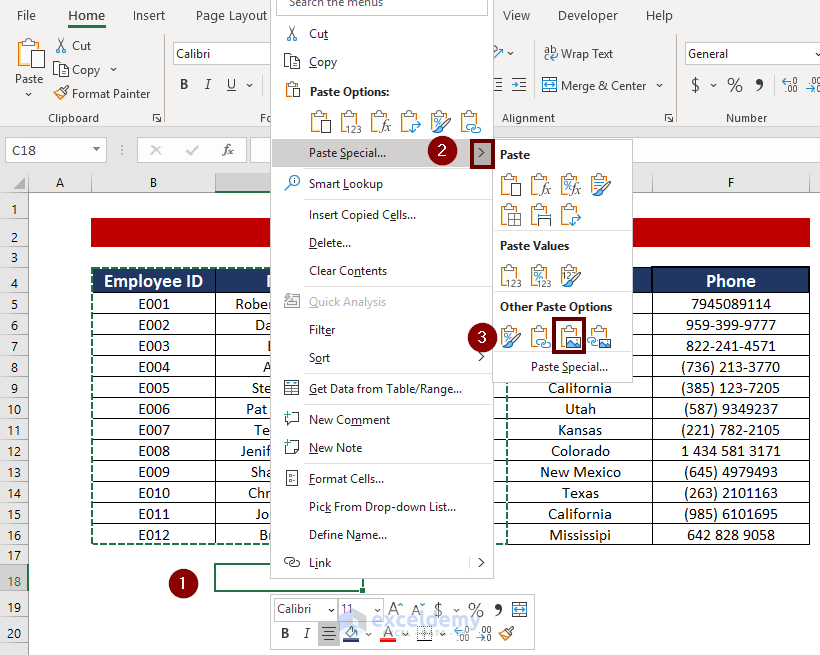
- After that, select the cell where you want to have the output. Here, I chose cell C18.
- Then, Right-click on the mouse.
- Click on the Paste Special extended functions button.
- Choose the Picture command from the Paste Special options.
This is how we can have the copied cells keeping gridlines.
Read More: [Fixed] Excel Gridlines Not Showing by Default
Things to Remember
At the time using the Keep Source Column Widths (W) option & Picture command from the Paste Special options, we can have the exact format keeping the gridlines. But in case of applying the normal Copy & Paste command, Keep Source Formatting (K) option, and Value & Source Formatting (E) option to paste the cells keeping gridlines, we won’t be able to have the exact same cell width as the copied cell. This time, the copied cells will be in the exact cell width with related to the cell where we are moving the copied cells.
Practice Section
For more expertise, you can practice here.
Download Practice Workbook
Download this practice workbook to exercise while you are reading this article.
Conclusion
That’s all for the article. In this article, I have tried to explain two very simple and efficient ways to keep gridlines in Excel when copy and paste. It will be a matter of great pleasure for me if this article could help any Excel user even a little.
Related Articles
- How Do You Fix Missing Gridlines in Excel
- How to Show Gridlines after Using Fill Color in Excel
- How to Get Gridlines Back in Excel
<< Go Back to Show Gridlines | Gridlines | Learn Excel
Get FREE Advanced Excel Exercises with Solutions!
