When you prepare, access, or publish a Microsoft Excel workbook, it can have content that you do not wish to expose to others while sending the workbook online. Metadata is the technical term for this type of data. We can use this metadata for multiple objectives. In this article, we’ll learn how to create metadata in Excel. Also, we’ll demonstrate various ways to view, edit, remove, and protect the metadata of our Excel workbook. So, let’s go through the article thoroughly to clear up the concept of metadata in Excel.
Introduction to Metadata in Excel
Metadata is the hidden information in an Excel file that contains the author’s name, initials, organization name, etc. Every Excel file inherits metadata by default. The pieces of information are taken from the user’s devices. We can also modify those data according to our needs. Those metadata may contain some confidential information about the company. It may reveal the sources of the information used in the sheet, and so on. So, before we share the Excel file with others, we need to review and remove the metadata from that file.
How to Create Metadata in Excel: 4 Suitable Ways
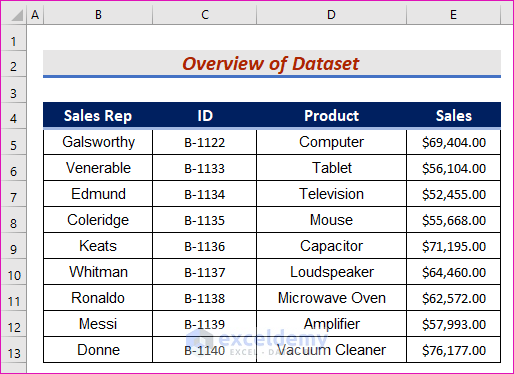
You may not know where we can view or create the metadata of your Excel file. We can do this work in multiple ways. Here are four different but simple methods for creating metadata in Excel. We do that from the File tab, Excel Document Inspector, Properties Wizard, Windows File Explorer, and so on. Here’s an overview of the dataset for today’s task.
Method 1: Go to Info Section of File Tab and Create Metadata
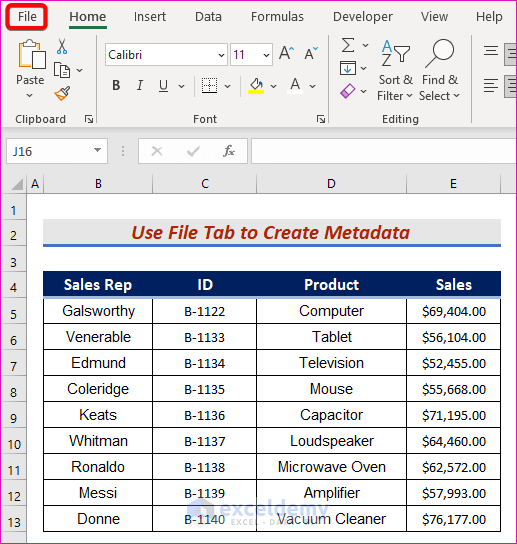
We will view the metadata from the File tab, and then discuss how to create it. It is the easiest way to create metadata. Let’s follow the instructions below to learn!
Step 1:
- First of all, open our desired Excel file. After that, click on the File tab.
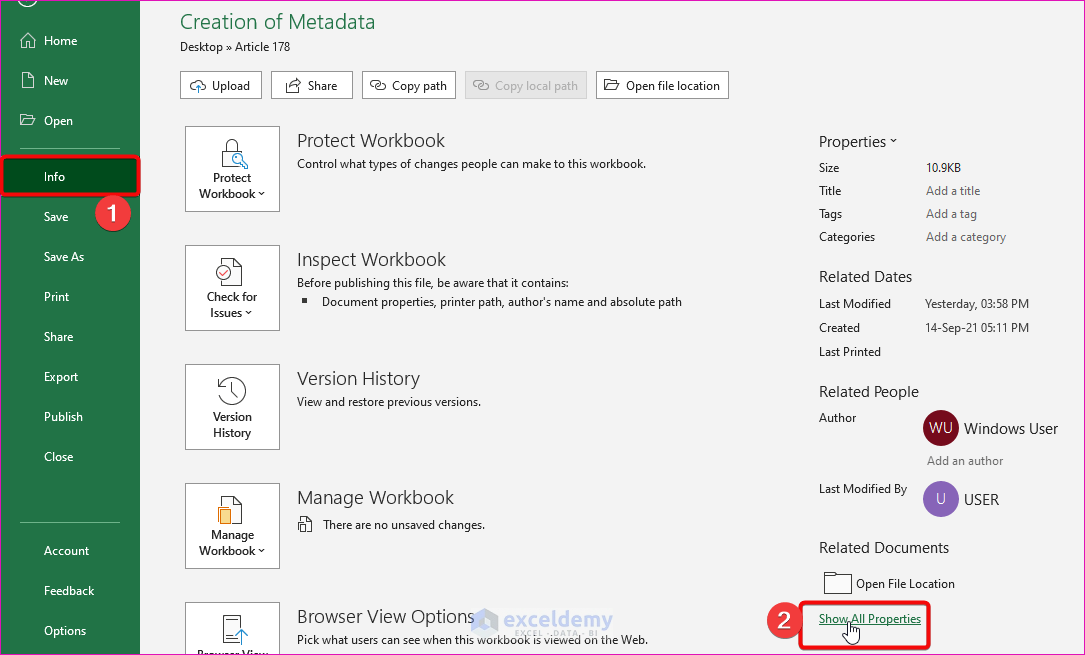
- After that, press on the Info option from the left side menu.
- On the right side, we see the Properties It contains file size, tags, categories, and related dates.
- Hence, click on Show All Properties marked in the image below.
Read More: How to View Properties Dialog Box in Excel
Step 2:
- Further, click on the Author name box, and set the Author name as you want. We will create the Author’s name as Abdur Rahim which has been given in the below screenshot.
- Finally, you will be able to create metadata in Excel.

Read More: How to Create Excel File from Metadata with CSV File
Method 2: Using Excel Document Inspector of Info Section for Creating Metadata
In this section, our aim is to create an Excel Metadata viewer by using the following steps. Let’s follow the instructions below to learn!
Steps:
- To begin with, click on the File tab.
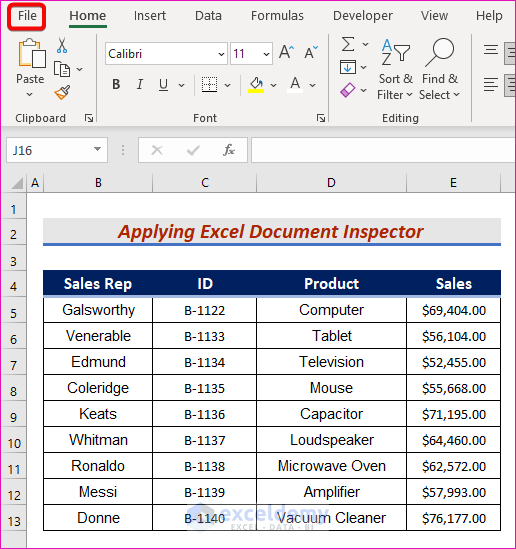
- In addition, go to the Info option.
- Furthermore, in the Info window, select the Inspect Documents option from the Check for Issues option.
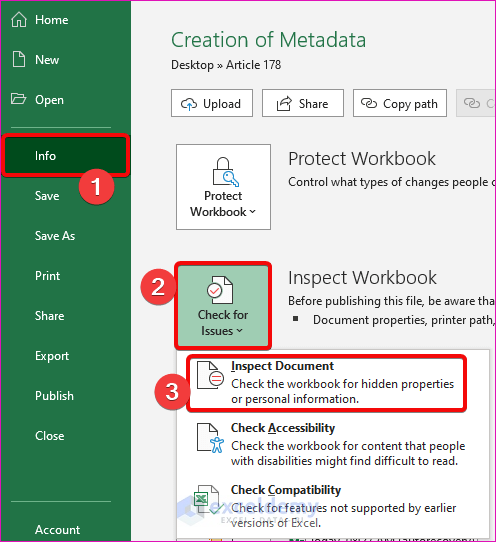
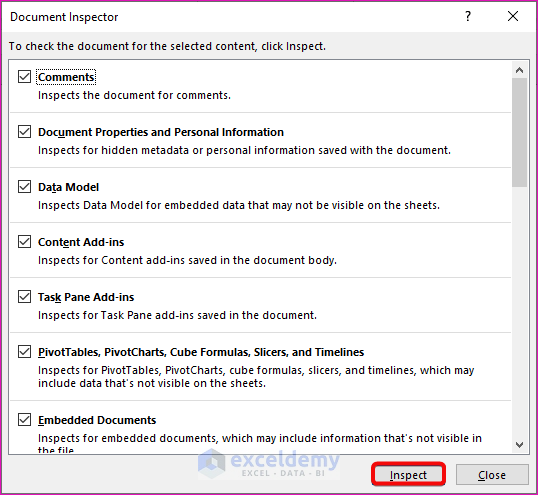
- Moreover, the Document Inspector dialog box will appear in front of you. After that, select the desired contents by ticking on the left side of the option and pressing Inspect option.
- Finally, you will get the results of the review of the inspections.
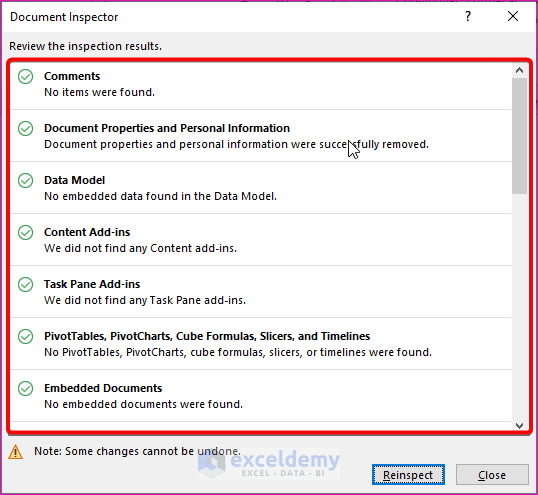
- Hence, you can show Excel Metadata by utilizing the Excel Document Inspector After that, from the Properties option, you can create metadata which has been shown in method 1.
Read More: How to Display Document Properties in Excel
Method 3: Using Properties Wizard to Create Metadata in Excel
In this approach, we’ll use the Properties wizard. Follow the below steps to understand the matter better.
Steps:
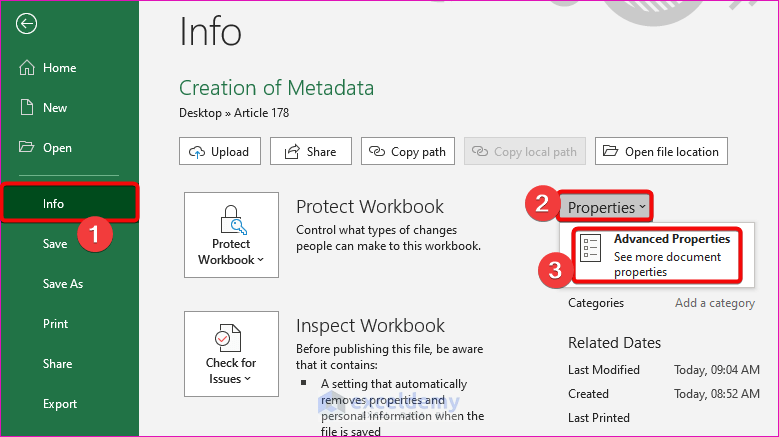
- Firstly, go to the File tab.

- Hence, press on the Info option from the left side menu.
- On the right side, we see the Properties After that, select the Advanced Properties option from the Properties drop-down menu.
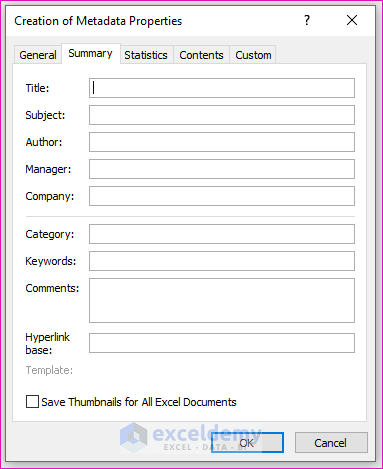
- Immediately, we can see the Properties dialog box for our Excel file. Here we can find the details of the metadata viewer of our workbook.
Read More: How to Edit Document Properties in Excel
Method 4: Using Windows File Explorer for Creating Metadata
Let’s assume that we have an Excel file in protected mode. Using Windows File Explorer is the way to withdraw Metadata from protected Excel files. The most significant feature of this method is that we do not need to open the Excel file, and we can also create metadata. Let’s follow the instructions below to learn!
Steps:
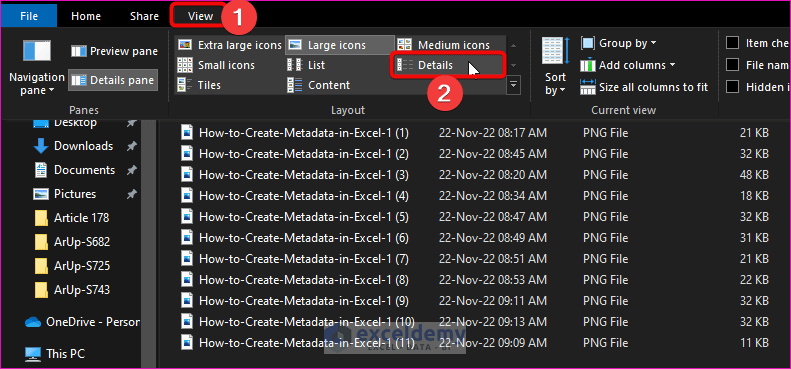
- From the Windows File Explorer go to the location of the Excel file.
- After that, from the View tab, go to,
- Hence, click on the Excel file. As a result, on the right side, a window pops up showing the metadata.
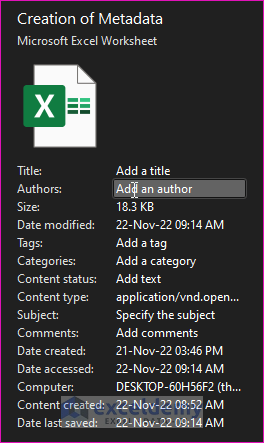
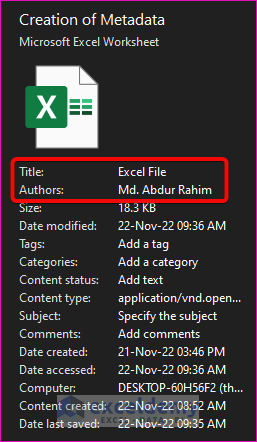
- Further, you can create metadata such as Title, Authors, etc., like the below screenshot.
How to Remove Metadata from Excel
In this section, we will learn how to remove metadata in Excel. This is an easy and time-saving task as well. Let’s follow the instructions below to learn!
Steps:
- Firstly, go to the Properties option from the Info option like method 1.
- Hence, press the right-click on the Author’s name.
- Further, click on the Remove Person option.
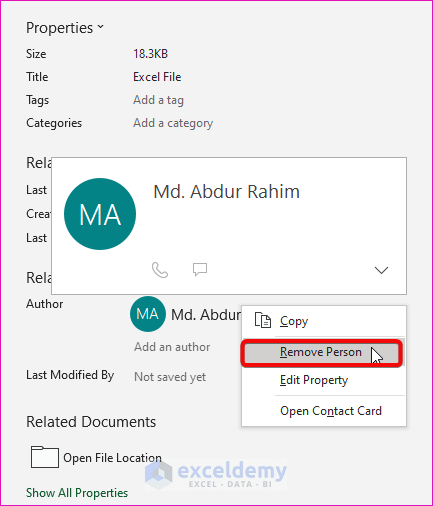
- Finally, you will be able to remove Metadata from an Excel file which has been given in the below screenshot.

Read More: How to Remove Last Modified By in Excel
Download Practice Workbook
Download this practice workbook to exercise while you are reading this article.
Conclusion
We discussed how to create metadata in Excel. We also added some additional methods to get the information from a data set that does not appear normally. I hope this will satisfy your needs.
Related Articles
- How to Export File Metadata to Excel
- Export Image Metadata to Excel
- How to Make an Excel Metadata Extractor
<< Go Back to Excel Metadata | Workbook in Excel | Learn Excel
Get FREE Advanced Excel Exercises with Solutions!
