What Is Excel Metadata?
Metadata is the hidden information of an Excel file that contains the author’s name, initials, organization name, etc. Every Excel file inherits metadata by default. The pieces of information are taken from the user’s devices. You can also modify this data. This metadata may contain some confidential information about the company. It may reveal the sources of the information used in the sheet, and so on.
How to Show Excel Metadata Viewer: 4 Easy Methods
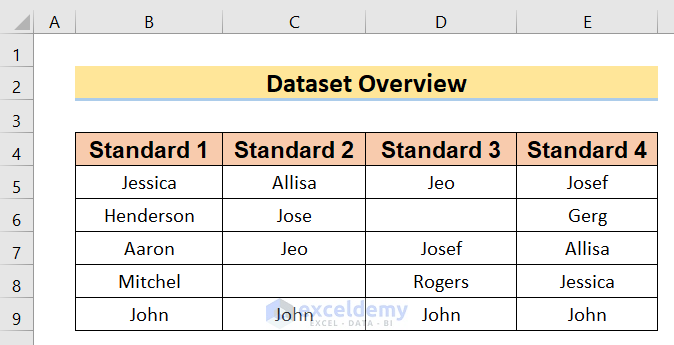
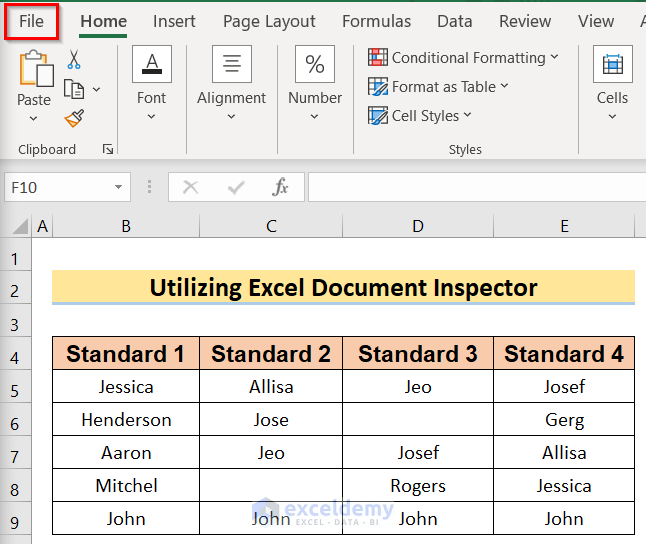
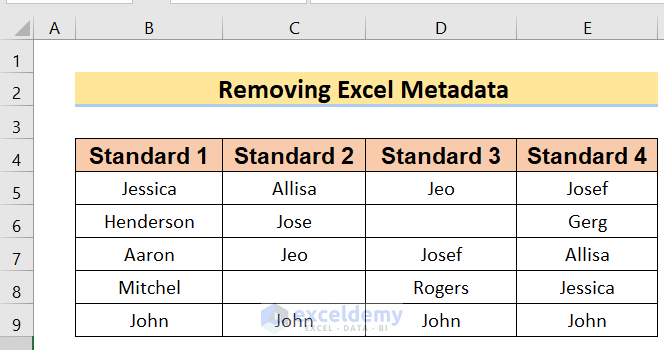
We’ll use a sample dataset to show metadata, but its contents are largely irrelevant.
Method 1 – Showing Most Important Metadata in Excel
Steps:
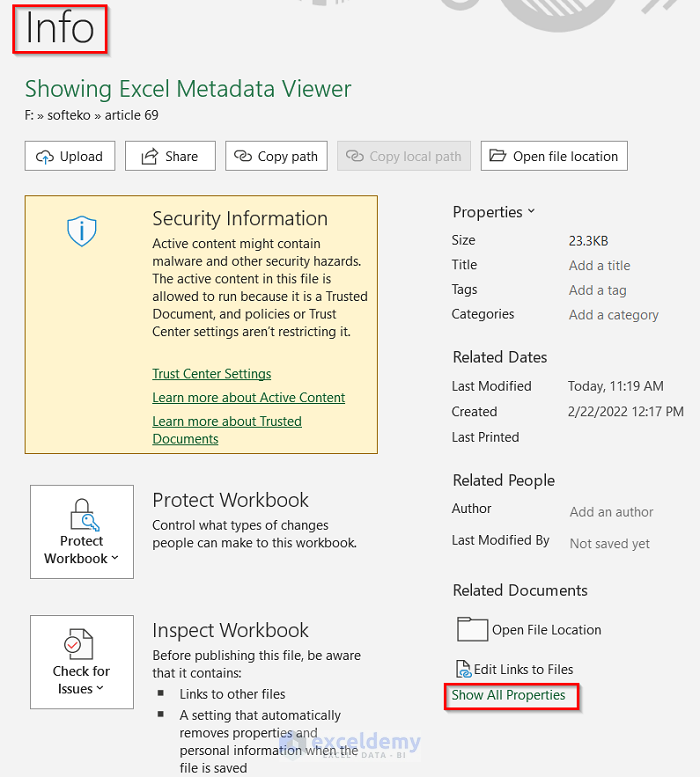
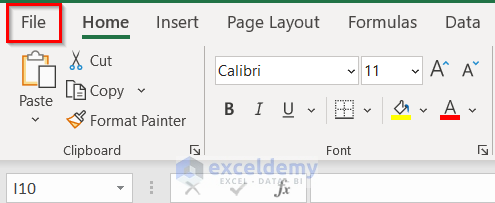
- Go to the File option.
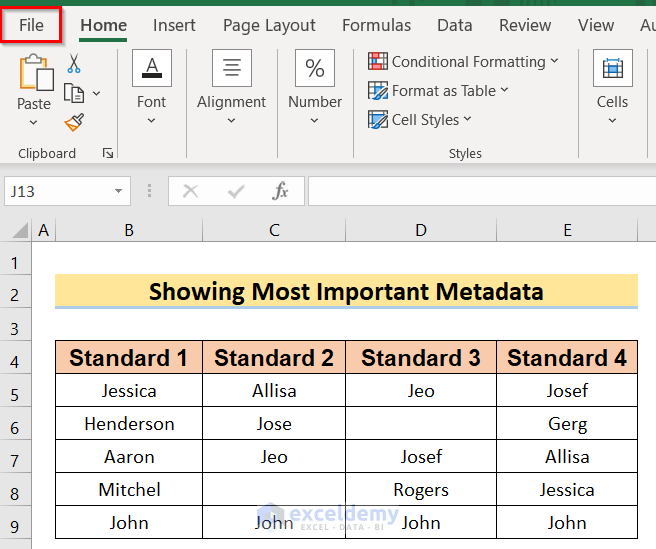
- Select the Info option.

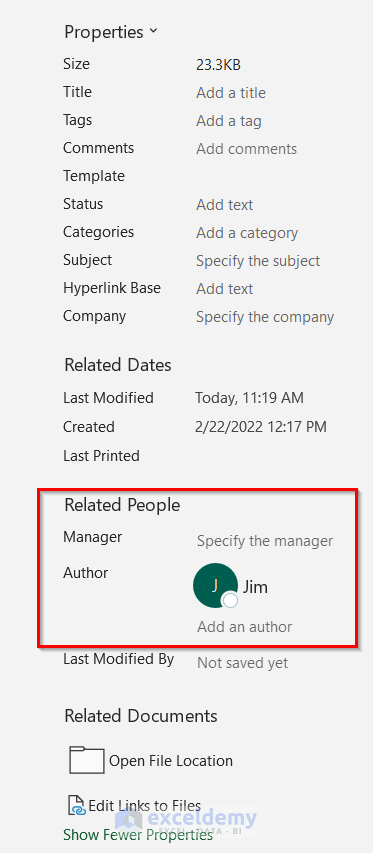
- In the Info window, choose the option Show All Properties.
- You will get the author’s name and important metadata similar to the below image.
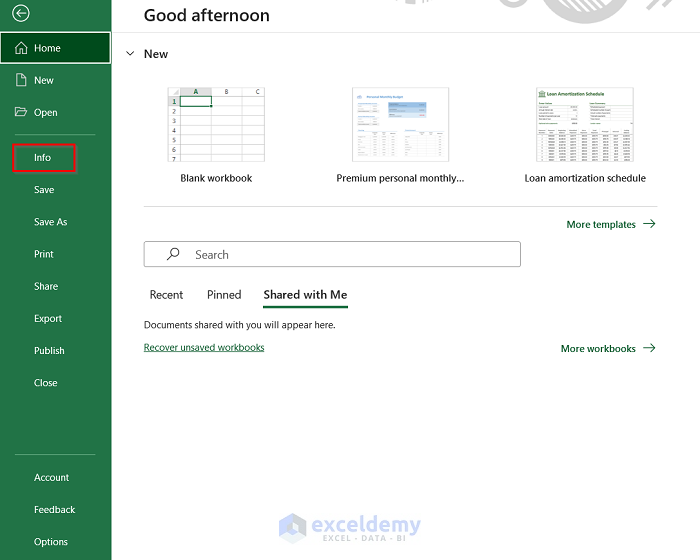
Method 2 – Utilizing the Excel Document Inspector
Steps:
- Click on the File option.
- Go to the Info option.
- In the Info window, select the Inspect Document option from the Check for Issues option.
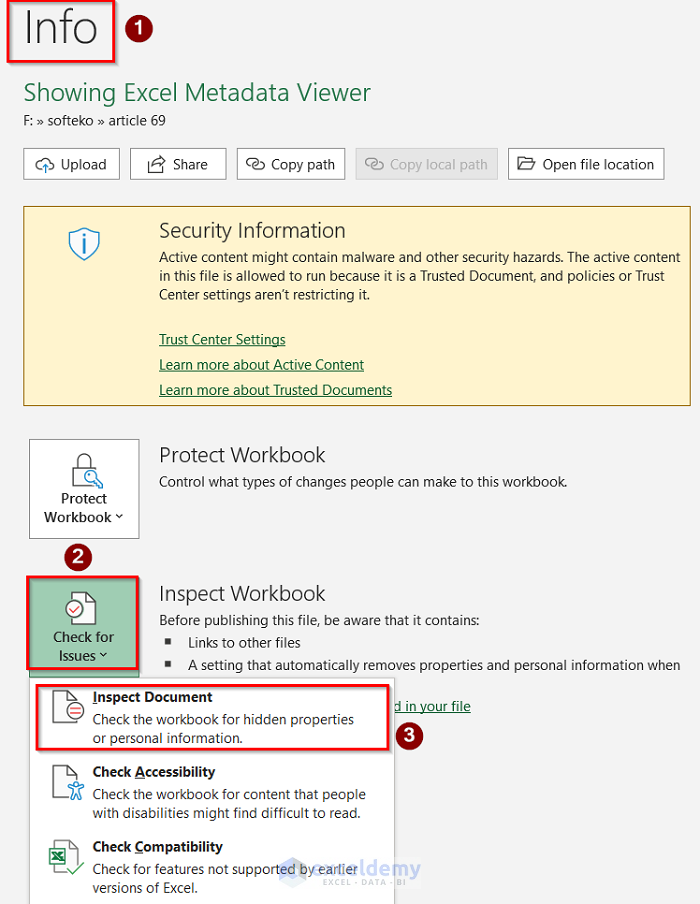
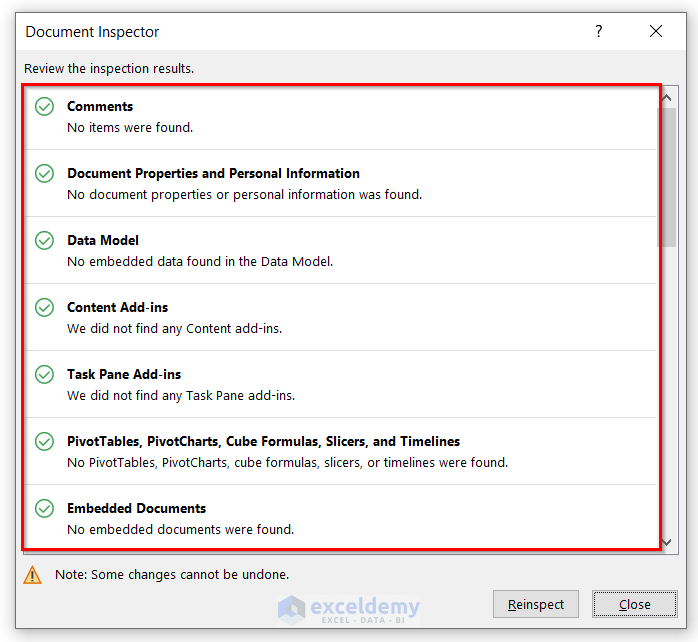
- The Document Inspector dialog box will open on your screen.
- Show the desired content by ticking it and press Inspect.
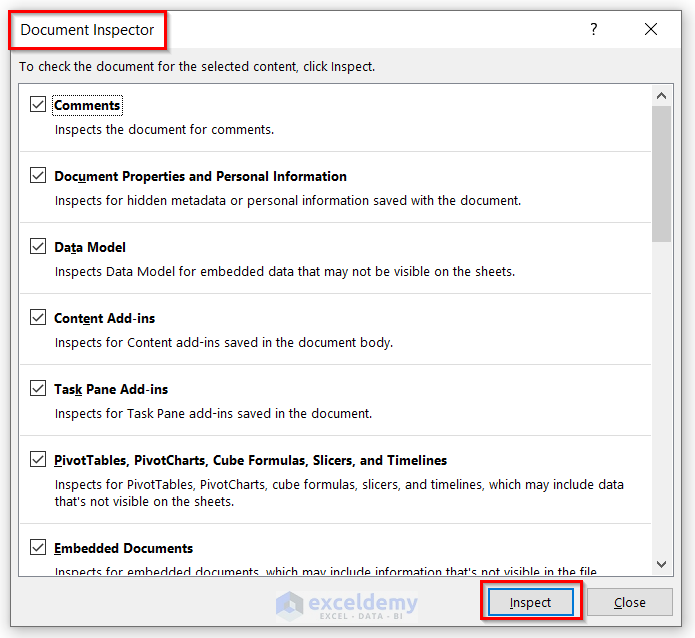
- You will get the results of the review of the inspections.
Read More: How to View Properties Dialog Box in Excel
Method 3 – Applying Other Hidden Data
Steps:
- You can show the Excel metadata viewer option by accessing Named Ranges. You can simply save the file as a .xml file and then copy the desired info from the notepad and open it with an XML file.
- If you use any links in the workbook and click on the link, you will get the path directly.
- Check if any of the rows or columns are hidden or not. You just have to select the data range and right-click. If there remains any data hidden, you will see the Unhide option there. Press it to unhide it.
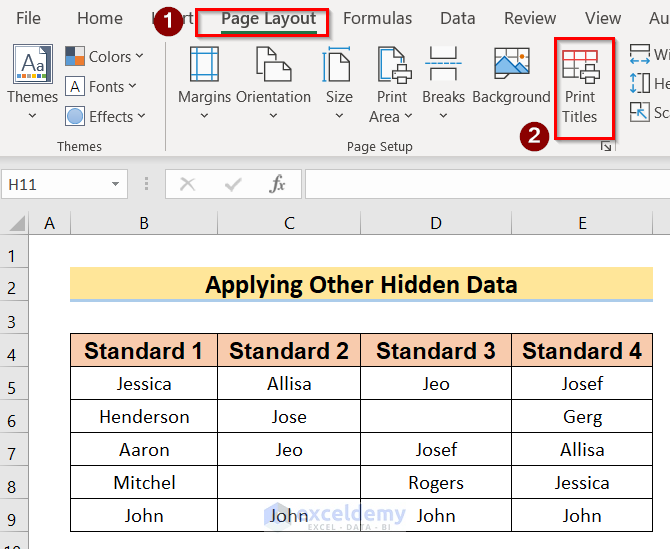
- If you want to print it, add the print header and footers by going to Page Layout and Print Titles.
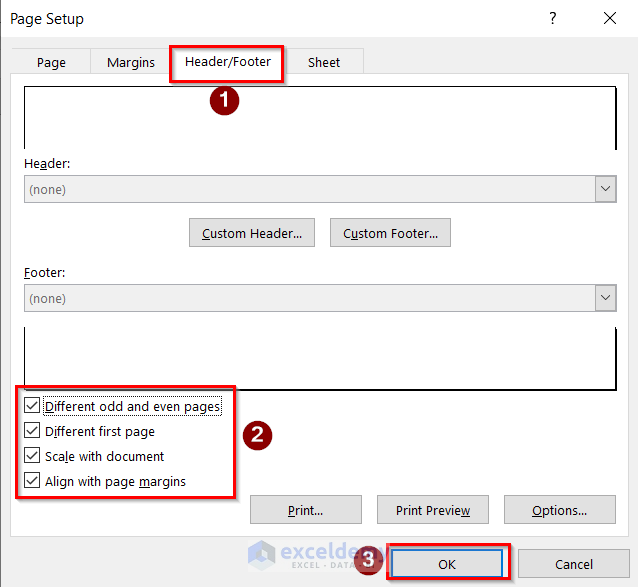
- In the Header/Footer options, tick the options and press OK.
Read More: How to Display Document Properties in Excel
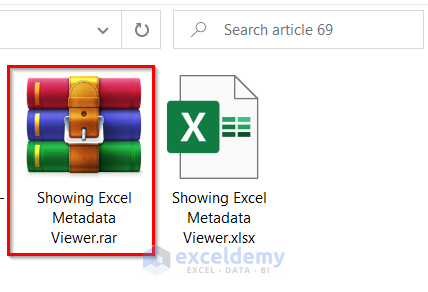
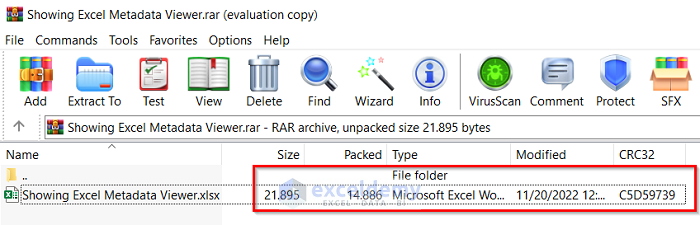
Method 4 – Checking Raw Contents
Steps:
- Right-click on the Excel file and choose the Add to .rar option.
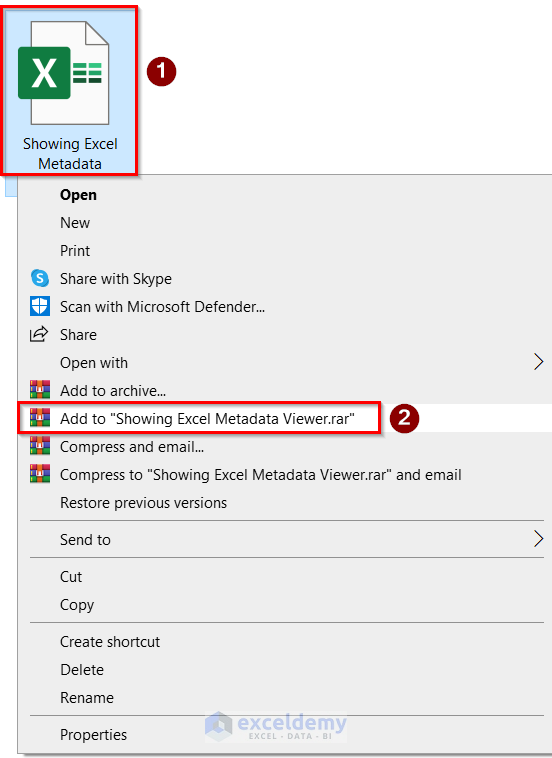
- You will get the .rar file similar to the below image.
- If you click on the .rar file, you will get the important metadata viewer options.
How to Remove Excel Metadata
Steps:
- Arrange a dataset.
- Go to the File option.
- Click on the Info option.

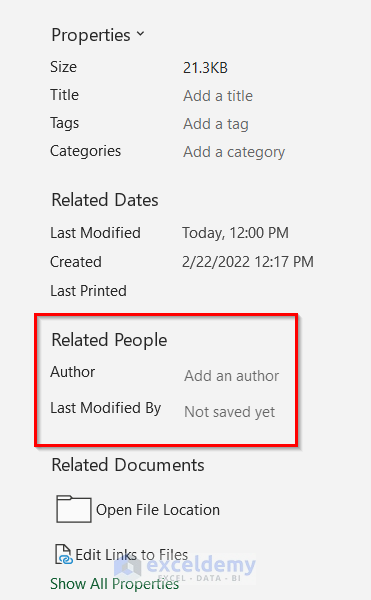
- In the Info window, you will get the Author’s Name. If you want to remove it, right-click on the Author’s Name and select the Remove Person option.
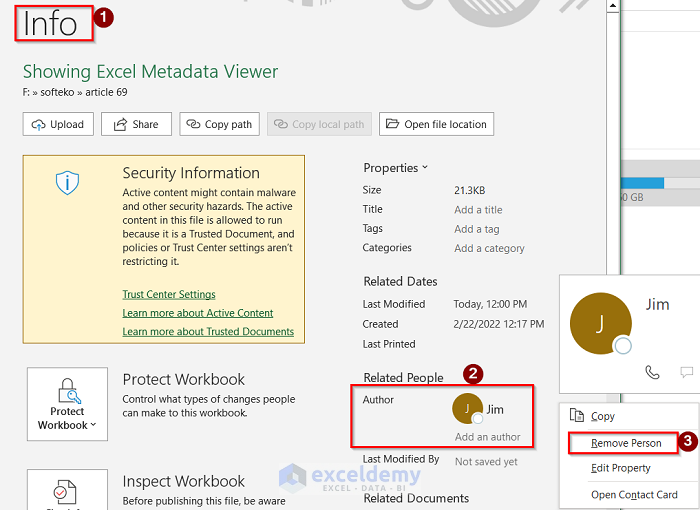
- The Author’s name has been removed.
Download the Practice Workbook
Related Articles
- How to Export File Metadata to Excel
- Create Excel File from Metadata with CSV File
- How to Export Image Metadata to Excel
- How to Remove Last Modified By in Excel
<< Go Back to Excel Metadata | Workbook in Excel | Learn Excel
Get FREE Advanced Excel Exercises with Solutions!
